
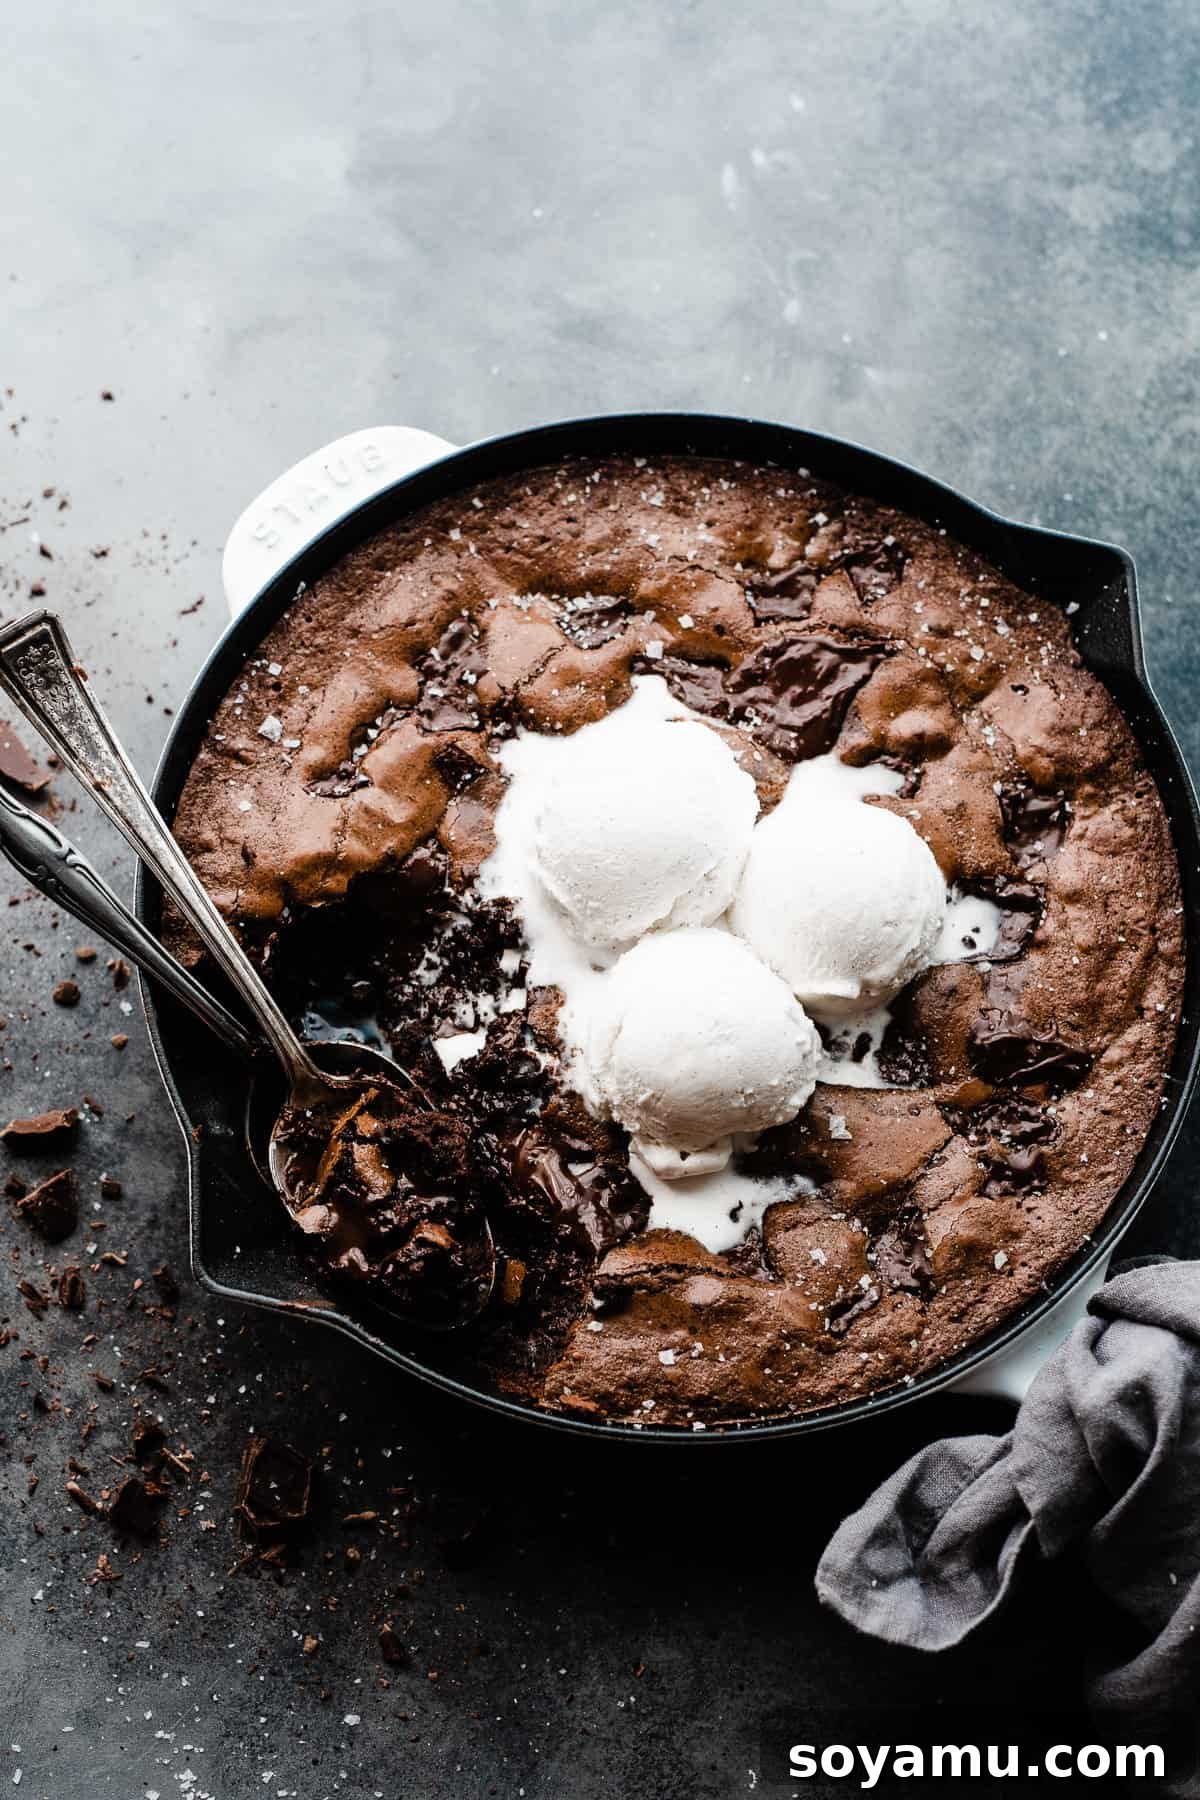
Prepare to be enchanted by the **Ultimate Fudgy Triple Chocolate Skillet Brownie**! Imagine a dessert so rich, so decadently gooey, it practically melts in your mouth, leaving behind luscious pools of warm, melted chocolate with every bite. This isn’t just any brownie; it’s an experience designed to be savored straight from the oven, served warm in its rustic skillet, adorned with a delicate sprinkle of flaky sea salt and a generous scoop of creamy vanilla ice cream. It’s the quintessential brownie indulgence, promising pure bliss with minimal effort.
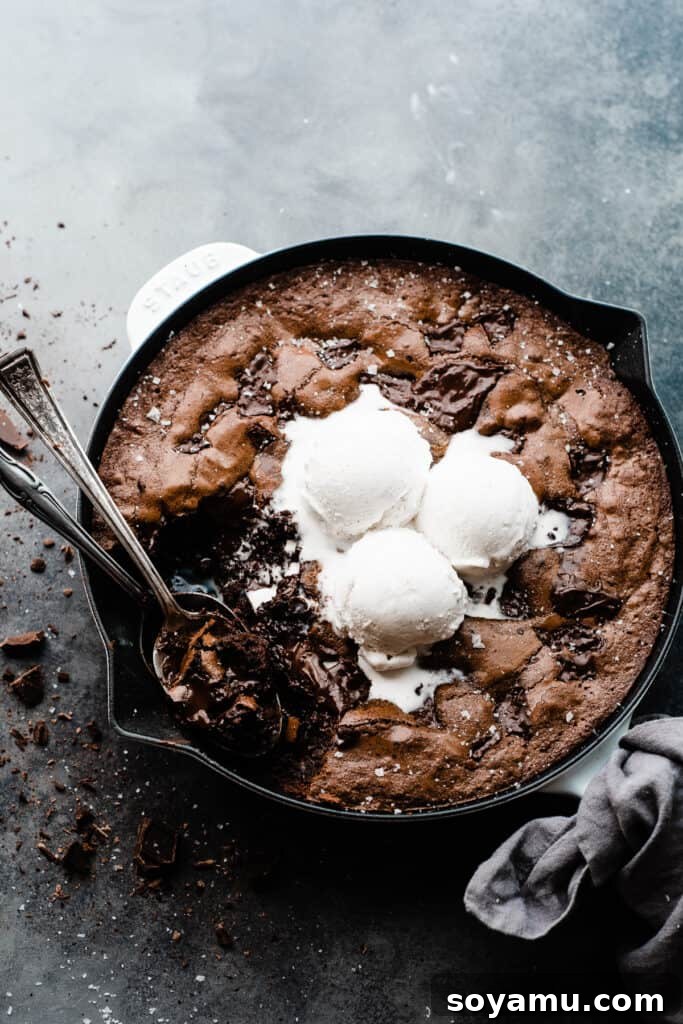
For all you devoted chocolate enthusiasts out there, you’re already familiar with the magic of a perfectly baked brownie. Many of you have discovered and fallen in love with my 5-Ingredient Brownies, a testament to simplicity meeting deliciousness. If that sparked joy, then prepare for this Skillet Brownie to ignite your deepest chocolate cravings. It’s not just a recipe; it’s an invitation to a world of effortless, extraordinary chocolate pleasure, ready in under an hour.
Why This Triple Chocolate Skillet Brownie is a Must-Try
This isn’t just another brownie recipe; it’s a carefully crafted delight designed for maximum impact with minimum fuss. Here’s why this Skillet Brownie will quickly become your go-to dessert:
- Triple the Chocolate Decadence: We believe more chocolate is always a good idea. This recipe features not one, not two, but three distinct forms of chocolate to ensure an unparalleled depth of flavor and texture. Cocoa powder delivers intense chocolate foundation, melted chocolate provides a smooth, rich body, and generous chocolate chunks create those irresistible pockets of molten goodness throughout the brownie.
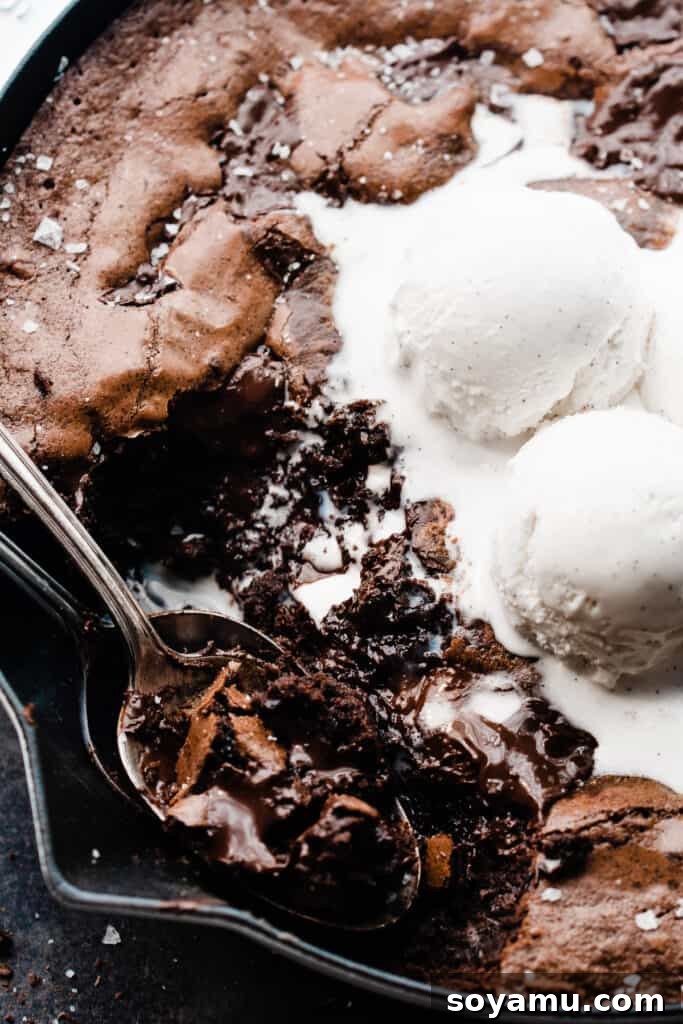
- Fudgy Brownie Perfection with a Signature Crackle: Forget dry, cakey brownies! Our Skillet Brownie boasts an ultra-rich, intensely fudgy interior that truly melts in your mouth. Beyond its divine chewiness, it’s crowned with that coveted, delicate crackly top and perfectly crispy, chewy edges that every brownie aficionado craves.
- A Quick & Effortless Dessert for Any Moment: Whether you’re hosting an impromptu gathering, battling a sudden chocolate craving, or simply seeking a comforting treat, this recipe delivers. From start to finish, you could be enjoying this warm, gooey dessert in less than an hour, making it the perfect everyday indulgence that needs no special occasion.
Essential Ingredients for Your Fudgy Skillet Brownie
Crafting the perfect skillet brownie begins with a selection of high-quality ingredients. Here’s what you’ll need, along with some helpful tips:
- Butter: For the most robust flavor, I consistently opt for **salted butter**. The hint of salt truly enhances the chocolate’s richness. However, if you prefer, unsalted butter works perfectly fine; just ensure you don’t omit the additional salt in the recipe to maintain that crucial flavor balance.
- Chocolate (Melted & Chunks): This recipe calls for both **semi-sweet and milk chocolate** to be melted, forming the core of the brownie’s rich texture. You can use high-quality chocolate chips or finely chopped baking bars from brands like Ghirardelli or Baker’s. For the glorious **chocolate chunks** mixed throughout and sprinkled on top, choose your favorite semi-sweet variety. These chunks will melt into delicious pools during baking, providing bursts of intense chocolate flavor.
- Sugars (Granulated & Brown): A combination of **granulated sugar** and **packed brown sugar** is key. Granulated sugar contributes to the desired crackly top and overall sweetness, while brown sugar adds moisture, depth of flavor, and contributes significantly to the brownie’s signature fudgy texture.
- Eggs: Always use **large eggs** for consistent results. Eggs bind the ingredients, add richness, and are crucial for developing that desirable crackly top when whisked adequately. Ensure they are at room temperature for better emulsion with the melted butter and chocolate.
- Vanilla Extract: Don’t skimp on quality here. **Real vanilla extract** makes a noticeable difference, adding a warm, aromatic depth that complements and enhances the chocolate flavors beautifully.
- All-Purpose Flour: Use **all-purpose flour**, spooned and leveled for accurate measurement. Proper flour measurement prevents a cakey or dry brownie, ensuring a tender, fudgy result.
- Salt: A crucial ingredient often underestimated! **Salt** balances the sweetness and intensifies the chocolate notes, preventing the brownie from tasting flat or overly sweet.
- Cocoa Powder: This provides the intense, deep chocolate flavor fundamental to a truly fudgy brownie. You can use natural or Dutch-processed cocoa powder; both yield excellent results, though Dutch-processed often gives a slightly darker color and smoother flavor.
- Espresso Powder: A secret weapon for chocolate desserts! Just a tiny pinch of **espresso powder** doesn’t make the brownie taste like coffee, but instead miraculously deepens and enriches the chocolate flavor, making it taste even more profoundly chocolatey.
Customizing Your Skillet Brownie: Substitutions & Variations
One of the joys of baking is the ability to adapt recipes to suit dietary needs or simply to explore new flavor combinations. This Skillet Brownie recipe is wonderfully versatile:
- Gluten-Free Adaptation: While I haven’t personally tested a gluten-free version yet, I believe this recipe would lend itself well to a **1:1 gluten-free all-purpose flour blend**. These blends are specifically formulated to mimic traditional flour in baking. Alternatively, **almond flour** could also work, though it might require slight adjustments to liquid content due to its different absorption properties. If you experiment with either, please share your results – I’d love to hear how it turns out!
- Dairy-Free Delight: Making this recipe dairy-free is surprisingly straightforward. Simply swap in your favorite **dairy-free chocolate** (ensure it’s baking-quality and melts well) and a good quality **dairy-free butter alternative**. Many plant-based butters are now excellent for baking and will maintain the desired rich texture and flavor.
- Explore Chocolate Varieties: Don’t limit yourself to just semi-sweet and milk chocolate chunks! Experiment with other types, like **dark chocolate** for a more intense, less sweet profile, or **white chocolate** for contrasting sweetness. To keep the balance, try substituting just half of the semi-sweet chocolate chunks with a different variety. For an extra dark chocolate brownie experience, swap 2 ounces of bittersweet chocolate for the 2 ounces of semi-sweet chocolate in the melted mixture. I generally advise against using unsweetened chocolate in this specific recipe as it would dramatically alter the sugar balance.
- Exciting Mix-Ins and Additions: Brownies are a fantastic canvas for creativity! Feel free to fold in your favorite mix-ins during the final stages of batter preparation. Consider adding **chopped nuts** like pecans or walnuts for a delightful crunch, colorful **M&Ms** for a playful touch, or even swirls of **caramel** or **peanut butter** for an extra layer of flavor. A quantity of 3/4 to 1 cup of any mix-in is usually perfect to get a good distribution without overwhelming the brownie.
Crafting Your Perfect Skillet Brownie: Step-by-Step Guide
Follow these straightforward steps to create a truly unforgettable skillet brownie:
Step 1: Prepare Your Workspace and Wet Ingredients. Begin by preheating your oven to 350°F (175°C). Ensure your 10-inch oven-safe skillet is lightly greased with butter or sprayed with a non-stick cooking spray, ready for the batter. In a large, microwave-safe mixing bowl, combine the butter with the 2 ounces of semi-sweet chocolate and 2 ounces of milk chocolate. Melt them together in 30-second intervals in the microwave, stirring thoroughly after each interval, until the mixture is completely smooth and glossy. This gentle melting process ensures a uniform base. Once melted, stir in both the granulated and brown sugars until they are just combined. Then, add the large eggs and vanilla extract. Whisk vigorously for a full two minutes – this crucial step incorporates air and helps create that iconic, thin crackly crust on top of your brownies.
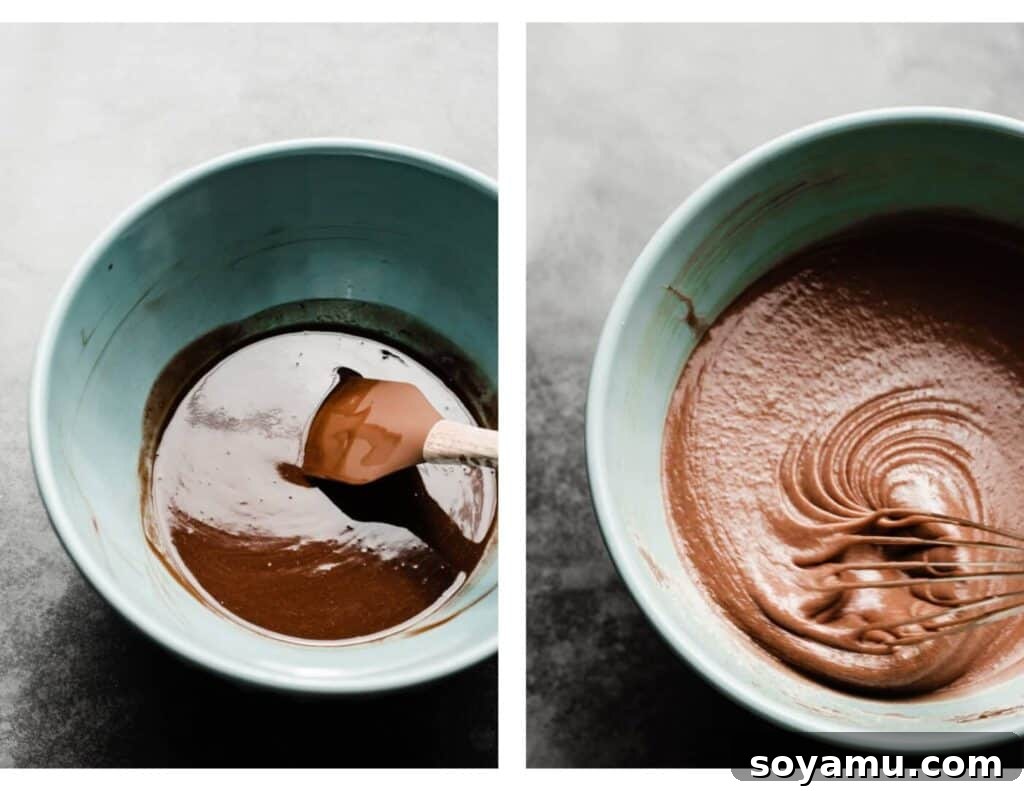
Step 2: Gently Incorporate the Dry Ingredients and Chocolate Chunks. To the wet chocolate mixture, add the all-purpose flour, salt, cocoa powder, and a pinch of espresso powder. Using a rubber spatula, carefully fold these dry ingredients into the batter. Mix just until the last streaks of flour disappear; be careful not to overmix, as this can lead to a tough brownie. Once the dry ingredients are almost fully incorporated, gently stir in the 8 ounces of semi-sweet chocolate chunks. These will create delightful pockets of melted chocolate once baked.
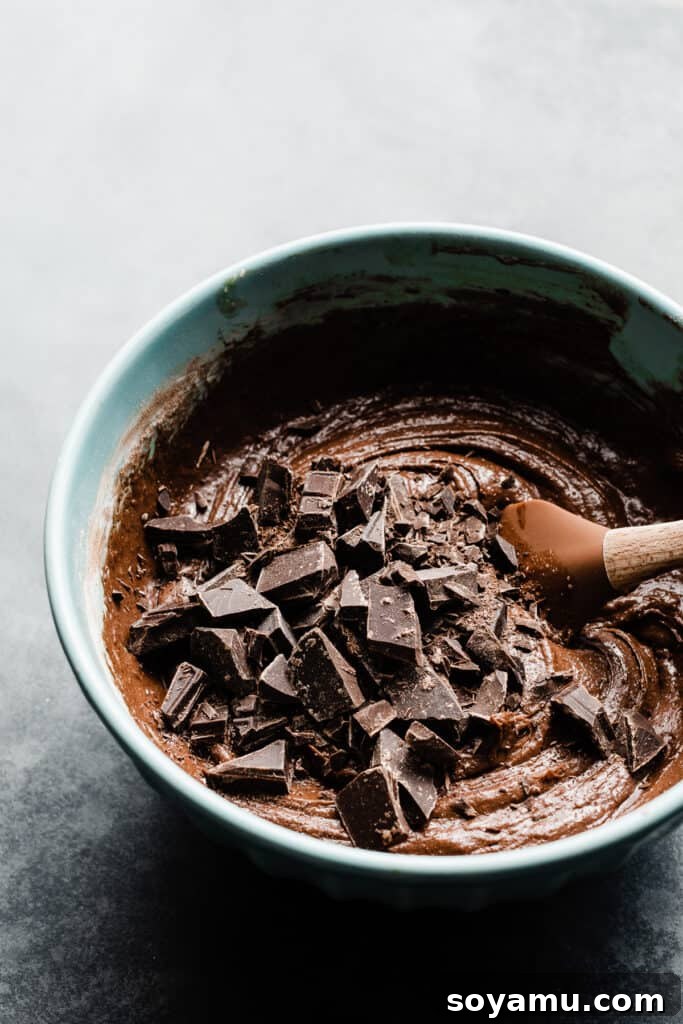
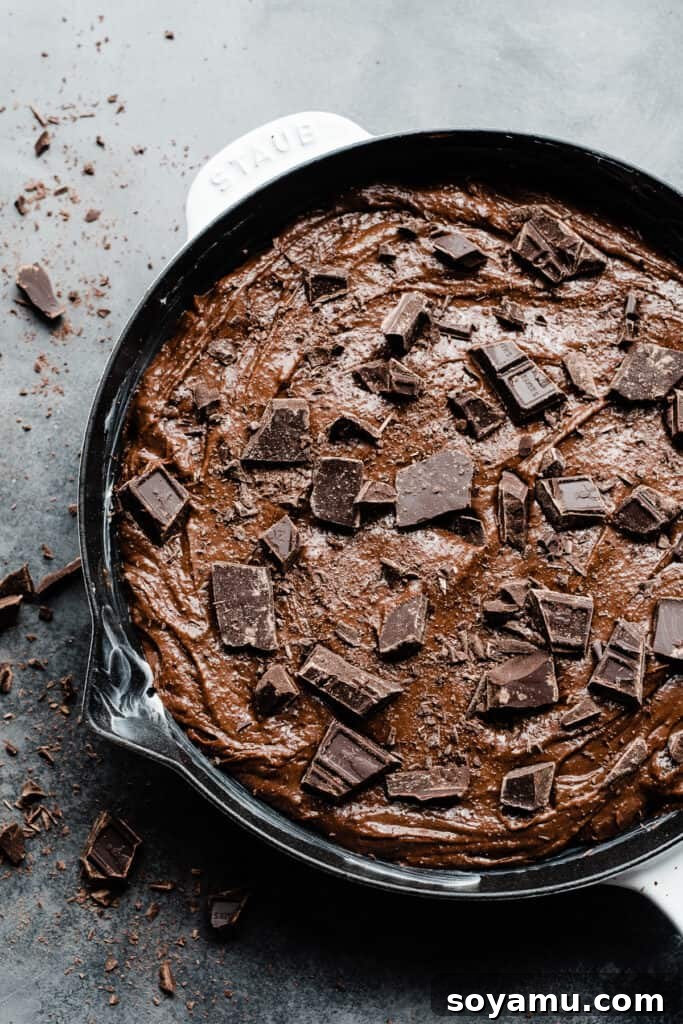
Step 3: Bake to Perfection. Transfer the luscious brownie batter into your prepared 10-inch oven-safe skillet, spreading it evenly to the edges. For an extra touch of indulgence, scatter an additional handful of semi-sweet chocolate chunks over the top of the batter – these will create a beautiful, melted chocolate finish. Bake for 36 to 40 minutes. The key to a fudgy brownie is not to overbake; a toothpick inserted into the center should come out with moist crumbs clinging to it, not wet batter. The edges should appear set. If you’re unsure, you can gently lift a small piece from the center with a knife tip to assess its doneness. This tiny hole can easily be concealed with a melted chocolate chunk once baked!
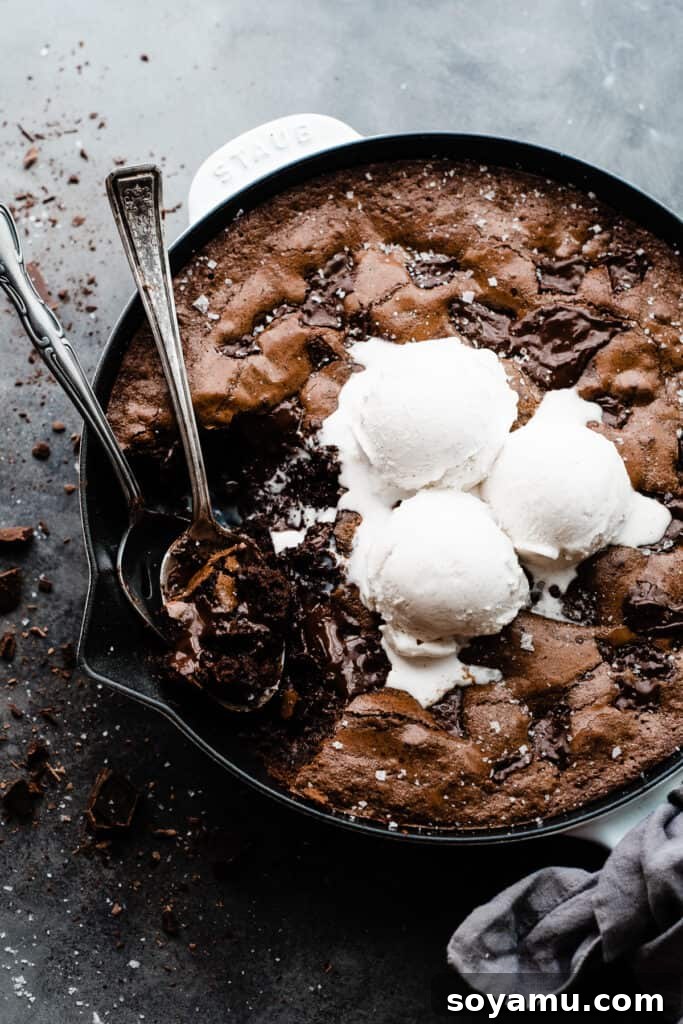
You absolutely MUST enjoy this straight from the pan – consider it a cardinal rule of delicious brownie enjoyment! Honestly, attempting to slice and serve this on individual plates before it’s had a proper moment to cool might just revoke your brownie privileges. The true magic happens when it’s still warm and gloriously gooey from the oven, with abundant flaky sea salt enhancing every bite and a magnificent scoop of vanilla ice cream slowly melting into its rich depths. This brownie is more than a treat; it’s an experience. Perfect for a cozy Halloween night indulgence, a romantic date night dessert, or truly, any moment you find yourself yearning for an extraordinary chocolate sensation.
Expert Tips for Skillet Brownie Success
Achieving brownie perfection is simpler than you think with these insider tips:
- The Secret to that Crackly Brownie Top: The hallmark of a truly great brownie! The key lies in thoroughly whisking the eggs with the sugar and melted chocolate mixture. Continue whisking for a good few minutes until the mixture lightens in color and becomes slightly airy. This vigorous whisking creates a delicate meringue-like layer that bakes into that distinctively shiny, crinkly top.
- The Golden Rule: Don’t Overbake! This is perhaps the most critical advice for a fudgy brownie. Overbaking is the quickest way to turn a potentially gooey delight into a dry, cakey disappointment. Keep a close eye on the baking time provided in the recipe card, and remember that ovens can vary. You’re looking for a toothpick inserted into the center to come out with moist crumbs, not wet batter. A slight underbake is always better than an overbake for maximum fudginess.
- Ensure Accurate Oven Temperature with an Oven Thermometer: Many home ovens are notoriously inaccurate, running hotter or cooler than the set temperature. An oven thermometer is an inexpensive tool that provides real-time temperature readings. Consistent oven temperature is crucial for all baking, especially for achieving the desired texture in brownies. I highly recommend keeping one in your oven at all times.
- Bake with Precision: Embrace a Kitchen Scale: When it comes to baking, accuracy is paramount, and nowhere is this more true than with flour measurements. The volume of flour can vary significantly depending on how it’s scooped and the specific measuring cup used. A food scale allows you to measure flour (and other ingredients) by weight, ensuring precise results every time. This eliminates guesswork and guarantees the perfect flour-to-liquid ratio for optimal fudginess.
- The Skillet Advantage: Baking in an oven-safe skillet, particularly cast iron, offers several benefits. It conducts and retains heat beautifully, leading to wonderfully even baking and those desirable crispy edges. Plus, serving directly from the skillet adds a rustic, charming presentation that enhances the overall experience.
Frequently Asked Questions (FAQs) About Skillet Brownies
Got questions about making the perfect skillet brownie? We’ve got answers!
While this brownie is exceptionally quick to prepare and truly shines when enjoyed warm from the oven, you can certainly make it a day in advance. Store it tightly covered at room temperature. For the best “fresh-baked” experience, a quick reheat in the microwave or oven will bring back that glorious gooey, melty chocolate texture.
The ultimate test for a fudgy brownie is a toothpick inserted into the center. It should come out with moist crumbs clinging to it, but not wet batter. The edges of the brownie should appear set, but the very center might still look slightly soft. If you’re hesitant to use a toothpick, you can carefully use the tip of a knife to lift out a small piece from the center to get a clearer idea of its doneness. Don’t worry, any small hole can easily be hidden by a chocolate chunk or a dollop of ice cream!
No problem! While a 10-inch oven-safe skillet (especially cast iron) is ideal for its heat retention and rustic charm, you can easily bake this brownie in a standard 9 or 10-inch round cake pan or an 8×8 or 9×9 inch square baking dish. Adjust baking time slightly if using a different size – a smaller, deeper pan might require a bit more time, while a wider pan could bake faster. Just keep an eye on the “done” cues!
Exciting Recipe Variations: Personalize Your Skillet Brownie
This recipe provides a fantastic base for endless customization. Get creative and make it your own!
- Chocolate Profile Exploration: Dive deeper into the world of chocolate by experimenting with different types. Replace some of the semi-sweet chocolate chunks with **dark chocolate (60-70% cacao)** for a more intense, less sweet flavor, or introduce **milk chocolate** chunks for extra creaminess. For a truly sophisticated, dark chocolate experience, swap 2 ounces of bittersweet chocolate for the 2 ounces of semi-sweet chocolate that gets melted into the batter. While fun to experiment, I don’t recommend using unsweetened chocolate in this specific recipe as it would significantly alter the sugar balance and overall flavor profile.
- Other Delightful Mix-Ins: The possibilities are truly endless when it comes to adding extra texture and flavor! Feel free to incorporate about 3/4 to 1 cup of your favorite mix-ins. Consider crunchy additions like **chopped pecans, walnuts, or hazelnuts**. For a playful twist, stir in colorful **M&Ms, chocolate-covered pretzels, or mini marshmallows** (add them towards the end of baking for a perfectly toasted top). A swirl of **caramel sauce, peanut butter, or even cookie butter** through the batter before baking can also create an irresistible marbled effect.
- Elevated Toppings: Beyond ice cream and flaky sea salt, consider a dusting of **cocoa powder**, a drizzle of **chocolate ganache**, a dollop of **fresh whipped cream**, or even some **chopped candy bars** for an extra indulgent touch.
Serving Suggestions and Storage Tips
The magic of this skillet brownie truly comes alive when it’s served and enjoyed properly:
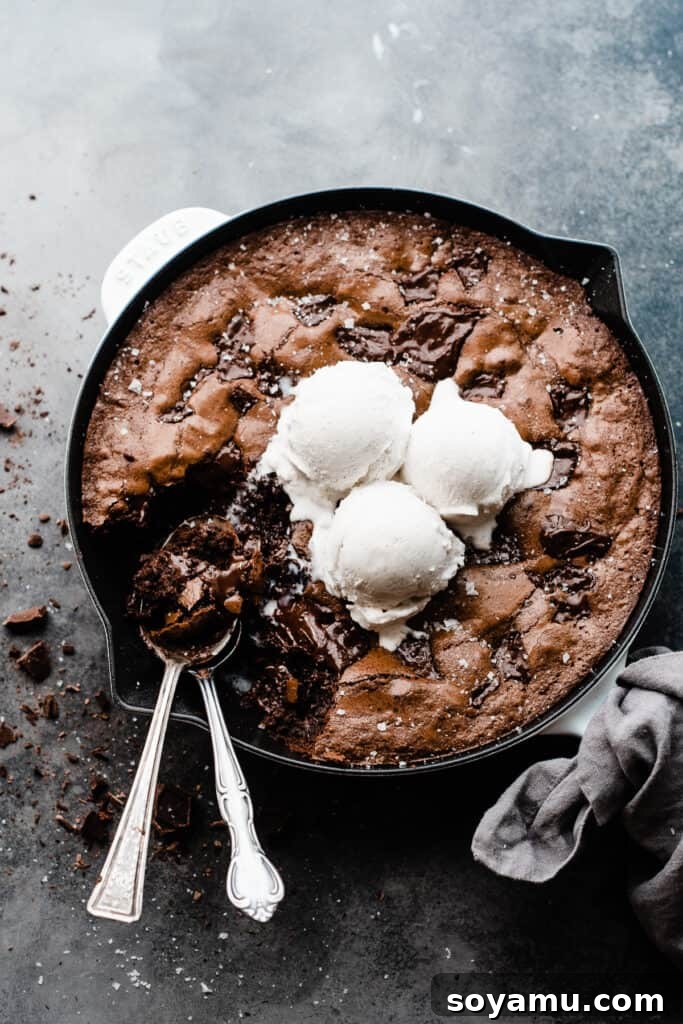
The ultimate way to experience this Fudgy Triple Chocolate Skillet Brownie is to dig in while it’s still warm and gloriously gooey from the oven. A generous scoop of premium vanilla bean ice cream melting into its rich depths, perhaps with an extra sprinkle of flaky sea salt to enhance the chocolate’s complexity, creates a truly unforgettable dessert experience. For a fun, rustic presentation, simply place the skillet in the center of the table and let everyone spoon their desired amount directly into bowls or even just enjoy it with spoons straight from the pan! This is a flexible dessert, perfect for a cozy night in or a casual gathering.
Should you miraculously have any leftovers (a rare occurrence!), store them tightly covered at room temperature for 3-4 days. For extended freshness, you can refrigerate them for up to 5-6 days. While undeniably best fresh, the beauty of this fudgy brownie is that its wonderful, just-baked texture can be wonderfully revived. Simply reheat individual portions in the microwave for 15-30 seconds or in a warm oven for a few minutes until the chocolate is melty and gooey once more.
Recommended Tools for Your Brownie Adventure
While you don’t need a professional kitchen, a few key tools can make your skillet brownie baking experience even more enjoyable and successful:
- Oven-Safe Skillet: The star of the show! Investing in a good **10-inch cast iron skillet** is a culinary game-changer, not just for brownies but for countless recipes. I personally adore the Staub Cast Iron Skillet for its exceptional heat retention and even cooking. However, any oven-safe skillet of a similar size will work beautifully, such as the more budget-friendly yet equally reliable Lodge Cast Iron Skillet. The heavy bottom of these skillets helps create those perfect crispy edges.
- Mixing Bowls: A set of sturdy, stackable glass mixing bowls is indispensable in any kitchen. They are perfect for melting chocolate, whisking batters, and general prep, offering visibility and durability.
- Whisk and Rubber Spatula: A good quality whisk is essential for aerating your wet ingredients to create that crackly top, while a flexible rubber spatula ensures you scrape down the bowl thoroughly and gently fold in dry ingredients without overmixing.
- Oven Thermometer & Kitchen Scale: As mentioned in our expert tips, these two tools are invaluable for precise baking. An oven thermometer ensures your oven is at the correct temperature, and a food scale guarantees accurate ingredient measurements, especially for flour.
Discover More Irresistible Brownie Recipes
If you’re a true brownie connoisseur, your journey doesn’t have to end here! Explore these other delightful brownie creations:
- Layered Mint Chocolate Brownies: A refreshing twist on a classic, perfect for mint chocolate lovers.
- Salted Caramel Pretzel Brownies: The ultimate sweet and salty combination with a delightful crunch.
- Gooey S’mores Brownies: Recreate campfire magic with toasted marshmallows and graham cracker crust.
- Fudgy Gluten-Free Brownies: All the fudginess you crave, without the gluten.
- Best-Ever 5 Ingredient Brownies: Simple, quick, and incredibly satisfying.
- Ultimate Cookies and Cream Brownies: A creamy, crunchy indulgence for Oreo fans.
- Black Forest Brownies: A rich, cherry-laced twist on the traditional German cake.
Did you whip up this incredible skillet brownie? Share your masterpiece!
Be sure to follow bluebowlrecipes on Instagram and tag #bluebowlrecipes with your photo! You can also post a photo of your delicious creation to the bluebowlrecipes Facebook page. We absolutely love seeing what you make!
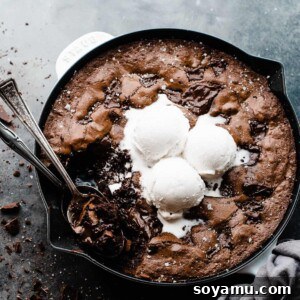
Fudgy Triple Chocolate Skillet Brownie
Stephanie Simmons
15
38
8
servings
Print Recipe
Ingredients
- 3/4 cup salted butter, (1 and 1/2 sticks, or 170 grams)
- 2 ounces semi-sweet chocolate, chopped, A baking bar or good quality chocolate chips are both fine
- 2 ounces milk chocolate, chopped, A baking bar or good quality chocolate chips are both fine
- 1 and 1/2 cup granulated sugar
- 1/2 cup brown sugar, packed
- 4 large eggs
- 1 and 1/2 tsp vanilla extract
- 1 cup all-purpose flour, spooned & leveled, 130 grams
- 1/2 tsp salt
- 2/3 cup cocoa powder
- 1/8 tsp espresso powder
- 8 ounces semi-sweet chocolate chunks, plus an extra handful for topping (about 2 ounces extra)
Instructions
-
Prep: Preheat your oven to 350° F (175°C). Lightly grease a 10-inch oven-safe skillet with butter or spray with non-stick spray.
-
Make the Brownie Batter: Melt the butter, the 2 ounces of semi-sweet, and the 2 ounces of milk chocolate together in a large microwave-safe mixing bowl. Melt in 30-second intervals, stirring between each, until fully melted and smooth. Add the granulated and brown sugars, and whisk until just combined. Add the eggs and vanilla, whisk until combined, then continue whisking vigorously for 2 minutes (this is the key to creating that beautiful crackly top on your brownies!). Add the flour, salt, cocoa, and espresso powder, and fold in with a rubber spatula until the last streaks of flour just disappear into the batter. Add the 8 ounces of chocolate chunks and gently mix in.
-
Bake: Spread the batter evenly in your prepared skillet, and scatter any extra chocolate chunks over the top for added decadence. Bake for 36 to 40 minutes. A toothpick inserted into the center should pull out moist crumbs, not wet batter, and the edges should appear set. (You can also use the tip of a knife to lift up a little piece from the center to see the doneness more clearly, if you have a hard time judging when brownies are done).
-
Serve + Store: Let the brownies rest for about 10-20 minutes after baking before digging in. This allows them to set up just slightly, remaining wonderfully gooey without being too hot to enjoy. Top generously with flaky sea salt and/or vanilla bean ice cream! Enjoy this straight from the pan while it’s nice and warm for the ultimate experience.
While best warm from the oven with melty chocolate, leftovers can be stored in an airtight container at room temperature for 3-4 days or in the fridge for 5-6 days. Reheat gently in the microwave or oven to restore gooeyness.
-
Yield: The serving size is flexible! For a romantic date night treat, simply grab two spoons and dig in. For sharing with family or friends, spoon portions onto plates – this will likely result in fewer servings. To stretch the yield, slice it into 8 larger wedges or into 12 to 16 smaller squares. Given its richness, smaller pieces are often sufficient and allow you to serve more people.
Nutrition
Serving:
1
serving
,
Calories:
702
kcal
,
Carbohydrates:
90
g
,
Protein:
9
g
,
Fat:
37
g
,
Saturated Fat:
22
g
,
Polyunsaturated Fat:
2
g
,
Monounsaturated Fat:
11
g
,
Trans Fat:
1
g
,
Cholesterol:
141
mg
,
Sodium:
328
mg
,
Potassium:
407
mg
,
Fiber:
6
g
,
Sugar:
68
g
,
Vitamin A:
685
IU
,
Calcium:
66
mg
,
Iron:
5
mg
Nutrition information is automatically calculated, so should only be used as an approximation.
Enjoyed this recipe? Leave a comment below!