
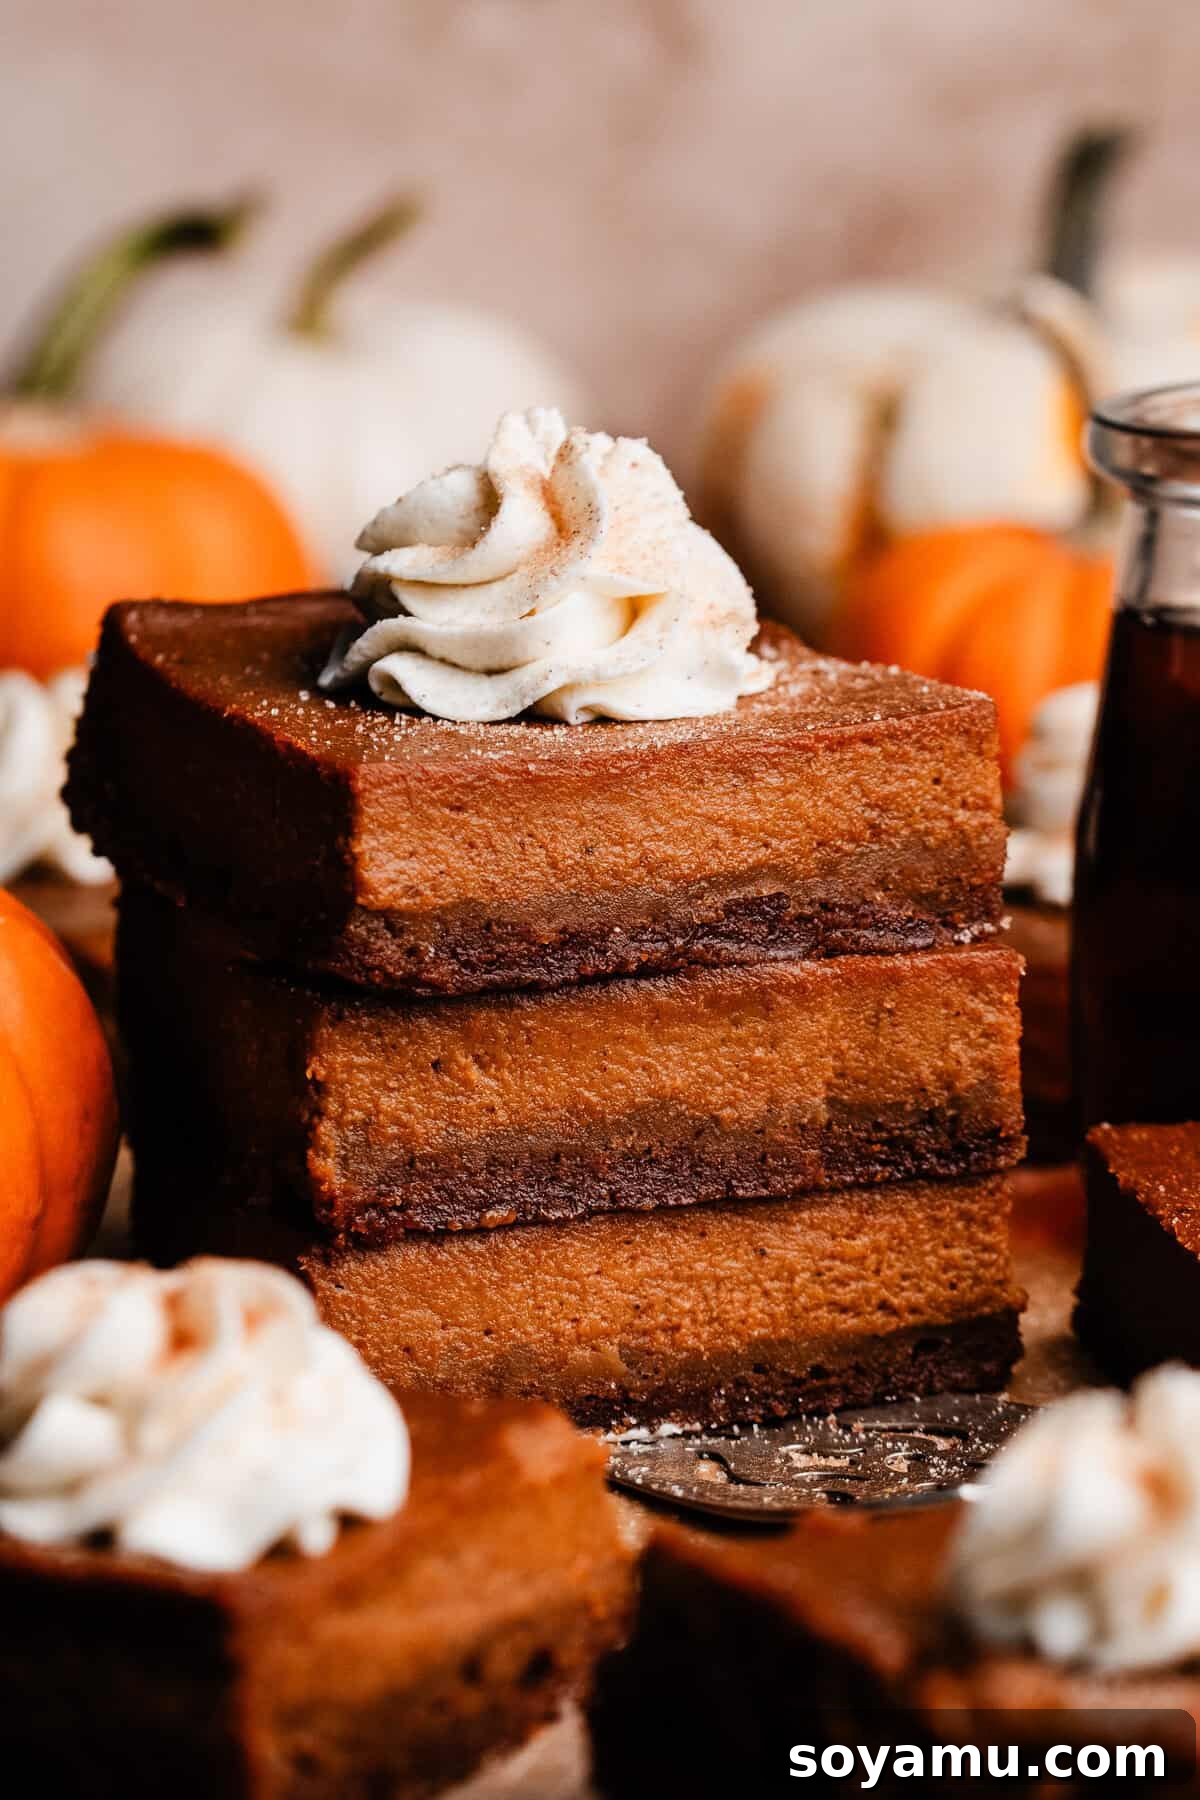
Irresistible Pumpkin Pie Bars with Crispy Biscoff Crust
Step aside, traditional pumpkin pie! These Pumpkin Pie Bars with a Biscoff Crust are an absolute game-changer, blending the comforting flavors of classic pumpkin pie with the convenience and delightful texture of an easy-to-make dessert bar. Imagine a rich, creamy pumpkin filling, brimming with warm spices and enhanced with real maple syrup and luxurious heavy cream, all nestled atop a crisp, buttery Biscoff cookie crust. This recipe offers an incredible depth of flavor without the hassle of a traditional pie crust and avoids the common issue of leftover partial cans of evaporated milk. Perfect for holiday gatherings, fall festivities, or simply a cozy evening treat, these portable bars are guaranteed to be a crowd-pleaser and will vanish from plates faster than you can say “Happy Thanksgiving!”
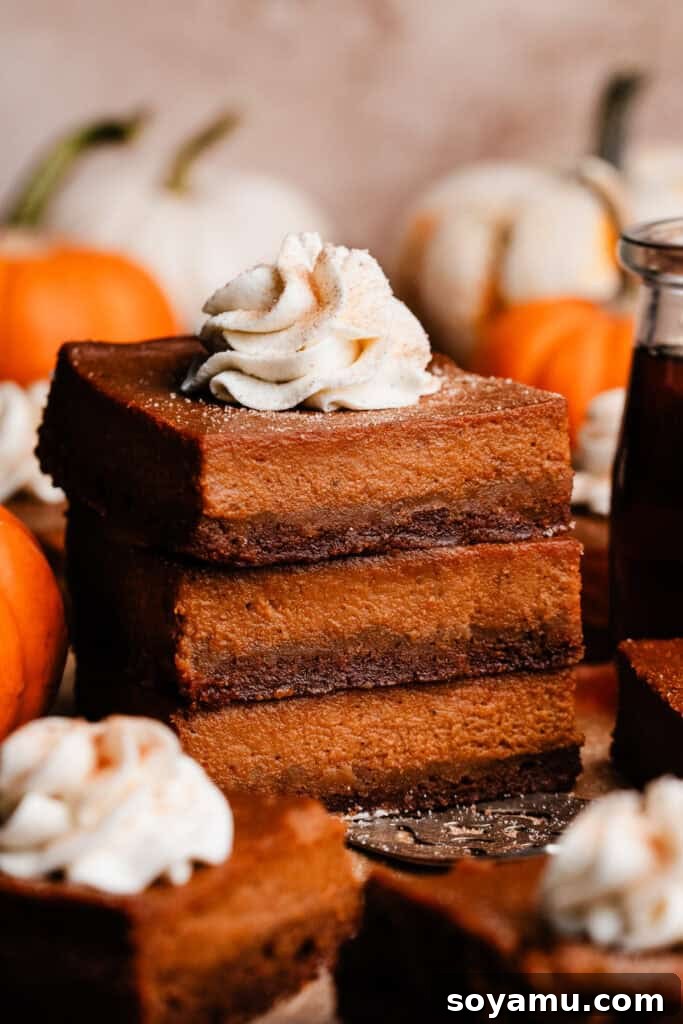
Why You’ll Fall in Love with These Pumpkin Pie Bars:
- Effortless Elegance – Simpler than Traditional Pie: Forget the stress of rolling out and crimping a delicate pie crust. Our pumpkin pie bars are dramatically easier to prepare, making them perfect for bakers of all skill levels. The crust is a simple press-in cookie crumb mixture that comes together in minutes, requiring no fuss. The pumpkin filling is a one-bowl wonder, quickly whisked and poured, saving you precious time and effort, especially during busy holiday seasons.
- Unforgettable Rich Flavor – A Deeper Pumpkin Experience: What sets this recipe apart is its superior flavor profile. Instead of relying solely on evaporated milk, our filling incorporates luxurious heavy cream, lending an unparalleled richness and silky smooth texture. We use a generous amount of pure pumpkin puree, complemented by a carefully selected blend of warm spices like cinnamon, ginger, nutmeg, cloves, and allspice, with a unique hint of black pepper to truly awaken the palate. The addition of real maple syrup introduces a nuanced sweetness that perfectly balances the pumpkin and spices, creating a truly gourmet taste.
- Perfectly Portable & Party-Ready – The Ideal Dessert Bar: Unlike a full pie that requires plates and forks, these bars are designed for convenience. Their sturdy, sliceable form makes them ideal hand-held treats for any occasion – from casual game day gatherings and potlucks to elegant Thanksgiving or Friendsgiving celebrations. Easily transported and served, they simplify dessert service, allowing your guests to mingle and enjoy without extra hassle.
Recipe Substitutions and Creative Variations:
- Gluten-Free Adaptations: For a delightful gluten-free version, simply swap the Biscoff cookies for gluten-free graham crackers or your favorite brand of gluten-free gingersnap cookies. The result will be equally delicious and accommodating for dietary needs.
- Crust Customization: While Biscoff cookies provide a unique and buttery flavor, don’t feel limited! Any crunchy gingersnap cookie will work wonderfully for the crust. You could also experiment with other crumbly cookies like digestive biscuits, shortbread, or even vanilla wafers for a slightly different flavor profile. The key is a firm, flavorful base that complements the creamy pumpkin filling.
- Dairy-Free Option: To make this recipe dairy-free, use a dairy-free butter alternative for the crust, and substitute the heavy cream and evaporated milk in the filling with full-fat coconut milk (from a can, chilled) or a high-quality dairy-free condensed milk and cream alternative. Ensure all ingredients are specifically labeled dairy-free.
Mastering the Art of Pumpkin Pie Bars: A Step-by-Step Guide
Creating these delectable pumpkin pie bars is a straightforward process, broken down into manageable steps for baking success.
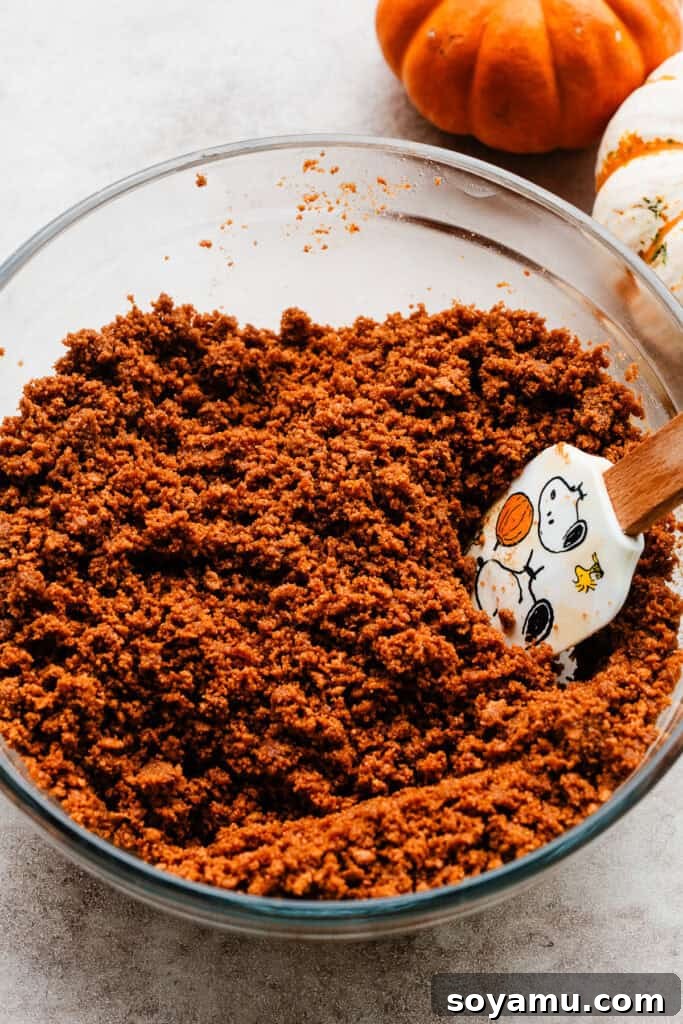
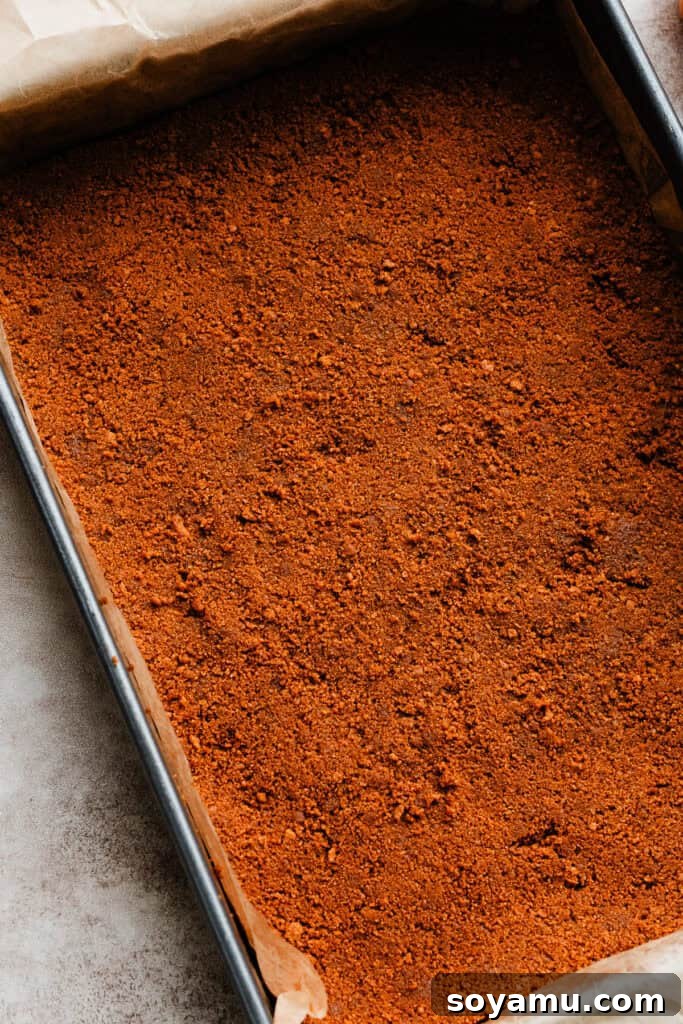
Step 1: Crafting the Perfect Biscoff Crust. Begin by preheating your oven to 350°F (175°C). Lightly grease a 9×13 inch baking pan with nonstick spray and line it with parchment paper, leaving an overhang on the sides. This thoughtful step will allow you to easily lift the entire baked and cooled slab of bars from the pan for clean, precise slicing later. Next, take your Biscoff cookies and pulse them in a food processor until they form a fine, sand-like crumb. If you don’t have a food processor, a heavy-duty zip-top bag and a rolling pin work just as well! Melt the salted butter in a medium bowl, then stir in the cookie crumbs until they are fully coated. Press this mixture firmly and evenly into the bottom of your prepared 9×13 inch pan. Use the bottom of a glass or a flat measuring cup to ensure a compact and uniform layer. Bake the crust for 10 minutes to set its crisp texture and enhance its rich flavor. Once baked, set the crust aside to cool slightly while you prepare the filling, keeping the oven at 350°F.
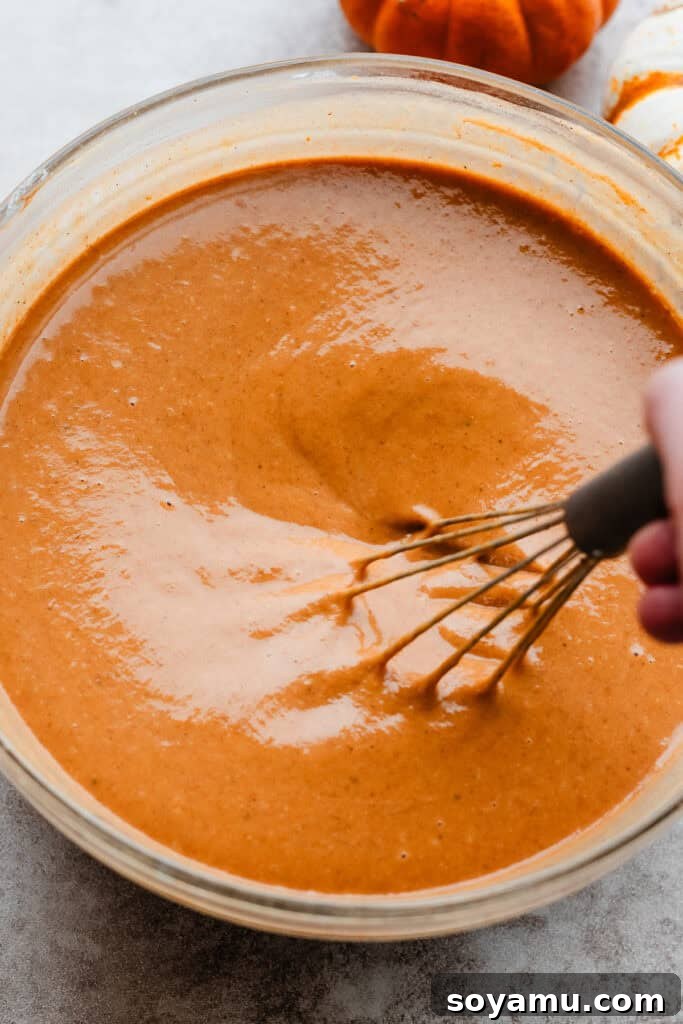
Step 2: Preparing the Velvety Pumpkin Pie Filling. In a large mixing bowl, combine the pumpkin puree (ensure it’s pure pumpkin, not pie filling!), evaporated milk, and heavy cream. Add the two large eggs, vanilla extract, and maple syrup, which provides a lovely caramel note and complements the pumpkin beautifully. Next, stir in the dark brown sugar, salt, and your vibrant blend of spices: cinnamon, ground ginger, nutmeg, ground cloves, allspice, and a tiny pinch of black pepper – this secret ingredient elevates the warmth and complexity of the other spices. Finally, whisk in the corn starch, which acts as a thickening agent, ensuring your filling sets perfectly. Whisk all ingredients thoroughly until the mixture is smooth and well combined, with no lumps. Pour this rich pumpkin filling evenly over the partially baked Biscoff crust in the prepared pan.
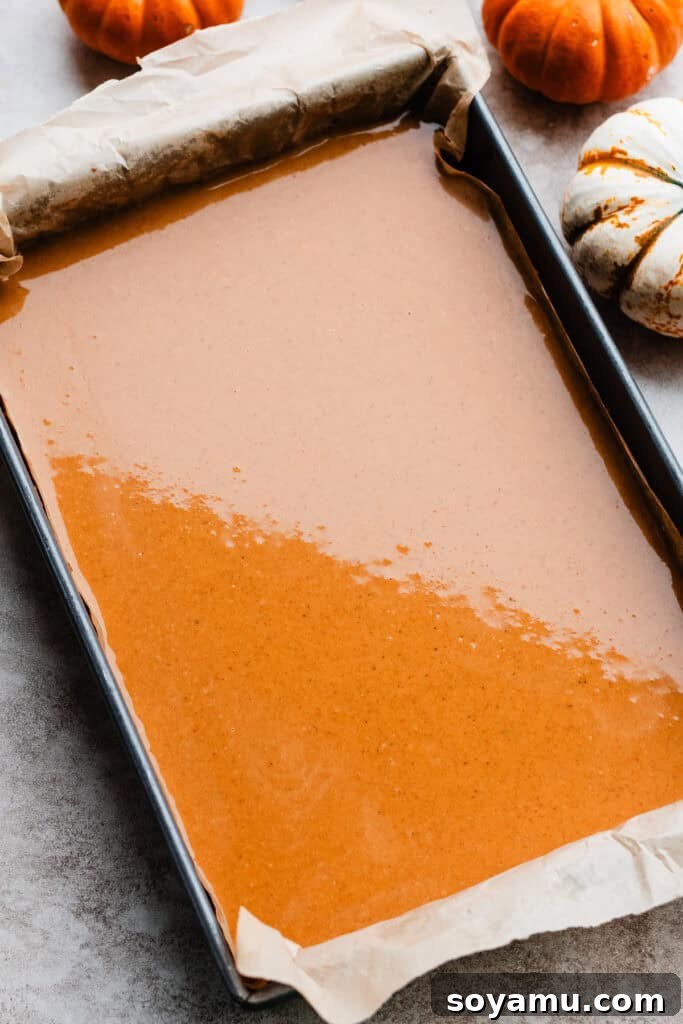
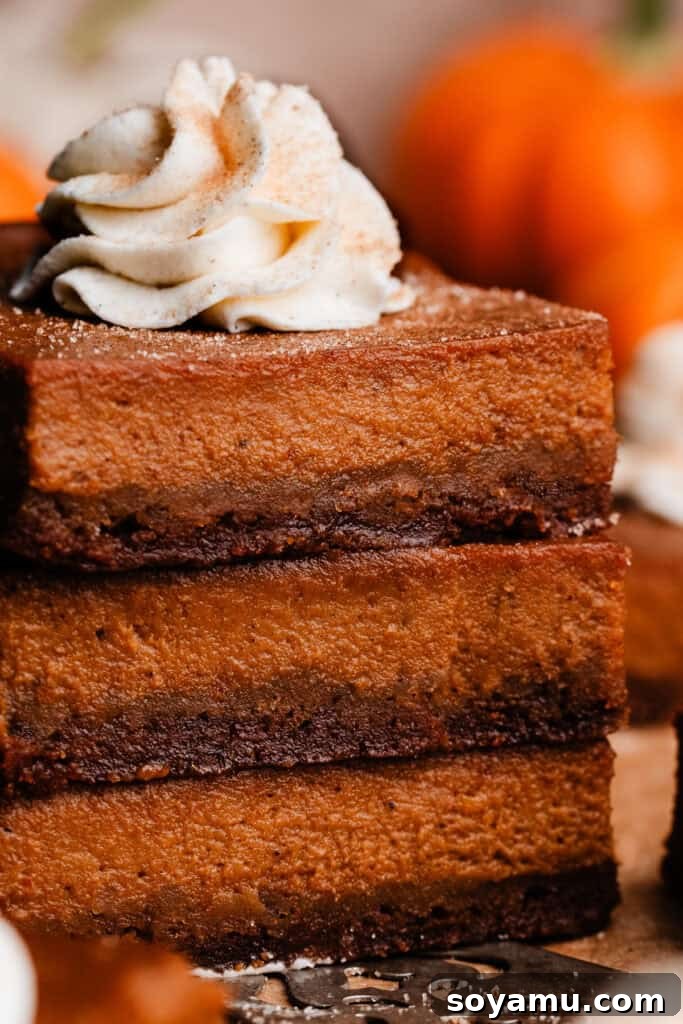
Step 3: Baking the Pumpkin Pie Bars to Perfection. Carefully transfer the pan to your preheated 350°F (175°C) oven. Bake for approximately 50 to 56 minutes. The precise baking time may vary slightly depending on your oven, so it’s important to keep an eye on the cues for doneness. The bars are ready when the edges of the pumpkin filling appear set and slightly puffed, while the very center still retains a slight, gentle wobble when the pan is lightly shaken. To confirm, insert a toothpick into the center; it should come out mostly clean, leaving a defined hole. If the filling is too liquid, the hole will quickly fill in. For an even more accurate assessment, the internal temperature of the center of the bars should register between 190°F (88°C) and 198°F (92°C) with an instant-read thermometer. Avoid overbaking, as this can lead to a dry, cracked filling.
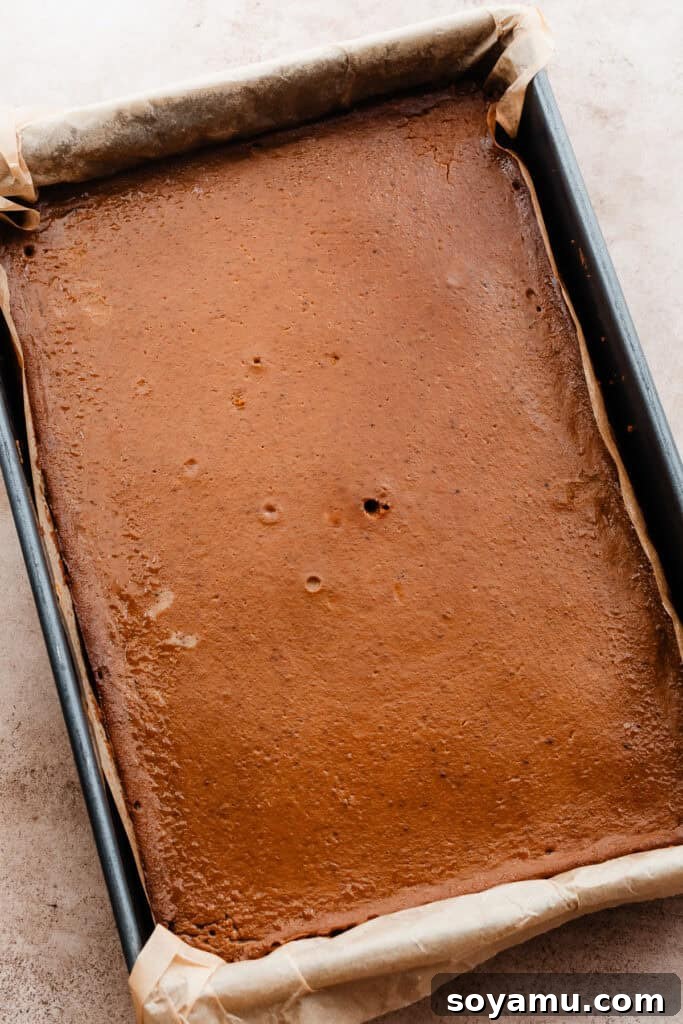
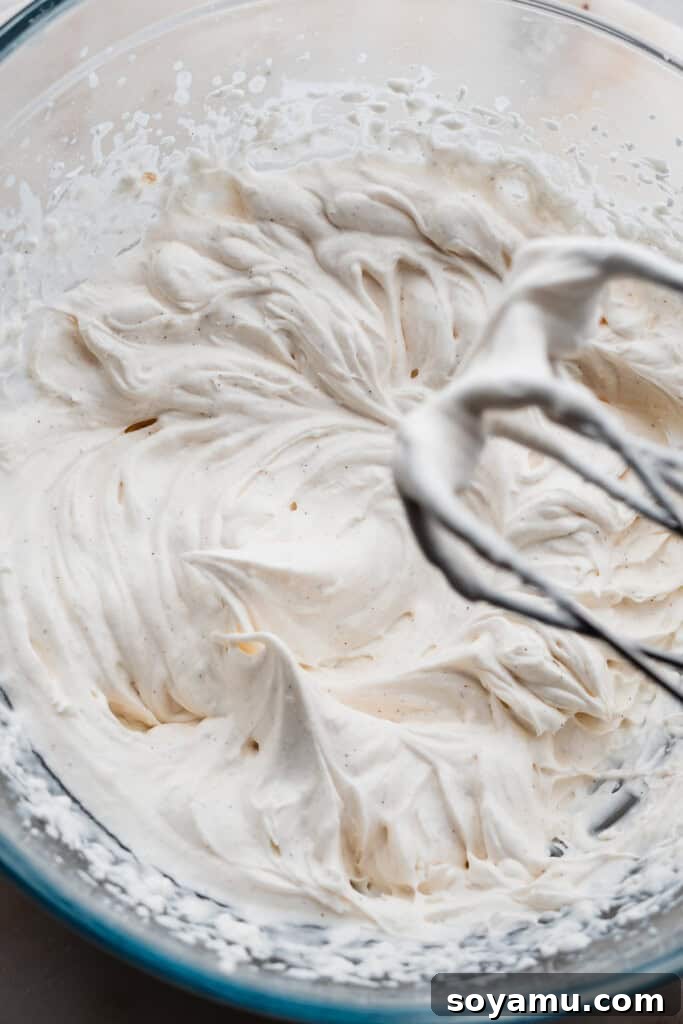
Step 4: Cooling and Whipped Cream Topping. Once baked, remove the pumpkin pie bars from the oven and allow them to cool completely on a wire rack at room temperature for about 1 to 2 hours. This gradual cooling is crucial for the filling to fully set and firm up, ensuring clean slices. After cooling on the counter, transfer the pan to the refrigerator for at least another hour, or until thoroughly chilled. Chilling solidifies the bars, making them much easier to cut. While the bars are chilling, prepare your homemade whipped cream. In a cold bowl with cold beaters, combine the cold heavy cream, powdered sugar, vanilla extract (or vanilla bean paste for extra flavor), and a tiny pinch of nutmeg. Beat on high speed until stiff peaks form. The whipped cream should hold its shape beautifully. For an extra touch of elegance, consider piping the whipped cream onto each slice just before serving. Otherwise, a generous dollop is always welcome!
Frequently Asked Questions (FAQs) About Pumpkin Pie Bars:
Yes, absolutely! This recipe is quite versatile. If you wish to double it, you’ll need a full sheet pan (approximately 18 x 26 inches) and sufficient space in your oven. Keep in mind that baking times may vary slightly when doubling, so monitor for doneness as described in the instructions. For halving the recipe, an 8×8 or 9×9 inch square pan will work perfectly. The baking time for a halved recipe will likely be slightly shorter, so start checking for doneness around 40-45 minutes.
While it might be tempting for convenience, I highly recommend sticking to the individual spices as written in the recipe. My recipe is carefully balanced to achieve a nuanced and deep pumpkin flavor. Using individual spices allows for precise control over the quantity of each, ensuring the perfect blend of warmth without any single spice overpowering the others. Pre-made blends often have varying ratios, and you might find the final flavor profile less vibrant or too heavy on one spice. If you must use a blend, start with a slightly smaller amount (e.g., 3-4 teaspoons) and taste the raw filling mixture (before adding eggs) to adjust, though for best results, the specified individual spices are key.
Leftover pumpkin pie bars, with or without whipped cream, should be stored in an airtight container in the refrigerator. They will maintain their freshness and best texture for 3-4 days. It’s best to add whipped cream just before serving, but if already topped, they’ll still be delicious, though the whipped cream might soften slightly over time.
Absolutely! These pumpkin pie bars are an excellent make-ahead dessert, which is perfect for holiday planning. You can bake the bars up to 2-3 days in advance. Once fully cooled, cover the pan tightly with plastic wrap and store them in the refrigerator. Prepare the whipped cream fresh just before serving for the best texture and appearance.
Yes, these bars freeze beautifully! To freeze, ensure the bars are completely cooled and chilled. Do not top with whipped cream if freezing. Cut them into individual servings, then wrap each bar tightly in plastic wrap, followed by a layer of aluminum foil. Place the wrapped bars in a freezer-safe airtight container or bag. They can be frozen for up to 1-2 months. Thaw them in the refrigerator overnight before serving, and then add fresh whipped cream.
More Beloved Pumpkin Recipes to Explore:
If you’re as passionate about pumpkin as we are, you’ll love these other fantastic recipes:
- Pumpkin Coffee Cake – A moist cake with a delightful streusel topping, perfect for breakfast or dessert.
- Pumpkin Streusel Muffins with Maple Glaze – Fluffy muffins bursting with pumpkin flavor, crowned with a sweet glaze.
- Pumpkin Cupcakes with Brown Butter Cream Cheese Frosting – Indulgent cupcakes with a nutty, rich frosting.
- Pumpkin Swirl Cheesecake – A creamy cheesecake with beautiful pumpkin swirls and a spicy gingersnap crust.
- Best Ever Pumpkin Bars – Another fantastic pumpkin bar recipe with a classic cream cheese frosting.
- Pumpkin Whoopie Pies – Soft, cake-like cookies with a luscious brown butter cream cheese filling.
- Mom’s Best Ever Pumpkin Bread – A timeless, comforting classic that’s always a hit.
- Pumpkin Pasties with Maple Glaze – Flaky pastry pockets filled with spiced pumpkin, drizzled with maple.
Enjoyed this recipe? Share your thoughts and leave a star rating!
Your feedback is invaluable to our small business. Please consider leaving a comment and rating the recipe below to let us know how much you loved these Pumpkin Pie Bars!
Pumpkin Pie Bars with Biscoff Crust
Stephanie Simmons
20 mins
1 hr
5 mins
2 hrs
3 hrs
25 mins
12 to 24 bars
Print Recipe
Ingredients
For the Biscoff Crust:
- 46 whole Biscoff cookies (approx. 360 grams), finely crushed
- 1/2 cup salted butter, melted
For the Rich Pumpkin Filling:
- 2 and 2/3 cups pumpkin puree (approx. 640 grams) – ensure it’s pure pumpkin, not pumpkin pie filling!
- 1 can (12 oz / 340g) evaporated milk
- 1/2 cup heavy cream (approx. 120 grams)
- 2 large eggs, at room temperature
- 1 tsp vanilla extract
- 1/4 cup maple syrup (approx. 80 grams)
- 1 cup + 2 tbsp dark brown sugar, packed (approx. 250 grams)
- 1/2 tsp salt
- 4 tsp ground cinnamon (approx. 9 grams)
- 2 tsp ground ginger (approx. 4 grams)
- 1 tsp ground nutmeg
- 1/2 tsp ground cloves
- 1/2 tsp ground allspice
- Pinch of black pepper (enhances other spices)
- 5 tsp corn starch (approx. 15 grams)
For the Vanilla-Nutmeg Whipped Cream:
- 3 tbsp powdered sugar
- 1 tbsp vanilla extract (or vanilla bean paste for a more intense flavor)
- Pinch of nutmeg, to taste
- 3/4 cup cold heavy cream
Instructions
-
Preparation: Preheat your oven to 350° F (175°C). Prepare a 9×13 inch baking pan by spraying it lightly with nonstick spray. Line the pan with parchment paper, ensuring there’s an overhang on the longer sides. This will create “handles” to easily lift the finished bars out for cutting.
-
Make the Biscoff Crust: In a food processor, pulse the Biscoff cookies until they become very fine crumbs, resembling sand. In a medium bowl, melt the 1/2 cup of salted butter. Stir the cookie crumbs into the melted butter until thoroughly combined. Press this buttery crumb mixture firmly and evenly into the bottom of your prepared 9×13 inch pan. Bake the crust for exactly 10 minutes. Once baked, remove it from the oven and set it aside to cool slightly. Keep your oven at 350°F (175°C) for the next step.
-
Prepare the Pumpkin Pie Filling: In a large mixing bowl, whisk together the pumpkin puree, evaporated milk, heavy cream, eggs, vanilla extract, and maple syrup until smooth. Then, gradually whisk in the dark brown sugar, salt, cinnamon, ground ginger, nutmeg, ground cloves, allspice, and the pinch of black pepper until the mixture is uniform and lump-free. Finally, whisk in the corn starch until fully incorporated. This creates a beautifully spiced and creamy filling.
-
Bake the Bars: Carefully pour the prepared pumpkin filling over the pre-baked Biscoff crust in the pan. Gently transfer the pan back into the 350°F (175°C) oven and bake for 50 to 56 minutes. The bars are done when the edges of the filling appear set and slightly firm, while the center still has a slight, delicate wobble. A toothpick inserted into the center should come out mostly clean, leaving a distinct hole. For precision, the internal temperature of the center should be between 190°F (88°C) and 198°F (92°C).
-
Cool the Bars Thoroughly: Once baked, remove the pan from the oven. Let the pumpkin pie bars cool completely on a wire rack at room temperature for at least 1 hour. This initial cooling allows the filling to begin setting. After cooling on the counter, transfer the pan to the refrigerator and chill for at least another hour, or until the bars are thoroughly cold and firm. Thorough chilling is essential for clean and neat slices.
-
Make the Whipped Cream Topping: Prepare the whipped cream just before you are ready to serve the bars for optimal freshness. In a very cold bowl (preferably metal) with cold beaters, combine the cold heavy cream, powdered sugar, vanilla extract, and a pinch of nutmeg. Beat on high speed until stiff peaks form. The whipped cream should hold its shape when you lift the beaters. For detailed tips on making and stabilizing whipped cream, you can refer to my guide on How to Make Homemade Whipped Cream.
-
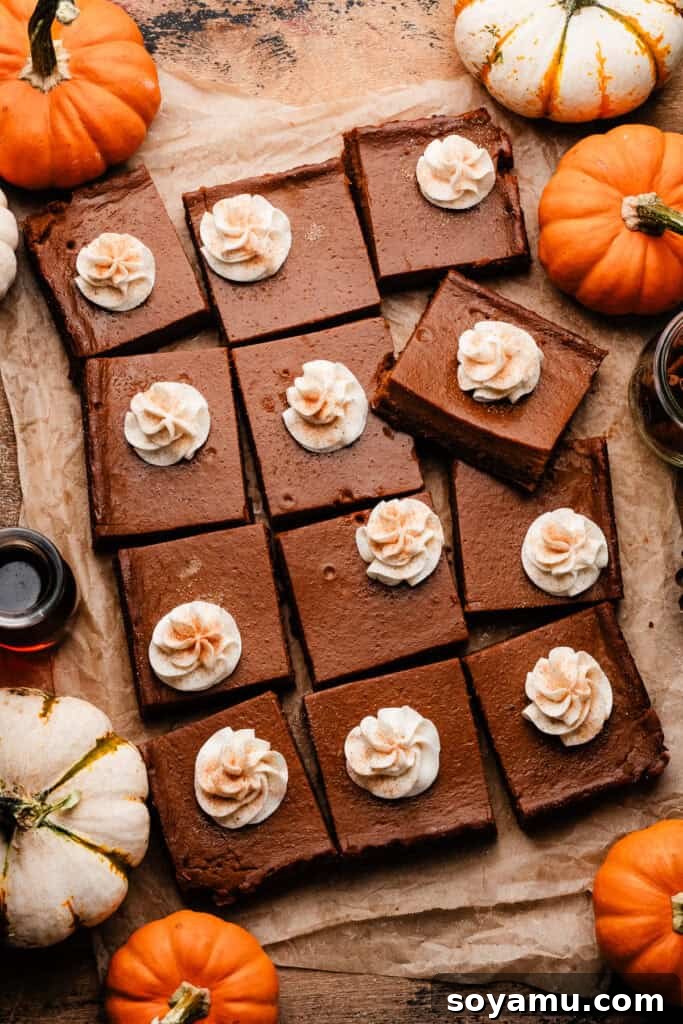
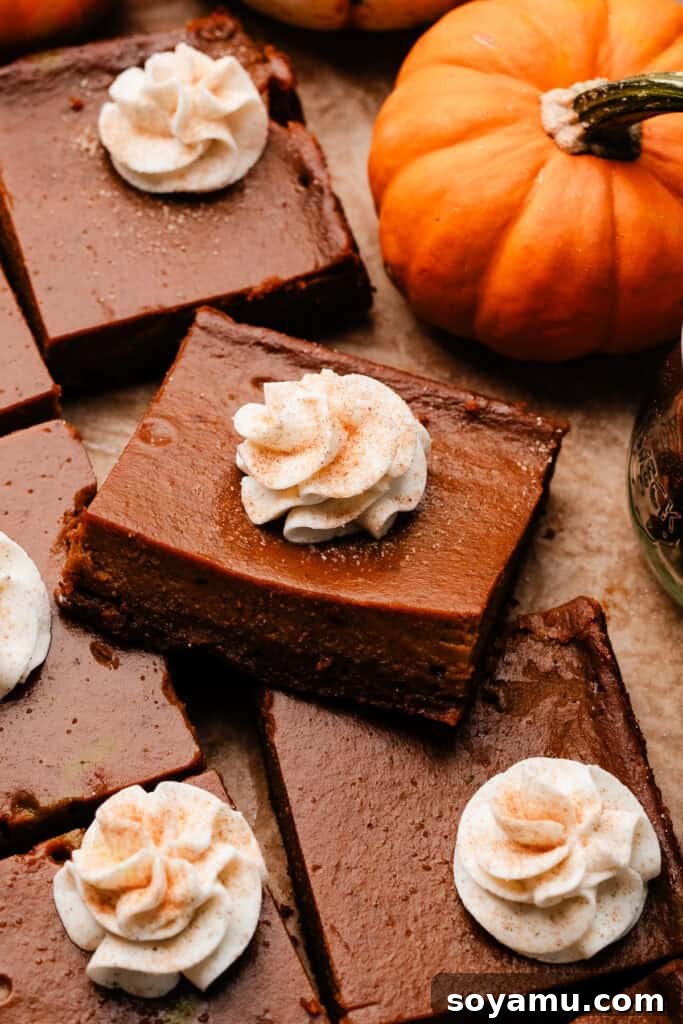
Serve & Store: Once the bars are fully chilled, use the parchment paper overhang to carefully lift the entire slab out of the pan and onto a cutting board. Slice the bars into 12 generous squares, or up to 24 smaller, bite-sized bars, depending on your preference and occasion. Pipe a beautiful swirl of the freshly made whipped cream onto each bar, or arrange them on a platter and let guests dollop their own whipped cream. Store any leftover bars and whipped cream separately in airtight containers in the refrigerator for 3-4 days.
Important Notes for Success
Nutrition Information Disclaimer: The nutrition information provided below is calculated for the bars (based on 12 slices) including the homemade whipped cream. Please note that these values are an approximation and can vary based on exact ingredient brands and portion sizes.
Nutritional Information
Serving:
1 bar
,
Calories:
277kcal
,
Carbohydrates:
37g
,
Protein:
5g
,
Fat:
13g
,
Saturated Fat:
8g
,
Polyunsaturated Fat:
1g
,
Monounsaturated Fat:
3g
,
Trans Fat:
0.003g
,
Cholesterol:
68mg
,
Sodium:
177mg
,
Potassium:
301mg
,
Fiber:
2g
,
Sugar:
30g
,
Vitamin A:
8956IU
,
Vitamin C:
3mg
,
Calcium:
146mg
,
Iron:
2mg
Nutrition information is automatically calculated and should be used as an approximation only.