
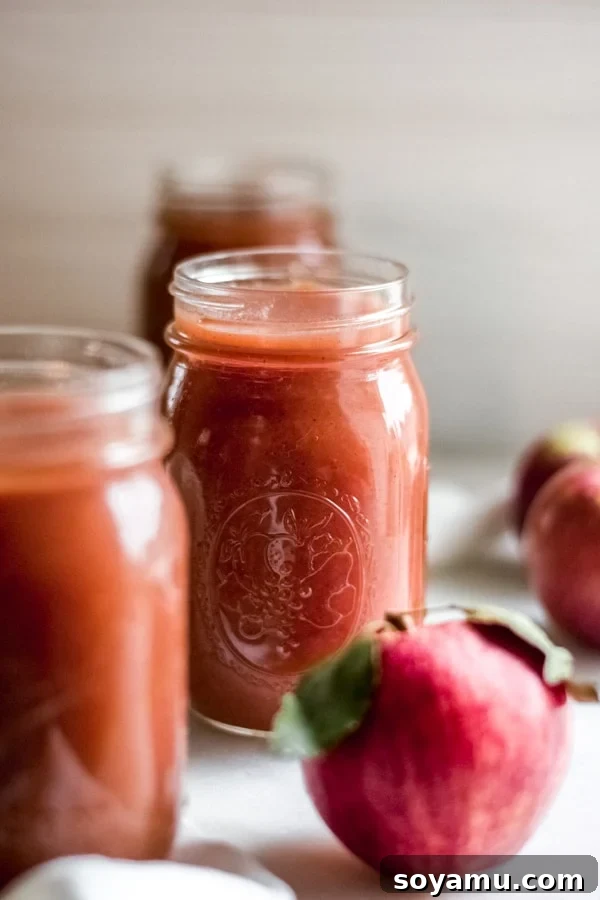
Homemade applesauce is a timeless classic that brings warmth and comfort to any home. Forget the store-bought versions filled with unnecessary additives; crafting your own applesauce from scratch is surprisingly quick, incredibly easy, and bursting with a fresh, authentic apple flavor that simply can’t be beaten. Whether you’re making a big batch after a joyful visit to the apple orchard or simply looking for a wholesome snack, this comprehensive guide will walk you through creating the most delicious applesauce using either your Instant Pot or a classic stovetop method.
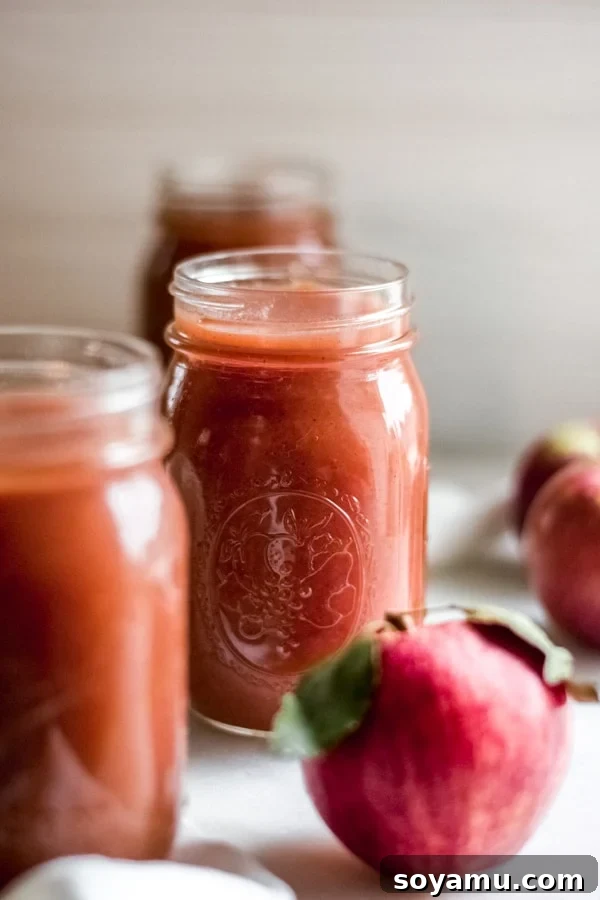
The Ultimate Homemade Applesauce Recipe: A Fall Favorite
There’s nothing quite like the aroma of freshly cooked apples simmering on your stove, filling your kitchen with the cozy scents of autumn. This recipe isn’t just about making applesauce; it’s about embracing the season, enjoying simple pleasures, and creating a versatile staple that your family will adore. From a sweet accompaniment to savory dishes to a light breakfast or a comforting dessert, homemade applesauce is a true culinary gem.
Why You’ll Fall in Love with This Homemade Applesauce:
- Unbeatable Fresh Flavor: Once you taste homemade, you’ll never go back! This recipe yields a sweet and delightfully fresh applesauce that far surpasses anything from a grocery store. You control the ingredients, ensuring a pure, unadulterated apple experience.
- Flexible Cooking Methods: We’ve got you covered whether you prefer the speed and efficiency of an Instant Pot or the comforting tradition of a stovetop Dutch oven. Both methods are incredibly easy and require minimal hands-on time, making homemade applesauce accessible to everyone.
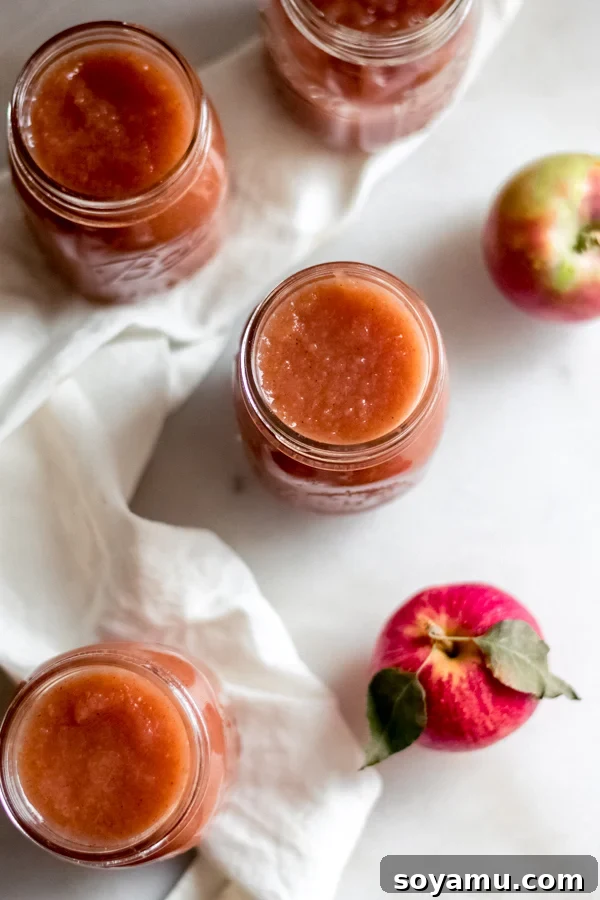
- Perfect for Batch Cooking: This recipe is designed to produce a generous amount—approximately 3.5 pints. This means you can enjoy some right away, share with friends and family, and even freeze a substantial portion for those chilly winter evenings when a taste of autumn will be most welcome.
- Naturally Wholesome: Made with real fruit and customizable sweetness, this applesauce is a healthier alternative to many store-bought options. It’s naturally gluten-free, dairy-free, and vegan, making it suitable for a variety of dietary needs.
Essential Ingredients for the Best Applesauce:
Crafting exceptional applesauce begins with choosing quality ingredients. While the full recipe with precise measurements can be found in the recipe card below, here’s a detailed overview of what you’ll need and why each component is important:
- Fresh Apples: This is, of course, the star of the show! For the best flavor, opt for sweet, ripe, and crisp apples with minimal blemishes. While perfectly beautiful apples aren’t a strict requirement, avoid those with significant damage. Any variety of apple works wonders for applesauce, but a mix often provides the most complex and satisfying flavor profile. Consider blending sweet varieties like Honeycrisp, Gala, Fuji, or Golden Delicious with a touch of tartness from Granny Smiths for a balanced taste.
- Liquid Base: You have a choice here to influence the final flavor and sweetness.
- Water: For the purest apple flavor, letting the natural sweetness of your chosen apples shine through.
- Apple Juice: Adds an extra layer of sweetness and intensifies the apple flavor, creating a richer sauce.
- Apple Cider: Imparts a lovely tangy, tart note and a deeper, more robust apple essence, especially if using a good quality, unfiltered cider.
Start with water if you’re unsure, or experiment with a blend to find your favorite.
- Sweetener (Optional & Customizable): My preferred choice is brown sugar because it enhances the fruit’s natural sweetness without being cloyingly sweet, and adds a subtle caramel note. However, you can easily adapt this to your preference:
- Maple Syrup: Offers a distinct, warm flavor that complements apples beautifully. Start with half the amount of brown sugar and adjust to taste.
- Granulated Sugar: A classic choice for a clean, sweet flavor.
- Honey: Adds floral notes and a different kind of sweetness.
- Omit Entirely: If your apples are naturally very sweet or you prefer a truly tart sauce, feel free to skip the added sweetener altogether. Taste before adding!
- Warm Spices: The classic fall flavor trifecta of cinnamon, nutmeg, and cloves elevates the applesauce from good to extraordinary. These spices create a warm, inviting aroma and a comforting taste.
- Cinnamon: The essential spice, bringing warmth and familiar comfort.
- Nutmeg: Adds a hint of woody sweetness and depth.
- Ground Cloves: Provides a slightly pungent, sweet, and aromatic kick.
- Optional Additions: Consider a pinch of allspice or a touch of ground ginger for extra complexity.
Recipe Substitutions & Variations for Every Diet:
One of the beauties of homemade applesauce is its inherent adaptability. This recipe is wonderfully accommodating to various dietary needs and flavor preferences:
- Gluten-Free: Naturally, this recipe is 100% gluten-free, making it a safe and delicious option for those avoiding gluten.
- Dairy-Free & Vegan: Absolutely! Made entirely from plant-based ingredients, this applesauce is naturally dairy-free and vegan-friendly, perfect for everyone to enjoy.
- Sugar-Free / Low-Sugar: As mentioned, you can completely omit the brown sugar if your apples are sweet enough, or if you prefer a less sweet or sugar-free option. For a low-sugar alternative, substitute with a natural sugar alternative or reduce the quantity significantly.
- Spice Variations: While cinnamon, nutmeg, and cloves are traditional, don’t hesitate to experiment!
- Apple Pie Spice: Use a pre-made apple pie spice blend for convenience.
- Ginger: A touch of ground ginger adds a lovely zing.
- Cardamom: For a more exotic, fragrant note.
- Vanilla: A splash of vanilla extract after cooking can add depth and warmth.
- Chunky vs. Smooth: This recipe allows you to achieve your desired consistency. Whether you love a rustic, chunky texture with bits of apple, or a silky-smooth puree, the blending step is where you customize it.
- Boozy Applesauce (Adults Only!): For a gourmet twist, add a splash of bourbon, brandy, or rum during the final thickening step. The alcohol will cook off, leaving a sophisticated depth of flavor.
How to Make This Simple Homemade Applesauce Recipe:
Making homemade applesauce is a straightforward process, regardless of your chosen cooking method. The key is in the preparation and the finishing touches that bring all the flavors together.
Step 1: Apple Preparation
The first step involves getting your apples ready. This stage is influenced by whether you plan to use a food mill later or a blender.
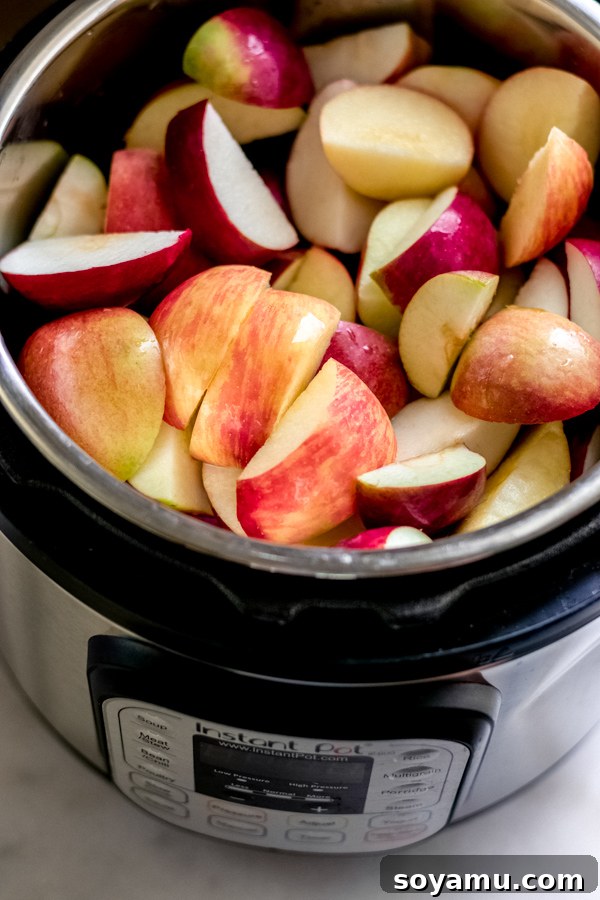
- If using a food mill: You can skip peeling your apples! Simply core them and cut them into quarters. The food mill will effectively separate the cooked pulp from the skins and seeds. This method often results in a lovely natural pink hue in your applesauce, thanks to the pigments in the apple skins.
- If NOT using a food mill (and relying solely on a blender): You will need to peel your apples first. After peeling, core them and cut them into quarters. While the Instant Pot is very efficient at breaking down apples, peeling ensures a smoother texture if you want to avoid any tiny skin fragments in your blender-puréed sauce.
Pro Tip: To prevent apples from browning while you prep, you can place the cut pieces in a bowl of water with a squeeze of lemon juice.
How to Make Applesauce in the Instant Pot:
The Instant Pot makes applesauce incredibly quick and largely hands-off, perfect for busy days or large batches.
- Combine Ingredients: Place your cored and quartered apples (peeled or unpeeled, depending on your food mill plan) into the inner pot of your Instant Pot. Pour in your chosen liquid (water, apple juice, or apple cider). A cup of liquid is usually sufficient as apples release a lot of their own moisture during pressure cooking.
- Pressure Cook: Secure the lid, making sure the sealing ring is properly in place and the vent is set to “sealing.” Cook on Manual (or Pressure Cook) High Pressure for 5 minutes.
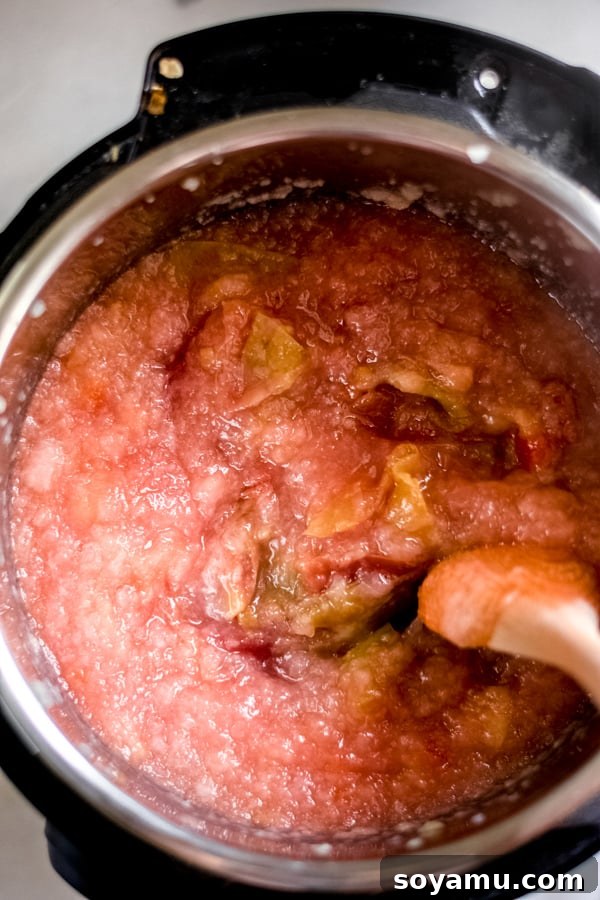
- Natural Release: This is a crucial step! Allow the Instant Pot to naturally release pressure for at least 10-15 minutes, or until the float valve drops completely. Attempting a quick release with apples can result in a saucy, explosive mess.
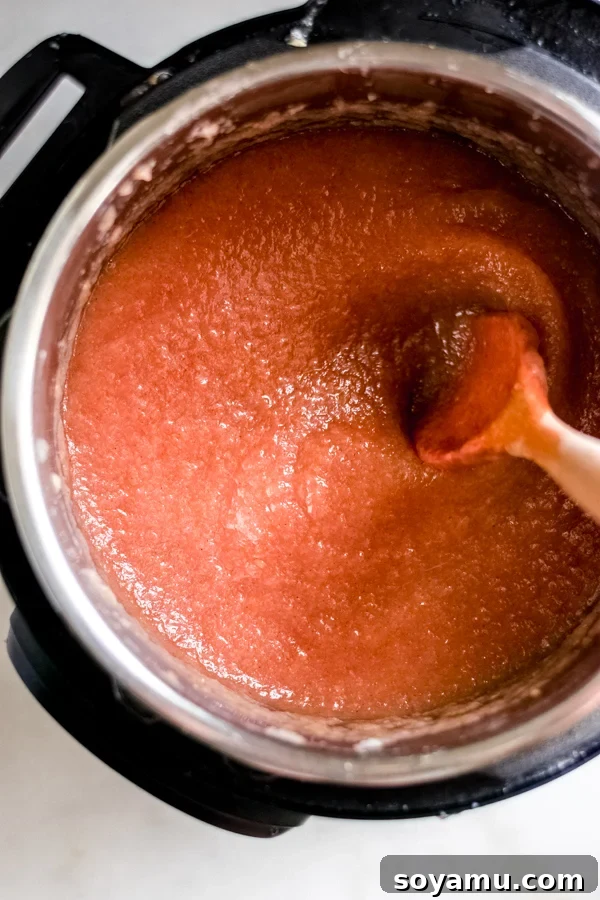
- Stir and Check: Once the pressure has fully released, carefully open the lid. You’ll find a soft, mushy pile of apples and skins. Don’t worry, this is exactly what you want! Give it a gentle stir to start breaking down the apples and admire the beautiful natural pink color if you left the skins on.
How to Make Applesauce on the Stovetop:
The stovetop method is classic and allows you to monitor the cooking process closely, adjusting heat and stirring as needed.
- Combine and Bring to a Boil: In a large, heavy-bottomed pot or Dutch oven, combine your prepped apples (peeled or unpeeled) and your chosen liquid. Heat the mixture over medium heat, stirring occasionally to prevent sticking and ensure even cooking. Bring it to a gentle boil.
- Simmer to Tenderness: Once boiling, reduce the heat to low, cover the pot loosely, and let it simmer for 15-25 minutes, or until the apples are very soft and easily pierced with a fork. Cooking time will vary depending on the apple variety and how finely they were cut.
- Break Down the Apples: As the apples simmer, use a wooden spoon or a potato masher to break them down. This helps release more of their juices and starts the mashing process, contributing to a quicker, smoother final product. Remove the pot from the heat once the apples are fork-tender and thoroughly softened.
Step 2: Finishing the Applesauce – Texture and Flavor
This is where your applesauce truly takes shape. You’ll transform the cooked apples into that familiar, comforting puree, then adjust the sweetness and spice.
- Achieving Your Desired Consistency:
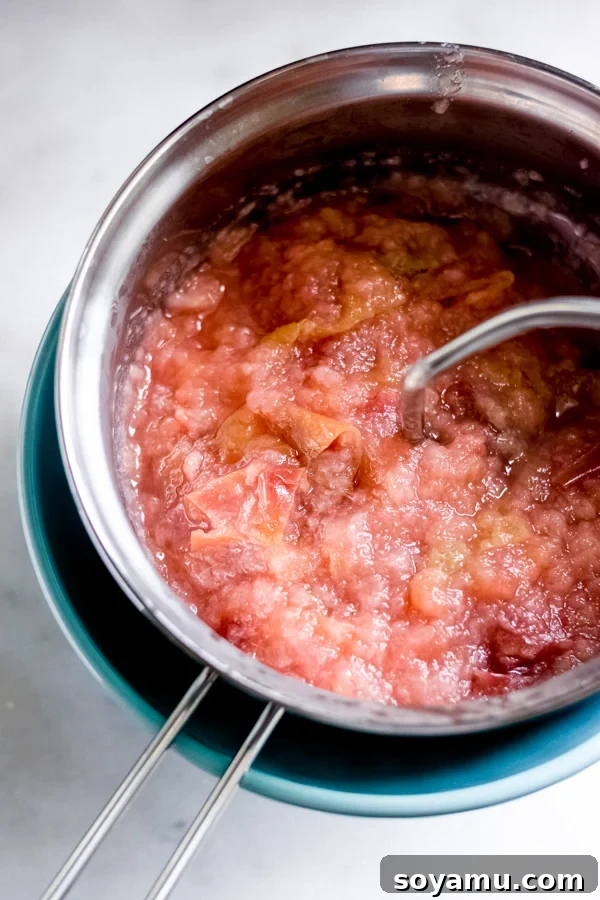
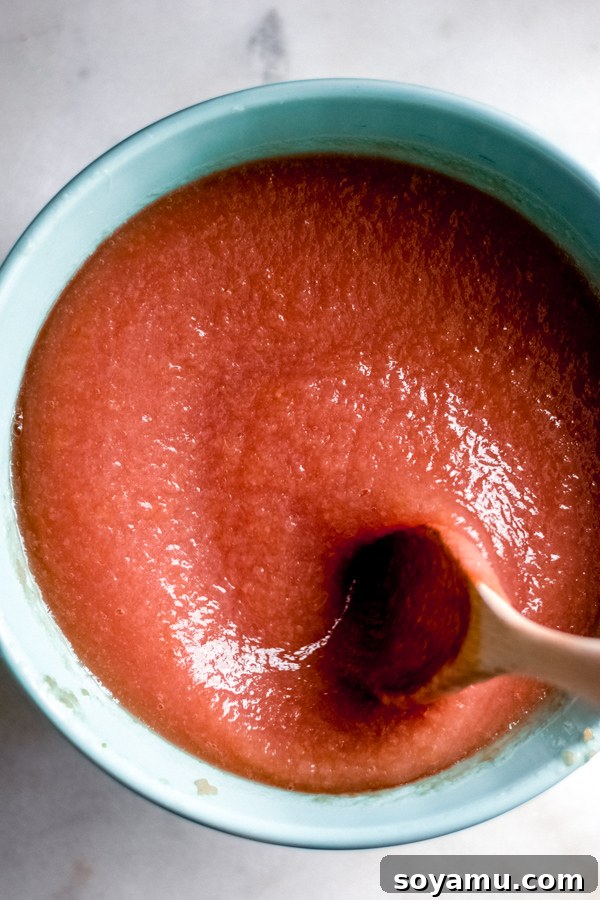
- Using a Food Mill (for unpeeled apples): If you opted not to peel your apples, carefully pour the cooked apple mixture through a food mill positioned over a large mixing bowl. Turn the crank to separate the smooth apple pulp from the skins, cores, and seeds. Discard the fibrous waste. This method yields a perfectly smooth sauce with wonderful color.
- Using a Blender (for peeled or Instant Pot apples): If you peeled your apples, or if you made it in the Instant Pot (which breaks apples down exceptionally well, often eliminating the need for a food mill), transfer the cooked apples carefully to a high-powered blender, food processor, or use an immersion blender directly in the pot.
Safety Note: When blending hot foods, never fill the blender more than halfway. Remove the center cap of the lid and cover the opening with a kitchen towel to allow steam to escape while preventing splatters. Blend until your desired consistency is reached—from perfectly smooth to delightfully chunky.
- Sweeten and Spice: Return the applesauce to the Instant Pot (using the Sauté mode) or the Dutch oven over low heat. Add your chosen sweetener (brown sugar, maple syrup, or none at all) and your spices (cinnamon, nutmeg, cloves, and any others you desire). Stir well to combine.
- Thicken (Optional): Allow the applesauce to simmer gently for a few more minutes, stirring continuously, until it reaches your preferred thickness. If you prefer a thinner sauce, you can skip this step or shorten the simmering time. Taste and adjust sweetness or spice as needed.
Serving & Storing Your Homemade Applesauce:
Once your homemade applesauce is ready, the possibilities are endless!
- Serving Suggestions:
- Savory Pairings: A classic side with roasted pork chops, chicken, or turkey.
- Breakfast & Brunch: Enjoy on its own, stirred into oatmeal or yogurt, or as a topping for pancakes and waffles.
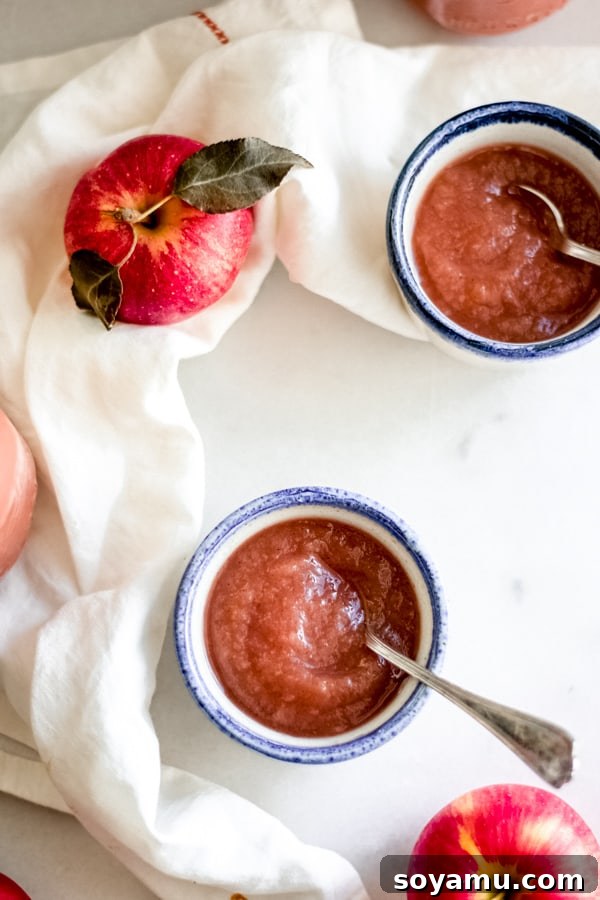
- Dessert: A light, not-too-sweet treat on its own, or served warm with a dollop of whipped cream.
- Baking: A healthy substitute for oil or sugar in many baked goods.
- Storage Guidelines:
- Refrigeration: Store cooled applesauce in an airtight container in the fridge for up to 2 weeks.
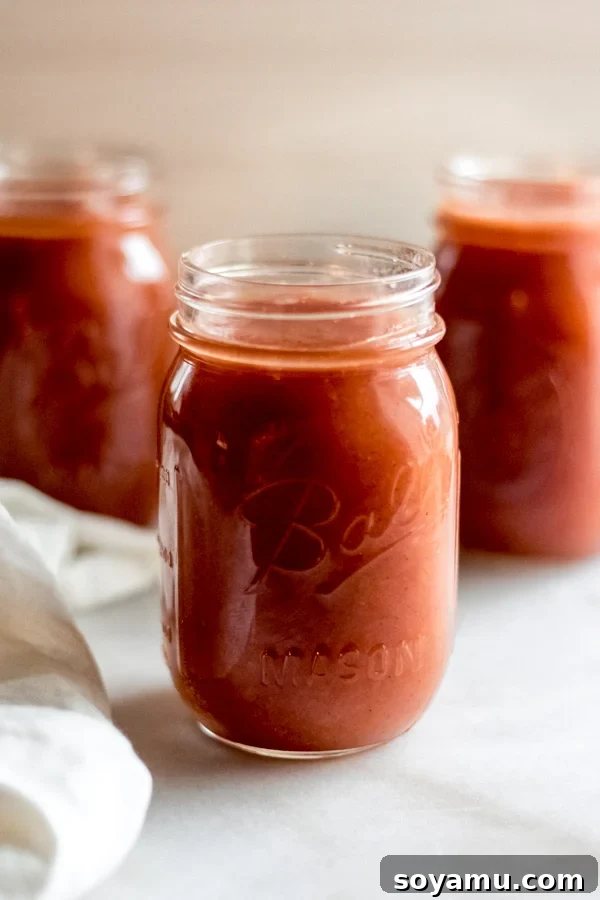
- Freezing: For longer storage, freeze in freezer-safe containers, glass jars (leave headspace for expansion), or heavy-duty freezer bags. It will keep well for up to 6 months. Thaw in the refrigerator overnight before use.
- Canning: If you’re experienced in home canning, applesauce is an excellent candidate for water bath canning. Properly canned applesauce can last for at least a year when stored in a cool, dark pantry. Always follow tested canning recipes and guidelines for safety.
Expert Cooking Tips for Perfect Applesauce:
Elevate your applesauce-making game with these handy tips:
- Instant Pot Natural Release is Key: For Instant Pot users, resist the urge to do a quick pressure release. Allowing the pressure to release naturally is essential. Otherwise, the frothing applesauce can come shooting out of the steam valve, creating a significant mess and potential burn hazard. Patience here pays off!
- Customize Your Texture: Whether you prefer a rustic, chunky applesauce or a silky-smooth puree, your blender or food mill is your friend. For super smooth sauce, run the blender for a good minute or two. For chunky, pulse it just a few times until you reach your preferred consistency.
- Mind Your Pot Size: This recipe is scaled for a 6-quart Instant Pot or a large Dutch oven (at least 5-6 quarts). If you have a smaller pressure cooker or pot, remember to adjust the recipe quantity down to prevent overfilling and ensure safe cooking.
- Don’t Waste the Skins (If Peeling): If you peel your apples, don’t discard the skins! You can simmer them with a bit of water and spices to make apple tea, or bake them into crispy apple chips.
- Adjust Sweetness After Cooking: Apples vary greatly in sweetness. It’s always best to add sugar or sweetener *after* the apples are cooked and pureed. This allows you to taste the natural sweetness of your apples and adjust accordingly, preventing an overly sweet sauce.
FAQs: Your Questions Answered
For the most delicious homemade applesauce with less added sugar, select apple varieties that are naturally quite sweet. Excellent choices include Honeycrisp, McIntosh, Gala, Cortland, Fuji, and Golden Delicious. These varieties break down beautifully and offer a delightful flavor. If you prefer a sauce with a bit more tang, feel free to incorporate a few tart apples, such as Granny Smith, into your mix. The beauty is you can truly use almost any type of apple, or a combination, to create your perfect applesauce!
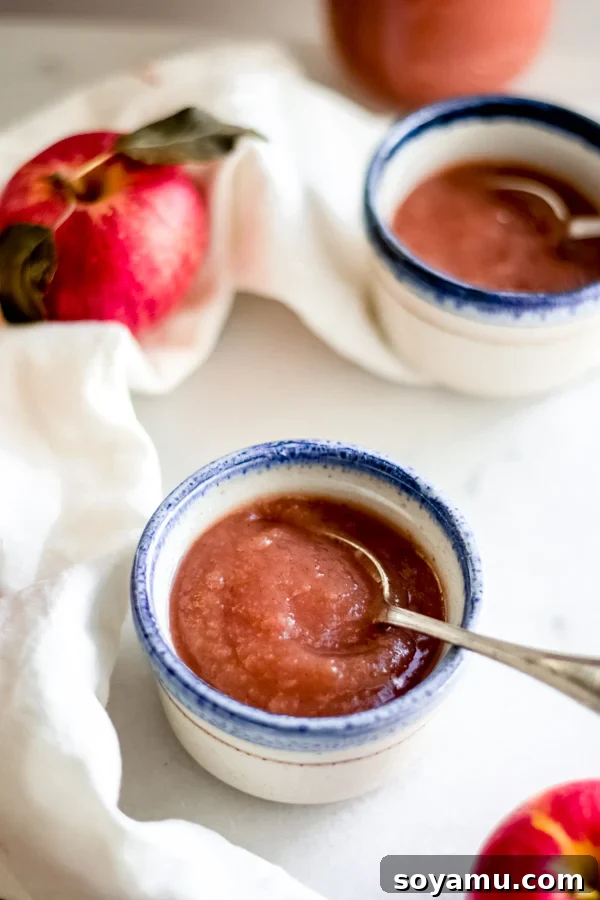
The charming pink hue of your homemade applesauce is a delightful natural phenomenon! It occurs when you leave the red apple peels on during the cooking process. The pigments from the apple skins infuse into the flesh as they cook, giving the sauce its lovely color. Applesauce made with peeled apples will typically result in a lighter, more golden or light brown color.
If your applesauce is thinner than you’d like, simply return it to the pot (or use the sauté function on your Instant Pot) and simmer it uncovered over medium-low heat. Stir frequently to prevent sticking. As the excess moisture evaporates, the applesauce will naturally thicken to your desired consistency. Be patient, as this can take anywhere from 5 to 15 minutes.
Absolutely! If you choose naturally sweet apple varieties like Honeycrisp or Gala, you might find that no additional sugar is needed. Always taste your applesauce after cooking and pureeing, before adding any sweetener. This allows you to appreciate the natural sweetness of the fruit and decide if any extra sugar is truly necessary for your palate.
Special Tools to Aid Your Applesauce Making:
While minimal equipment is needed, a few tools can make the process even smoother:
- Instant Pot or Pressure Cooker: For the quickest and most hands-off method, a 6-quart (or larger) Instant Pot or similar electric pressure cooker like a Ninja Foodi is invaluable.
- Dutch Oven or Large Pot: Essential for the stovetop method. A heavy-bottomed Dutch oven provides even heat distribution, preventing scorching and ensuring uniformly cooked apples.
- Food Mill: If you prefer to leave the apple skins on for color and nutrients but want a smooth sauce, a food mill is a game-changer. It effortlessly separates the pulp from the skins and seeds, saving you the peeling step.
- Blender or Food Processor: If you don’t have a food mill or prefer to peel your apples, a high-powered blender, food processor, or even an immersion blender is necessary to achieve a smooth consistency.
More Delicious Homemade Sauce Recipes to Explore:
If you enjoyed making this applesauce, you’ll love these other easy homemade sauce recipes:
- Strawberry Rhubarb Sauce
- 10-Minute Salted Caramel Sauce
- Quick Homemade Candied Pecans
- Homemade Maple Cranberry Sauce
- Cinnamon Sugar Baked Peaches
Did you make this recipe? Leave a comment & star rating below!
We cherish your feedback! Let us know how you enjoyed this recipe by clicking the stars in the header of the recipe card and leaving a comment. Your ratings and reviews are incredibly helpful for our small business and guide fellow home cooks.
Simple & Amazing Homemade Applesauce
Stephanie Simmons
10 minutes
27 minutes
37 minutes
3
pints
Pin
Rate
Ingredients
-
16
medium
apples -
1
cup
water, apple juice, or apple cider -
1/4
cup
brown sugar,
You can omit this entirely if desired! (53 grams) -
1 and 1/4
tsp
cinnamon -
1/2
tsp
nutmeg -
1/4
tsp
ground cloves
Instructions
-
Prep the Apples:
If using a food mill: No need to peel your apples. Just core them and cut into quarters.
If not using a food mill: Peel your apples, then core and quarter them. -
Stovetop Instructions:
In a large pot or Dutch oven, combine the prepped apples and your chosen liquid. Heat over medium heat, stirring often, until the mixture comes to a boil.
Reduce the heat to low and simmer uncovered for 15-25 minutes, or until the apples are very soft and fork-tender. Stir occasionally, breaking up the apples with a wooden spoon or potato masher as they soften. Remove from heat once tender.
If you left peels on, carefully pour the cooked mixture through a food mill into a large mixing bowl. Turn the crank until all the apple pulp has been processed, discarding the skins and seeds left in the mill.
If you peeled your apples, carefully transfer the cooked apples to a blender. Blend until your desired consistency is reached (smooth, slightly chunky, etc.).
Return the applesauce to the pot. Stir in the brown sugar (if using) and spices. Let simmer for an additional 5-15 minutes, stirring, to allow flavors to meld and to thicken the sauce slightly. -
Instant Pot Instructions:
Add the prepped apples (peeled or unpeeled) and your liquid to the Instant Pot. Secure the lid and set the vent to “Sealing.” Cook on Manual (or Pressure Cook) High Pressure for 5 minutes.
Allow the pressure to naturally release completely (this is crucial to prevent a messy applesauce explosion). Once the float valve drops, carefully open the lid.
Stir the cooked apples to break them down. If you left the peels on, transfer the mixture through a food mill. (If you peeled the apples, the Instant Pot often breaks them down enough that a blender step might not be necessary for a slightly chunky sauce, but use one if you desire a smoother puree).
Return the applesauce to the Instant Pot. Use the “Sauté” mode on low heat, add the brown sugar (if using) and spices, and cook for a few minutes, stirring constantly, to thicken the sauce and combine flavors. -
Serve & Store: Enjoy your homemade applesauce immediately, warm or chilled. Store leftovers in an airtight container in the fridge for up to 2 weeks, or freeze in freezer-safe containers for up to 6 months. This applesauce can also be canned following proper preservation methods.
Notes
Nutrition Information: The provided nutrition info is calculated using water as the liquid base. Using apple juice or cider, or varying the amount of sugar, will alter these values.
Nutrition
Serving:
1
pint
,
Calories:
579
kcal
,
Carbohydrates:
153
g
,
Protein:
3
g
,
Fat:
2
g
,
Saturated Fat:
0.4
g
,
Polyunsaturated Fat:
1
g
,
Monounsaturated Fat:
0.1
g
,
Sodium:
15
mg
,
Potassium:
1069
mg
,
Fiber:
24
g
,
Sugar:
119
g
,
Vitamin A:
527
IU
,
Vitamin C:
45
mg
,
Calcium:
83
mg
,
Iron:
1
mg
Nutrition information is automatically calculated and should only be used as an approximation. Values may vary based on specific ingredients and preparation methods.
Love this recipe? Tell us about it!