
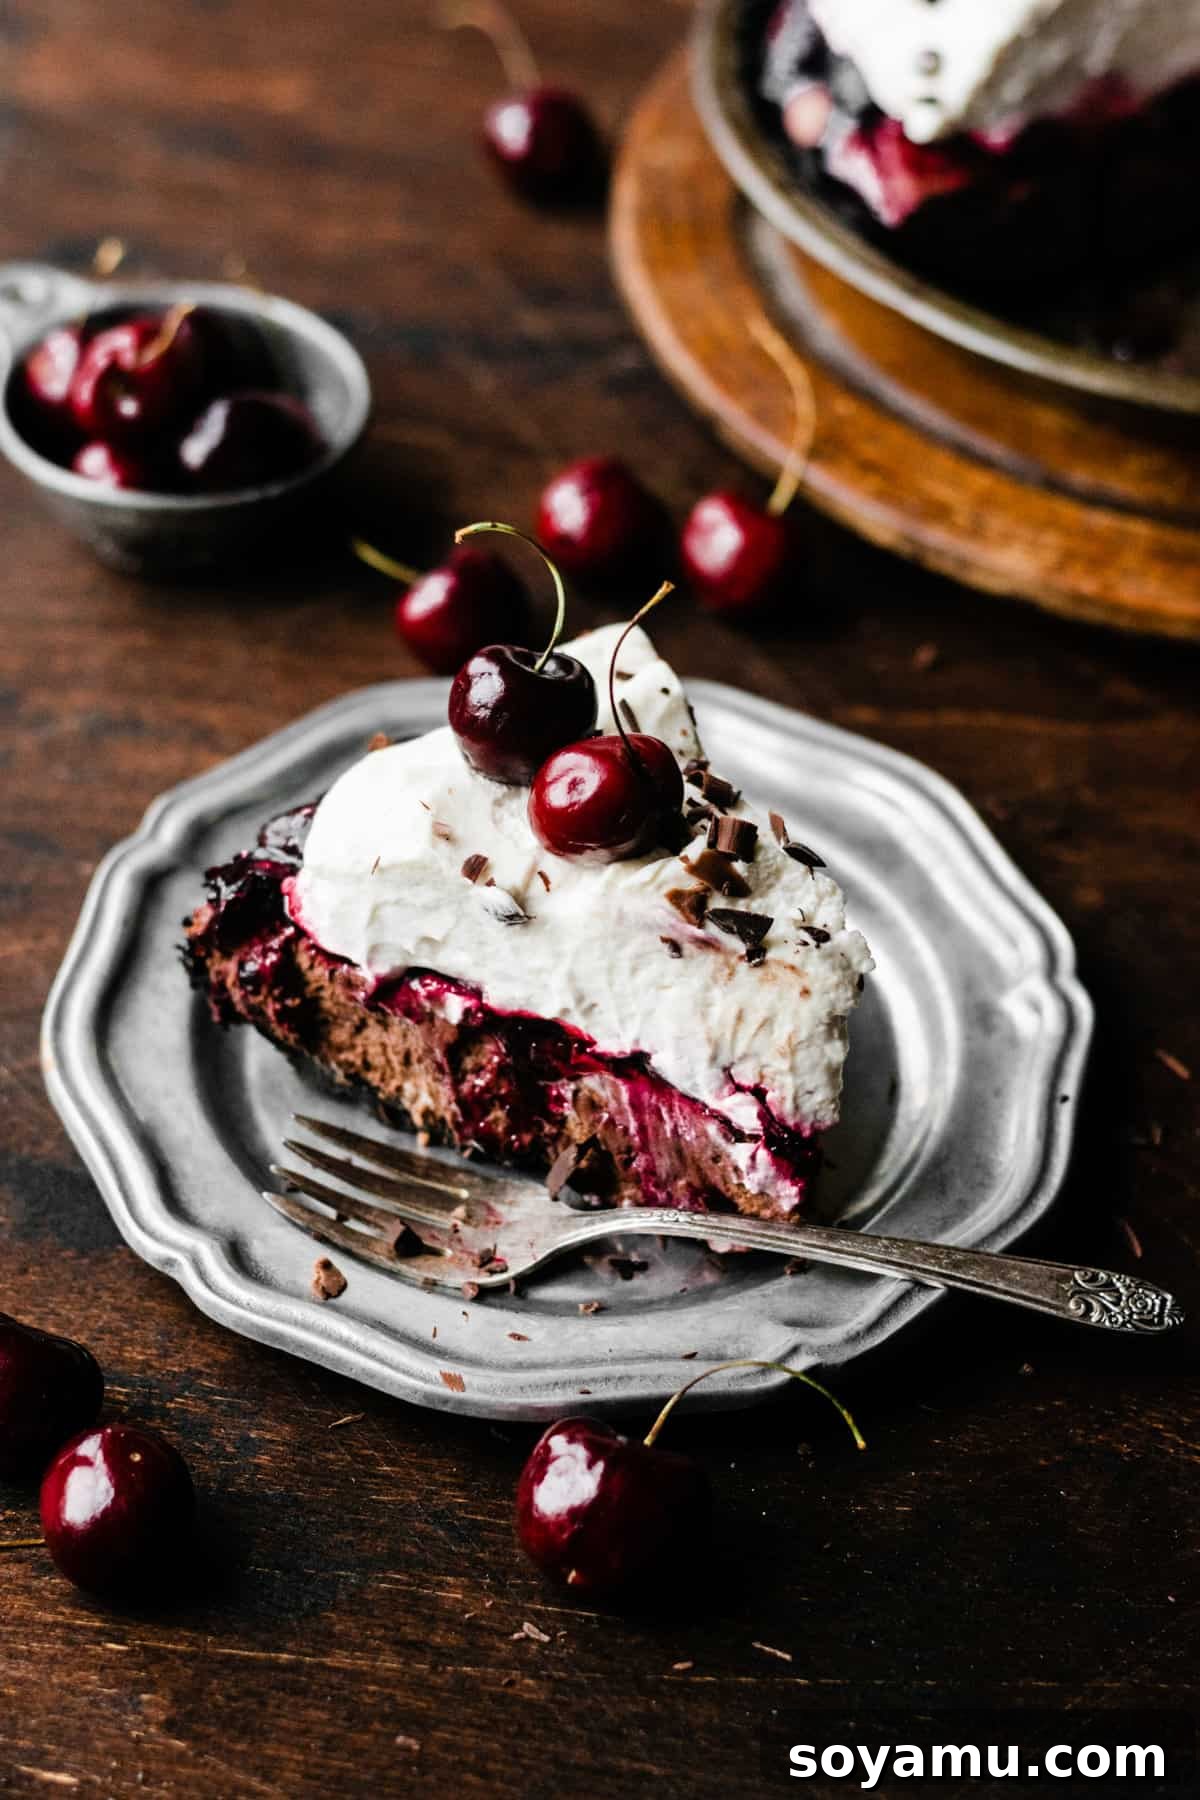
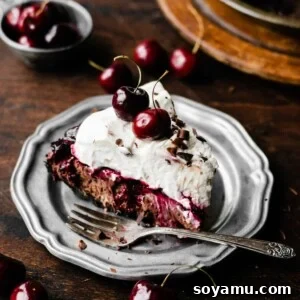
Prepare to be captivated by this extraordinary No-Bake Black Forest Pie – a true masterpiece of dessert artistry that promises to delight with every forkful. This show-stopping treat features a perfectly crunchy chocolate cookie crust, cradling a thick, velvety layer of rich chocolate mousse. A vibrant, boozy cherry sauce adds a delightful tang and a hint of traditional Kirsch, all crowned with an impressive, mile-high swirl of freshly whipped cream. It’s a symphony of textures and flavors that will undoubtedly become your new favorite dessert, perfect for any celebration or simply to satisfy a serious sweet craving.
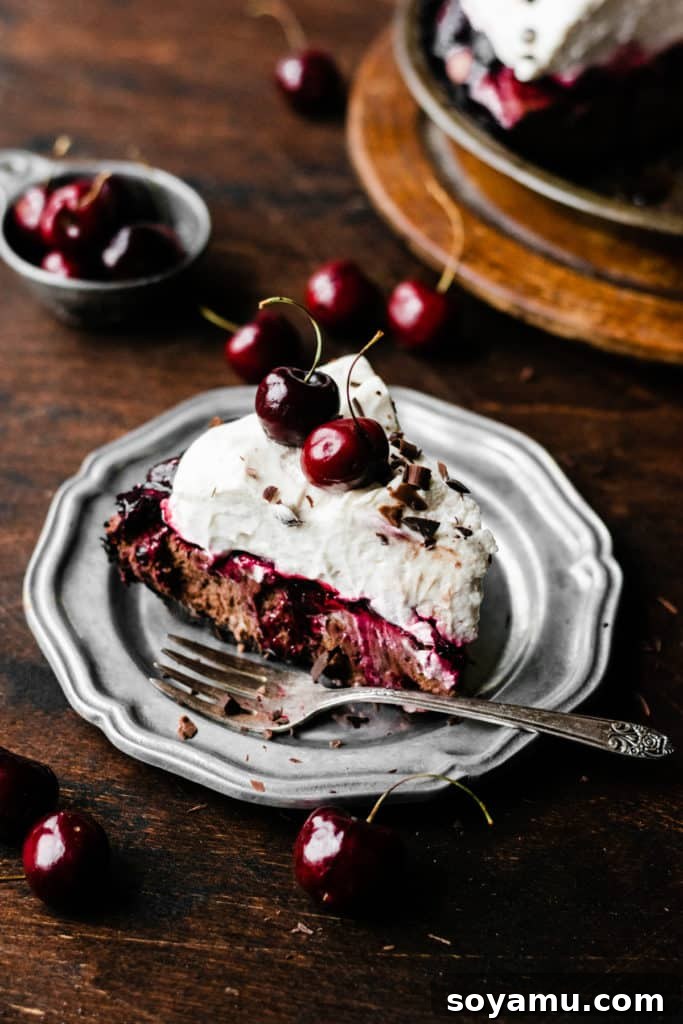
While often associated with intricate baking, this particular Black Forest Pie reimagines the classic as an effortlessly elegant no-bake creation. This means no oven required, making it an ideal candidate for scorching summer months when you crave something cool and refreshing, yet utterly luxurious. However, its sophisticated flavor profile and stunning presentation also make it an exceptional choice for holiday gatherings or any time you want to impress without the stress. Imagine serving this beautiful pie as the grand finale to a festive dinner – it’s guaranteed to earn rave reviews from all your guests. The adaptability of this recipe, allowing for fresh or frozen cherries, ensures you can enjoy this decadent pie throughout the year, regardless of the season.
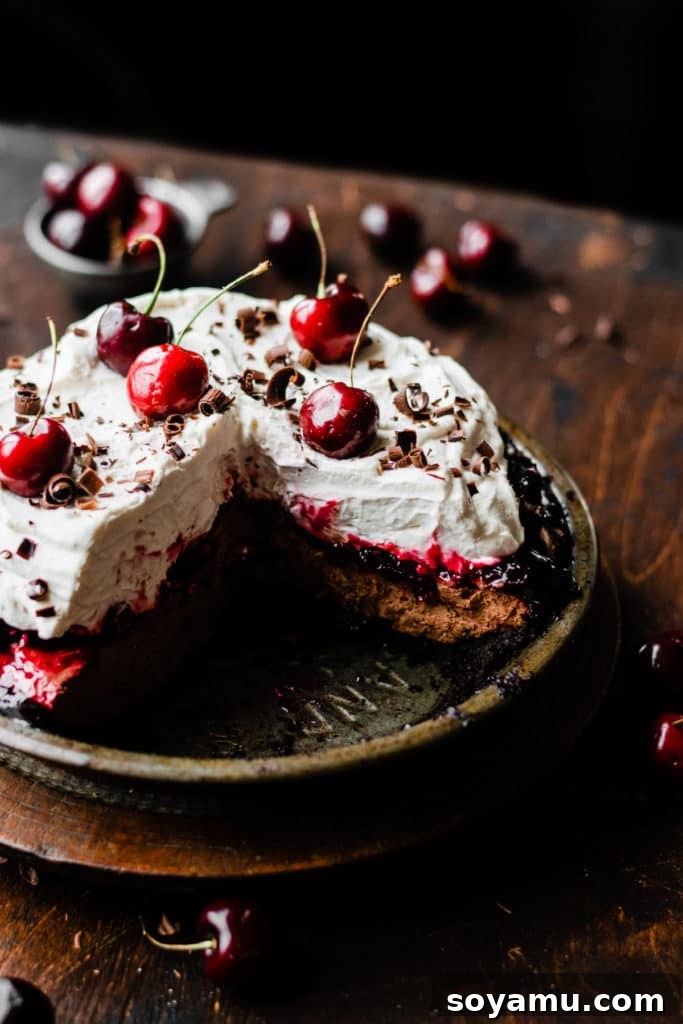
Embark on this culinary journey with us as we guide you through each layer of this magnificent dessert. From the simple yet satisfying crust to the ethereal chocolate mousse, the tantalizing cherry sauce, and the crowning glory of whipped cream, we’ll break down every step, offering expert tips and tricks to ensure your No-Bake Black Forest Pie is nothing short of perfection.
Crafting the Perfect Chocolate Crust
Every great pie starts with an exceptional crust, and this No-Bake Black Forest Pie is no exception. Our foundation is a wonderfully simple yet incredibly effective chocolate crust, made from just two ingredients: crushed Oreo cookies and melted butter. This dynamic duo creates a rich, dark, and perfectly crumbly base that sets beautifully without any baking. The simplicity of this crust allows the other vibrant flavors of the pie to truly shine, while offering a satisfying textural contrast.
To prepare your crust, finely crush about 23 Oreo cookies (including their cream filling) into fine crumbs. A food processor is your best friend here, ensuring an even consistency. If you don’t have one, placing them in a Ziploc bag and crushing them with a rolling pin works just as well, albeit with a bit more effort. Once crushed, combine these crumbs with 3.5 tablespoons of melted salted butter. The butter not only binds the crumbs together but also adds a subtle richness that complements the chocolate. Press this mixture firmly and evenly into a 9-inch pie dish, extending it up the sides. The key to a sturdy crust is packing it tightly. Once formed, pop it into the refrigerator to chill and firm up while you prepare the other delectable components of your pie. This chilling step is crucial, preventing the crust from becoming too soft when the filling is added.
The Velvety Chocolate Mousse Filling
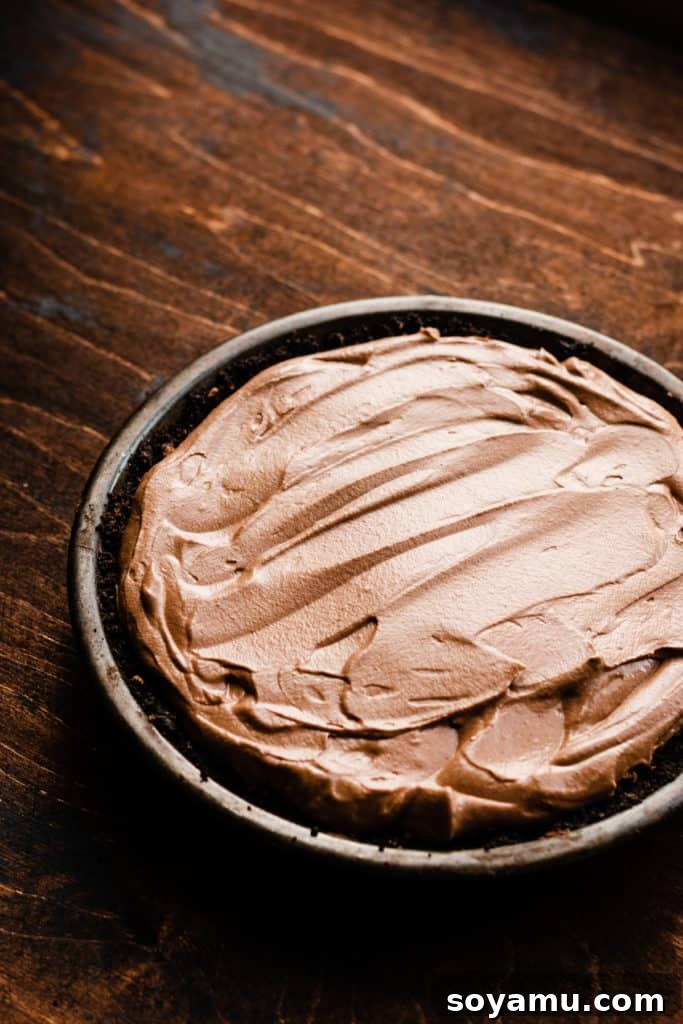
The heart of our No-Bake Black Forest Pie is undoubtedly the luxurious chocolate mousse filling. This isn’t just any mousse; it’s an unbelievably rich, smooth, and airy concoction that perfectly balances decadence with a delicate texture. Made from a luscious chocolate ganache gently folded into freshly whipped cream, it’s far simpler to achieve than its gourmet taste might suggest.
Creating the perfect mousse involves a few critical steps and insider tips:
- **Finely Chop Your Chocolate:** For the ganache, precision matters. Finely chopping your semi-sweet chocolate (using a high-quality baking bar like Ghirardelli or Baker’s will make a noticeable difference in flavor and texture) ensures that it melts smoothly and completely when hot heavy cream is poured over it. Large chunks may not fully incorporate, leading to a lumpy ganache.
- **Temperature Control for Ganache:** Heat 1/2 cup of cold heavy cream in a small saucepan until it just begins to simmer, then immediately pour it over your finely chopped chocolate. Let it sit undisturbed for about 5 minutes. This allows the heat to gently melt the chocolate. After 5 minutes, stir the mixture vigorously from the center outwards until it transforms into a beautifully glossy, smooth ganache.
- **Timing is Everything with Whipped Cream:** Once your ganache is ready, allow it to cool slightly, but don’t let it get too cold or set. The ideal temperature is still warm to the touch, but not hot enough to melt your whipped cream. Meanwhile, prepare your whipped cream: In a large mixing bowl, combine 1 cup of very cold heavy cream with 1/2 teaspoon of vanilla extract and 2 tablespoons of powdered sugar. Beat on high speed until stiff peaks form. The cream should be thick and hold its shape when you lift the beaters, but avoid over-beating, which can result in a grainy texture.
- **Gentle Folding:** The magic happens when you combine the two. Gently fold the slightly warm chocolate ganache into the whipped cream. The goal is to incorporate them fully while retaining as much air as possible in the whipped cream. Over-mixing at this stage will deflate the mousse, making it dense rather than light and airy. Use a spatula and a gentle, folding motion until no streaks of white cream remain and you have a uniform, fluffy chocolate mousse.
Once your exquisite chocolate mousse is ready, spread it evenly into your chilled chocolate crust. Return the pie to the refrigerator, covered, for at least 6 hours, or ideally overnight. This extended chilling time is crucial for the mousse to set completely, ensuring clean slices and a truly stable pie.
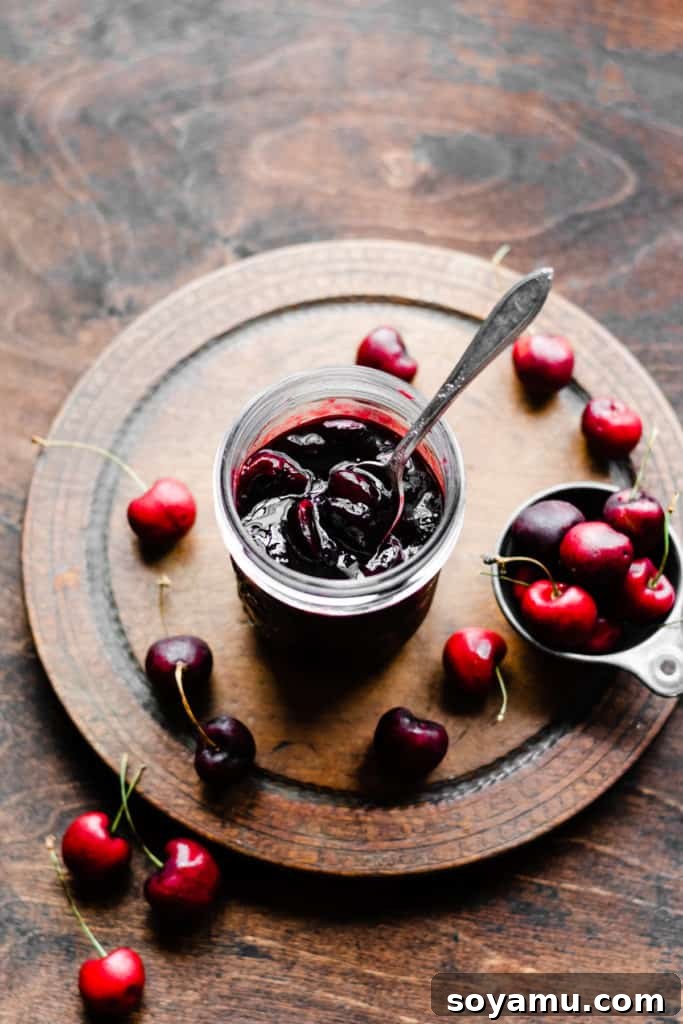
The Irresistible Boozy Cherry Sauce
For many, the cherry sauce is the soul of any Black Forest dessert, and our boozy rendition elevates this pie to legendary status. This quick stovetop sauce bursts with the sweet-tart flavor of cherries, beautifully enhanced by a generous splash of Kirsch – the traditional cherry brandy that defines authentic Black Forest gateau. The sauce is not only magnificent in this pie but also incredibly versatile, serving as a delightful topping for ice cream, pancakes, or even a simple slice of pound cake. You might find yourself wanting to make a double batch!
To create this glorious sauce, start by pitting 2 cups of fresh cherries. If fresh cherries aren’t in season, frozen cherries work wonderfully; simply use them directly from the freezer without thawing. In a small bowl, whisk together 3 tablespoons of cold water with 1.5 tablespoons of cornstarch until no lumps remain. This cornstarch slurry is your thickening agent. In a medium pot, combine the pitted cherries, the cornstarch slurry, 3 tablespoons of granulated sugar, and 2 tablespoons of Kirsch. If you prefer a non-alcoholic version, you can substitute the Kirsch with a tablespoon of almond extract or cherry juice, or simply omit it.
Bring the mixture to a gentle simmer over medium-high heat, stirring constantly to prevent sticking. As it heats, the cherries will soften, and the sauce will begin to thicken. Continue to cook for about 2 minutes once it reaches a simmer, stirring continuously. You’ll know it’s ready when you can draw a wooden spoon across the bottom of the pot, and the sauce briefly holds a “part” before flowing back together. Remove it from the heat, transfer it to a bowl, and place it in the refrigerator to chill completely for at least an hour. This sauce can be made up to 3 days in advance and stored, covered, in the fridge, making your pie assembly on serving day even quicker.
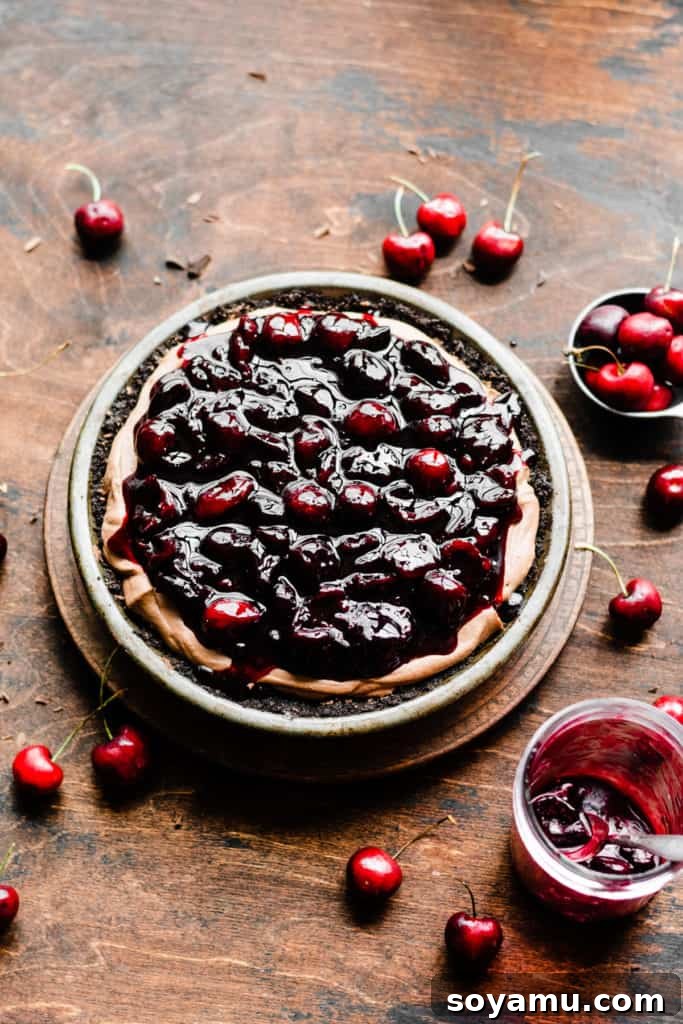
The Majestic Whipped Cream Topping
No Black Forest Pie is complete without a lavish, cloud-like topping of fresh whipped cream. Our recipe ensures a “mile-high” pile that is not only visually stunning but also holds its shape beautifully, even on warmer days. The secret to this impressive stability lies in a simple stabilizing agent, ensuring your efforts don’t fall flat.
For the ultimate whipped cream, here are the essential tips:
- **Stabilize with Gelatin:** To achieve that perfect, long-lasting loft, we incorporate unflavored powdered gelatin. In a small bowl, combine 1/2 teaspoon of unflavored powdered gelatin with 2 teaspoons of cold water. Let it sit for about 5 minutes until it thickens into a paste. Then, microwave it for just 6 seconds – enough to re-liquefy it without making it hot. Set it aside to cool slightly while you start whipping your cream.
- **Whipping Technique:** In a large, very cold mixing bowl, combine 1.5 cups of cold heavy cream, 1/4 cup plus 2 tablespoons of powdered sugar, and 1 tablespoon of vanilla extract. Begin beating on high speed with an electric mixer. As the cream just starts to thicken and soft peaks begin to form, slowly stream in about half of the cooled, liquefied gelatin mixture while continuing to beat.
- **Avoid Over-mixing:** This is crucial. Beat the cream only until stiff peaks form. When you lift the mixer beaters, the peaks should stand upright firmly. Stop immediately at this point! Over-mixing will turn your beautiful whipped cream into a grainy, butter-like consistency.
It’s important to make the whipped cream just before you are ready to serve the pie. While the gelatin provides excellent stability, fresh whipped cream always tastes and looks best when prepared closer to serving time. This ensures maximum fluffiness and a pristine appearance.
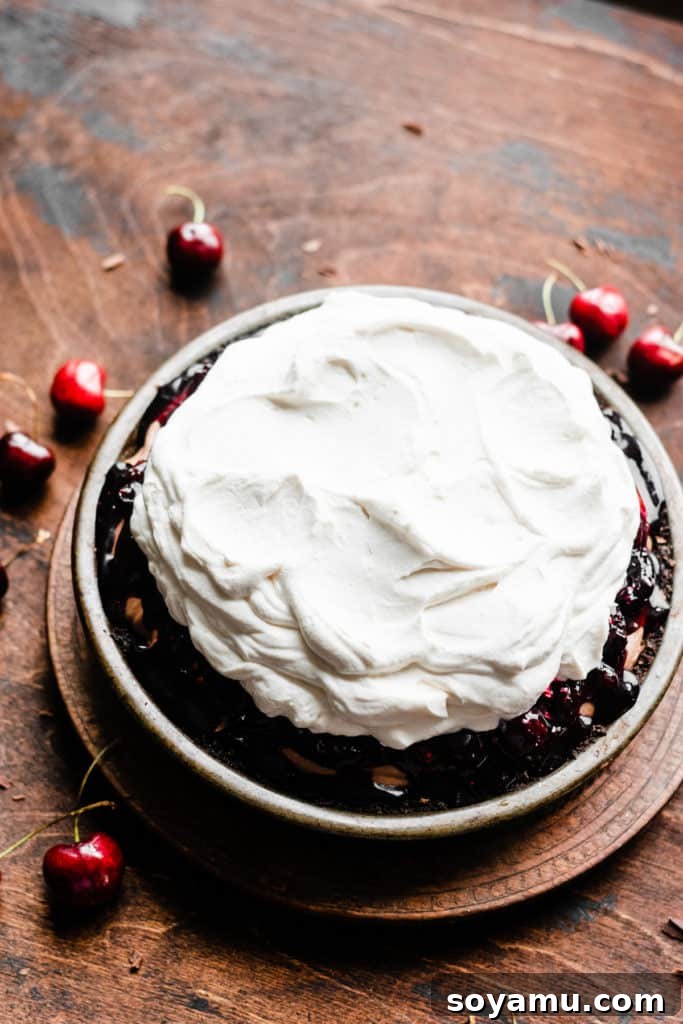
Assembling, Serving, and Storing Your Masterpiece
The moment of truth arrives when all your meticulously prepared components come together to form this stunning No-Bake Black Forest Pie. Assembly is quick and easy, but timing is key for the best presentation and taste.
When you are ready to serve, retrieve your chilled pie with its set chocolate mousse filling from the refrigerator. Evenly spread the chilled boozy cherry sauce over the top of the chocolate mousse layer. This vibrant red layer against the dark chocolate creates a beautiful contrast. Finally, pile on your freshly made, stabilized whipped cream. You can use an offset spatula to create elegant swirls and peaks, or pipe it for a more decorative finish. For the ultimate Black Forest experience, garnish your pie with a scattering of fresh cherries and delicate chocolate shavings. The cherries add a pop of color and freshness, while the chocolate shavings reinforce the rich chocolate theme.
Slice the pie with a sharp, warm knife for clean, beautiful cuts that showcase all the magnificent layers. Each generous slice is a harmonious blend of crisp chocolate crust, silken chocolate mousse, tangy cherry, and light, airy cream. Take a moment to savor your creation – this truly is a go-to, show-stopping dessert that will earn a permanent spot in your recipe collection.
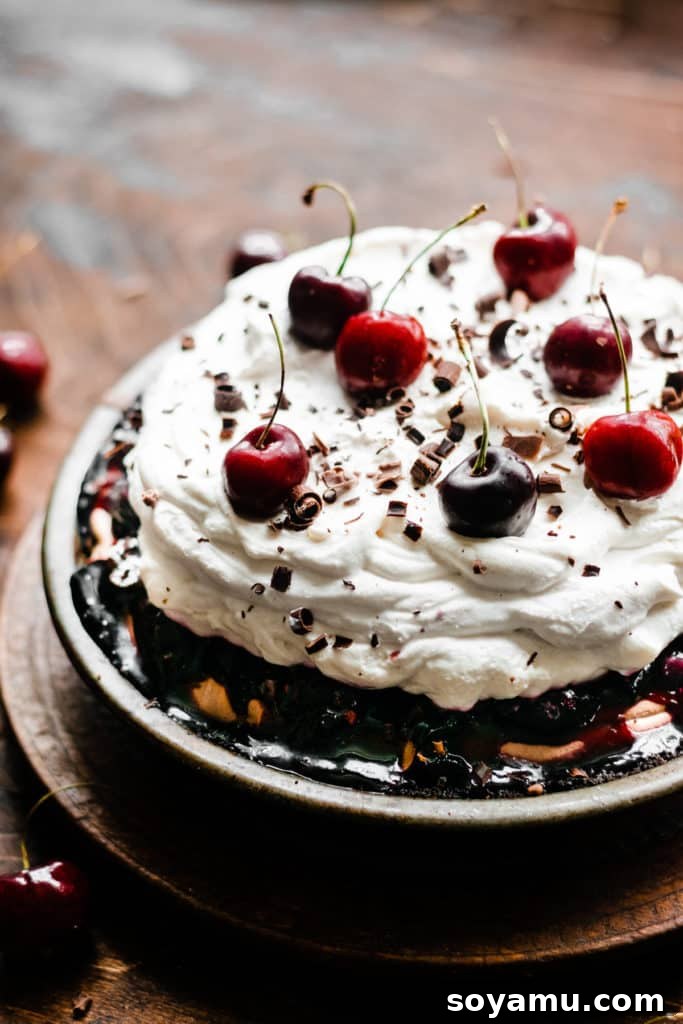
Make-Ahead Tips and Storage
One of the many advantages of this no-bake pie is its flexibility for make-ahead preparation, allowing you to minimize stress on the day of serving.
- **Crust and Mousse:** The chocolate cookie crust, once pressed into the pie plate and filled with the chocolate mousse, can be made up to a day in advance. Simply cover it tightly with plastic wrap and store it in the refrigerator. This allows ample time for the mousse to set perfectly.
- **Cherry Sauce:** The boozy cherry sauce is another excellent make-ahead component. Prepare it up to 3 days beforehand and store it in an airtight container in the refrigerator until ready to use.
- **Whipped Cream:** Always make the whipped cream just before serving. While our stabilized whipped cream holds up exceptionally well, it is at its prime when freshly made.
Once assembled, any leftover pie should be covered loosely with plastic wrap and stored in the refrigerator. It will remain delicious for 3-4 days, though the whipped cream might soften slightly over time. For best results, consume within 2-3 days for optimal texture and freshness. This recipe yields 8 generous servings, but its richness means you can easily cut smaller slices to stretch it further for more guests, making it an incredibly versatile dessert for any gathering, big or small.
Happy dessert making, and enjoy every blissful bite of this incredible No-Bake Black Forest Pie!
Did you make this unforgettable No-Bake Black Forest Pie? We’d love to hear about it!
Be sure to follow bluebowlrecipes on Instagram and tag #bluebowlrecipes with your photo! You can also post a photo of your creation to the bluebowlrecipes Facebook page. Your culinary adventures inspire us!
Highly Rated: This recipe consistently receives 5 out of 5 stars from our community of bakers.
No Bake Black Forest Pie
By Stephanie Simmons
This No Bake Black Forest Pie is made with a chocolate crust, a thick layer of rich chocolate mousse filling, a layer of boozy cherry sauce, and it’s all topped off with a mile-high pile of fresh whipped cream! This is a spectacular dessert – you’ll sure to fall in love with it!
Pin this recipe to save it for later!
Rate this recipe!
Print this recipe!
Ingredients
For the Crust
- 23 oreo cookies, crushed finely
- 3 and 1/2 TBSP salted butter, melted
For the Chocolate Filling
- 1/2 cup heavy cream, cold
- 6 ounces semi-sweet chocolate, finely chopped (Use a good quality chocolate baking bar here, like Ghirardelli or Baker’s)
- 1 cup heavy cream, cold
- 1/2 tsp vanilla extract
- 2 TBSP powdered sugar
For the Boozy Cherry Sauce
- 2 cups fresh cherries, pitted (Can substitute frozen; do not thaw before cooking)
- 3 tbsp water
- 1 and 1/2 tbsp corn starch
- 2 tbsp Kirsch (cherry brandy)
- 3 tbsp granulated sugar
For the Whipped Cream
- 1 and 1/2 cups heavy cream, cold
- 1/4 cup + 2 TBSP powdered sugar
- 1 tbsp vanilla extract
For Topping
- fresh cherries
- chocolate shavings
Instructions
-
Make the Crust: Finely crush the Oreos using a food processor, then stir in the melted butter. Press this mixture firmly into a 9-inch pie plate and refrigerate while you make the filling.
-
Make the Chocolate Filling: Add the finely chopped chocolate to a medium, heat-proof bowl. Heat 1/2 cup heavy cream in a small saucepan until just simmering. Pour over the chocolate and let sit for 5 minutes. Stir well until you have a creamy, smooth chocolate ganache. Set aside to cool slightly.Add 1 cup of cold heavy cream to a large mixing bowl with the vanilla and powdered sugar. Beat on high speed until stiff peaks form. Gently fold the slightly cooled chocolate ganache into the whipped cream until everything is incorporated and you have a smooth chocolate mousse. Spread this into the chilled crust.Chill in the fridge, covered, for at least 6 hours, or overnight, to allow the mousse to set completely.
-
Make the Boozy Cherry Sauce: Stir together the water and corn starch in a small bowl until the starch is fully dissolved. Add this slurry to a medium pot along with the pitted cherries, Kirsch, and granulated sugar. Bring the mixture to a gentle simmer over medium-high heat, stirring constantly. Once it reaches a gentle simmer, cook for 2 minutes, stirring the whole time. The sauce will thicken enough that it coats the back of a spoon. Turn off the heat and transfer the sauce to a bowl. Refrigerate to chill for at least 1 hour (or until cold).
-
Make the Whipped Cream: When ready to serve the pie, prepare the whipped cream. Beat all whipped cream ingredients in a large bowl with an electric mixer on high speed. Stop just as soon as stiff peaks form – do not over-mix. (See note below for stabilizing your whipped cream, which is recommended).
-
Serve & Store: Just before serving, spread the chilled cherry sauce evenly over the chocolate mousse filling. Top with the freshly made whipped cream, creating a generous pile. Garnish with fresh cherries and chocolate shavings for a beautiful presentation. Store any leftovers, covered, in the fridge for 3-4 days.Yield: This recipe makes 8 generous servings, but you can cut smaller slices to stretch the yield further, as it is quite rich.
-
Make Ahead Tips: The pie crust filled with chocolate mousse can be prepared a day ahead and stored, covered, in the fridge. The cherry sauce can be made up to 3 days in advance and stored in the fridge. Do not make the whipped cream ahead of time. Do not spread the cherry sauce over the filling or add the whipped cream until you are ready to serve the pie.
Notes