
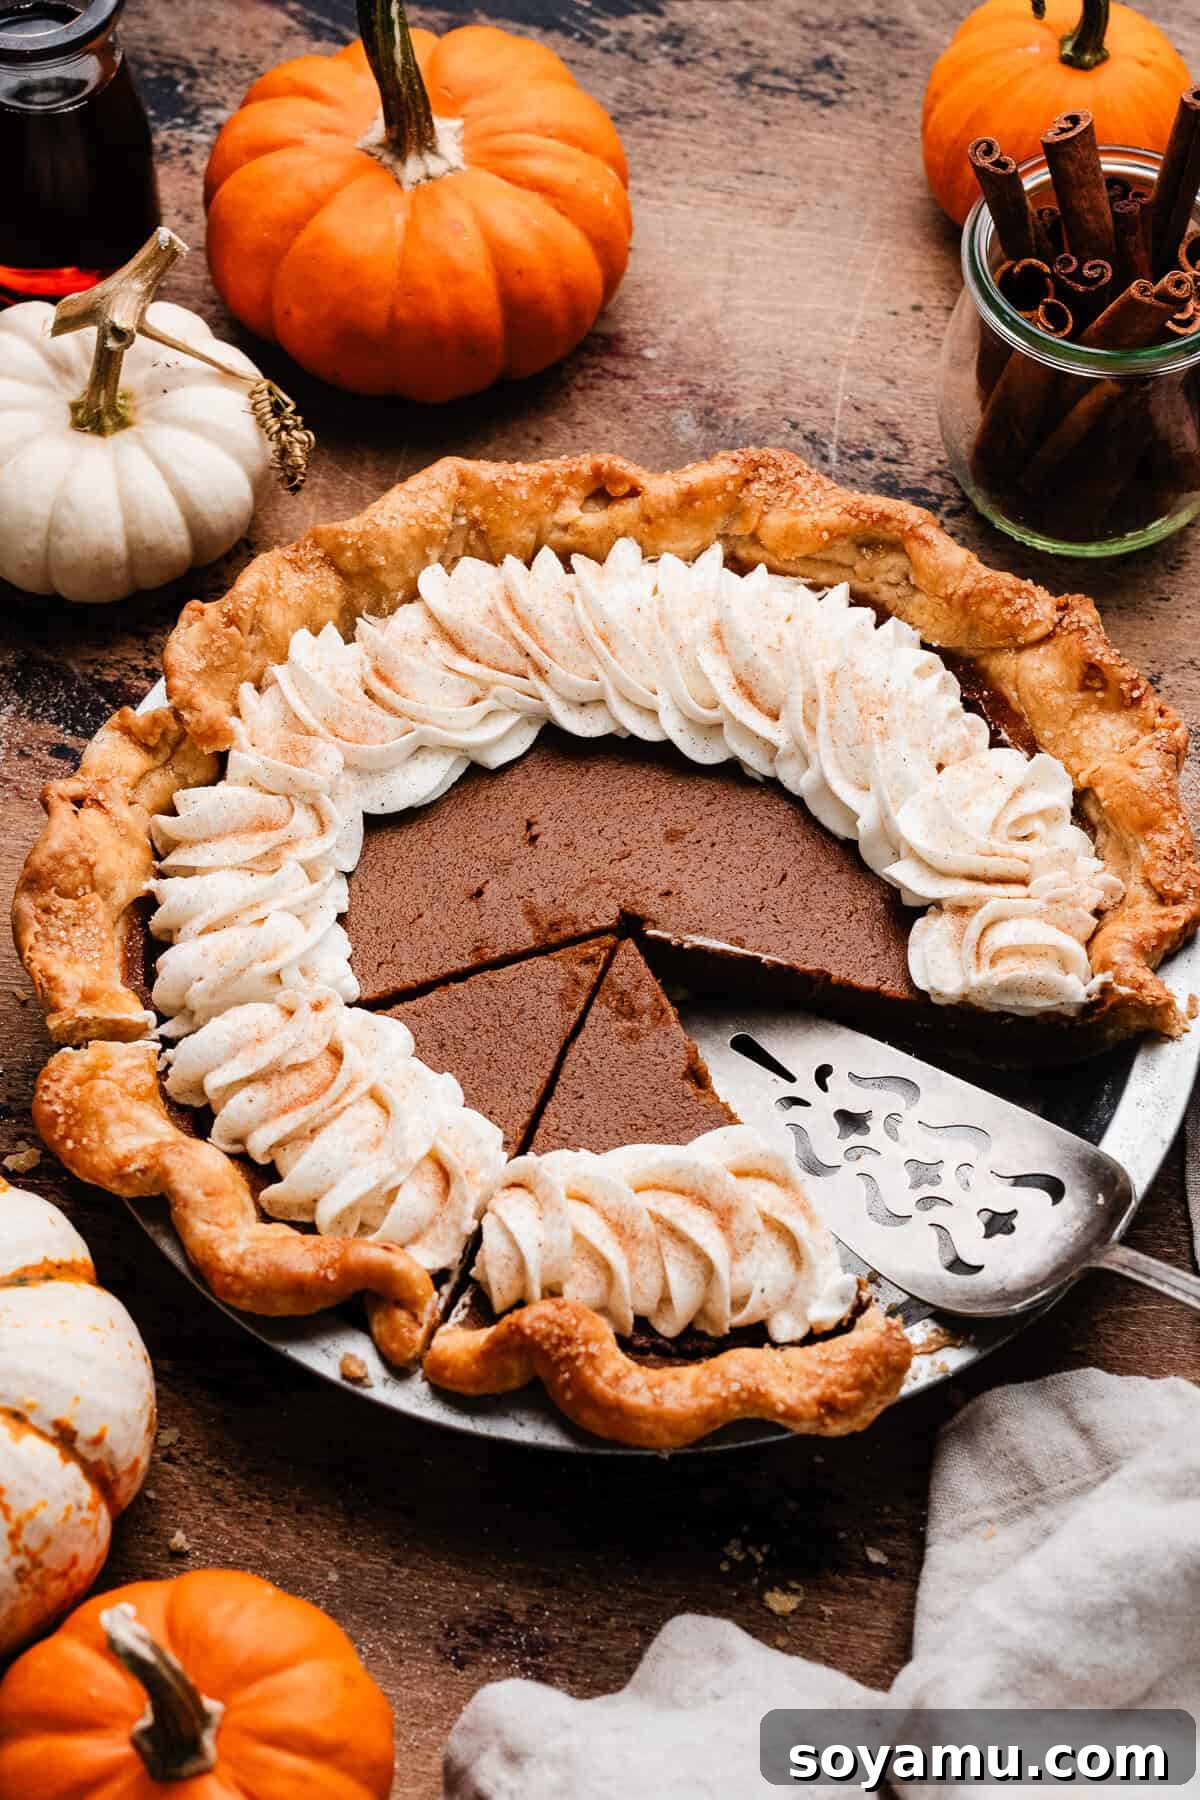
Perfect Pumpkin Pie is more achievable than you might imagine! Forget complicated techniques; our recipe simplifies the process, delivering a heavenly dessert with a remarkably creamy, perfectly spiced filling. The best part? The filling comes together in a single bowl, making cleanup a breeze. We’ll also meticulously guide you through every step of crafting a truly exceptional homemade pie dough, empowering you to bake with newfound confidence and impress everyone at your table.
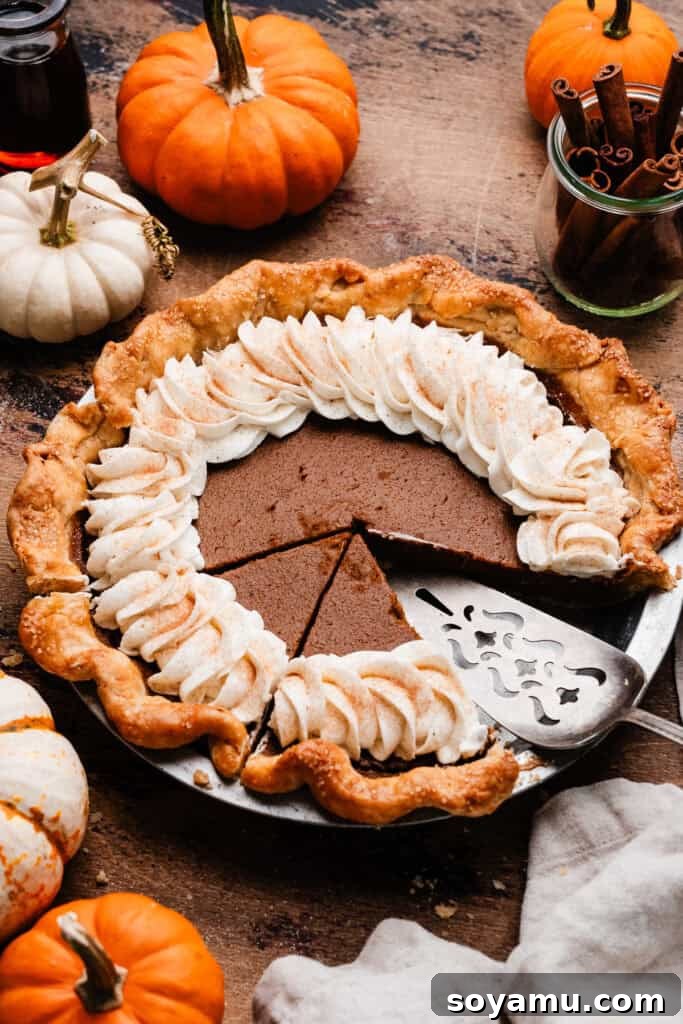
Why This Perfect Pumpkin Pie Recipe Shines
Our Perfect Pumpkin Pie recipe isn’t just another dessert; it’s a celebration of classic flavors and approachable baking. Here’s what makes it truly outstanding:
- Effortlessly Easy to Make: While a homemade pie crust might seem daunting, our comprehensive, step-by-step instructions remove all the guesswork. We break down each stage with clarity, ensuring even novice bakers can achieve a stunning crust. The pumpkin pie filling, on the other hand, is incredibly simple, requiring minimal effort to mix to smooth perfection. This recipe proves that exceptional baking doesn’t have to be complicated.
- Unforgettably Flaky Crust: The foundation of any great pie is its crust, and ours is nothing short of spectacular. We focus on creating a rich, buttery, and unmistakably flaky crust that provides the perfect contrast to the creamy filling. With our detailed tips, including how to handle cold butter and avoid overworking the dough, you’ll master the art of homemade pie crust, achieving that coveted melt-in-your-mouth texture.
- A Timeless Classic with a Modern Twist: This recipe delivers the quintessential pumpkin pie experience you crave, but with a clever modification. By utilizing heavy cream instead of evaporated milk, we ensure you won’t be left with an annoying half-can of unused ingredient. This small swap maintains the signature creamy texture and rich flavor while offering greater convenience, embodying the true spirit of a beloved classic.
- The Ideal Make-Ahead Dessert: Planning for holidays or special gatherings can be stressful, but this pumpkin pie offers fantastic flexibility. It tastes incredible on the day it’s baked, but its flavors deepen and its texture sets beautifully after a night in the refrigerator. This makes it a perfect make-ahead option, allowing you to prepare it a day or two in advance and reduce last-minute kitchen hustle.
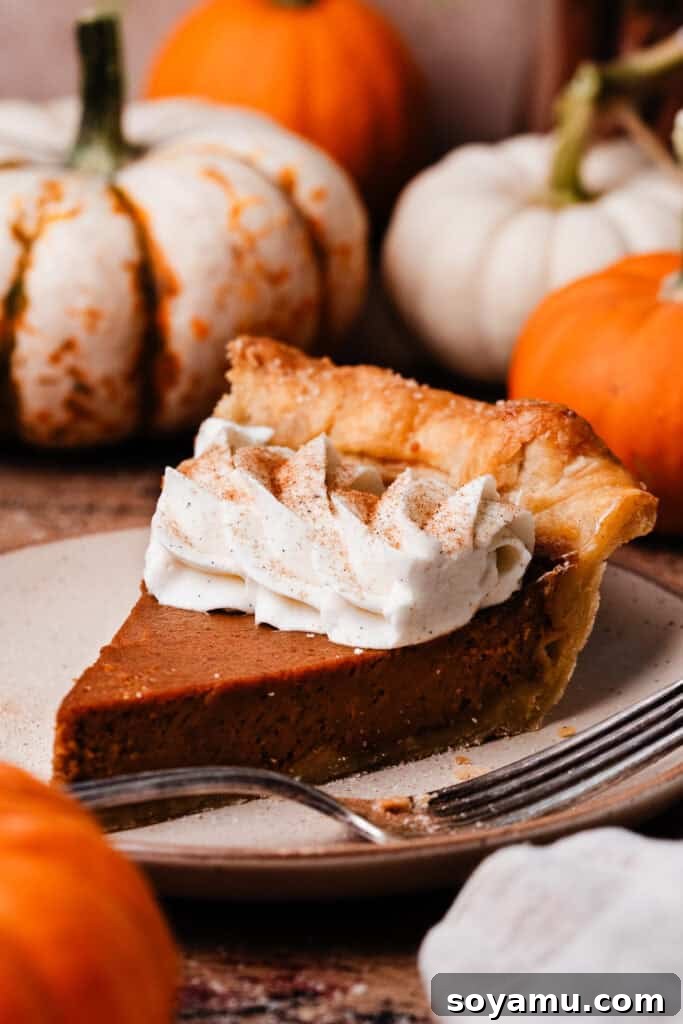
Ingredient Essentials for Your Perfect Pumpkin Pie
Understanding the role of each ingredient is key to achieving pumpkin pie perfection. While the full recipe with precise measurements is available in the recipe card below, let’s dive into some crucial details for successful baking.
- Pumpkin Purée: This is the heart of your pie. It is absolutely vital to use canned pumpkin purée and not canned pumpkin pie filling. These two products are distinctly different. Pumpkin purée is simply cooked and mashed pumpkin, offering a clean, natural pumpkin flavor. Pumpkin pie filling, on the other hand, comes pre-spiced and sweetened, which can lead to an unbalanced and overly sweet pie when combined with our recipe’s carefully chosen spices and sugars. Always double-check the label!
- Butter: For the pie crust, we advocate for using cold salted butter. In our extensive testing, salted butter consistently delivers a richer, more complex flavor to the crust that perfectly complements the sweet filling. If unsalted butter is your preference or what you have on hand, it will work; just consider adding a tiny pinch more salt to the crust dough to compensate. Keeping the butter very cold is paramount for achieving that desirable flaky texture.
- All-purpose Flour: Proper flour measurement is critical to avoid a dry or tough crust. We strongly recommend using a kitchen scale for the most accurate results, as it eliminates variables caused by different measuring cup sizes and packing density. If you’re measuring by volume, always employ the “spoon and level” method: gently spoon flour into your measuring cup until overflowing, then level it off with a flat utensil. Scooping directly from the bag often compacts the flour, leading to an excess amount and a less tender crust.
- Heavy Cream: Our recipe thoughtfully substitutes heavy cream for the more traditional evaporated milk. This modification is purely for convenience; many recipes call for only a portion of a can of evaporated milk, leaving you with leftovers. Heavy cream not only provides the same luscious creaminess and richness but is also a more versatile ingredient to have in your fridge, eliminating waste and simplifying your shopping list.
- Aromatic Spices: The blend of cinnamon, ginger, nutmeg, cloves, and allspice creates the signature warm and inviting flavor of pumpkin pie. A tiny pinch of black pepper might seem unusual, but it subtly enhances the overall spice profile, adding a layer of depth that makes this pie truly special without being overtly peppery. Ensure your spices are fresh for the most vibrant flavor.
Recipe Substitutions & Variations to Customize Your Pie
This classic pumpkin pie recipe is incredibly versatile and can be adapted to suit various dietary needs or flavor preferences. Feel free to get creative!
- Gluten-Free Option: To make this a delicious gluten-free dessert, simply prepare your favorite gluten-free pie crust recipe or opt for a pre-made gluten-free crust. A gluten-free graham cracker crust also provides a wonderful, slightly different flavor and texture base that pairs beautifully with the creamy pumpkin filling. Ensure all other ingredients remain naturally gluten-free.
- Spice Variations: While our spice blend is perfectly balanced, you can adjust it to your taste. For a bolder ginger flavor, increase the ground ginger. If you love the warmth of nutmeg, add a touch more. You could also experiment with a pinch of cardamom for an exotic twist.
- Sweetener Alternatives: Instead of dark brown sugar, you can use light brown sugar for a milder molasses flavor, or a combination of granulated sugar and molasses. For the maple syrup, honey or agave nectar could be substituted, though they will subtly alter the flavor profile.
- Nutty Topping: For added texture and flavor, consider sprinkling chopped pecans or walnuts over the pie filling before baking, or candied nuts after baking and cooling.
- Chocolate Swirl: A decadent variation involves gently swirling a few spoonfuls of melted dark chocolate into the pumpkin filling just before baking for a marbled effect.
How to Make the Perfect Pumpkin Pie: Step-by-Step
Baking a homemade pumpkin pie from scratch might seem like a grand undertaking, but by breaking it down into manageable steps, you’ll find the process incredibly rewarding. Follow these detailed instructions for a flawless result:
Step 1: Prepare the Flaky Pie Dough. The journey to a perfect pie begins with the crust. We highly recommend following our detailed recipe and troubleshooting guide in our Perfect Pie Crust post for in-depth instructions, tips, and step-by-step photos that will make you a confident pie dough maker. For this pumpkin pie, ensure you prepare the dough according to that recipe, focusing on keeping your butter and water ice-cold to achieve optimal flakiness. After forming the dough into a disc, it’s crucial to allow it to chill for at least 2 hours, or ideally overnight (up to 48 hours), to properly hydrate the flour and relax the gluten, preventing a tough crust.
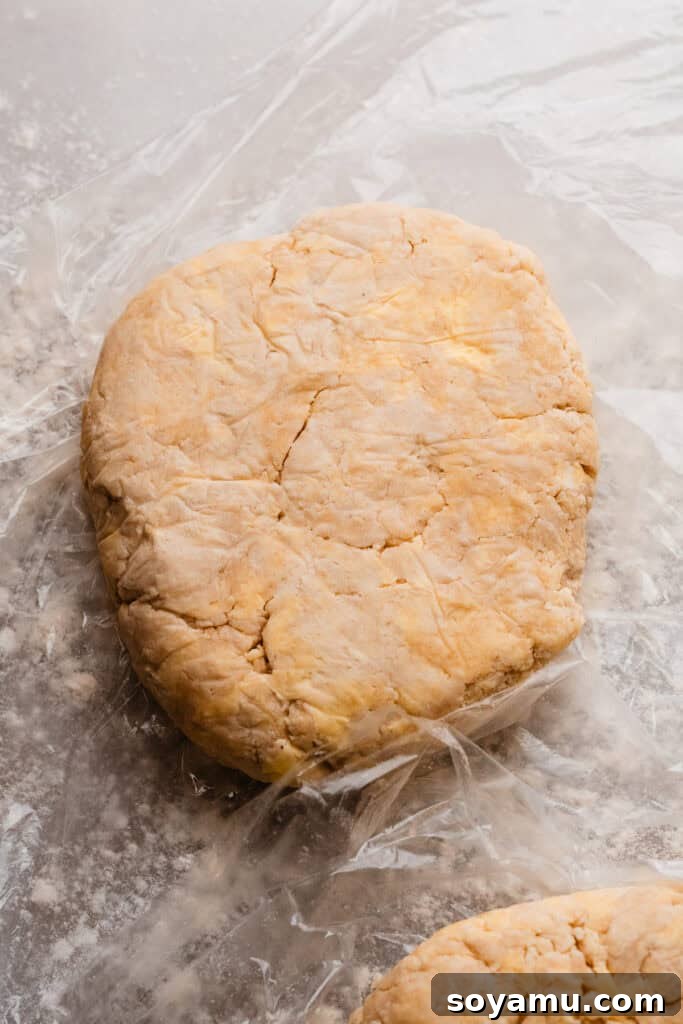
Step 2: Roll Out the Dough and Par-Bake the Pie Crust. Once your dough is sufficiently chilled, roll it out evenly and carefully transfer it to your pie plate. Crimp the edges decoratively. Before filling, par-baking the crust is a non-negotiable step for wet fillings like pumpkin pie. This crucial process prevents a “soggy bottom” by partially cooking the crust, making it sturdy enough to hold the creamy filling. Freeze the crimped crust for at least 15 minutes before lining it with parchment paper and filling it with pie weights. Bake as directed in the recipe card until lightly golden. Don’t forget to apply an egg wash and sprinkle with raw sugar after removing the weights for a beautiful, golden-brown finish.
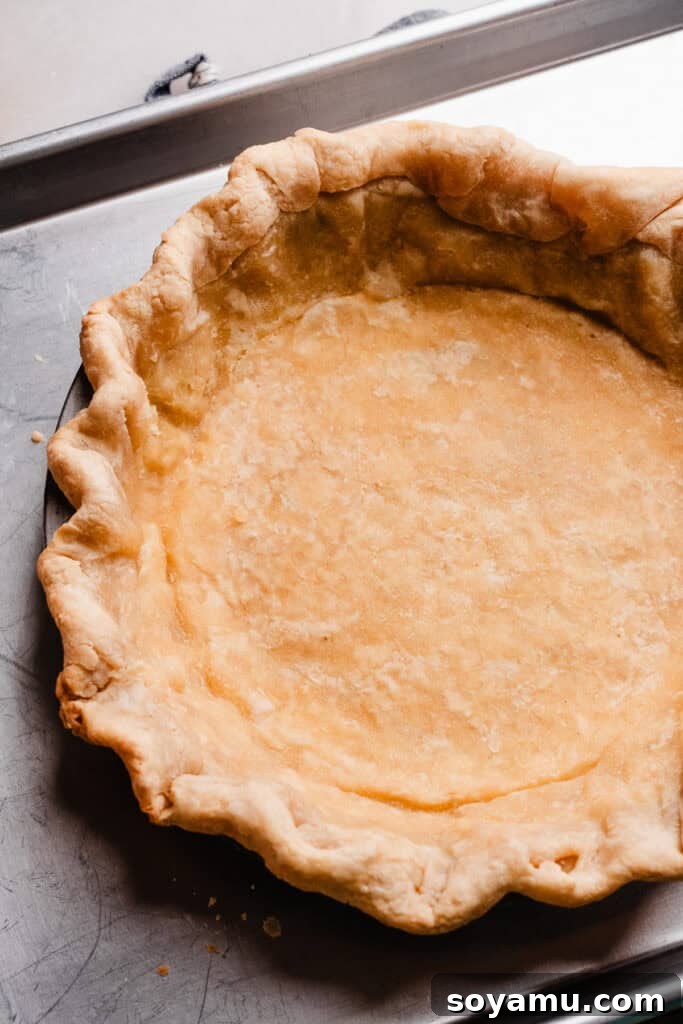
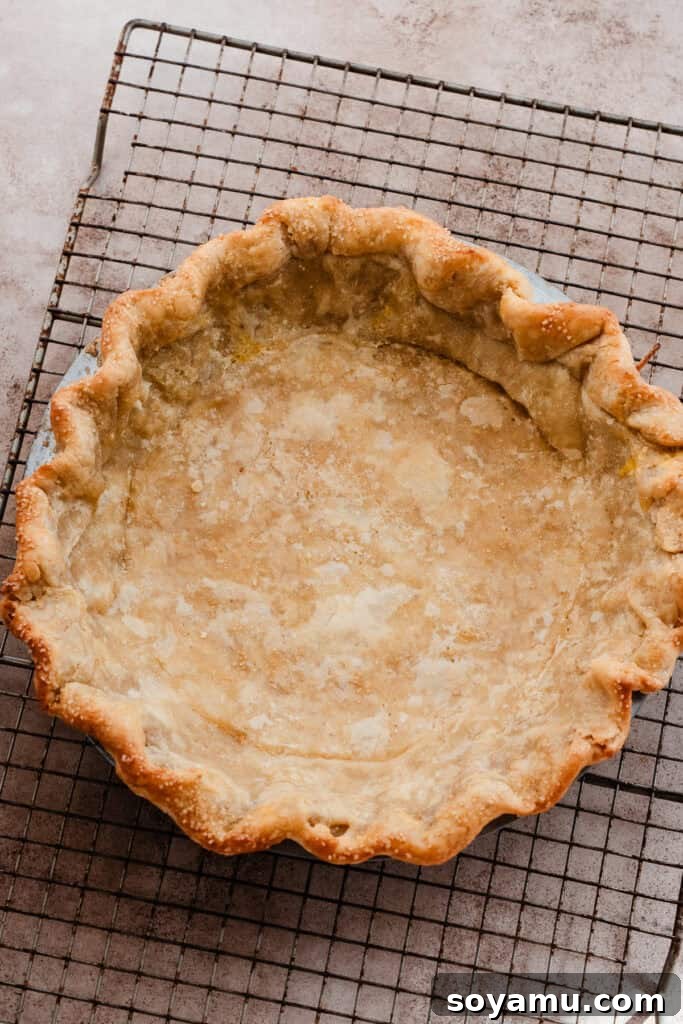
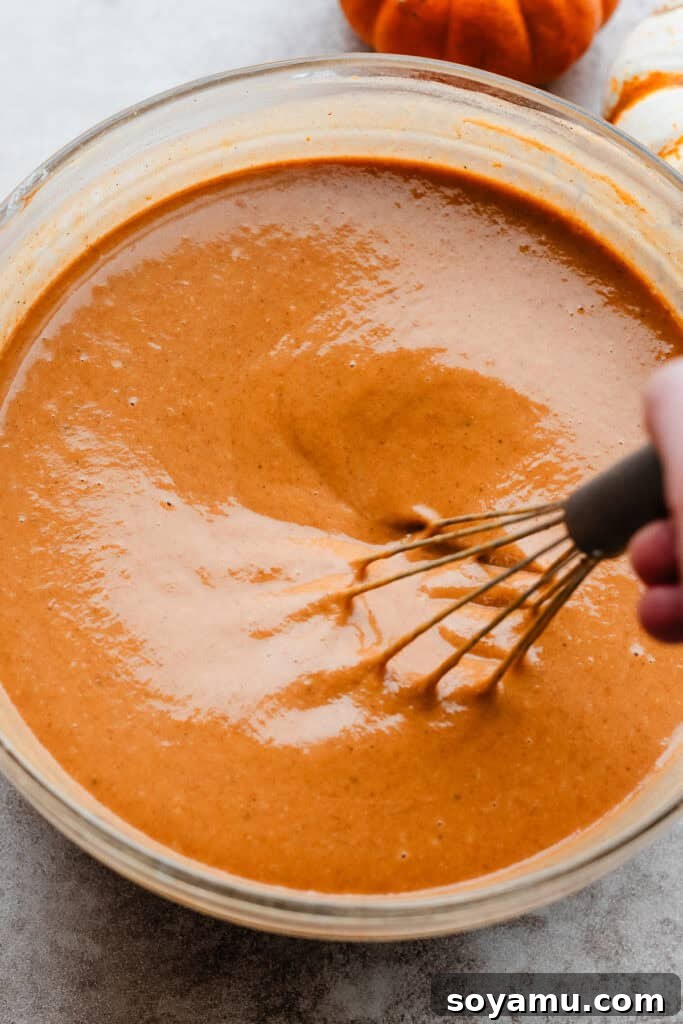
Step 3: Craft the Velvety Pumpkin Pie Filling. This is where the magic of flavor comes alive! In a large bowl, combine the pumpkin purée, heavy cream, large egg, vanilla extract, maple syrup, and dark brown sugar. Whisk these wet ingredients together until they are smooth and well-incorporated. Next, add the symphony of spices: salt, cinnamon, ground ginger, nutmeg, ground cloves, allspice, and a surprising pinch of black pepper, along with the cornstarch. The cornstarch acts as a stabilizer, ensuring your filling sets beautifully without cracking. Whisk until no lumps remain and the mixture is uniformly spiced. Once complete, carefully pour this luscious filling into your prepared and cooled par-baked crust.
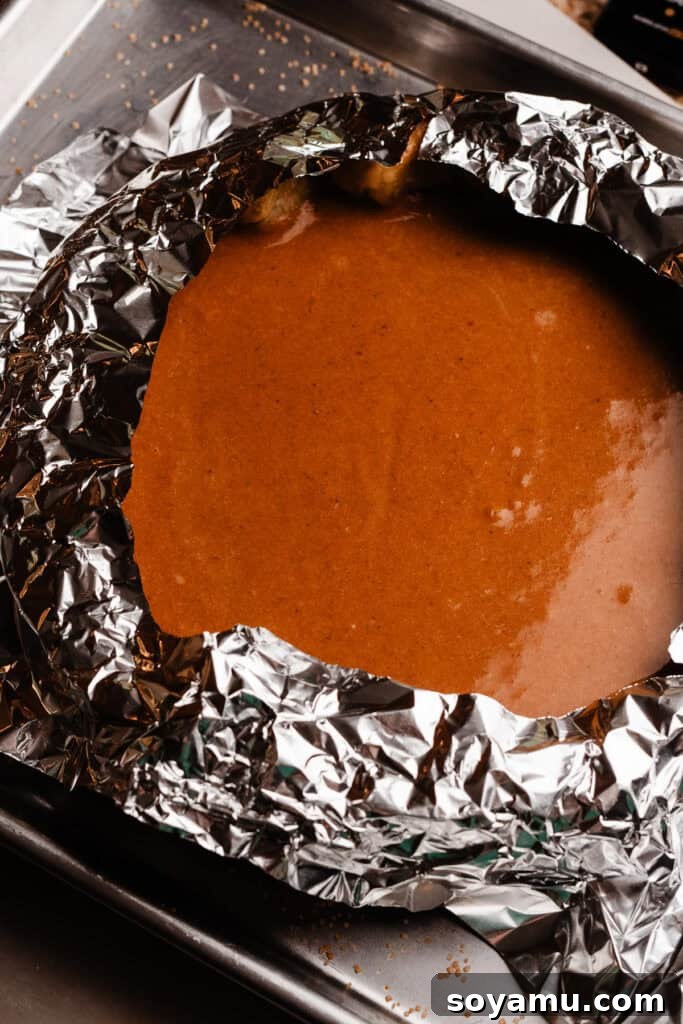
Step 4: Bake to Golden Perfection. Preheat your oven to the specified temperature. Before baking, create a simple pie shield out of aluminum foil by cutting a ring that covers only the edges of your crust. This ingenious trick prevents the crust from over-browning while the filling bakes evenly. Carefully transfer the pie to the oven. Bake as directed, monitoring for doneness. The pie is ready when the center has a slight, jiggle, but the edges appear set. For absolute certainty, insert a digital instant-read thermometer into the center; it should register between 190°F and 200°F (88°C to 93°C). A toothpick inserted into the center should also leave a defined, clean hole.
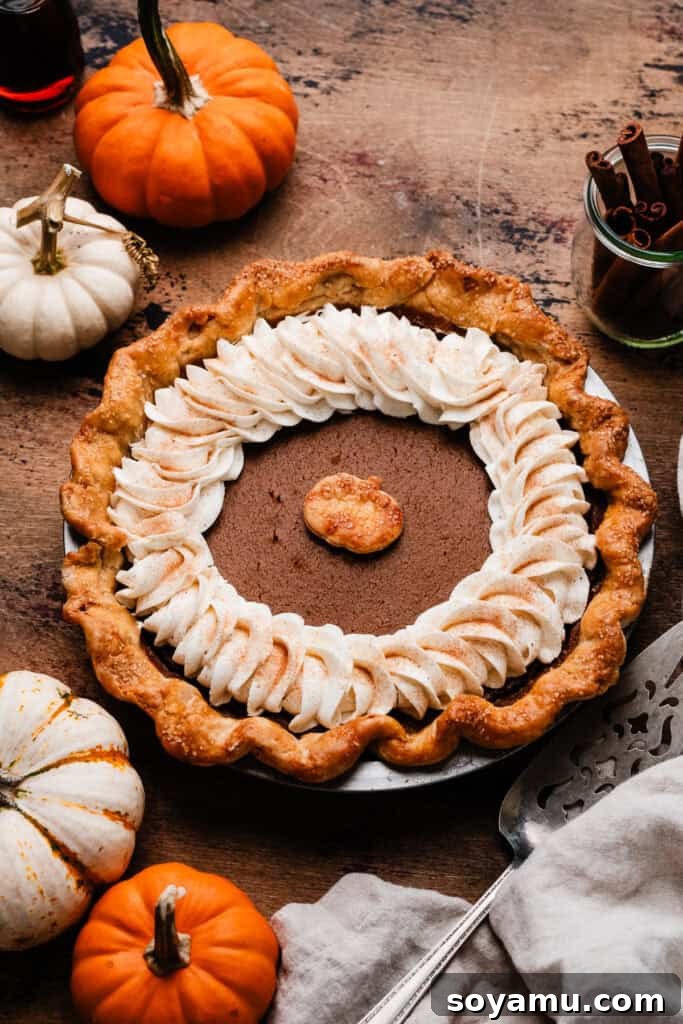
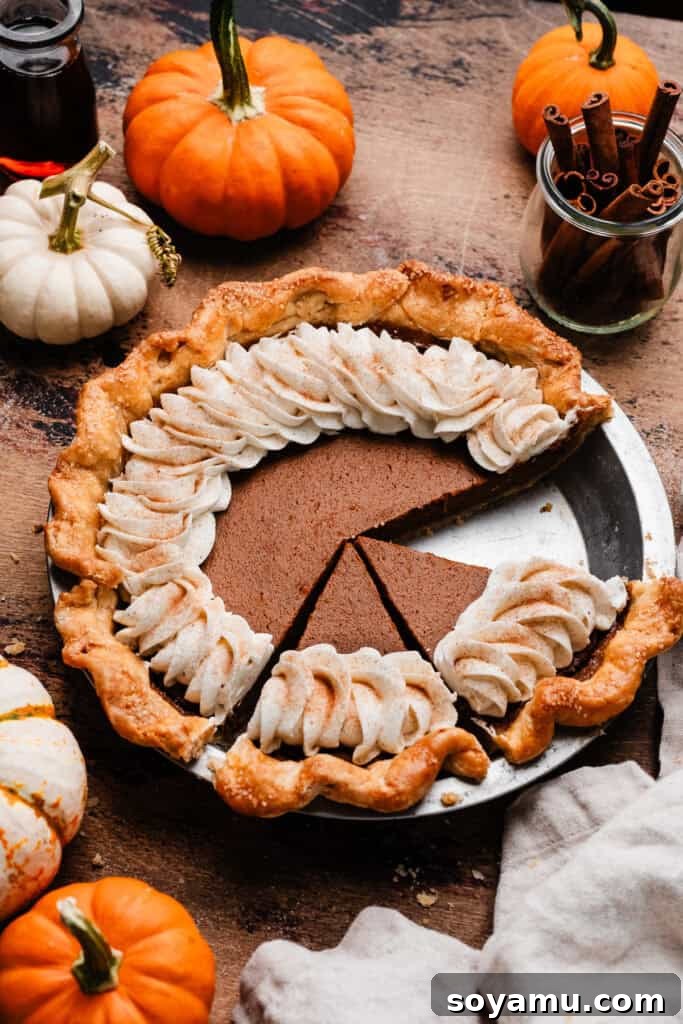
Step 5: Cool Patiently. Patience is a virtue, especially when it comes to pie. Immediately after removing your pie from the oven, let it cool on a wire rack at room temperature for about 1 to 2 hours. This initial cooling allows the filling to continue setting. After this period, transfer the pie to the refrigerator to chill completely for another 1 to 2 hours. Chilling is essential for the filling to fully firm up, allowing for clean, beautiful slices. Once thoroughly chilled, your Perfect Pumpkin Pie is ready for its grand debut, especially when served with a generous dollop of our Homemade Whipped Cream!
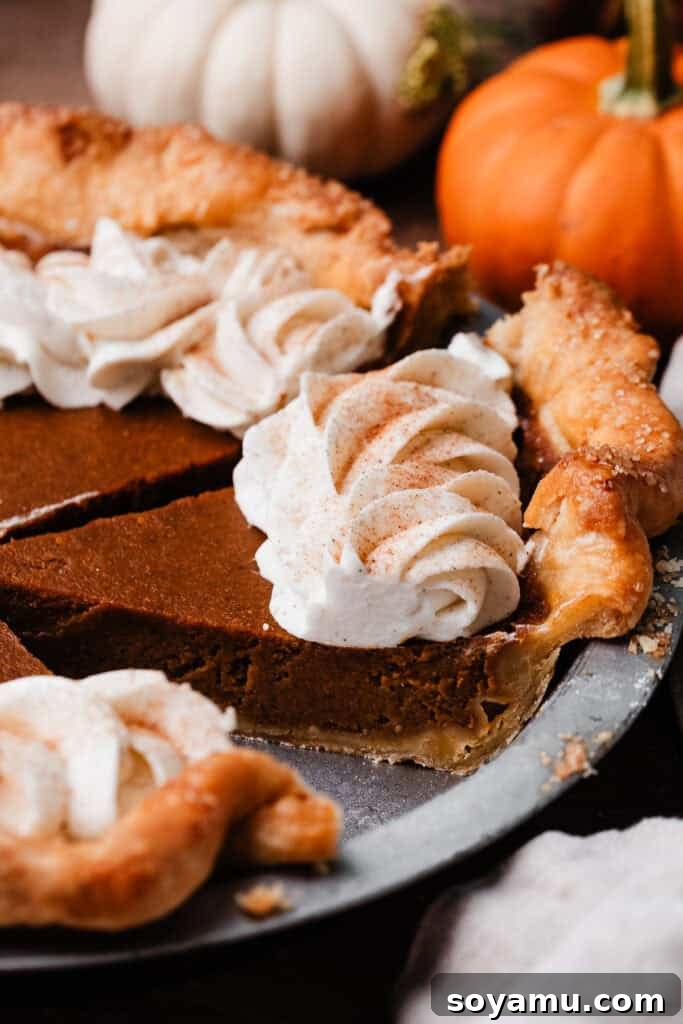
Serving and Storing Your Perfect Pumpkin Pie
Once your Perfect Pumpkin Pie has properly chilled, it’s ready to be the star of your dessert spread. To serve, use a sharp, thin knife for clean slices. The ultimate accompaniment is a generous dollop of freshly whipped cream, perhaps infused with a hint of vanilla or nutmeg, or even a drizzle of caramel sauce for an extra touch of indulgence. Store any leftover pie in an airtight container in the refrigerator for 3-4 days. For longer storage, you can freeze individual slices, tightly wrapped, for up to 1 month. Thaw in the refrigerator overnight before serving.
Expert Baking Tips for a Flawless Pie
Achieving bakery-quality pumpkin pie at home is made easier with a few professional insights. These tips will help you avoid common pitfalls and ensure your pie turns out beautifully every time:
- The Importance of an Oven Thermometer: Many ovens, even brand new ones, can be wildly inaccurate, often running hotter or colder than the set temperature. An oven thermometer is an inexpensive tool that provides real-time, accurate temperature readings. Keeping one in your oven at all times allows you to monitor its calibration and make adjustments, which is crucial for achieving consistent baking results and preventing burnt crusts or undercooked fillings.
- Invest in a Kitchen Scale for Precision: Baking is a science, and precise measurements yield the best outcomes. A food scale is particularly beneficial for measuring flour, as volumetric measurements (cups) can vary significantly based on how the flour is scooped and packed. Weighing your flour ensures you use the exact amount specified, preventing a dry, crumbly crust or a dense, heavy one. It’s a game-changer for consistent baking.
- Keep Ingredients Cold for the Crust: When making the pie dough, always use ice-cold butter and ice water. Cold butter creates pockets of steam in the oven, which translates to a wonderfully flaky crust. If the butter melts before baking, you’ll end up with a tough, dense texture.
- Don’t Overmix the Dough: Overmixing develops the gluten in the flour, leading to a tough crust. Mix the dough just until it comes together, and visible streaks of butter are still present. This indicates optimal texture for flakiness.
- Chill Thoroughly: Whether it’s the pie dough or the finished pie, chilling is key. The dough needs to chill to relax the gluten and prevent shrinking, while the baked pie needs to chill completely for the filling to set and allow for clean slicing.
Essential Tools for Your Pumpkin Pie Adventure
Having the right tools can make your pie-baking experience much more enjoyable and efficient. Here are a few recommended items that will significantly aid in creating your Perfect Pumpkin Pie:
- Rolling Pin: An obvious but indispensable tool! A sturdy, well-balanced rolling pin is essential for evenly rolling out your pie dough to the perfect thickness and shape. We recommend a classic wooden one with handles for comfort and control.
- Pastry Cutter (or Blender): This tool is a game-changer for incorporating cold butter and shortening into your flour with ease and efficiency, without warming the fats with your hands. It creates the ideal pea-sized pieces necessary for a truly flaky crust. If you were to choose only one specialized tool for pie making, let it be this. Alternatively, a food processor can achieve similar results quickly.
- Pastry Brush: A simple pastry brush is invaluable for applying an even egg wash to your pie crust. This egg wash is what gives the crust its beautiful, deep golden-brown hue and subtle sheen, enhancing its visual appeal.
More Pie Recipes to Love from Our Kitchen
If you’ve enjoyed perfecting this pumpkin pie, we invite you to explore more delightful pie recipes that are sure to become family favorites:
- Easy Pumpkin Pie Bars
- Salted Caramel Apple Galette
- Chocolate Bourbon Pecan Pie
- Brûléed Maple Pie
- French Silk Pie (No Raw Eggs!)
- Bourbon Cherry Crumble Pie
Did you make this recipe? We’d love to hear your thoughts!
Please leave a comment and a star rating below to let us know how you enjoyed the recipe. Your feedback is incredibly valuable and helps our small business grow!
Classic Pumpkin Pie
By Stephanie Simmons
Prep Time: 50 mins
Cook Time: 1 hr 10 mins
Chill Times: 5 hrs
Total Time: 7 hrs
Servings: 8 to 12 slices
Ingredients
For the Pie Crust:
- 1 and 1/2 cups all-purpose flour, spooned & leveled or weighed out (195 grams)
- 1/2 tsp salt
- 1 tbsp sugar
- 7 tbsp cold salted butter, cubed (98 grams)
- 2 tbsp shortening (24 grams)
- 4-5 tbsp ice cold water
For the Filling:
- 1 and 1/3 cup pumpkin puree (320 grams – do not use canned pumpkin pie filling)
- 1/2 cup heavy cream (125 mL)
- 1 large egg
- 1/2 tsp vanilla extract
- 2 tbsp maple syrup (40 grams)
- 1/2 cup dark brown sugar, packed (110 grams)
- 1/4 tsp salt
- 2 tsp cinnamon
- 1 tsp ground ginger
- 1/2 tsp nutmeg
- 1/4 tsp ground cloves
- 1/4 tsp allspice
- Pinch of black pepper
- 2 and 1/2 tsp corn starch
For Baking:
- 1 egg, for egg wash
- Raw sugar, for sprinkling on the crust
For the Whipped Cream (Optional):
- 1/2 cup cold heavy cream
- 3 tbsp powdered sugar
- Pinch of nutmeg
- 2 tsp vanilla extract
Instructions
- Make the Pie Dough: Use the ingredient quantities listed above, but prepare the pie dough according to our detailed guide on How to Make Perfect Pie Dough. If you are new to homemade pie dough, we highly recommend reading the entire post first. Prepare the dough through Step 4 of that guide, allowing at least 2 hours or up to 48 hours for the dough to chill thoroughly in the refrigerator.
- Roll Out the Dough & Prepare for Baking: Follow Steps 5 through 7 in our How to Make Perfect Pie Dough post to roll out your chilled dough and fit it into a standard 9-inch pie plate. Crimp the edges as desired.
- Par-Bake the Crust: After the dough is in the pie plate and crimped, place it in the freezer for at least 15 minutes. This helps prevent shrinkage during baking. Then, follow Step 9 of the pie crust guide for directions on par-baking. Remember to add the egg wash and raw sugar after you have removed the parchment paper and pie weights, but before finishing the par-bake. Once the crust is par-baked and golden, set it aside to cool completely while you prepare the filling.
- Make the Pumpkin Pie Filling: Preheat your oven to 375℉ (190°C). In a large mixing bowl, whisk together the pumpkin puree, heavy cream, large egg, vanilla extract, maple syrup, and dark brown sugar until smooth. Then, whisk in the salt, cinnamon, ground ginger, nutmeg, ground cloves, allspice, black pepper, and cornstarch until thoroughly combined and no lumps remain.
- Bake: Prepare a pie shield by taking a large piece of aluminum foil, placing it over your pie plate, and cutting out the center to create a ring that will cover the crust edges. Set aside. Carefully pour the prepared pumpkin filling into your cooled, par-baked pie crust. Bake at 375℉ (190°C) for 45 to 52 minutes. At the 20-25 minute mark, check the pie; if the edges of the crust are browning too quickly, gently place the homemade foil pie shield over them. The pie is done when the center has a slight wobble (like gelatin) and the edges of the filling appear set. For best accuracy, insert an instant-read kitchen thermometer into the center; it should register between 190℉ and 200℉ (88°C to 93°C).
- Cool: Remove the pie from the oven and let it cool completely on a wire rack at room temperature for 1-2 hours. After this initial cooling, transfer the pie to the refrigerator to chill thoroughly for an additional 1-2 hours. Chilling is crucial for the filling to fully set, ensuring clean, perfect slices.
- Make Whipped Cream (Optional): For the best experience, prepare homemade whipped cream just before serving. Follow our Homemade Whipped Cream recipe. If you plan to pipe the whipped cream, our linked post also covers how to stabilize it for beautiful, lasting decorations. Note that homemade whipped cream is best made fresh and is not ideal as a make-ahead component for the pie itself.
- Serve & Store: Slice the chilled pie using a sharp, thin knife and serve immediately with fresh whipped cream. Store any leftover pie in an airtight container in the refrigerator for 3-4 days.
Notes
Pumpkin Puree: Always ensure you are buying canned pumpkin puree, not canned pumpkin pie filling. Canned pumpkin puree will list only “pumpkin” as its ingredient, whereas pumpkin pie filling will contain added spices and sweeteners, which can alter the flavor profile of this recipe significantly.
Nutrition
Serving: 1 serving, Calories: 1519kcal, Carbohydrates: 149g, Protein: 20g, Fat: 94g, Saturated Fat: 59g, Polyunsaturated Fat: 4g, Monounsaturated Fat: 24g, Trans Fat: 4g, Cholesterol: 244mg, Sodium: 1606mg, Potassium: 228mg, Fiber: 5g, Sugar: 7g, Vitamin A: 2836IU, Calcium: 56mg, Iron: 9mg
Nutrition information is automatically calculated and should only be used as an approximation.