
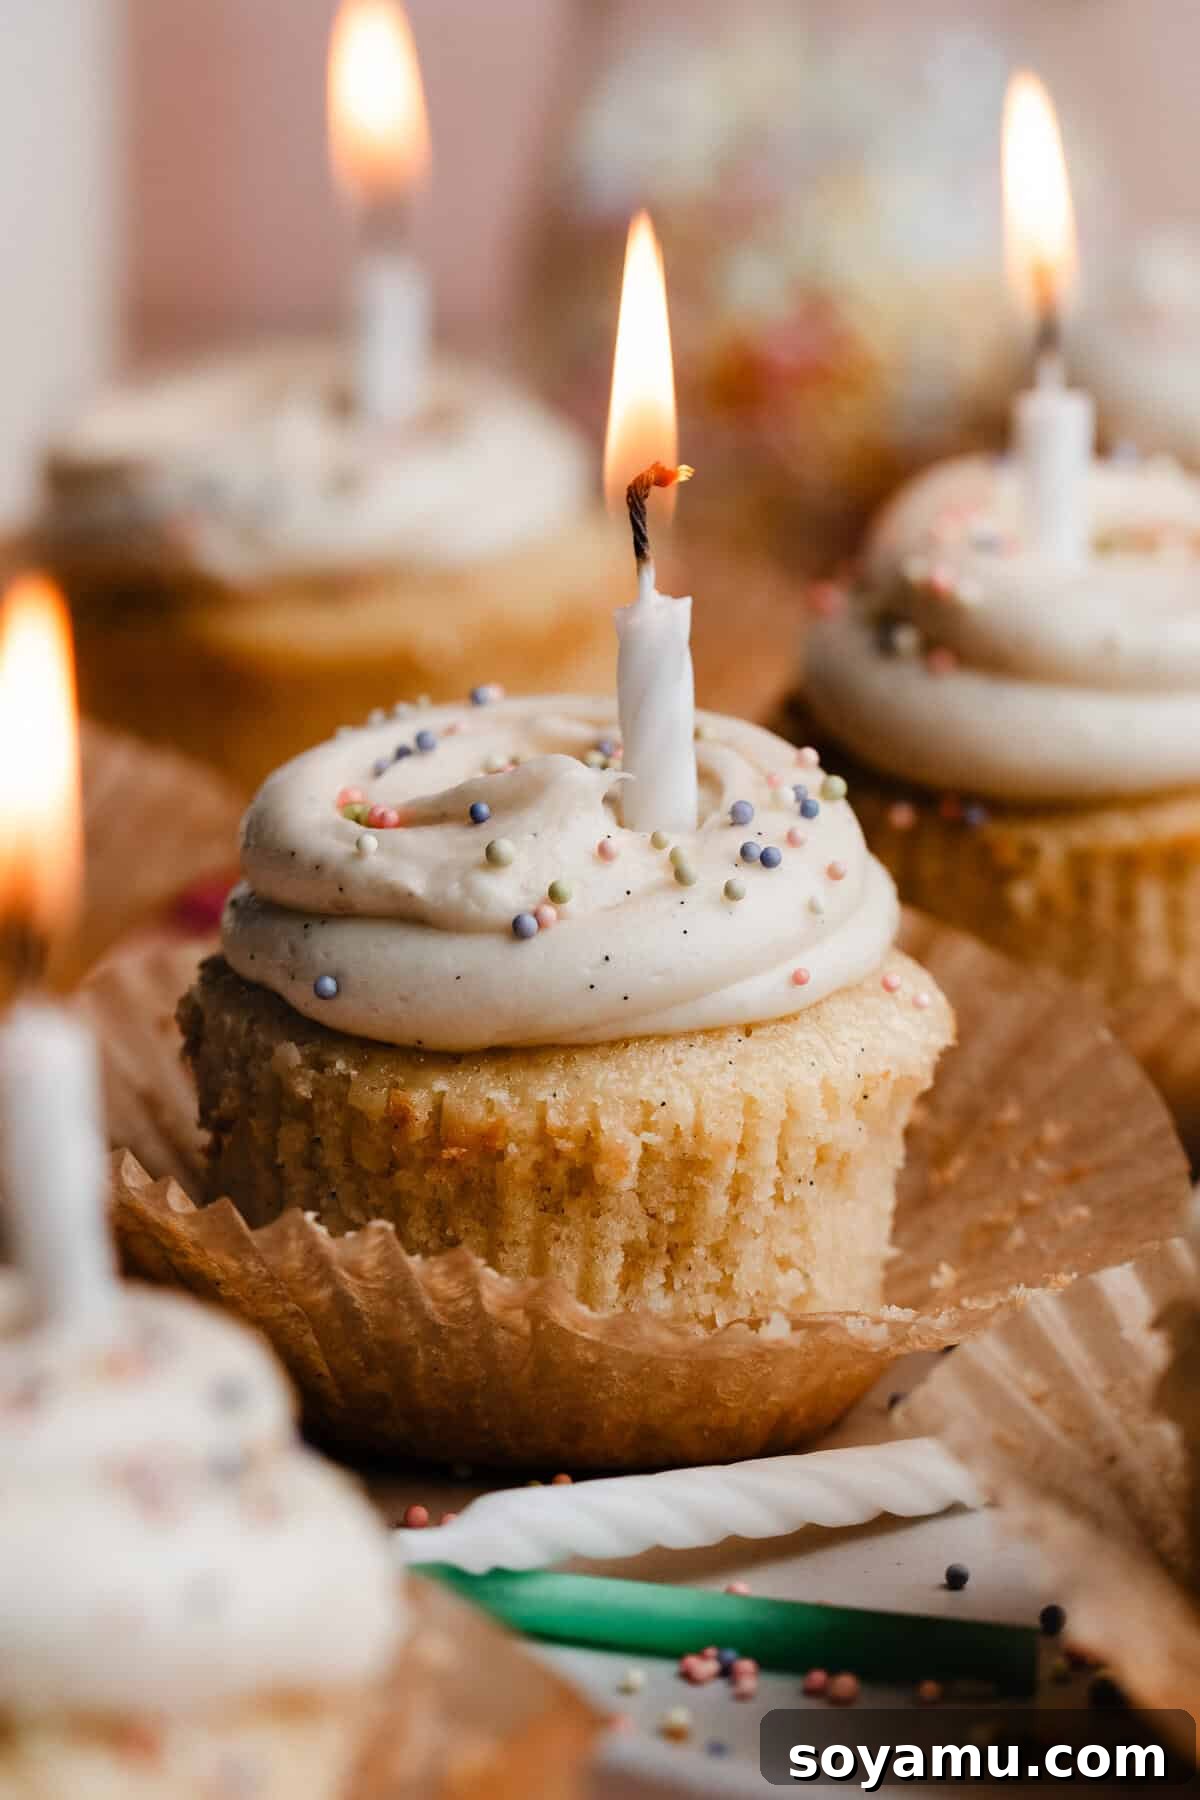
Welcome to the ultimate guide for crafting the most exquisite **Vanilla Cupcakes** you’ll ever bake! Prepare to elevate your home baking to professional bakery standards with this phenomenal recipe. These aren’t just any vanilla cupcakes; they are meticulously designed to be ultra-soft, incredibly fluffy, and deeply moist, all thanks to the innovative reverse creaming method. Each bite bursts with a rich, buttery vanilla flavor that tastes truly gourmet. What’s more, they are remarkably easy to prepare, making them perfect for both novice and experienced bakers. Capping off this perfect dessert is a luscious, perfectly balanced salted honey buttercream – a frosting so good, it might just steal the show!
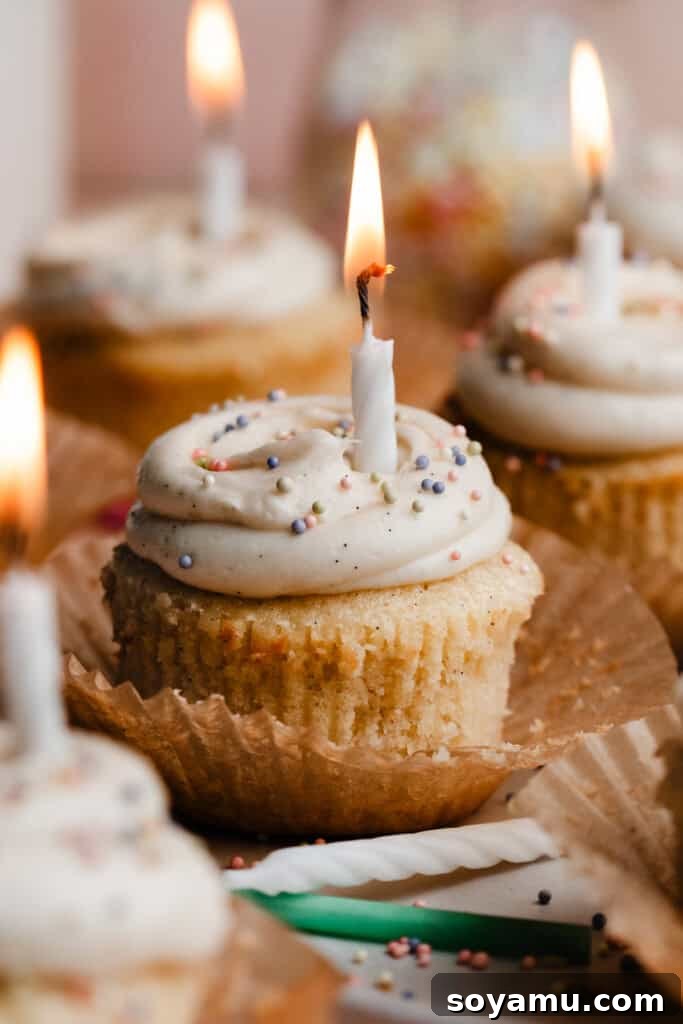
**Why You’ll Fall in Love with These Vanilla Cupcakes:**
This recipe isn’t just about baking; it’s about creating an experience. From their delightful texture to their complex flavor profile, here’s why these vanilla cupcakes will become your new favorite:
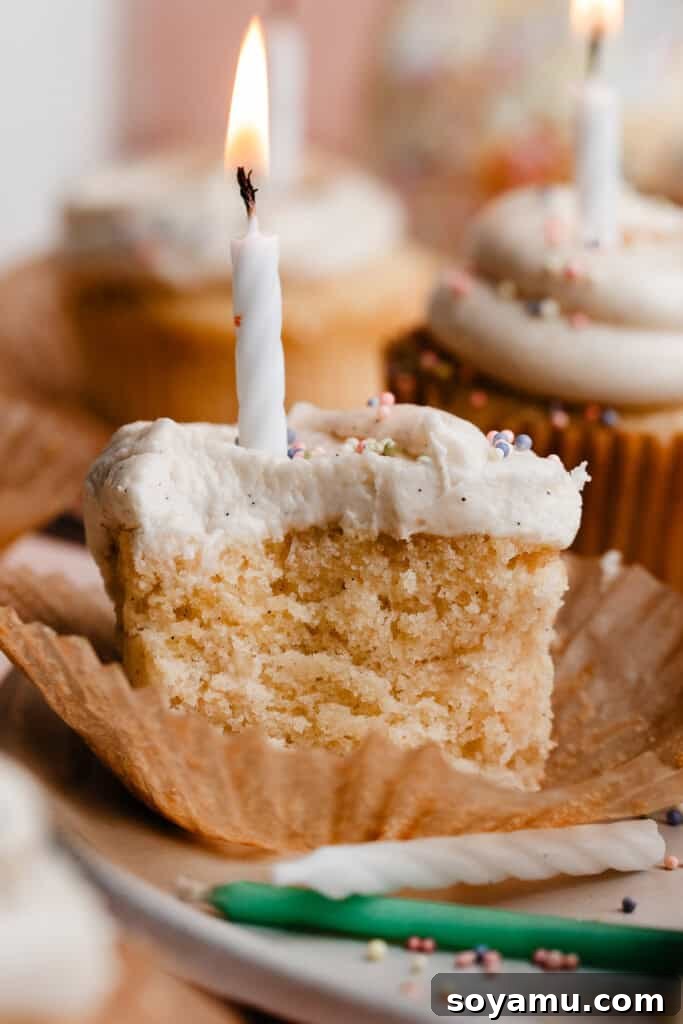
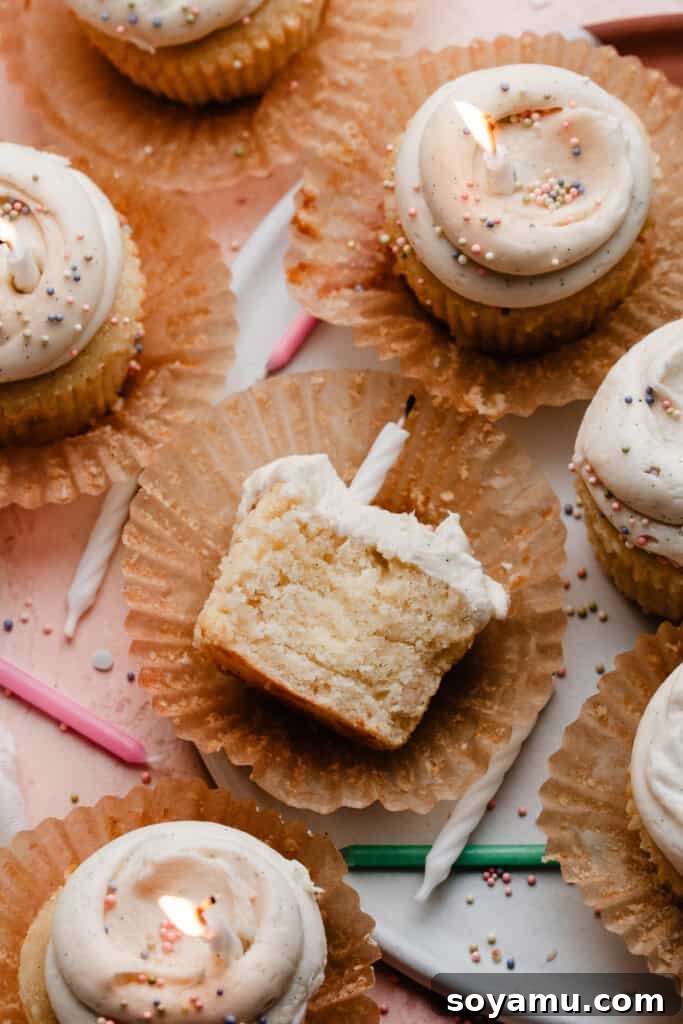
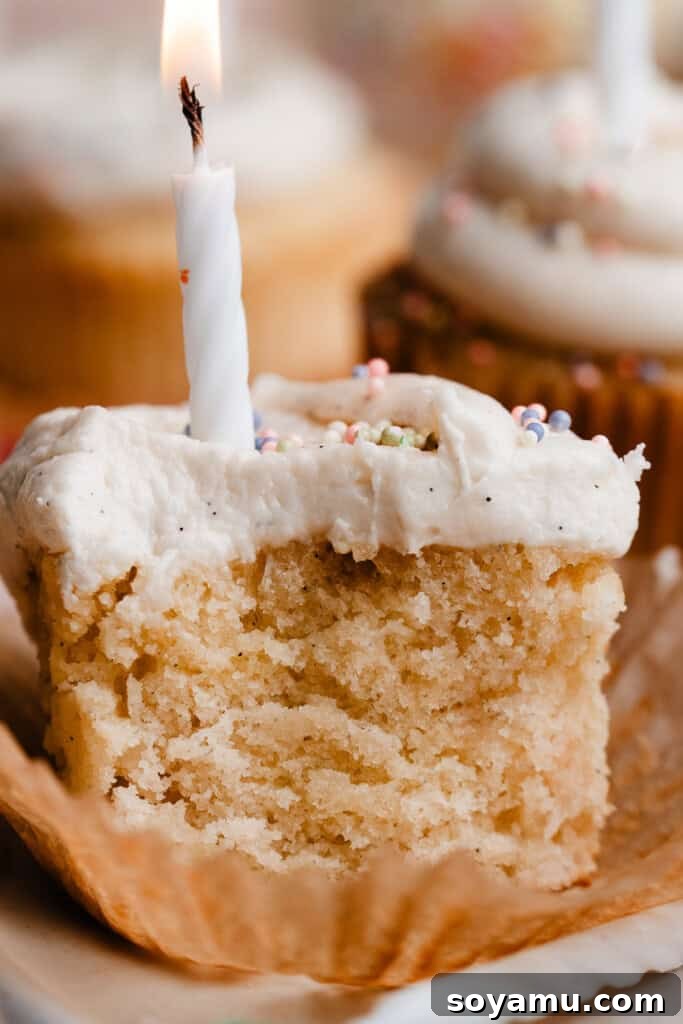
- Unbelievably Fluffy & Moist – A Texture Dream: Forget dry, crumbly cupcakes. Our vanilla cupcakes are a testament to perfect texture – springy, tender, and oh-so-moist with every single bite. The secret lies in our meticulous technique, which ensures they remain incredibly fresh. You’ll find they maintain their delightful moisture for 2-3 days when stored in the fridge, and remarkably, for 3-5 days at room temperature. This impressive shelf life for a homemade treat, free from commercial preservatives, makes them ideal for parties or simply enjoying over several days!
- Effortlessly Easy to Make – Perfect for Every Baker: Don’t let the “bakery-style” description intimidate you. The batter for these cupcakes is surprisingly straightforward, thanks to the revolutionary reverse creaming method. This technique simplifies the mixing process while yielding superior results, making it approachable even for beginners. And when it comes to the frosting, it’s an absolute breeze to whip up. You’ll soon discover yourself confidently baking batches of these delicious cupcakes time and time again!
- Better-Than-Classic Salted Honey Buttercream – A Flavor Revelation: While classic American buttercream has its place, it can often be overly sweet and lack depth. We’ve elevated ours into a truly spectacular salted honey buttercream that stands out. By incorporating salted butter, a touch of golden honey, and a hint of almond extract, we’ve created a frosting with a wonderfully complex flavor profile. It still embodies the comforting essence of vanilla buttercream, but with added richness, a subtle salty-sweet balance, and an irresistible depth that is never cloyingly sweet. It’s the perfect complement to our fluffy vanilla base.
**Essential Ingredient Overview for Perfect Vanilla Cupcakes:**
Understanding the role of each ingredient is key to successful baking. While the full recipe with precise measurements and detailed directions can be found in the recipe card at the bottom of this post, here’s a comprehensive look at what you’ll need and why it matters. For quick navigation, use the table of contents located below the first image at the top.
- Cake Flour – The Secret to a Tender Crumb: Cake flour is not merely a suggestion; it’s a vital component for achieving the signature light, airy, and tender crumb that distinguishes these cupcakes. Its lower protein content compared to all-purpose flour results in a less dense, more delicate cake structure. For the most accurate results, it’s crucial to spoon and level your flour or, ideally, use a kitchen scale. Directly scooping flour with a measuring cup can compact it, leading to significantly more flour than intended and a drier, tougher cupcake. As a guide, 1 cup of cake flour typically weighs around 115 grams, whereas 1 cup of all-purpose flour weighs approximately 130 grams. Precision here makes all the difference.
- Full-Fat Sour Cream – For Unrivaled Moisture and Richness: Opt for full-fat sour cream, ensuring it’s at room temperature before use. Sour cream is a powerhouse ingredient, contributing incredible moisture, tenderness, and a subtle tang that beautifully complements the vanilla. The fat content enriches the batter, while the acidity reacts with the leavening agents to produce a softer, more delicate texture. Room temperature ingredients emulsify more smoothly, leading to a homogenous batter.
- Salted Butter – Flavor Depth and Structure: I consistently choose salted butter for both the cupcakes and the frosting. The hint of salt truly enhances all the other flavors, making the vanilla and honey notes pop. However, if you prefer or only have unsalted butter, that works too; just be sure to add an extra pinch of salt to the recipe. Like sour cream, having your butter at room temperature is essential for proper incorporation, especially in the reverse creaming method, where it’s coated in dry ingredients before liquid is added.
- Large Eggs – Binder, Leavener, and Moisturizer: Use large eggs, also at room temperature. Eggs play multiple crucial roles: they provide structure and bind the ingredients, contribute to leavening when whipped, and add moisture and richness to the final product. Room temperature eggs blend more evenly into the batter, preventing curdling and ensuring a smooth, consistent texture.
- Milk – Hydration and Softness: Just like our other cold ingredients, your milk (2% is my go-to) needs to be at room temperature. Milk hydrates the dry ingredients, helps to activate the leavening, and contributes to the overall tenderness and softness of the cupcakes. Using room temperature milk prevents the batter from seizing and ensures a uniform mix.
- Pure Vanilla Extract (or Paste) – The Star Flavor: Since these are vanilla cupcakes, the quality of your vanilla is paramount. Invest in a good quality, pure vanilla extract for the most authentic and robust flavor. For an even more intense vanilla presence and those beautiful specks, consider using vanilla bean paste, as noted in the recipe card. This ingredient is truly the heart of the cupcake’s flavor profile.
- Vinegar – The Unsung Hero for Lift: A small amount of vinegar might seem unusual in a cupcake recipe, but it plays a critical scientific role. When combined with baking powder (and any residual baking soda if present), the acidity from the vinegar creates a gentle chemical reaction, producing carbon dioxide bubbles. This reaction provides an extra boost of lift and contributes significantly to the cupcakes’ celebrated fluffiness and tender crumb.
**Recipe Customizations: Substitutions & Creative Variations:**
While this recipe is perfected for its classic vanilla flavor and texture, don’t hesitate to get creative or adapt it to your dietary needs (with careful consideration). Here are some popular ways to customize these delightful cupcakes:
- Gluten-Free/Dairy-Free Considerations: Please note that I have not personally tested gluten-free or dairy-free versions of this specific recipe. The unique balance of ingredients and the reverse creaming method are quite sensitive to changes in flour and dairy components. Modifications for gluten-free or dairy-free alternatives could substantially alter the texture and outcome. If you choose to experiment with these dietary substitutions, please proceed with caution and be aware that results may vary significantly from the original recipe. It’s often best to seek out recipes specifically developed for gluten-free or dairy-free baking to ensure success.
- Spice It Up with Cinnamon (or Other Warm Spices): For a cozy twist, feel free to add 1/2 to 1 teaspoon of ground cinnamon to the dry ingredients along with the flour. This creates a wonderful cinnamon vanilla cupcake that’s perfect for autumn or anytime you crave a hint of warmth. You could also experiment with a pinch of nutmeg or a dash of cardamom for different aromatic dimensions.
- Endless Frosting Possibilities: These classic vanilla cupcakes are a versatile canvas for a variety of frostings! While our salted honey buttercream is a showstopper, you can certainly experiment with other flavors to suit any occasion or preference. Consider pairing them with vibrant fruit-flavored options like my **Raspberry Frosting, Blueberry Frosting, or Strawberry Frosting**. For chocolate lovers, a rich **Chocolate Frosting** is always a hit, or for a tangy contrast, my **Cream Cheese Frosting** would be divine. Don’t be afraid to have fun and make these cupcakes truly your own!
**Step-by-Step Guide to Crafting the Best Vanilla Cupcakes:**
Achieving bakery-quality vanilla cupcakes at home is simpler than you think when you follow these clear, step-by-step instructions. The reverse creaming method, while slightly unconventional, is a game-changer for texture.
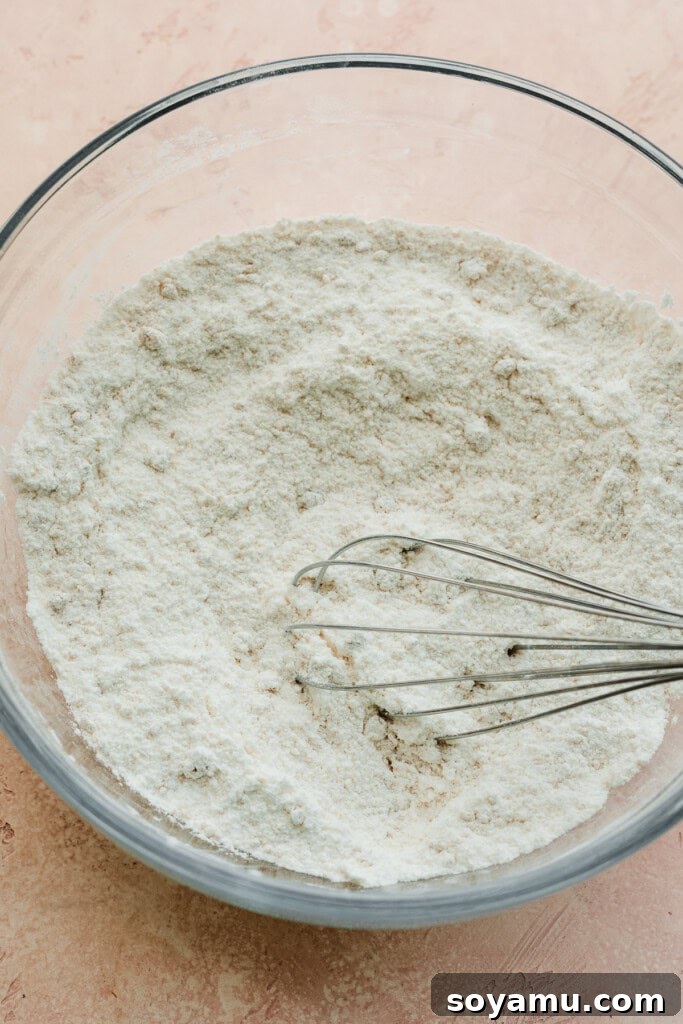
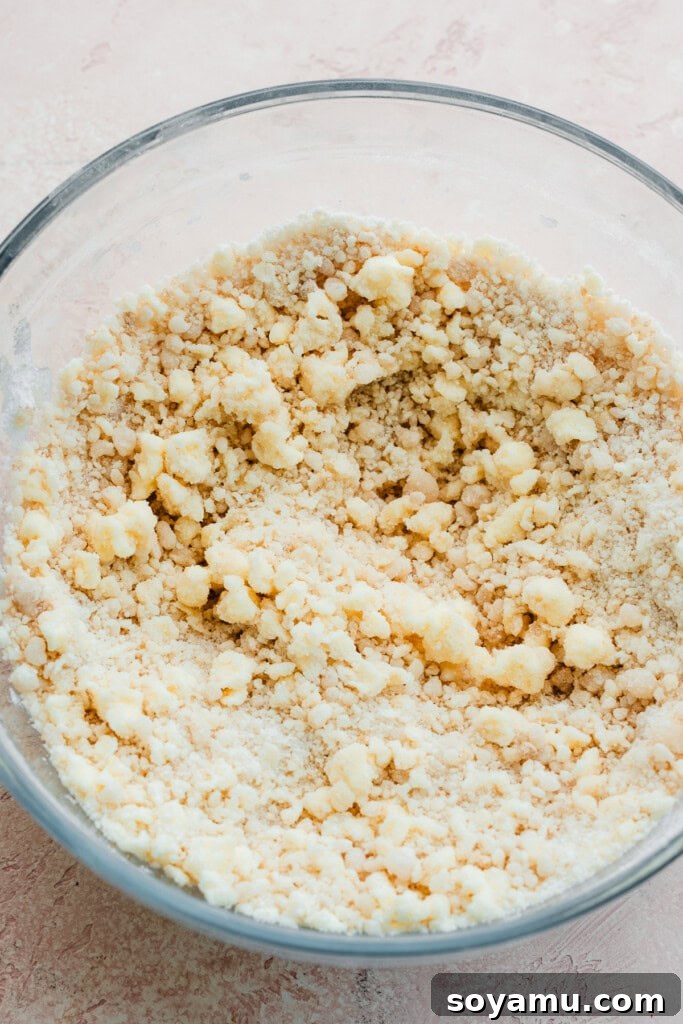
Step 1: Prepare the Dry Mixture and Incorporate Butter. In a spacious medium bowl, begin by thoroughly whisking together your dry ingredients: the cake flour, granulated sugar, light brown sugar, baking powder, and salt. This ensures all leavening and flavoring agents are evenly distributed. Next, add the softened butter and vegetable oil. Using your mixer on low speed, beat this mixture for about 30-60 seconds. You’re aiming for a dry, sandy mixture with some larger butter lumps still visible. This initial coating of flour around the butter inhibits gluten development later, contributing to a tender crumb.
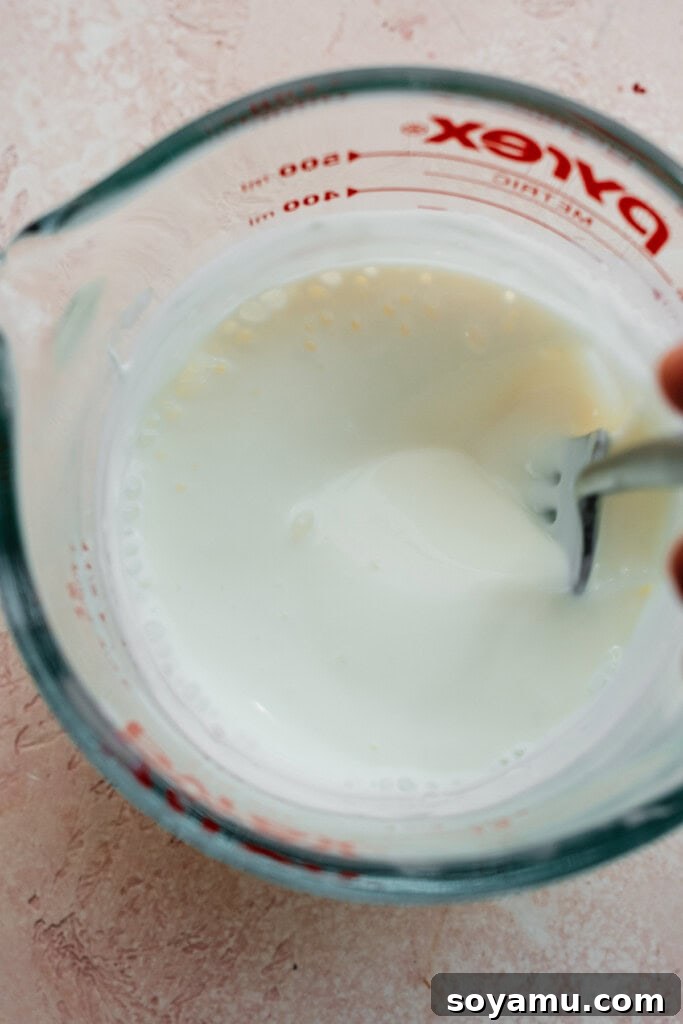
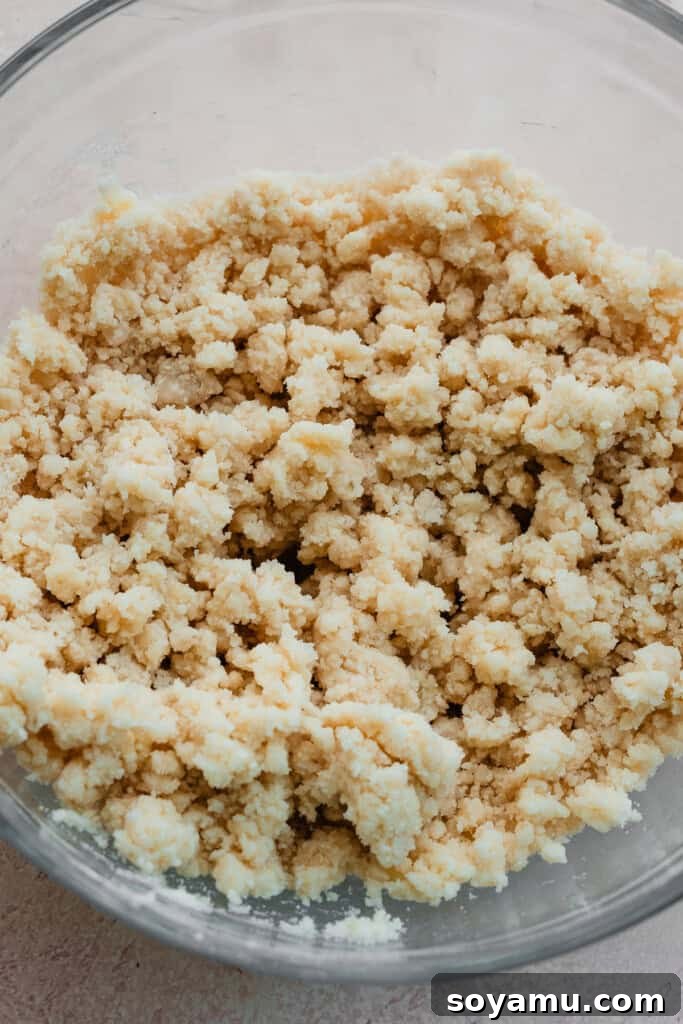
Step 2: Initiate the Wet Mixture and Hydrate the Batter. In a separate glass measuring cup, combine the sour cream, milk, warm water, and vinegar. Whisk these wet ingredients until they are thoroughly blended. Then, add just 2 tablespoons of this combined liquid into your dry flour-and-butter mixture. Mix on low speed until the batter just begins to come together and no dry bits of flour remain, though it will still have a lumpy, cohesive texture. This small addition of liquid helps to further break down the flour-coated butter and starts to hydrate the flour gently.
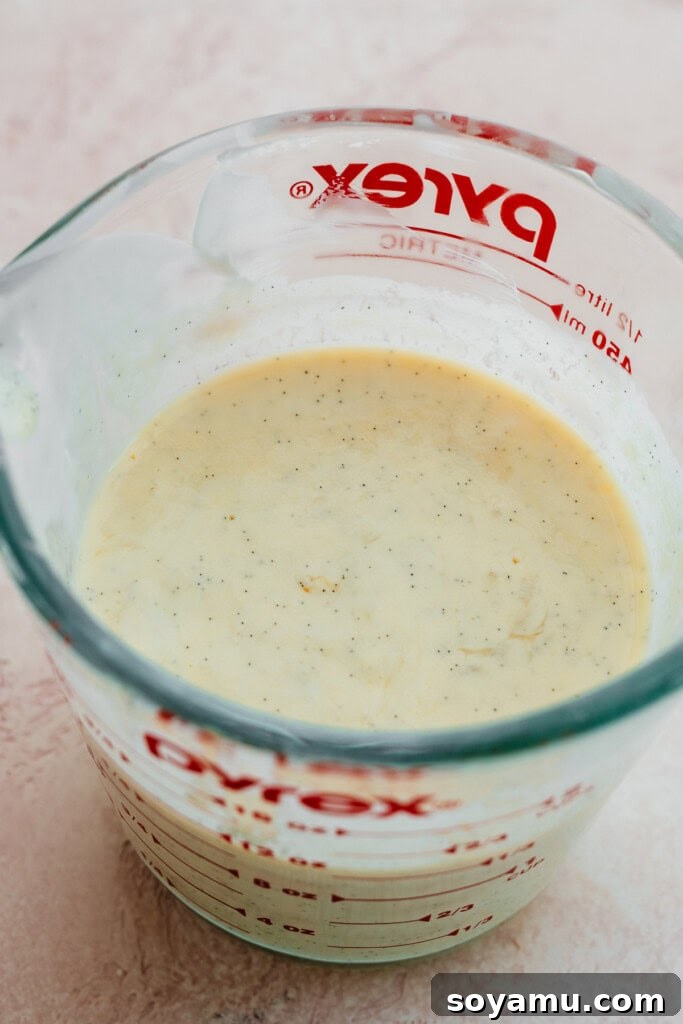
Step 3: Complete the Wet Ingredient Addition and Achieve Perfect Batter Consistency. To the remaining wet mixture in your measuring cup, lightly whisk in the eggs and vanilla extract (or paste), just enough to break up the egg yolks. Now, with your mixer running on low speed, gradually pour half of this liquid mixture into the bowl of batter. Mix until it’s almost fully incorporated, then add the remaining liquid. Continue mixing on low speed only until the ingredients are just combined and a relatively smooth batter forms. It’s crucial not to overmix at this stage, as excessive mixing can develop gluten, leading to tough cupcakes. Scrape down the sides of the bowl to ensure everything is fully incorporated. A few small lumps are perfectly fine and even desirable for a tender crumb.
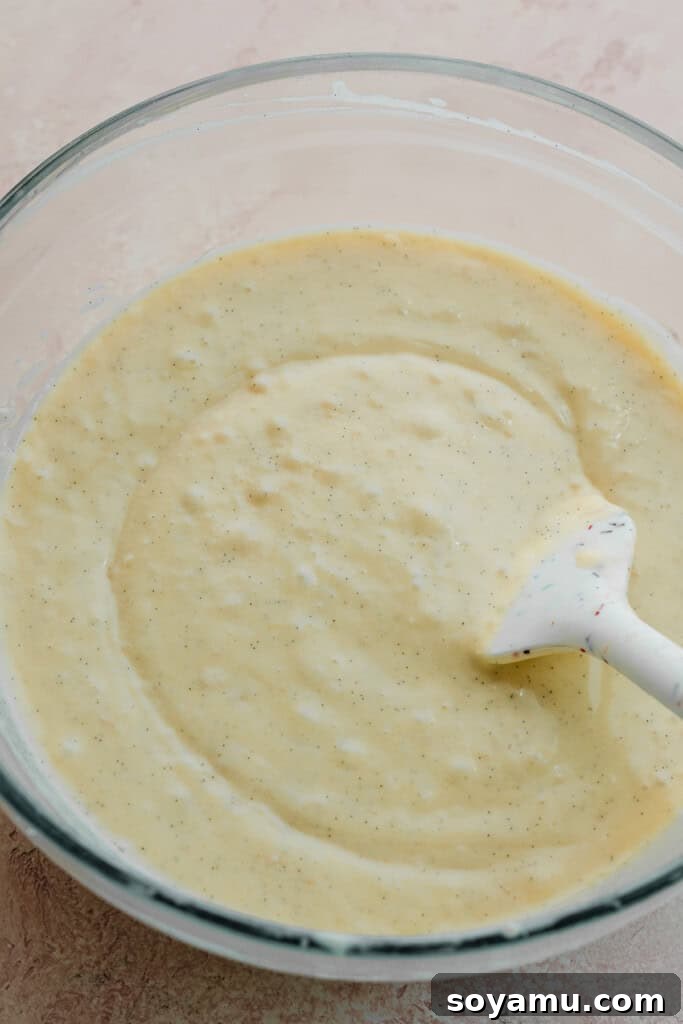
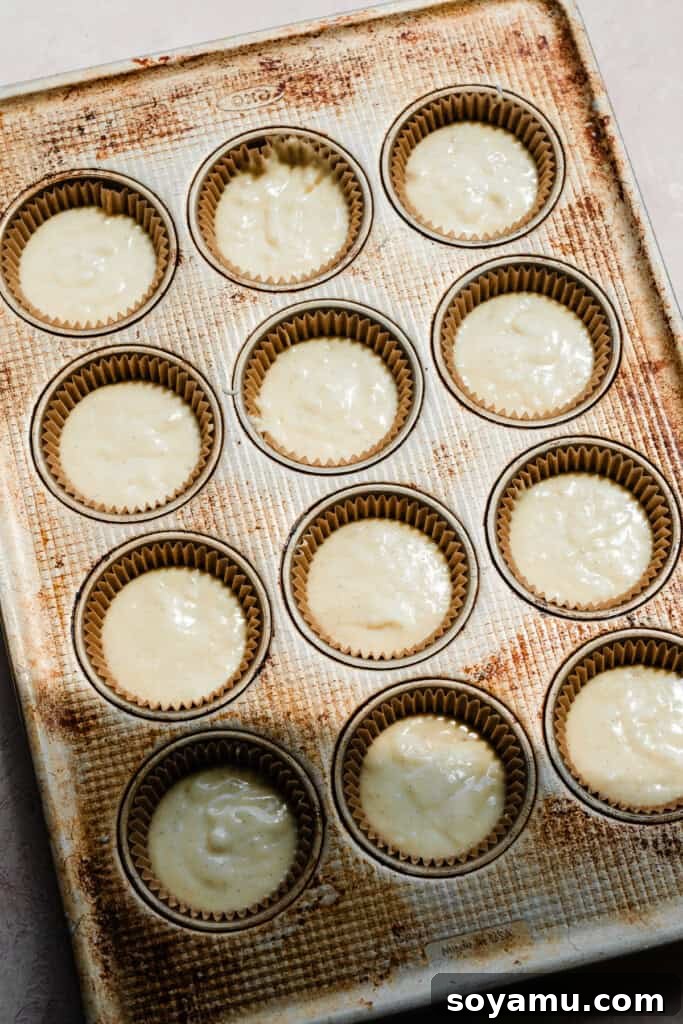
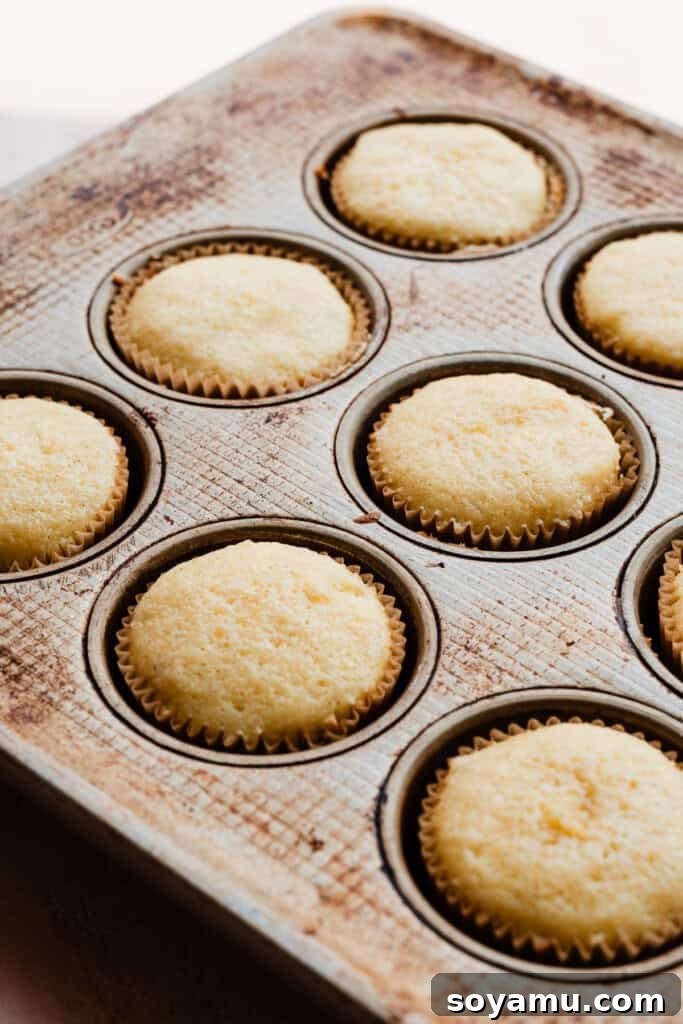
Step 4: Bake Your Fluffy Vanilla Cupcakes to Perfection. Carefully divide the prepared cupcake batter evenly among 16-17 cupcake liners in your muffin tins. For precise and uniform cupcakes, fill each liner about 2/3 full. If you prefer exact measurements like me, aim for approximately 52 grams of batter per cupcake. Bake according to the time specified in the recipe card below. A good indicator of doneness is when a toothpick inserted into the center of a cupcake comes out with moist crumbs attached, but no wet batter. Immediately after baking, use a butter knife or small offset spatula to gently pop the warm cupcakes out of the hot pan and transfer them to a wire rack. This prevents them from continuing to bake in the hot tin and ensures they cool completely, which is crucial before frosting.
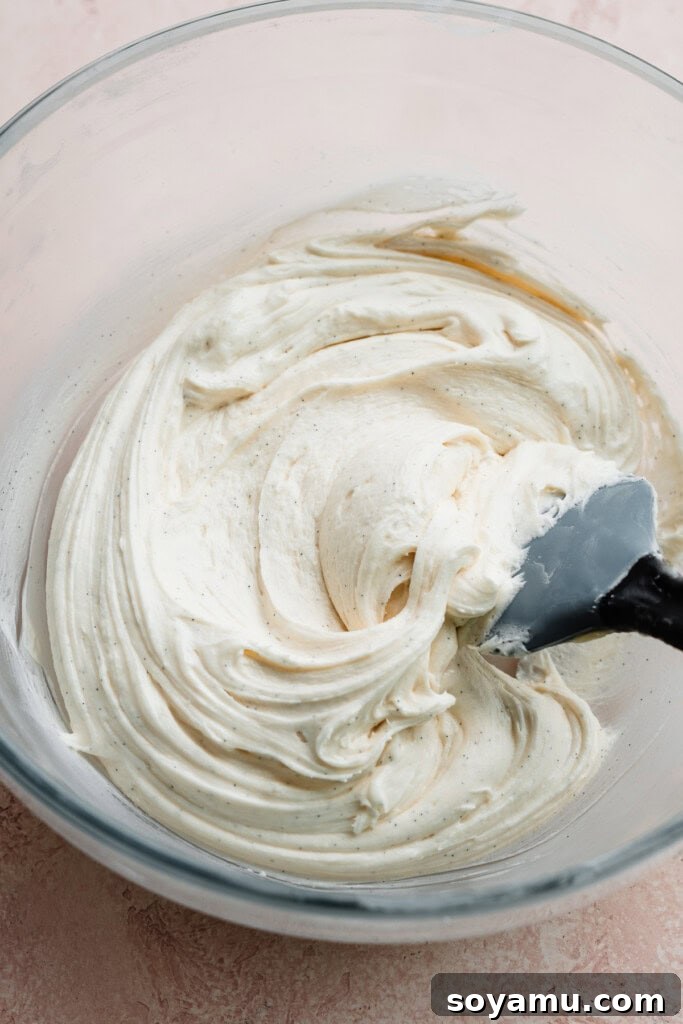
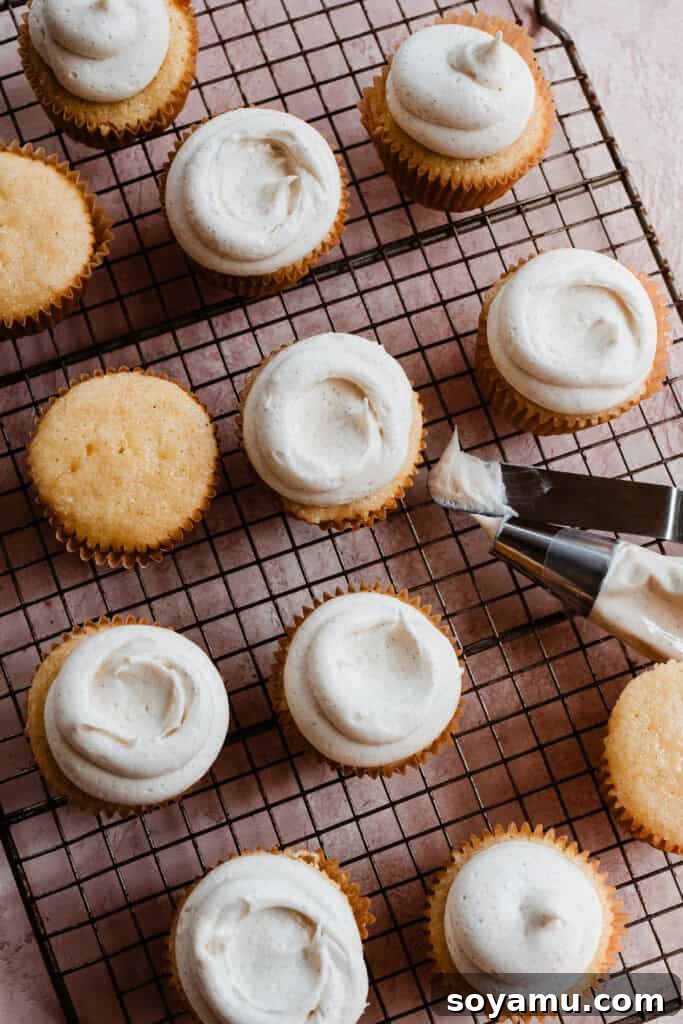
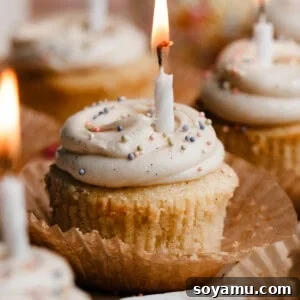
Step 5: Create and Apply the Luscious Salted Honey Buttercream. While your cupcakes cool *completely* (this is vital to prevent melting frosting), prepare the star of the show: the salted honey buttercream. In a medium bowl, beat softened butter until it’s light and creamy, about 30-60 seconds. Gradually add the powdered sugar, mixing until fully combined. If the mixture seems too stiff, add a splash of milk, water, or heavy cream, 1 tablespoon at a time, until it reaches a smooth, pipeable consistency. Finally, mix in the vanilla, almond extract, honey, and a pinch of salt. Adjust these to taste until you achieve your desired flavor balance – a perfect harmony of sweet, salty, and aromatic notes. Once the frosting is ready and the cupcakes are fully chilled, fill a piping bag fitted with your favorite tip (an Ateco 2A round tip creates beautiful, classic swirls). Pipe two generous swirls on top of each cupcake. For a professional, artful touch, use the tip of an offset spatula or the back of a spoon to gently create a well in the center of the frosting with a swirling motion. Finish with a generous scattering of your favorite sprinkles for a festive and delightful presentation!
**Serving & Storing Your Bakery-Style Vanilla Cupcakes:**
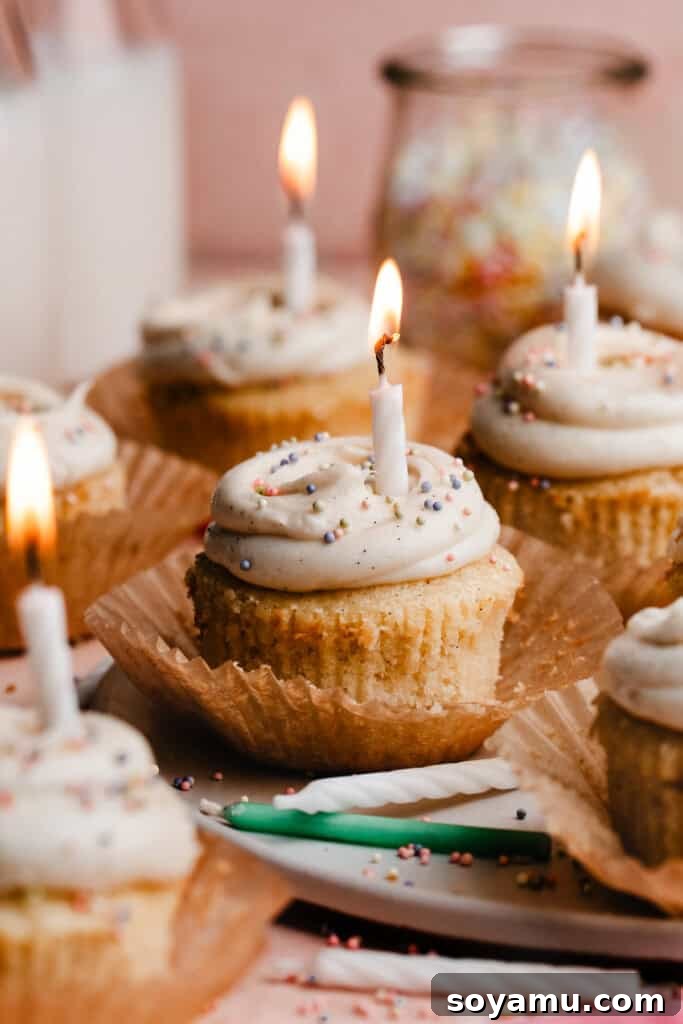
These delightful vanilla cupcakes are best enjoyed fresh, but they also store beautifully, allowing you to savor them over several days. For optimal taste and texture, dig in immediately after frosting! To keep your cupcakes at their peak, store them in an airtight container at room temperature. They will remain wonderfully fresh for 3-4 days this way, maintaining their moist crumb and soft frosting. If you need to extend their life, you can store them in an airtight container in the refrigerator for 2-3 days. However, refrigeration can sometimes make the cake slightly denser, so if stored in the fridge, let them come back to room temperature for about 30-60 minutes before enjoying to restore their tender texture. These cupcakes are perfect for any celebration, or simply as a sweet treat. If you’re baking for a larger event like a birthday party, be sure to also try my equally impressive **8-Inch Vanilla Cake** or my rich and decadent **Amazing Chocolate Cupcakes**!
**Unlock Baking Success: Expert Tips for Flawless Cupcakes:**
Baking is a science, and a few key tools and practices can dramatically improve your results, transforming good bakes into great ones. These expert tips are invaluable for consistent success with these vanilla cupcakes and any future baking endeavors:
- The Indispensable Oven Thermometer: Your oven’s internal thermostat might not be as accurate as you think, often fluctuating by 25-50 degrees Fahrenheit. An **oven thermometer** is a small, inexpensive tool that provides an accurate reading of your oven’s true temperature. Precise oven temperature is absolutely critical for successful baking, ensuring proper rise, even browning, and correct cooking times. I recommend keeping an oven thermometer in your oven at all times to monitor its calibration and make adjustments as needed. This simple tool will prevent countless baking mishaps.
- Embrace the Kitchen Scale for Accuracy: Measuring flour by volume (cups) is notoriously inconsistent; factors like how tightly the flour is packed or the specific measuring cup used can lead to vastly different amounts. A **food scale** is the most accurate way to measure ingredients, especially flour, ensuring you use the precise amount required for the recipe. This precision guarantees the correct balance of wet and dry ingredients, which is fundamental for achieving the perfect texture—moist, fluffy, and tender—every single time. Switching to a scale for baking is a game-changer for consistency and professional results.
- Room Temperature Ingredients Are Key: This advice is repeated throughout the recipe for a reason! Cold ingredients like butter, eggs, milk, and sour cream do not emulsify properly, leading to a lumpy or curdled batter and an inconsistent final texture. Allowing these ingredients to come to room temperature (typically 30-60 minutes, or longer for butter) ensures they blend smoothly and evenly, creating a uniform batter that bakes beautifully.
- Do Not Overmix the Batter: Once you’ve added the wet ingredients to the dry, mix only until just combined. Overmixing develops the gluten in the flour, resulting in dense, chewy, or tough cupcakes instead of the desired light and fluffy texture. A few small lumps in the batter are preferable to overmixing.
- Fresh Leavening Agents: Baking powder and baking soda lose their potency over time, especially if exposed to moisture or air. Always ensure your leavening agents are fresh. You can test baking powder by adding a teaspoon to a cup of hot water; it should fizz vigorously. For baking soda, add a teaspoon to a few tablespoons of vinegar; it should also fizz immediately. If there’s no reaction, it’s time for a new container.
**Frequently Asked Questions (FAQs):**
Absolutely! This recipe is quite versatile. You can easily double the ingredients to make a larger batch for a party or special event, or halve it if you only need a smaller quantity of cupcakes. Just ensure you adjust baking times slightly for larger batches if using multiple pans simultaneously.
Yes, these vanilla cupcakes freeze exceptionally well! You can freeze them either with or without the frosting. To freeze, place them in a single layer on a baking sheet until firm, then transfer them to a freezer-safe airtight container or bag. They will keep beautifully in the freezer for 1-2 months. When you’re ready to enjoy, simply let them thaw on the counter at room temperature for 1-2 hours.
The mixing method utilized in this recipe is known as reverse creaming, and it’s a fantastic technique for tender cakes and cupcakes. Unlike the standard creaming method, where butter and sugar are creamed together first, then eggs, and finally dry ingredients are added, reverse creaming flips the order. In this method, the softened butter is first beaten into the dry ingredients (flour, sugar, baking powder, salt), coating the flour particles in fat. This inhibits gluten development, resulting in a more tender and velvety crumb. The liquids are then gradually added. This technique produces cupcakes that are still wonderfully light and fluffy, yet sturdy enough to hold generous amounts of frosting or even fillings without collapsing, making them truly bakery-worthy.
**Recommended Special Tools for Bakery-Quality Cupcakes:**
While you can certainly make these cupcakes with basic kitchen equipment, certain specialized tools can make the process easier, more precise, and help you achieve those professional, bakery-style results. Here are a few I highly recommend:
- Piping Tip – For Flawless Frosting Swirls: To achieve those beautiful, elegant swirls of frosting you see on professional cupcakes, a good piping tip is essential. I specifically used an **Ateco 2A piping tip** for these vanilla cupcakes. This large round tip creates a smooth, even stream of frosting that’s perfect for creating classic domes or decorative swirls. Investing in a quality piping tip will instantly elevate the visual appeal of your baked goods.
- Piping Bag – Efficient and Eco-Friendly Frosting Application: A reliable piping bag makes frosting cupcakes a clean and efficient task. I personally prefer using a **reusable piping bag**. Not only is it more environmentally friendly than disposable bags, but it’s also durable and easy to clean, making it a sustainable choice for frequent bakers. Using a piping bag allows for controlled and consistent frosting application, giving your cupcakes a professional finish.
- Offset Spatula – Your Decorating Companion: An **offset spatula** is an incredibly versatile tool that makes decorating cupcakes and cakes a breeze. Its angled blade keeps your knuckles off the frosting, allowing for smooth, even spreading and intricate detailing. Beyond frosting, it’s also excellent for leveling cake batters in pans or spreading brownie batter evenly. For creating that distinctive “well” in the center of the frosting swirl, an offset spatula is particularly useful for a clean, professional look.
**Discover More Irresistible Cupcake Recipes:**
If you’ve enjoyed baking these vanilla masterpieces, you’ll love exploring other delightful cupcake creations from my kitchen. Expand your baking repertoire with these fan favorites:
- **Orange Creamsicle Cupcakes** – A burst of citrusy nostalgia!
- **Maple Bacon Cupcakes** – An irresistible sweet and savory delight.
- **Pumpkin Cupcakes with Brown Butter Cream Cheese Frosting** – Perfect for cozy autumn baking.
- **The Only Chocolate Cupcakes You’ll Ever Need** – A truly decadent chocolate experience.
- **Mini Vanilla Cupcakes** – All the flavor, in adorable bite-sized form.
- **Peach Pie Cupcakes** – A taste of summer in every bite.
- **Classic Birthday Cupcakes** – The quintessential celebration treat.
Did you make this recipe? Leave a comment & star rating!
Click the little stars in the header of the recipe card below to leave a comment & star rating, letting me know how you liked the recipe. Your feedback is seriously important to me, and leaving a rating helps my small business immensely!
Better-Than-Bakery-Vanilla Cupcakes
Stephanie Simmons
30 minutes
16 minutes
46 minutes
17
cupcakes
Rate
Ingredients
For the Cupcakes:
- 1 and 1/2 cups + 1 tbsp cake flour, spooned & leveled or weighed out , 180 grams
- 1 cup granulated sugar, 210 grams
- 3 tbsp light brown sugar, packed, 36 grams
- 1 and 1/2 tsp baking powder
- 1/8 tsp salt
- 7 tbsp salted butter, softened at room temperature , 100 grams
- 2 tbsp vegetable oil, 27 grams
- 1/3 cup + 1 tbsp milk, at room temperature, 90 grams
- 1/2 cup full-fat sour cream, at room temperature, 120 grams
- 1 tbsp warm water, 15 grams
- 1/2 tsp vinegar
- 1 tbsp vanilla bean paste, See Note below
- 2 large eggs, at room temperature
Vanilla Frosting:
- 1/2 cup + 2 tbsp salted butter, softened at room temperature , 141 grams
- 3 cups to 3 and 1/3 cups powdered sugar, 340 to 386 grams – adjust to taste!
- 1-2 tbsp milk/water/heavy cream, To help things combine (15-30 grams)
- 1 tbsp vanilla bean paste, or vanilla extract
- 1/4 tsp almond extract
- 1-2 tbsp honey, 15-30 grams
- pinch of salt, to taste
Instructions
-
Prep: Preheat your oven to 350° F. Line two cupcake pans with paper liners, in preparation for 16-17 cupcakes.
-
Start the Batter: In a medium mixing bowl, whisk together the flour, sugars, baking powder, and salt. Add the softened butter and oil, and mix on low speed for about 30-60 seconds, just until the butter starts incorporating and you have a sandy mixture with some drier sandy bits, and some unevenly incorporated chunks of butter coated in flour.
-
Finish the Batter: In a 2-cup glass measuring cup, whisk together the sour cream, milk, water, and vinegar until combined. Add 2 tbsp of this mixture to the bowl of butter and flour. Mix on low speed just until the mixture starts to come together (no more dry bits!), but is still lumpy. (See photos in blog post above for a visual).
Then, add the vanilla and eggs to the remaining liquid mixture, lightly beating the eggs with a fork to break them up. Pour half this mixture into the bowl of batter with your mixer running on low. When it’s almost incorporated, pour in the remaining liquid, mixing on low until just combined. Scrape the bowl to make sure everything is mixed in – a few small lumps is fine! Do not overmix. -
Bake: Divide the batter evenly among your 16-17 cupcake papers. Fill them about 2/3 full, or use 52 grams of batter per cupcake (I like precision!).
Bake for 14 to 17 minutes. A toothpick inserted into the center should pull out moist crumbs, not wet batter.
Immediately use a butter knife to pop the cupcakes out of the hot pan, and place them on a wire rack to cool completely. -
Make the Frosting: While the cupcakes cool, make the frosting. In a medium bowl, beat the butter until creamy, 30-60 seconds. Add the powdered sugar and mix until combined, using a bit of water/milk as needed to help things along.
Mix in the remaining frosting ingredients, adjusting to taste. If for some reason your frosting is too soft or weepy, pop the bowl in the fridge or freezer to stiffen it back up.
Fill a piping bag fitted with an Ateco 1A tip, then pipe swirls of frosting onto the cooled cupcakes. Use the back of an offset spatula or spoon to create a swirl in the center of the top of the frosting. Add sprinkles! -
Serve + Store: Dig in immediately once the cupcakes are frosted! These are best stored at room temperature in my opinion, and will keep in an airtight container on the counter for 3-4 days. They also keep well in the fridge in an airtight container for 2-3 days, but will dry out a bit faster this way. Let cold cupcakes come back to room temperature on the counter before enjoying (or eat them cold, if you like a denser texture!)
-
Freezing Instructions: These cupcakes freeze well with or without frosting! Freeze in a freezer-safe container for 1-2 months. Let thaw on your counter for 1-2 hours before enjoying.
Notes
A Note on “Odd” Measurements & The Power of a Kitchen Scale: You might notice some ingredient measurements in this recipe, such as 17 cupcakes or 1/3 cup + 1 tbsp of milk, that don’t fit into conventional, easy-to-remember fractions. I understand this can sometimes feel a bit unconventional! However, these specific amounts are the result of rigorous recipe testing and a commitment to achieving the absolute best possible outcome. When perfecting a recipe, sometimes the precise balance requires quantities that don’t neatly align with our standard American cup measurements. For instance, I initially developed this recipe with 80 grams of milk, which aligns perfectly with a common fraction, but after further testing, I found that an extra 10 grams (or roughly 1 tbsp) of milk provided just the right amount of additional moisture to ensure the cupcakes were truly superior in texture. This is the reality of baking science in action! In the “American” system, we’re accustomed to simple fractions (1/4, 1/3, 1/2, 1 cup), but in much of the world, and indeed in professional kitchens, baking is done by weight using grams. This method offers far greater accuracy and consistency, as a “cup” of flour can vary significantly depending on how it’s scooped. I genuinely hope you’ll embrace these precise, albeit sometimes “odd,” measurements as a path to a truly exceptional baked good, and perhaps even consider investing in a kitchen scale. It’s an invaluable tool that unlocks a new level of precision and success in your baking endeavors!
Nutrition
Calories: 315kcal,
Carbohydrates: 46g,
Protein: 2g,
Fat: 14g,
Saturated Fat: 8g,
Polyunsaturated Fat: 2g,
Monounsaturated Fat: 4g,
Trans Fat: 0.4g,
Cholesterol: 53mg,
Sodium: 148mg,
Potassium: 42mg,
Fiber: 0.3g,
Sugar: 37g,
Vitamin A: 393IU,
Vitamin C: 0.1mg,
Calcium: 44mg,
Iron: 0.3mg
Nutrition information is automatically calculated, so should only be used as an approximation.
Like this? Leave a comment below!