
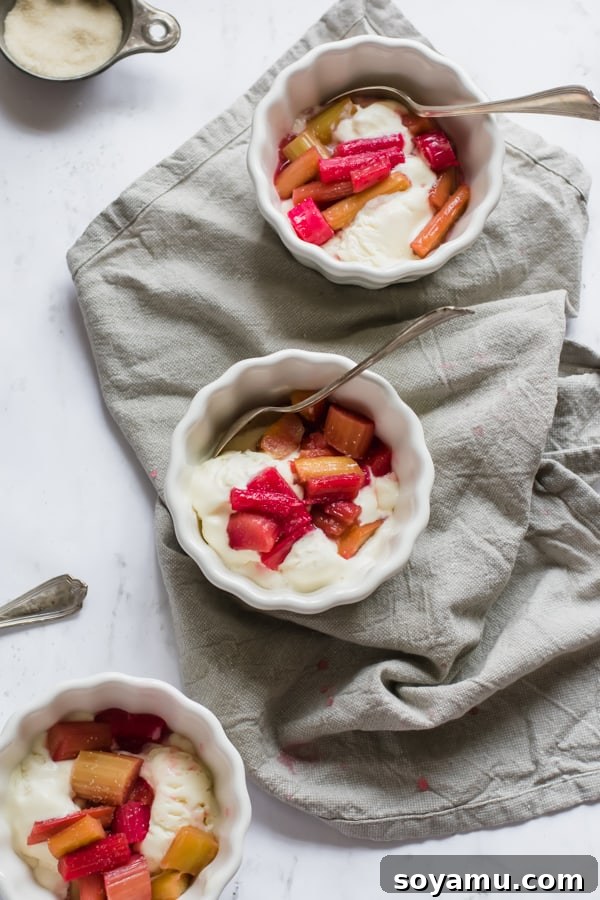
Easy No-Churn Vanilla Ice Cream with Roasted Rhubarb: The Ultimate Summer Delight
Does the phrase “homemade ice cream” spark a twinge of panic, imagining complex gadgets and endless churning? It shouldn’t! Today, we’re here to demystify the process and prove that crafting your own ice cream is not only incredibly easy but requires no special machine at all. This recipe for No-Churn Vanilla Ice Cream is the ideal canvas for showcasing the vibrant flavors of summer, especially when paired with tender, sweet-tart roasted rhubarb. Prepare yourself for a truly impressive and unbelievably delicious dessert that will become your go-to all season long.

The Enchanting Appeal of Roasted Rhubarb
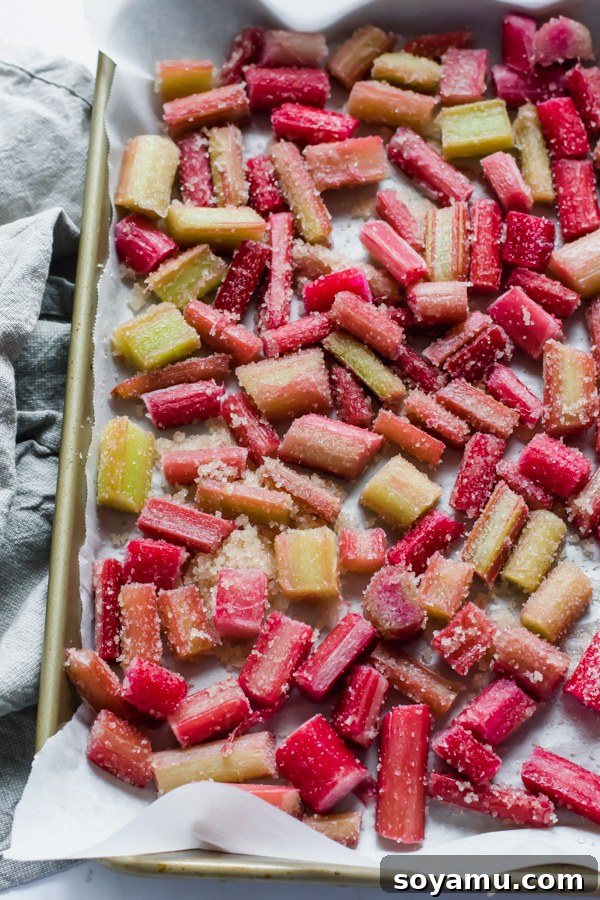
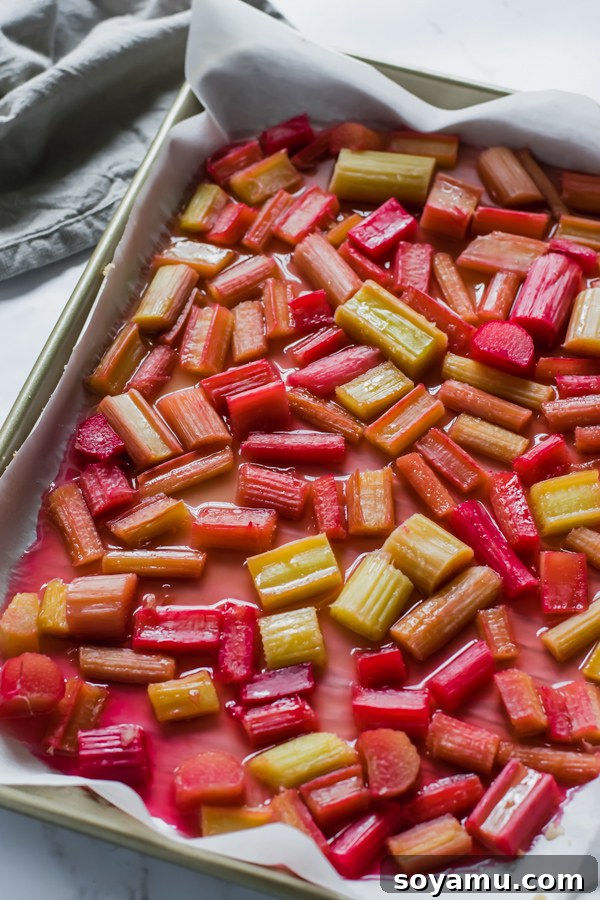
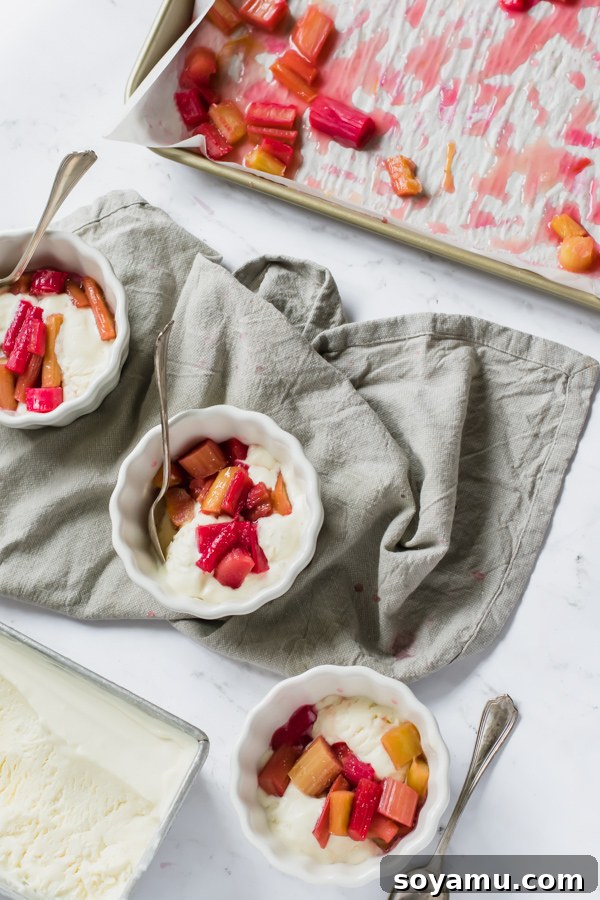
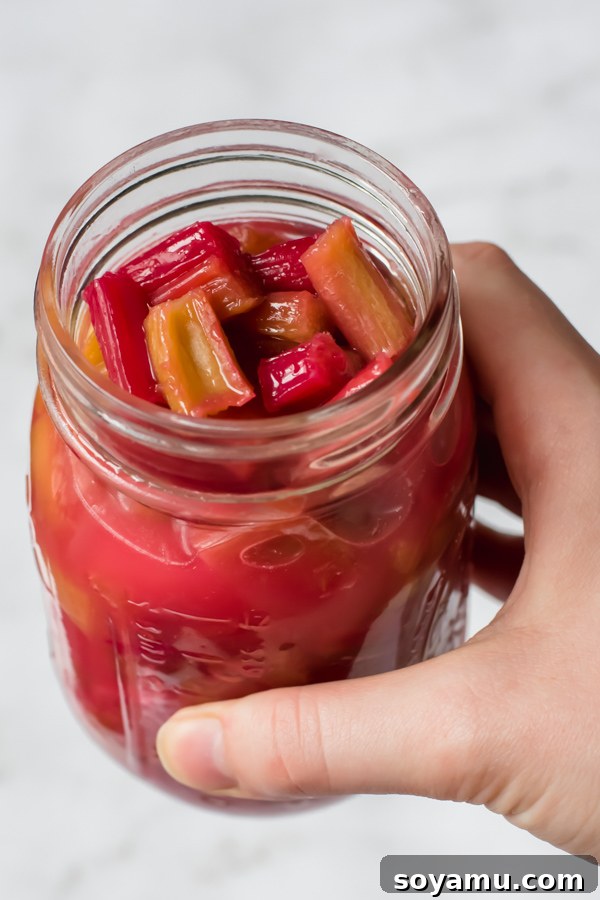
Let’s shine a spotlight on the spectacular partner in this dessert: roasted rhubarb. This preparation is a revelation. Imagine chopped rhubarb, lightly coated in sugar, then baked until it transforms into tender, succulent pieces, swimming in its own sweet and tangy juices. It’s truly incredible. For those who haven’t yet discovered the magic of roasted rhubarb, you’re about to experience a flavor profile that is both uniquely tart and beautifully balanced with sweetness, creating an irresistible topping.
I confess to a deep affection for rhubarb, especially as its season is wonderfully, albeit briefly, upon us. This vibrant vegetable (often treated as a fruit) is a summer treasure that deserves to be enjoyed to its fullest. Its distinct tartness, when mellowed by roasting, provides a sensational contrast to rich desserts. While rhubarb is my absolute favorite for this pairing, don’t hesitate to experiment with other seasonal fruits if it’s not available. Freshly prepared or gently cooked strawberries, peaches, blueberries, or even a mixed berry compote would also complement this vanilla ice cream beautifully, offering their own delightful burst of summer freshness.
Mastering the Art of No-Churn Vanilla Ice Cream
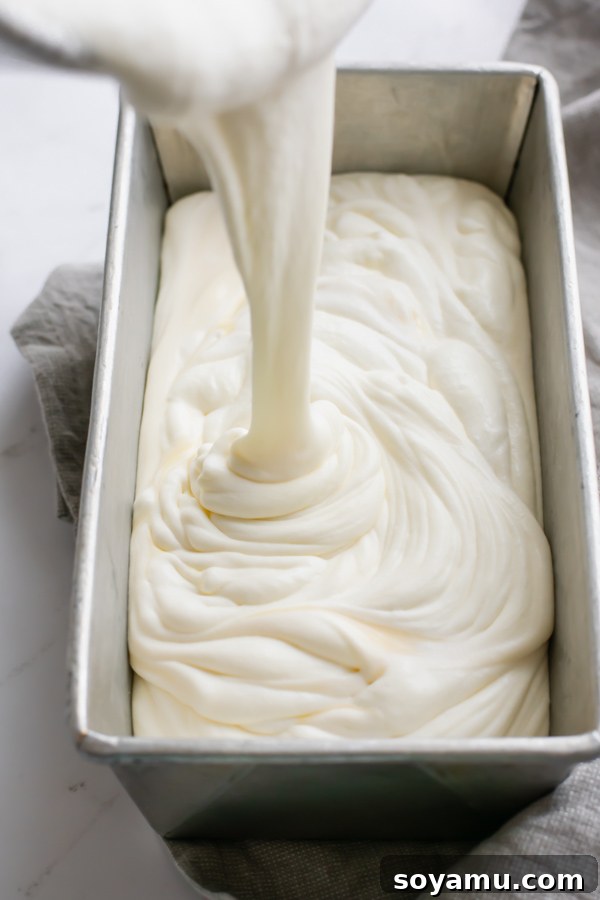
Now, let’s turn our attention to the star of the show: this incredibly creamy, luscious No-Churn Vanilla Ice Cream. This recipe is a true marvel, delivering a texture and flavor that rivals traditional churned ice cream, all without the need for an expensive machine. With just a few basic ingredients and minimal effort – approximately 10 minutes of active prep time – you can whip up this dreamy concoction and let your freezer do the rest. The result is a delightfully scoopable, rich, and utterly satisfying ice cream that will astound your taste buds.
The Simplicity and Science Behind No-Churn Magic
The beauty of no-churn ice cream lies in its ingenious simplicity. Traditional ice cream relies on continuous churning to break down ice crystals and incorporate air, resulting in a smooth, creamy texture. Our no-churn method achieves a similar effect by combining two key ingredients: heavy cream and sweetened condensed milk. The heavy cream, when whipped to stiff peaks, creates a light and airy base, trapping tiny air bubbles that prevent the formation of large, icy crystals. Sweetened condensed milk, rich in sugar and milk solids, plays a crucial role as a natural stabilizer. It lowers the freezing point of the mixture and contributes to its silky, smooth consistency, ensuring your ice cream stays soft and scoopable. Together, these ingredients create a magical base that transforms into a decadent dessert right in your home freezer.
Achieving Perfection: Essential Tips for Your No-Churn Masterpiece
While this recipe is incredibly forgiving, a few simple tips will guarantee a flawless batch of no-churn ice cream every time:
- Keep Ingredients Chilled: The colder your heavy cream, bowl, and beaters are, the faster and more effectively your cream will whip. For best results, chill your mixing bowl and whisk attachments in the freezer for 15-30 minutes before you start. Always use heavy cream straight from the refrigerator.
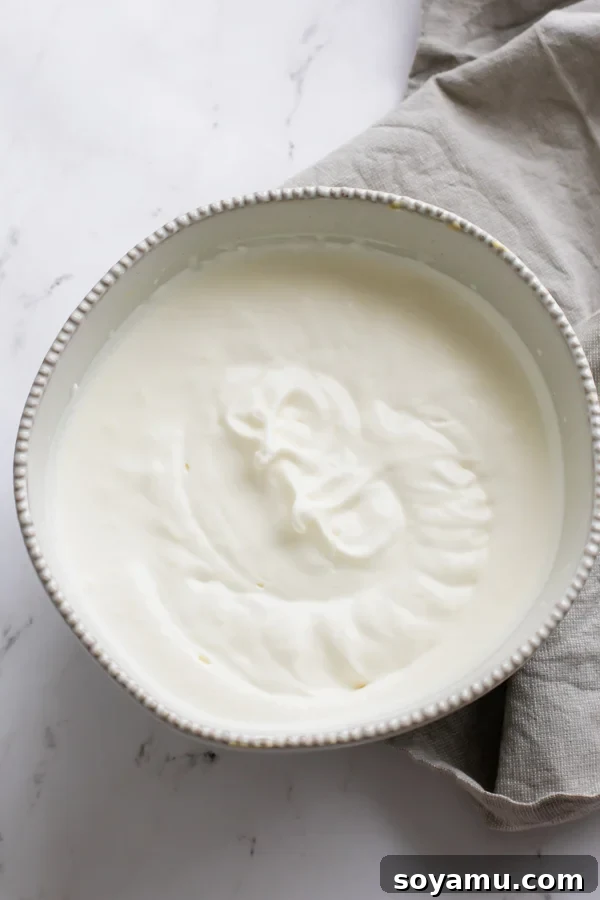
- Whip to Stiff Peaks: This is the most crucial step. Using a handheld or stand mixer, beat the heavy cream on high speed until it forms stiff peaks. This means when you lift the beaters, the peaks stand upright and hold their shape without wilting. This process incorporates essential air, which is vital for the ice cream’s light and fluffy texture.
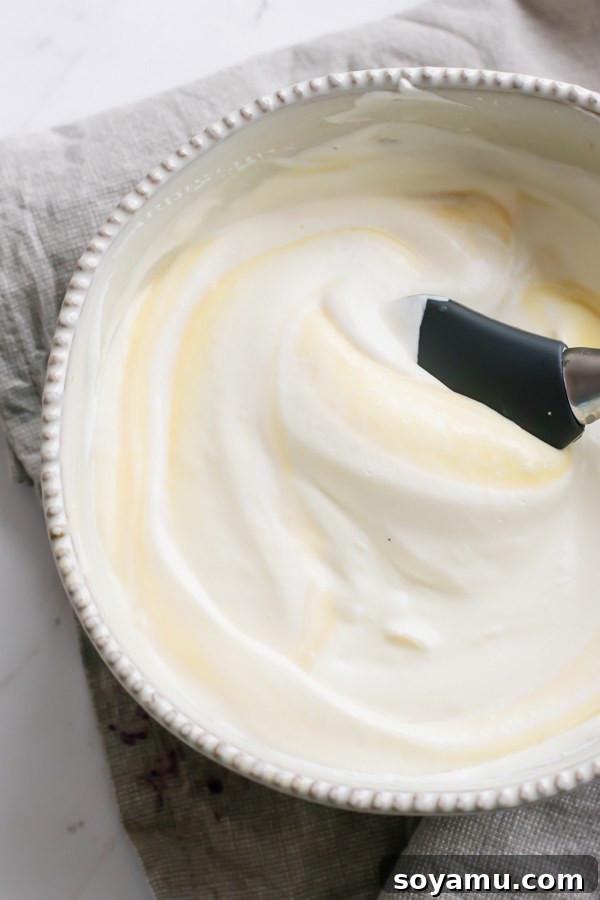
- Fold Gently: Once your heavy cream is perfectly whipped, the key is to maintain that airy volume. When combining a portion of the whipped cream with the condensed milk and then folding the entire mixture together, do so gently and deliberately. Use a spatula to fold the ingredients from the bottom up, cutting through the center, to incorporate them without deflating the precious air bubbles you’ve worked so hard to create.
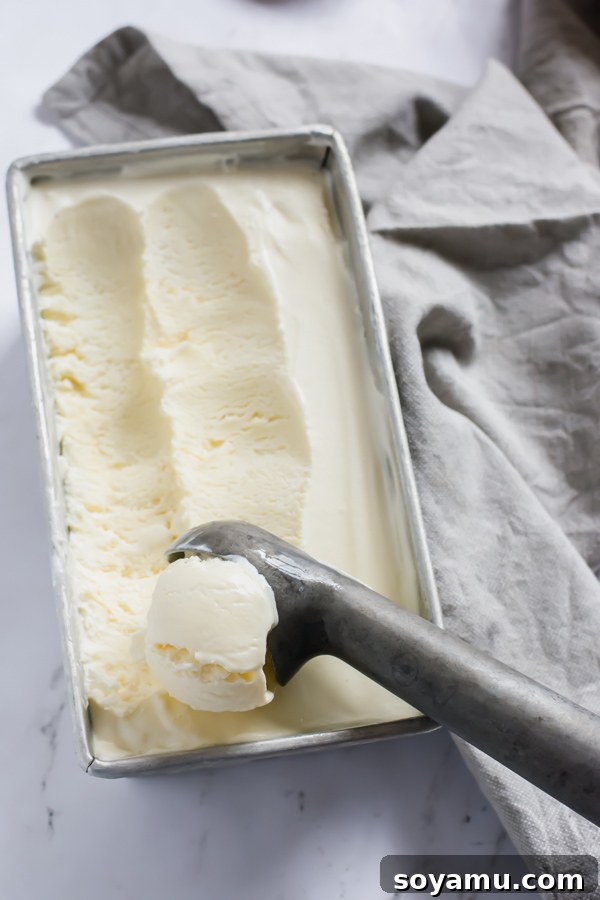
- Patience During Freezing: After the mixture is smoothly combined and transferred to your chilled loaf pan, cover it tightly and allow it ample time to freeze. A minimum of 8 hours, or ideally overnight, ensures it sets completely into a firm, perfectly scoopable consistency. Resist the urge to peek or sample too early!
Impress and Delight with Effortless Elegance
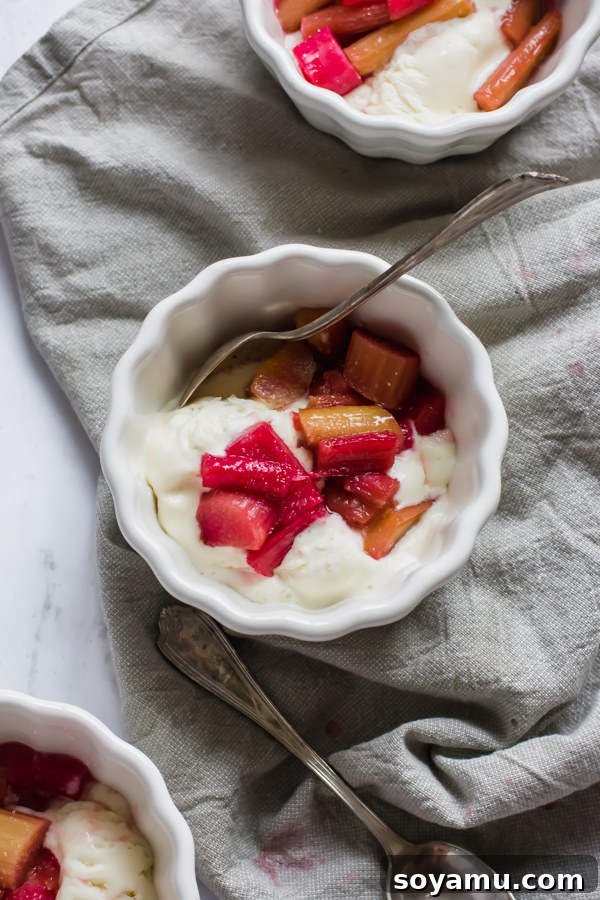
Prepare for accolades and genuine surprise when you present this phenomenal ice cream and casually mention it’s homemade. There’s an undeniable satisfaction in serving a dessert that tastes utterly gourmet, yet was surprisingly simple to create. The velvety, cold vanilla ice cream, perfectly complemented by the warm, saucy, sweet-tart roasted rhubarb, creates a symphony of flavors and textures that is both comforting and sophisticated. This combination isn’t just a dessert; it’s an experience that promises to be a memorable highlight of any meal or celebration, leaving your guests utterly impressed.
The Perfect Dessert for All Summer Gatherings
This No-Churn Vanilla Ice Cream with Roasted Rhubarb is truly designed for your summer calendar. It’s the ideal candidate for Father’s Day celebrations, backyard cookouts, potlucks, or simply a delightful weeknight treat. Its refreshing and balanced flavors are perfect for warm weather, and the fact that it can be made almost entirely ahead of time means less stress for you, allowing more time to enjoy your company. Once you experience the delightful pairing of creamy vanilla and the bright, tangy burst of rhubarb, you’ll find yourself looking for every opportunity to whip up a batch. And frankly, if you’ll excuse me, the thought of another spoonful of that luscious roasted rhubarb is too tempting to ignore. Oh, sweet summer, how I adore you and your seasonal bounty!
Recipe: No-Churn Vanilla Ice Cream with Roasted Rhubarb

No Churn Vanilla Ice Cream with Roasted Rhubarb
Stephanie Simmons
20 mins
20 mins
8 hrs
8 hrs 40 mins
5 servings
Print Recipe
Ingredients
FOR THE ICE CREAM
- 2 cups heavy cream, ensure it’s well-chilled
- 1 tbsp vanilla extract (or vanilla bean paste for richer flavor)
- 1 14 oz. can sweetened condensed milk
FOR THE RHUBARB
- 12 ounces fresh or frozen rhubarb, chopped into 1-inch pieces
- 1/3 cup sugar (coarse cane sugar is recommended for texture and sparkle)
Instructions
-
1. Prep & Chill for Success:
Begin by placing a bread loaf pan (metal is ideal for faster chilling) in your freezer to get nice and cold. Crucially, ensure your heavy cream is thoroughly chilled – it should be taken directly from the refrigerator just before you start whipping. If you’ve previously encountered issues with whipping cream, an extra tip is to chill your mixing bowl and beaters in the freezer for 15-30 minutes; this often helps achieve perfect stiff peaks.
-
2. Craft the Ice Cream Base:
In a medium mixing bowl, combine the entire 14 oz can of sweetened condensed milk with the vanilla extract. Whisk these two ingredients thoroughly until they are fully integrated and smooth. Set this mixture aside for a moment.
Now, in a large, very cold mixing bowl, pour in the heavy cream. Using a handheld electric mixer on high speed (or a stand mixer with a whisk attachment), beat the cream until it forms stiff peaks. This process typically takes between 2 to 5 minutes, depending on the temperature of your cream and the power of your mixer. You’ll know the cream is ready when you can lift the beaters, and the peaks hold their shape firmly without collapsing or drooping.
Gently scoop about one cup of the whipped cream into the bowl containing the condensed milk and vanilla mixture. Carefully fold it in using a spatula until just combined; this step helps to lighten the condensed milk base. Next, pour the entire condensed milk mixture back into the large bowl with the remaining whipped cream. Continue to gently fold everything together until no streaks of white cream are visible. Be very careful not to overmix or deflate the whipped cream. Pour this beautifully creamy mixture into your pre-chilled loaf pan, cover it tightly with foil or plastic wrap, and place it in the freezer for a minimum of 8 hours, or ideally overnight, until it is thoroughly frozen and firm.
-
3. Prepare the Roasted Rhubarb:
Preheat your oven to 350°F (175°C).
Carefully trim off the leaves from the rhubarb stalks (remember, rhubarb leaves are toxic and should never be consumed). Rinse the stalks well under cold water. Chop the clean rhubarb stalks into approximately 1-inch pieces. In a medium bowl, toss the chopped rhubarb with the sugar until each piece is evenly coated. Spread the sugared rhubarb in a single layer onto a baking sheet.
Roast the rhubarb in the preheated oven for 15 to 20 minutes. It should become fork-tender and release its flavorful juices, creating a rich, saucy topping. If you prefer a slightly firmer texture with a subtle bite, aim for the shorter roasting time. For a softer, more intensely saucy result, let it roast for the full 20 minutes.
-
4. Serve & Indulge:
Once your no-churn ice cream is perfectly frozen and firm, scoop generous portions into individual serving bowls. Spoon the warm or cooled roasted rhubarb over the top of each scoop. Serve immediately and relish the exquisite combination of cold, creamy vanilla with the warm, tangy sweetness of the rhubarb!
-
5. Storage Guidelines:
Store any leftover No-Churn Vanilla Ice Cream in the freezer, tightly covered, for up to 2 weeks to maintain its best texture and flavor. Any remaining roasted rhubarb should be transferred to an airtight container and can be stored in the refrigerator for 2-3 days. It’s also delicious stirred into breakfast yogurt or oatmeal!
Notes
Nutritional Information: The caloric information provided is an approximation and primarily reflects the ice cream base. The roasted rhubarb will contribute additional nutritional value to your serving.
Serving Yields: The roasted rhubarb recipe is designed to yield approximately 5 servings. However, the quantity of no-churn vanilla ice cream produced is typically sufficient for 6 to 7 small to medium-sized servings.
Nutrition
Calories:
628kcal
Nutrition information is automatically calculated and should only be used as an approximation. Individual results may vary.
Loved This Recipe? Share Your Creations!
Did you bring this delightful recipe to life in your kitchen? We would absolutely love to see your culinary masterpieces!
Be sure to follow @bluebowlrecipes on Instagram and tag your photo with #bluebowlrecipes. You can also share a picture of your gorgeous dessert on the bluebowlrecipes Facebook page. Your efforts and shared photos are a huge source of inspiration for us and our community!
If you truly enjoyed making and tasting this recipe, please consider leaving a comment or giving it a rating below. Your valuable feedback not only brightens our day but also helps other home cooks discover and enjoy wonderful new dishes!