
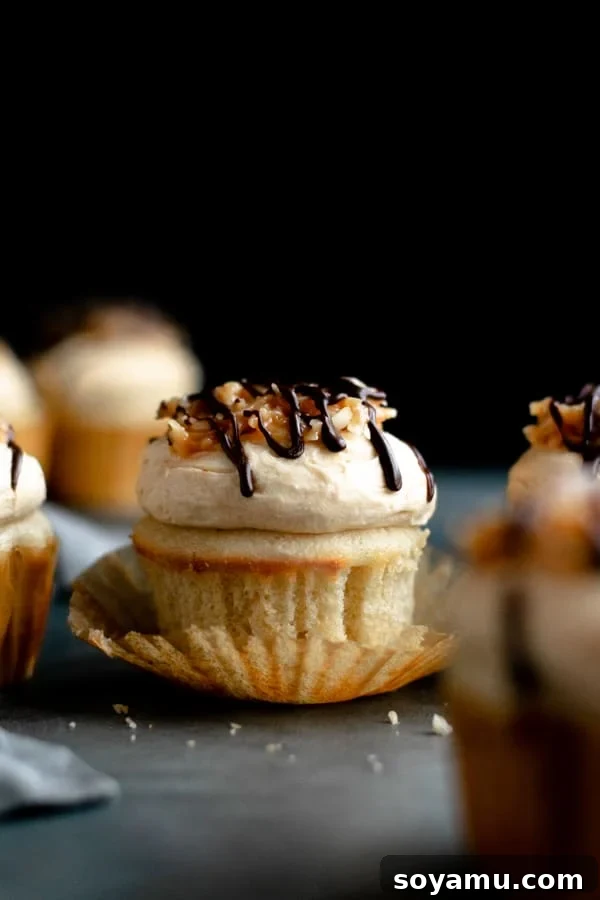
Prepare to be enchanted by our ultimate Samoa Cupcakes. These aren’t just any dessert; they’re a decadent reimagining of your favorite Girl Scout cookie in cupcake form! Picture this: a perfectly light and fluffy vanilla cupcake, crowned with a swirl of rich salted caramel buttercream, generously adorned with a sweet and chewy caramel coconut topping, and elegantly finished with a delicate drizzle of luxurious chocolate ganache. One bite, and you’ll understand why these are absolutely irresistible.
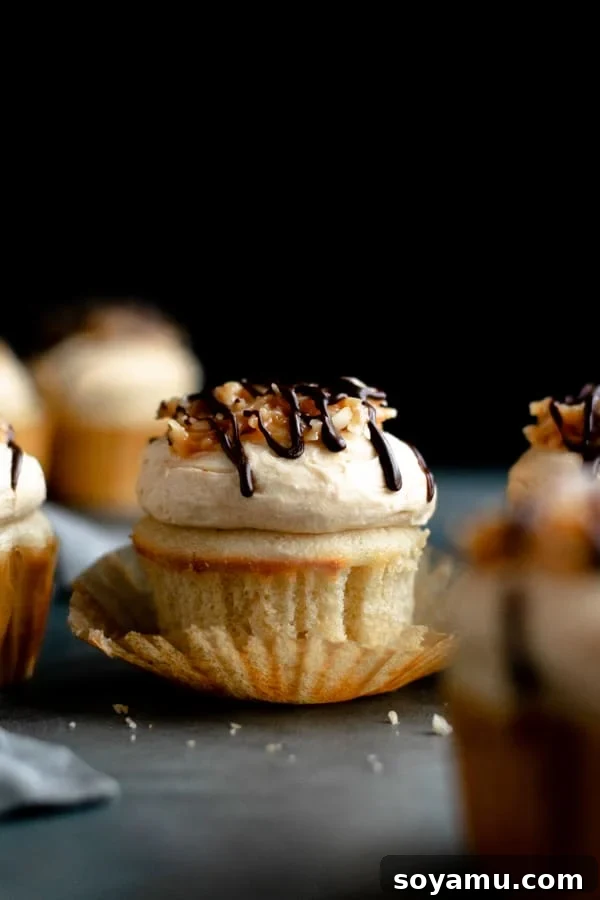
As Girl Scout cookie season rolls around, few treats capture hearts quite like the Samoa. Its iconic blend of toasted coconut, rich caramel, and decadent chocolate creates a symphony of flavors that’s truly unparalleled. We wanted to celebrate this beloved cookie by transforming its essence into a spectacular cupcake, offering all those familiar, cherished flavors in a moist, tender, and utterly divine dessert. While cupcakes naturally lack the signature crunch of the original cookie, every other essential element is faithfully represented: the warm vanilla base, the gooey caramel, the fragrant coconut, and the irresistible chocolate. It’s a perfect homage that stands magnificently on its own.
Crafting the Perfect Vanilla Cupcake Base
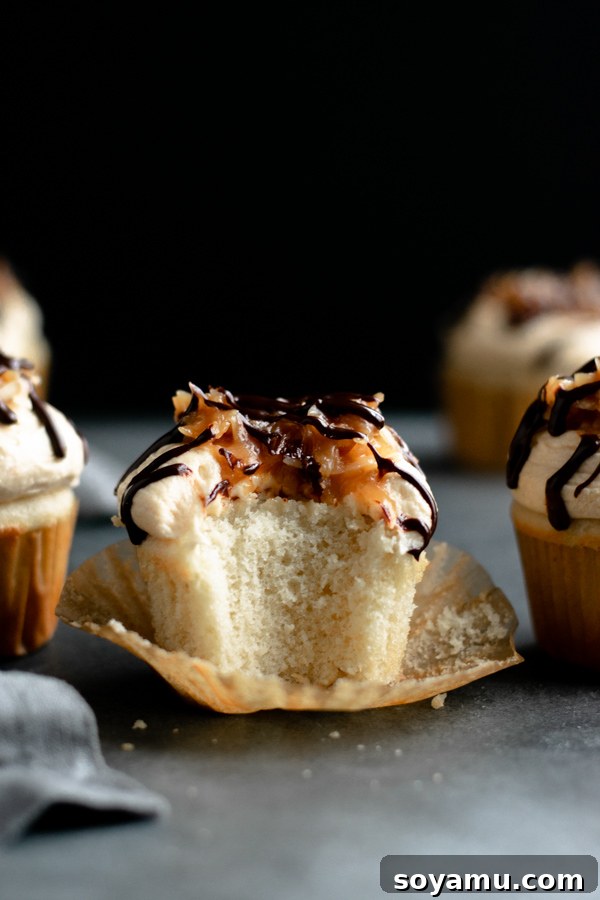
The foundation of any exceptional cupcake is a superb cake base, and for our Samoa Cupcakes, we’ve perfected a vanilla recipe that promises light, airy, and incredibly moist results. The process begins simply, but a few key details ensure a truly superior crumb texture. The most crucial tip? Avoid overmixing your batter. Excessive mixing develops gluten, leading to dense, chewy cupcakes—the opposite of the delicate fluffiness we’re aiming for.
Achieving that airy texture starts with proper creaming of butter and sugar. Ensure your butter is softened to room temperature; this allows it to incorporate air effectively when beaten with sugar, creating a light, fluffy mixture. This aeration is vital for the cupcake’s structure and helps produce that desirable tender crumb. Cream the butter and granulated or cane sugar together thoroughly until the mixture is visibly lightened in color and fluffy, typically taking about two to three minutes with a stand mixer.
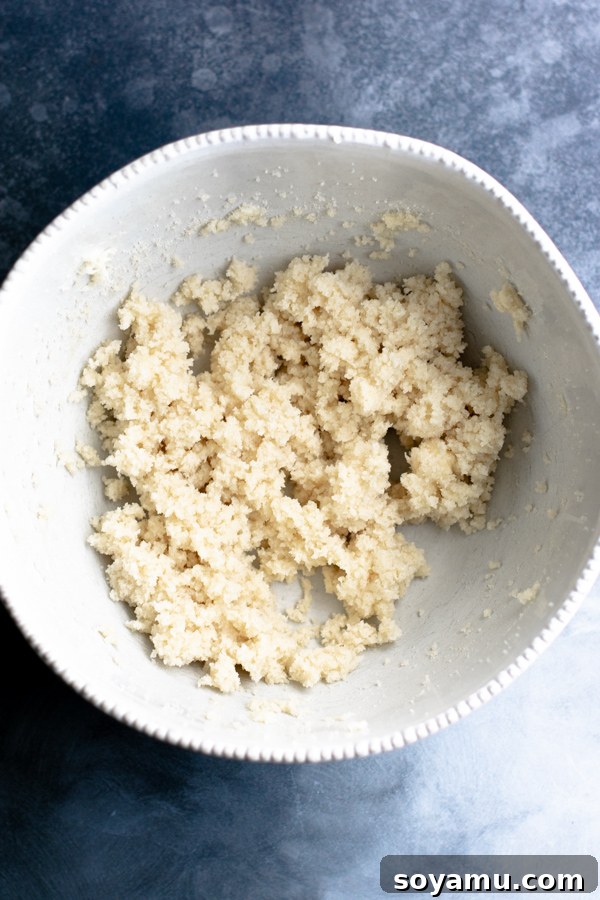
Once the butter and sugar are perfectly creamed, introduce the egg whites and vanilla extract. At this stage, it’s critical to mix *just* until combined. As soon as the eggs and any other wet ingredients like Greek yogurt are incorporated and no longer visible as streaks, stop mixing. Don’t worry if a few small lumps remain; this is completely normal and preferable to overworking the batter. Overmixing now will negate the aeration you worked hard to achieve earlier, resulting in a heavier cupcake.
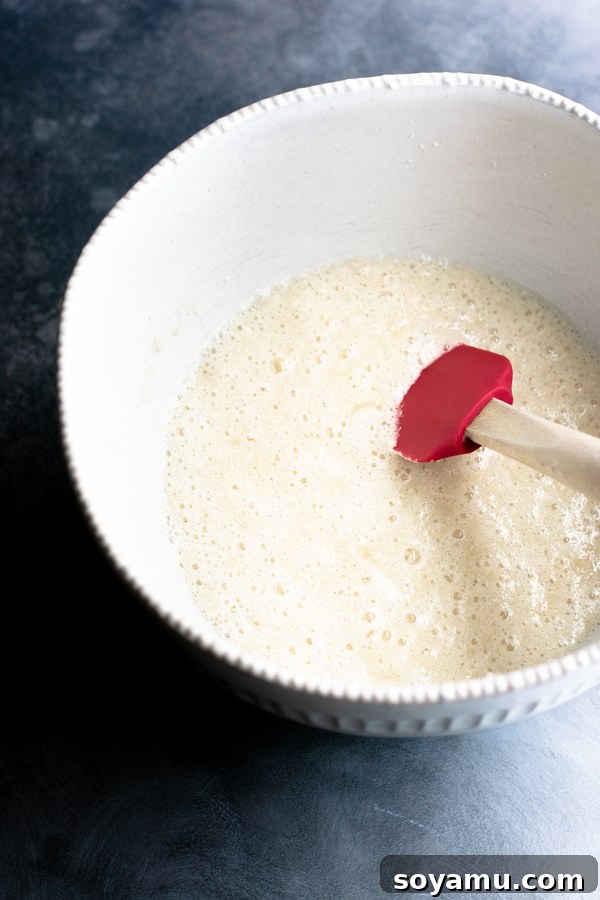
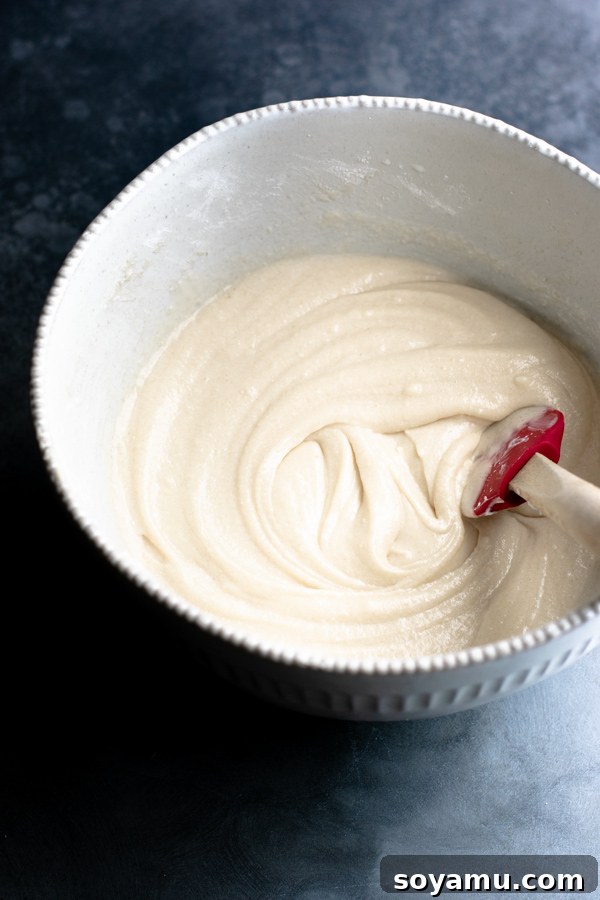
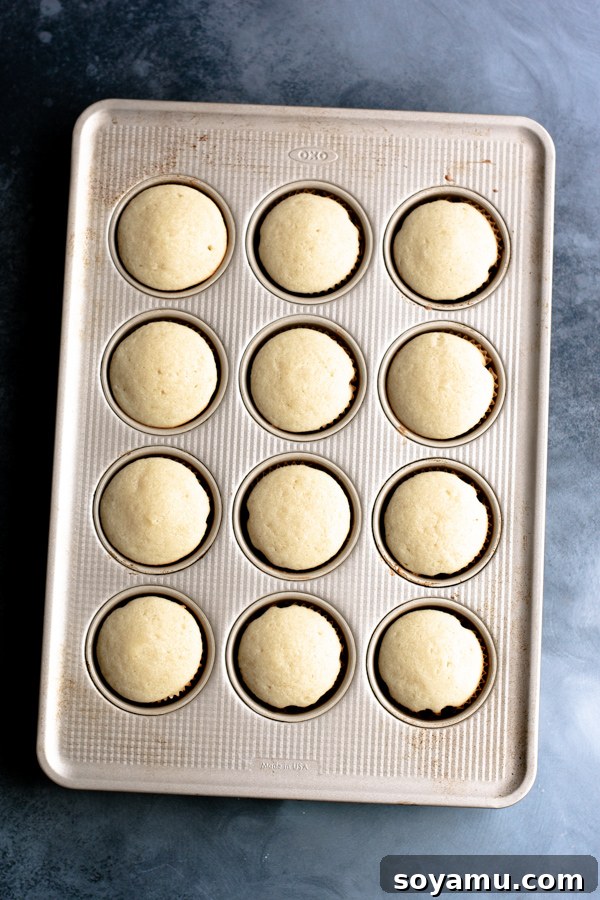
The finished batter will have a semi-thick consistency, possibly with those small, normal lumps you saw in the photos. This vanilla base isn’t overly sweet on its own, making it an incredibly versatile canvas for a variety of frostings and toppings. In fact, these vanilla cupcakes are so delicious that even plain, they’re hard to resist! My husband, Grant, and I often find ourselves enjoying a few un-frosted cupcakes straight from the cooling rack. For a beautifully rounded dome top, remember to fill your cupcake liners about two-thirds full before baking. This allows sufficient room for them to rise without overflowing.
The Irresistible Salted Caramel Buttercream
While the vanilla cupcake base is a delight on its own, it’s the salted caramel buttercream that truly elevates these Samoa Cupcakes to an extraordinary level. This frosting is the epitome of rich, creamy indulgence, perfectly balancing sweetness with a hint of salt that enhances the deep caramel notes. It’s surprisingly simple to prepare, requiring just softened butter, sifted powdered sugar, a touch of milk, and, of course, our signature caramel sauce.
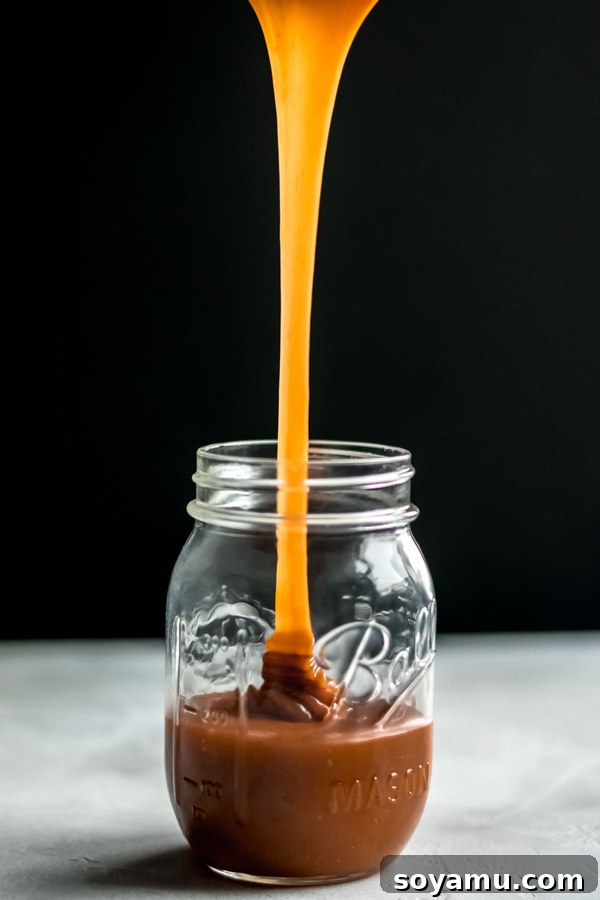
For the caramel, I highly recommend using a homemade version. My simplest homemade caramel sauce recipe is incredibly easy to follow and yields a flavor that store-bought simply cannot match. Plus, one batch of this homemade goodness is perfectly sized to provide enough caramel for both the buttercream and the coconut topping, creating a harmonious flavor profile throughout the cupcake. However, if time is of the essence, a high-quality store-bought caramel can be a convenient substitute. Just be sure it’s a brand you trust for rich flavor.
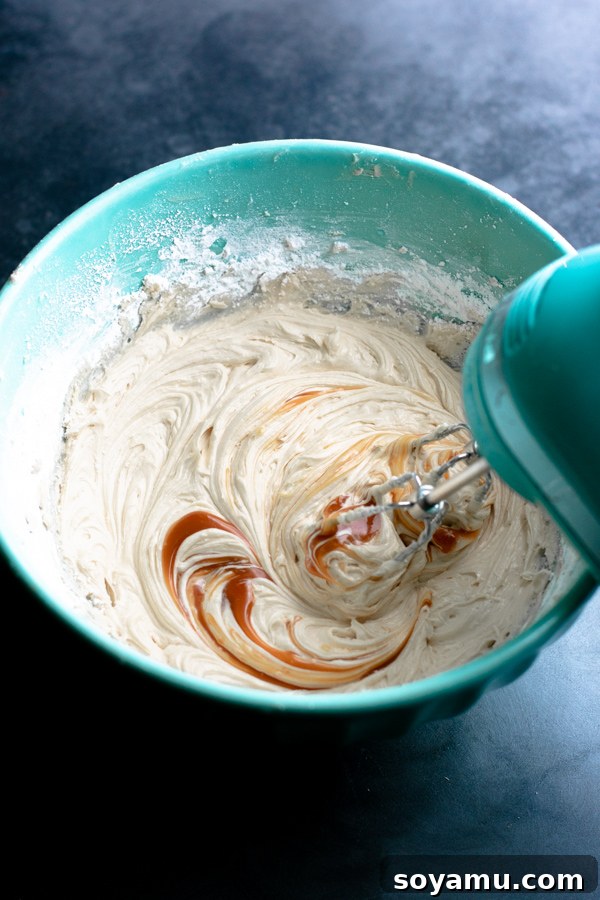
When it comes to frosting, presentation can make all the difference, though it’s entirely optional. For a beautifully rounded mound of frosting, I use this piping tip. The technique is simple: hold the piping bag slightly above the center of the cupcake and gently squeeze, allowing the frosting to form a base. Then, move the tip down into the growing mound and continue squeezing, letting the frosting expand outwards to fill the edges of the cupcake. You can lightly manipulate the tip to guide the frosting and ensure full coverage. For the chocolate ganache drizzle, I used this smaller tip for precise lines, but a simple spoon or a snipped corner of a Ziploc bag works just as well!
Crafting the Signature Samoa Toppings: Caramel Coconut & Chocolate Ganache
The magic of Samoa Cupcakes truly comes alive with their iconic toppings: the rich caramel coconut mixture and the glossy chocolate ganache. These two components complete the transformation from a delicious vanilla cupcake to a full-fledged Samoa-inspired masterpiece. While convenience often calls for store-bought alternatives like caramel sauce or chocolate fudge, I sincerely encourage you to try making them from scratch. The depth of flavor and freshness of homemade toppings are simply unparalleled and surprisingly achievable.
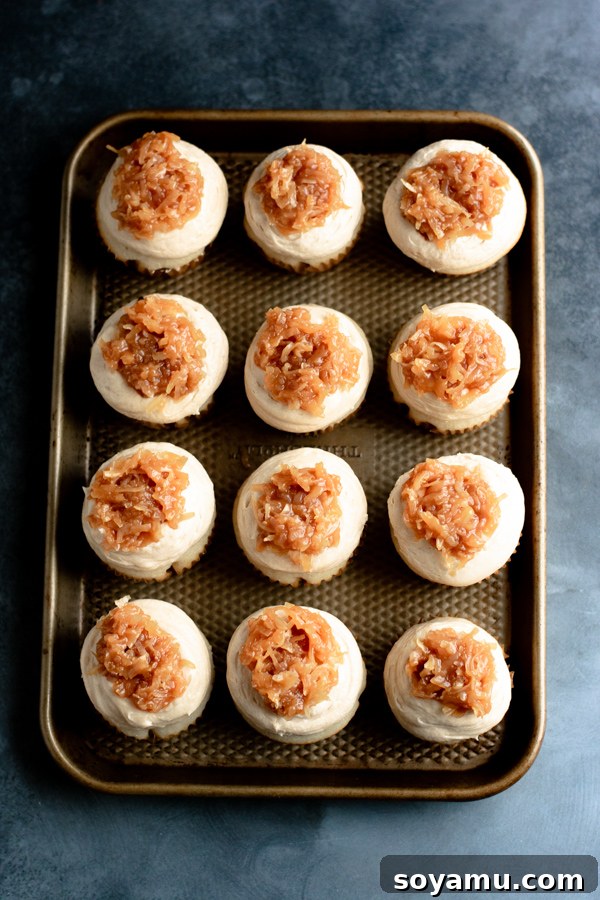
Homemade caramel, for instance, has a reputation for being daunting, but it’s remarkably straightforward and yields a flavor that is nothing short of heavenly. Once you master a simple caramel recipe, you’ll find countless uses for it beyond these cupcakes. For the caramel coconut topping, it’s as easy as stirring your warm, liquid caramel sauce together with sweetened shredded coconut flakes. The coconut absorbs some of the caramel, becoming wonderfully soft, chewy, and intensely flavorful, perfectly mimicking the texture and taste of the original Samoa cookie’s toasted coconut layer.
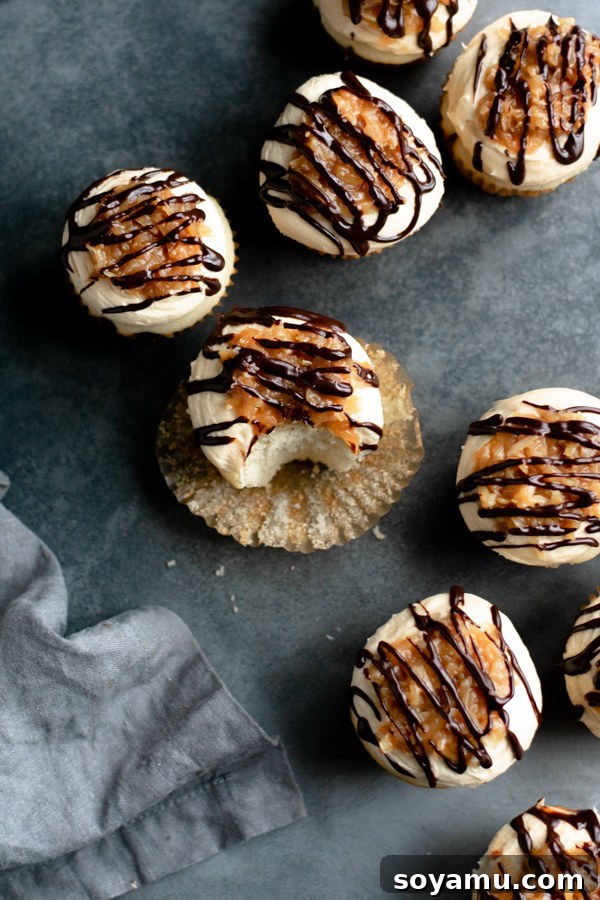
Next, let’s talk about the chocolate ganache. This elegant topping sounds fancy, but it’s one of the simplest chocolate preparations. All you need is high-quality chopped semi-sweet chocolate and hot heavy cream. The process involves pouring the hot cream over the chocolate, letting it sit briefly to melt, and then stirring until it transforms into a smooth, glossy, pourable ganache. The trick is allowing it to cool slightly to reach a drizzling consistency—thick enough to cling to the cupcake but still fluid enough to create beautiful lines. If it’s too thin, let it sit a bit longer; if it becomes too thick, a quick gentle re-warming will loosen it up.
Assembly, Serving, and Storage Tips
Once all your components are prepared – the fluffy vanilla cupcakes are cooled, the salted caramel buttercream is whipped to perfection, and both the caramel coconut topping and chocolate ganache are ready – it’s time for the exciting part: assembly! Each step is designed to build upon the last, creating a harmonious blend of textures and flavors that define our Samoa Cupcakes.
Begin by generously piping or spreading the salted caramel buttercream onto each cooled cupcake. Aim for a delightful swirl or a smooth mound, depending on your preferred aesthetic. Next, carefully spoon a generous helping of the caramel coconut topping over the buttercream. Gently spread it to cover the surface, ensuring that every bite will get a taste of that signature chewy, sweet coconut. Finally, complete your masterpiece with a beautiful drizzle of chocolate ganache. You can use a piping bag with a fine tip for precision or simply a spoon for a rustic, artistic flair.
These Samoa Cupcakes are best enjoyed immediately, perhaps with a cup of coffee or a glass of milk. Their intricate flavors and varied textures make them a show-stopping dessert for any occasion. Even my husband, Grant, who isn’t usually a big fan of coconut, absolutely adores these! They’re perfect for holiday gatherings, spring picnics, summer potlucks, or simply as a special treat when you’re craving something truly extraordinary. Long after the Girl Scout cookie season has passed, you can keep the spirit alive by baking a batch of these incredible Samoa Cupcakes.
If you happen to have any leftovers (a rare occurrence!), store them in an airtight container in the refrigerator for up to 5 days to maintain their freshness. For making ahead, the individual components offer great flexibility: the cupcakes can be baked a day in advance and kept at room temperature in an airtight container. The buttercream can also be prepared a day ahead and stored, covered, in the fridge – just remember to let it come back to room temperature and give it a quick whip before frosting. Homemade caramel sauce can be made up to a week in advance and stored in an airtight container in the refrigerator, ready to be gently reheated when needed. This makes entertaining or preparing for a special event a breeze!
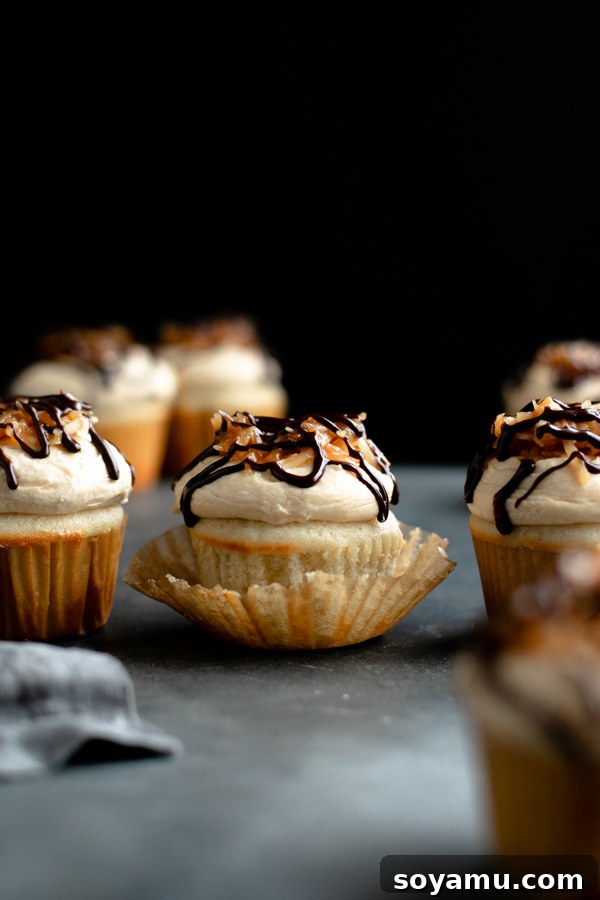
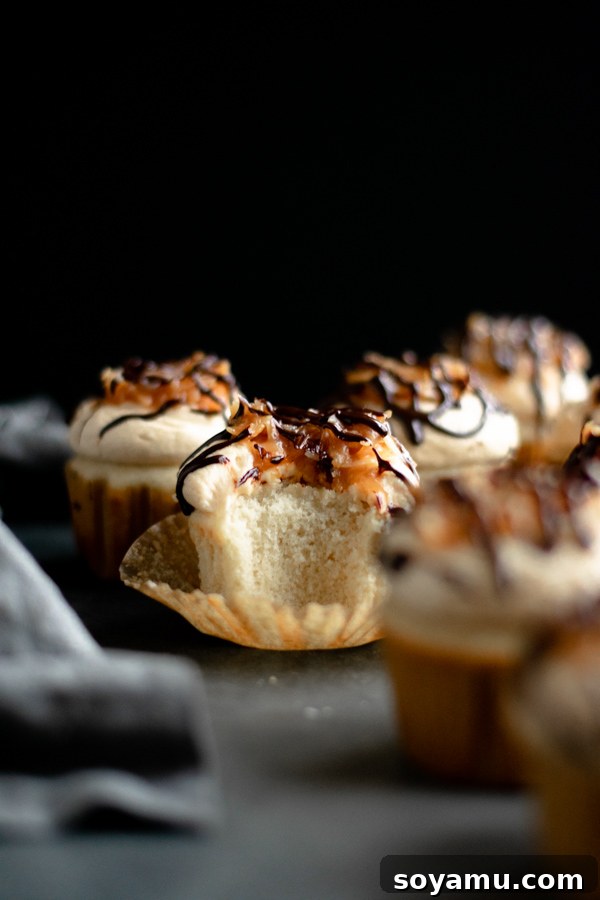
We absolutely love seeing your culinary creations! If you whip up a batch of these sensational Samoa Cupcakes, snap a photo and share your experience in the comments below. Your feedback and photos inspire us to keep creating delicious recipes!
Find more delightful recipes and baking inspiration by following us on social media.
Samoa Cupcakes
Rate
Ingredients
For the Cupcakes
- 1 and 3/4 cup cake flour, see note
- pinch of salt
- 1/2 tsp baking powder
- 1/4 tsp baking soda
- 1 stick salted butter, softened, 1/2 cup
- 1 cup granulated or cane sugar
- 3 egg whites
- 1/2 tsp vanilla
- 1/3 cup full-fat greek yogurt
- 1/2 cup milk, I used 2%
For the Salted Caramel Frosting
- 15 tbsp butter
- 4 ounces cream cheese
- 3 and 1/2 cups powdered sugar
- 6 tbsp caramel sauce
- 3 tbsp milk
For the Caramel Topping
- 1/2 cup homemade caramel sauce, or store-bought
- 1 and 1/4 cups shredded coconut, I used sweetened
For the Chocolate Ganache
- 1/3 cup heavy cream
- 3 ounces semisweet chocolate, chopped
Instructions
-
Prep: Line a muffin/cupcake pan with paper liners. Preheat oven to 350 degrees F (175 C). Make your caramel sauce – my recipe is linked here.
-
Make the Cupcakes: In a medium bowl, whisk together cake flour, salt, baking powder, and baking soda. In a large mixing bowl, cream the softened butter with an electric mixer until creamy, 2-3 minutes. Add the sugar and cream again until well combined, light and fluffy – about 2 minutes.
Add the egg whites and vanilla and mix until JUST combined. Avoid overmixing to keep cupcakes light. Add greek yogurt and mix until just combined. The batter may have some small lumps, but that’s normal.
Add half the dry ingredients, and mix until just combined. Add half the milk, and mix until just combined. Repeat with remaining dry ingredients, and milk, mixing only until combined after each addition.
-
Bake: Fill muffin papers about 2/3 of the way full with batter. Bake for 16-20 minutes, or until a toothpick inserted into the center of the cupcake comes out with moist crumbs, not wet batter. Let cupcakes cool completely before frosting. (I let them cool in the pan for about 10 minutes until they won’t burn my hands, then I remove them and let them sit on a wire rack to finish cooling.)
-
Make the Frosting: Cream softened butter and cream cheese in a large bowl until smooth. Sift in the powdered sugar in two additions, and mix on low speed, alternating with the milk, until smooth. Make sure the caramel sauce is in liquid form (if it’s been sitting for a while or in the fridge, gently re-heat it on the stove or in the microwave until pourable). Add caramel and mix until well combined and creamy. If you’re waiting to frost the cupcakes, cover the frosting and chill it in the fridge so it doesn’t get too melty at room temp; bring to room temperature and re-whip before use.
-
Make the Toppings + Assemble: Add the chopped chocolate to a mixing bowl. Heat the heavy cream in a pot over low heat until hot but not boiling. Pour over the chocolate and stir until melted, then let sit 5-8 minutes to thicken. The ganache should be thick enough to drizzle and not run all over the place. You may have to let it set a bit longer to reach that consistency.
Use the remaining caramel sauce to make the coconut topping. Stir together the liquid caramel and the shredded coconut flakes until well combined.
Frost the cooled cupcakes however you desire! I used this piping tip for the buttercream. Add a spoonful of the caramel coconut topping, then drizzle with ganache (I piped mine on with this tip, but that’s totally optional!).
-
Serve + Store: Enjoy immediately! Store leftover cupcakes in airtight container in the fridge for up to 5 days.
-
Make Ahead Tips: Cupcakes can be made a day ahead and kept in an airtight container at room temp. Frosting can also be made a day ahead and stored, covered, in the fridge. Let it come back to room temp a bit before using. Caramel can be made up to a week ahead – store in airtight container in the fridge.
Notes
Nutrition
Nutrition information is automatically calculated, so should only be used as an approximation.
Like this? Leave a comment below!
This post contains Amazon affiliate links. This in no way affects the cost of the items – it simply means we earn a small commission if you make a purchase using the link provided. Thanks for supporting Blue Bowl Recipes!