
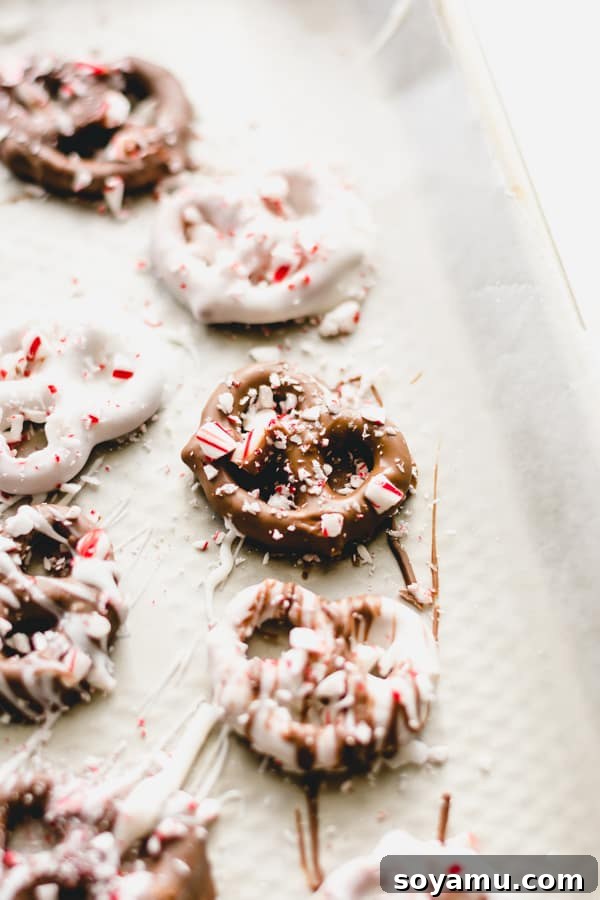
Easy Chocolate Covered Peppermint Pretzels: The Ultimate No-Bake Holiday Delight
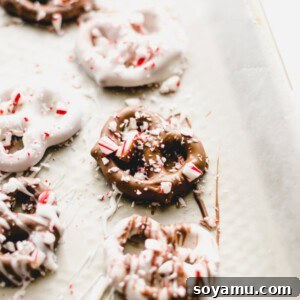
Prepare to delight your taste buds and impress your holiday guests with these incredibly easy and festive Chocolate Covered Peppermint Pretzels. This classic Christmas treat is a delightful fusion of salty crunch and sweet, minty chocolate, making it an absolute must-have for any festive occasion. Whether you’re assembling a holiday cookie plate, searching for the perfect homemade gift, or simply craving a quick and satisfying no-bake dessert, these peppermint-infused pretzels are your answer. All you need are a few simple ingredients: crisp pretzels, rich white and milk chocolate, and vibrant crushed candy canes.
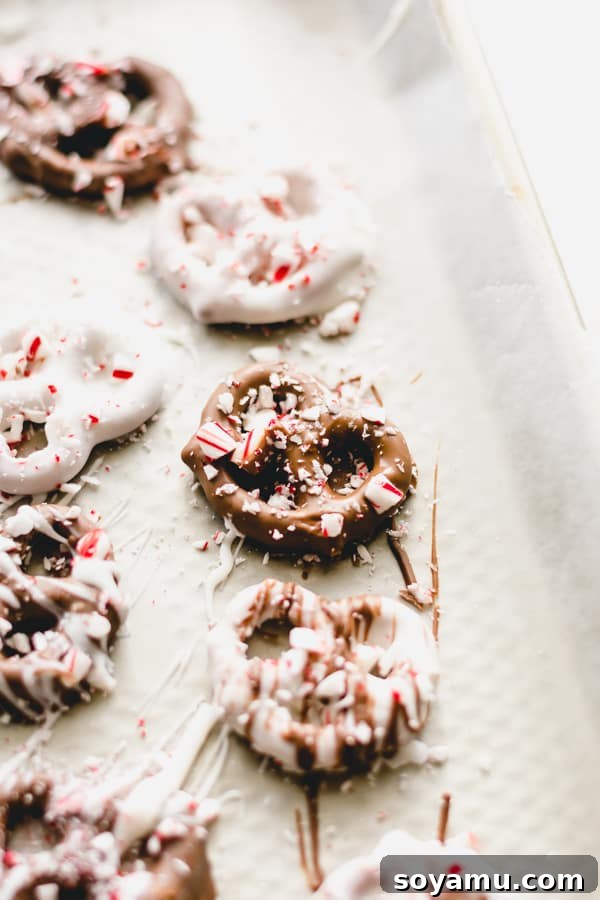
Why These Peppermint Pretzels Are a Holiday Essential
In the whirlwind of holiday preparations, finding time for elaborate baking can be a challenge. That’s where these delightful peppermint chocolate pretzels shine! This recipe is so straightforward, it barely qualifies as a “recipe” in the traditional sense, yet the results are undeniably gourmet. It’s a fantastic solution for those moments when your oven might be otherwise occupied (or perhaps, like mine, staging a Christmas cookie revolt this month!). For anyone seeking a hassle-free, utterly delicious, and visually stunning addition to their holiday repertoire, this no-bake wonder is a true gift. Its simplicity means less stress and more time to enjoy the magic of the season.
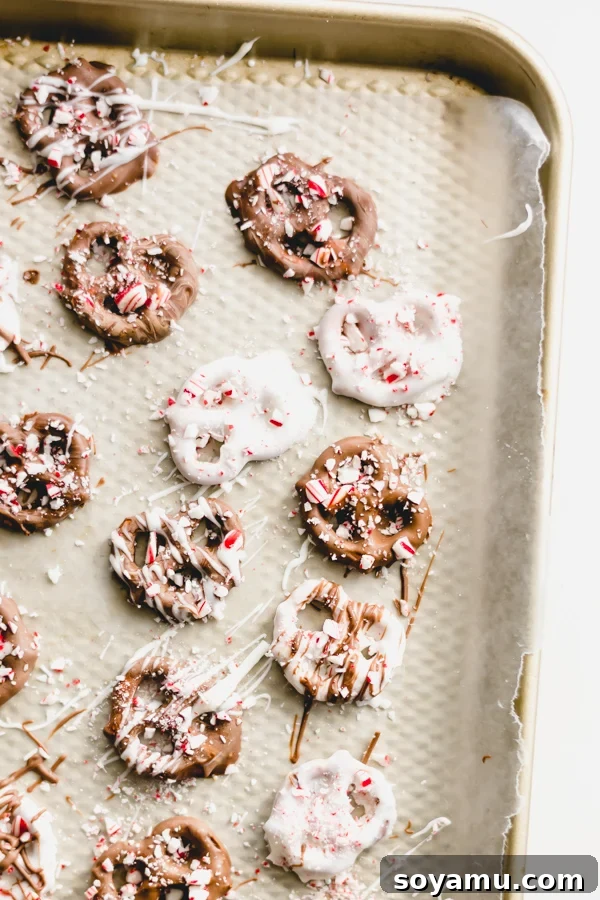
Mastering the Art of Chocolate Dipping: Expert Tips for Flawless Results
While the process of making Chocolate Covered Peppermint Pretzels is incredibly simple, a few expert tips can elevate your results from good to absolutely spectacular. Working with chocolate, especially for dipping, requires a little finesse to achieve that coveted smooth, shiny finish and perfect snap. Follow these guidelines to ensure your holiday treats look and taste professionally made, enhancing their appeal for both serving and gifting.
1. Achieving a Professional Shine: The Double Boiler Method
If you’ve ever admired the glossy, flawless coating on gourmet chocolate truffles or boutique pretzels, the secret often lies in how the chocolate is melted. For that beautiful, professional shine and a smooth, even texture, the double boiler method is highly recommended over microwave melting. This technique allows for gentle, indirect heat, preventing the chocolate from overheating and becoming dull, grainy, or seizing. By slowly melting the chocolate, you maintain its temper, which is key to achieving that desirable snap and brilliant sheen. We’ll delve into the specifics of setting up a makeshift double boiler shortly, but remember: slow and steady wins the race when it comes to melting chocolate for dipping.
2. Quality Matters: Choosing Your Chocolate Wisely for Best Peppermint Pretzels
The quality of your chocolate directly impacts the final taste and appearance of your peppermint pretzels. For white chocolate, almond bark or high-quality white chocolate melting wafers (like Ghirardelli) or a chopped baking bar (such as Baker’s) work exceptionally well. These options typically contain additives that aid in smooth melting and setting, providing a consistent, creamy texture and pleasant flavor. For the milk or semi-sweet chocolate, bypass the generic chocolate chips, which often contain stabilizers that make them less ideal for dipping. Instead, opt for a premium baking bar from brands like Ghirardelli or Baker’s. These offer a superior melt, richer flavor, and a more vibrant sheen that truly elevates these simple treats. Avoid chocolate almond bark for the darker chocolate, as it often contains different ingredients that can affect its melting properties and final texture.
3. The Golden Rule: Keep Chocolate Away From Water at All Costs
This cannot be stressed enough: chocolate and water do not mix. Even a single drop of water introduced into melting chocolate can cause it to “seize” – transforming it into a thick, gritty, unworkable paste that is virtually impossible to recover. This phenomenon is caused by the sugar crystals in the chocolate clumping together in the presence of moisture. To prevent this, ensure all your equipment—bowls, spatulas, spoons, and dipping tools—are completely dry before you begin. When using a double boiler, be meticulous about preventing steam or condensation from dripping back into your precious melting chocolate. A tight-fitting bowl is essential to seal off steam.
4. Preparation is Key: Gather Your Tools and Toppings Before Melting
Once melted, chocolate sets relatively quickly, especially if you’re working in a cool environment or dipping into a cold pretzel. To avoid a frantic rush and ensure a smooth, efficient dipping process, have all your ingredients and tools ready and within arm’s reach before you start melting any chocolate. This critical mise en place includes your crushed candy canes (or other desired toppings like sprinkles, finely chopped nuts, or edible glitter), dedicated chocolate dipping tools, and lined baking sheets. Speaking of baking sheets, make sure to line them generously with wax paper or parchment paper. This prevents the dipped pretzels from sticking to the surface and makes for incredibly easy cleanup, allowing you to focus on the fun part: decorating!
5. Essential Dipping Tools: Making the Process Easy and Neat
While a simple dinner fork can certainly work in a pinch for dipping pretzels, investing in a dedicated chocolate dipping tool can make the process significantly smoother, neater, and more professional-looking. These specialized tools typically feature a spiraled wire or a multi-pronged design that allows excess chocolate to drip off efficiently, ensuring a thin, even coating. Alternatively, a metal grilling skewer, sturdy chopsticks, or even a small pair of tongs can serve as effective dipping aids. When selecting your tool, choose one that allows you to fully submerge the pretzel with ease, then gently lift it out and tap it against the side of the bowl to remove any surplus chocolate before placing it down to set.
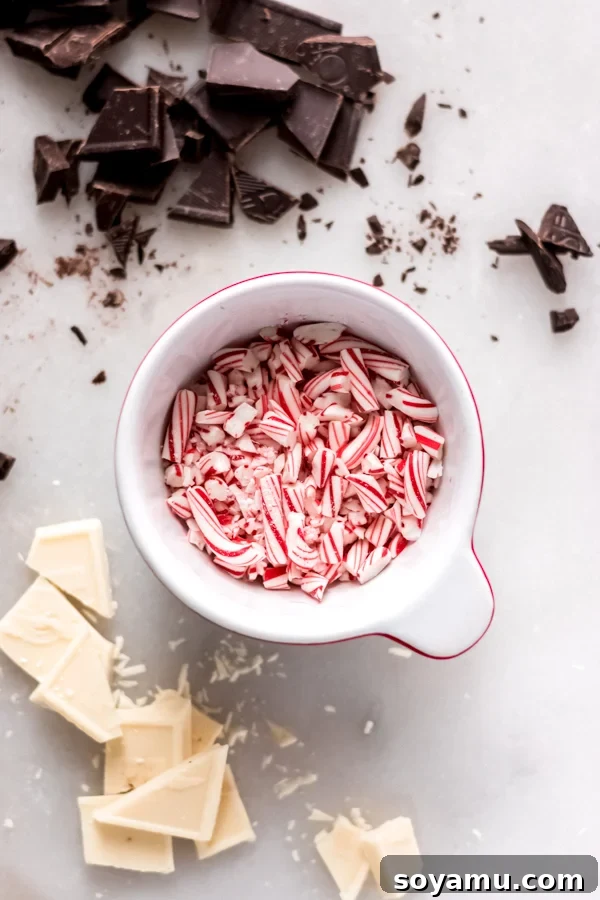
The Art of Melting Chocolate: Double Boiler vs. Microwave Techniques
Melting chocolate can seem daunting at first, but with the right technique, you’ll achieve perfectly smooth, luscious results every time for your Chocolate Covered Peppermint Pretzels. Here’s a deeper look into the preferred double boiler method and an alternative for when time is of the essence.
The Classic Double Boiler Method (Recommended for Best Shine and Texture)
The double boiler method uses indirect heat to melt chocolate gently and evenly. This controlled heating is crucial for preventing scorching and promoting that beautiful glossy finish and crisp snap that characterizes high-quality dipped treats. If you own a dedicated double boiler, you’re already set! If not, creating a simple makeshift one is easy and highly effective:
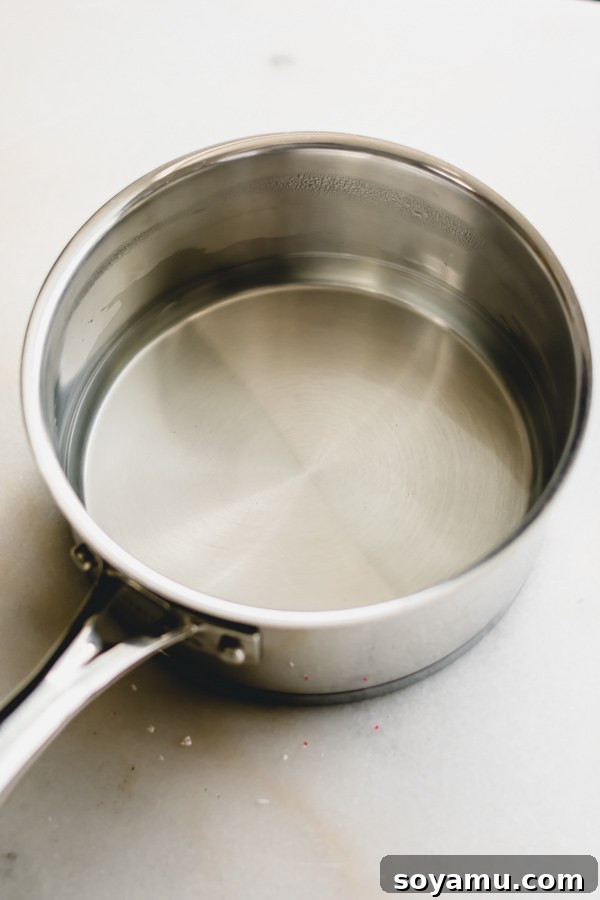
- Prepare the Setup: Select a medium-sized saucepan and fill it with approximately one inch of water. Place this saucepan on your stove and bring the water to a very gentle simmer over low heat. It is absolutely crucial that the water barely simmers and never boils vigorously, as excessive heat can scorch the chocolate even through the bowl.
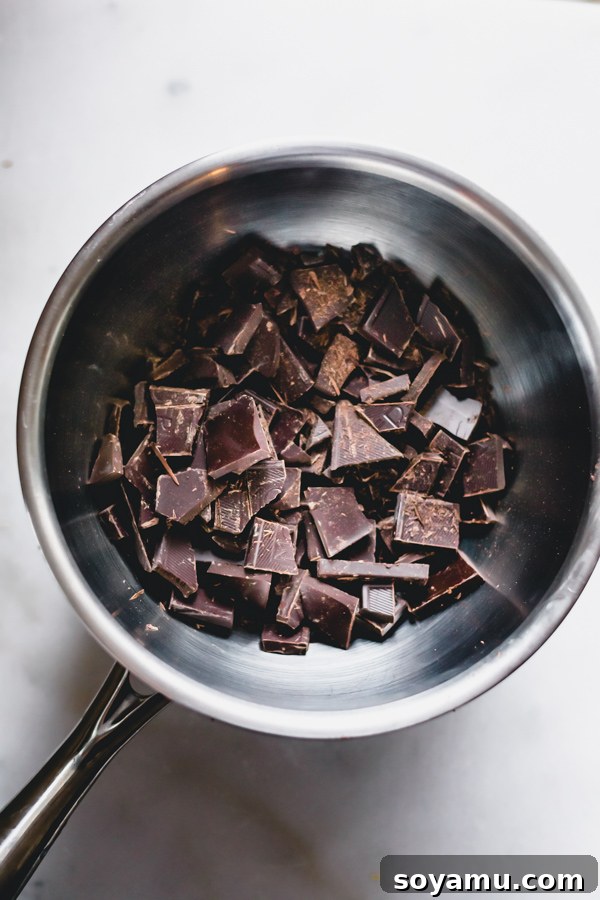
- Chop Your Chocolate: Finely chop your high-quality baking chocolate or break apart your almond bark into small, uniform pieces. Smaller pieces will melt more evenly and quickly, reducing the overall melting time. Place the chopped chocolate into a heat-safe bowl (metal or glass are excellent choices) that is wide enough to sit securely on top of your saucepan without its bottom touching the simmering water. The steam from the gently simmering water will indirectly and gradually heat the bowl, melting the chocolate to perfection.
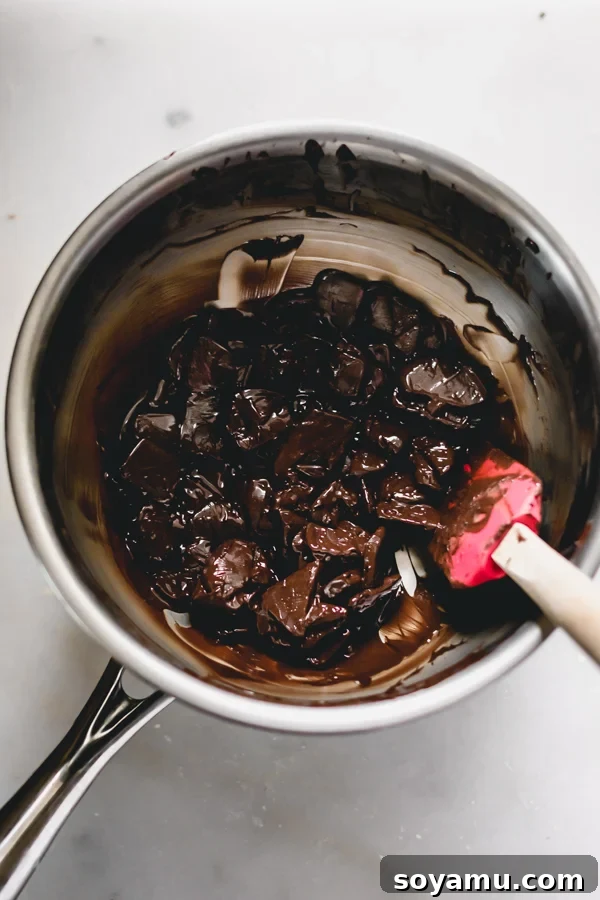
- Melt Gradually and Stir Constantly: Carefully place the bowl with the chocolate over the simmering water. Begin stirring the chocolate constantly with a dry rubber spatula or spoon. Continuous stirring is vital as it ensures even melting, prevents any hot spots from developing, and helps to achieve a uniformly smooth consistency. As the chocolate absorbs the gentle heat, you’ll observe it slowly transforming into a luxurious, liquid state.
- Remove and Finish Melting: Once the chocolate is about 75% melted, with only a few small, visible chunks remaining, carefully remove the bowl from the saucepan. Continue stirring the chocolate off the heat until all the remaining small chunks are fully melted and the mixture is completely smooth, glossy, and free of any lumps. This technique, known as “carry-over cooking,” prevents overheating, which can dull the chocolate’s shine and lead to a grainy texture. It also helps to maintain the chocolate’s temper for a superior finish. Repeat this entire process for each type of chocolate (white and milk/dark) using separate, clean, and dry bowls.
Microwave Melting (A Quick and Convenient Alternative)
While the double boiler method is ideal for achieving a professional finish, the microwave can serve as a quick and convenient alternative, especially if you’re pressed for time. However, it requires significantly more vigilance and attention to prevent burning, which can happen very rapidly with direct microwave heat.
- Chop and Place: Begin by chopping your chocolate into small, uniform pieces. This ensures more even heating in the microwave. Place these chopped pieces into a microwave-safe bowl.
- Heat in Short Intervals: Microwave the chocolate on 50% power in very short intervals, typically 20-30 seconds at a time. After each interval, immediately remove the bowl from the microwave and stir the chocolate thoroughly with a dry utensil, even if it doesn’t appear to be fully melted yet. Stirring is crucial because it distributes the heat evenly throughout the chocolate, preventing localized scorching.
- Stir Until Smooth: Continue the process of microwaving and stirring in these short intervals until the chocolate is mostly melted. It’s important to remove the bowl from the microwave before the chocolate is completely liquid. The residual heat will continue to melt any remaining small chunks as you stir, allowing you to achieve a smooth, pourable consistency. Be extremely cautious not to overheat the chocolate, as microwaved chocolate can transition from perfectly melted to burnt, stiff, and unusable in a matter of seconds. Once burnt, there’s no way to salvage it.
Presenting Your Holiday Masterpiece: Creative Gifting and Serving Ideas
These beautiful Chocolate Covered Peppermint Pretzels are more than just a delicious snack; they’re versatile treats that can elevate any holiday gathering or make for thoughtful, personalized gifts. Their festive appearance, delightful crunch, and irresistible flavor make them a standout on any dessert table or gift basket.
1. The Perfect Addition to Your Christmas Cookie Plate
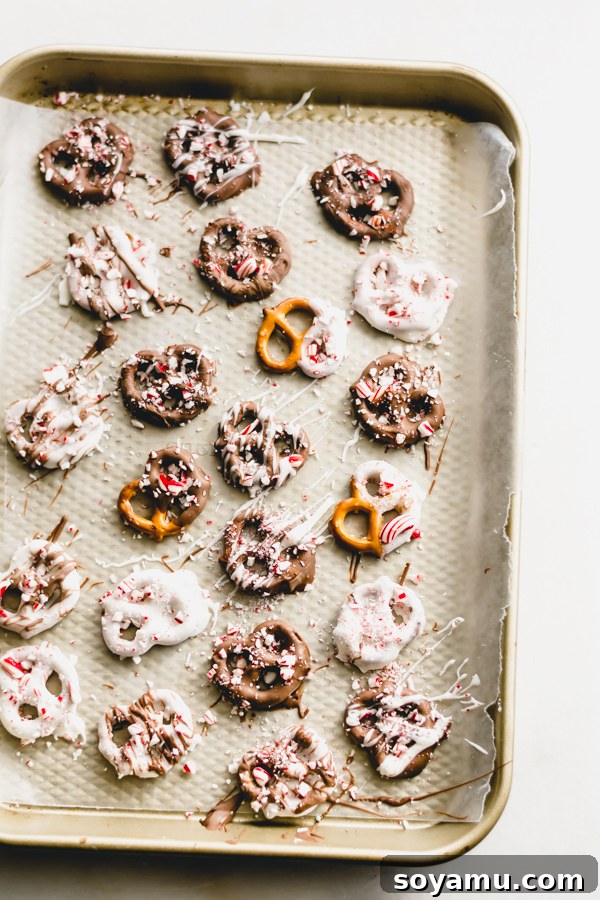
While often overshadowed by traditional baked goods, these no-bake wonders offer a delightful textural contrast and a refreshing minty twist that will make your holiday cookie plate truly memorable. Arrange them artfully alongside gingerbread cookies, sugar cookies, and other festive treats for a visually appealing spread. The vibrant red and white of the crushed peppermint against the rich dark and creamy white chocolate truly pops, adding a touch of elegance and whimsy to your holiday buffet.
2. Thoughtful Homemade Holiday Gifts for Everyone on Your List
Handmade gifts carry a special charm and convey warmth and effort, and these peppermint pretzels are absolutely ideal for sharing the joy of the season. Once cooled and completely set, gently place them in clear cellophane bags, tie them securely with a festive ribbon (perhaps a deep red or shimmering gold), and add a small handmade tag with a heartfelt message. They make wonderful appreciation gifts for co-workers, thoughtful tokens for teachers, delightful treats for neighbors, or a sweet surprise for friends and family gatherings. The fact that they are so easy and quick to make means you can effortlessly create a large batch for multiple recipients without spending countless hours in the kitchen, allowing you more time to enjoy the holiday magic.
3. Elevate Your Holiday Cheese Board with a Sweet & Salty Twist
Looking for an unexpected and intriguing twist for your holiday cheese board or charcuterie spread? A platter featuring a variety of artisanal cheeses, savory crackers, fresh fruits, and cured meats can be wonderfully complemented by a touch of sweet and salty. These chocolate-covered pretzels, with their perfectly balanced flavor profile, can provide a delightful counterpoint, adding a surprising and delicious element to your gourmet spread. The combination of salty pretzel, sweet chocolate, and refreshing peppermint can create a truly intriguing and palate-cleansing pairing with certain cheeses, offering guests an unexpected culinary delight.

Relax and Indulge This Holiday Season with a Minty Chocolate Treat
As the festive season reaches its peak, remember to carve out some precious time for yourself amidst the holiday rush. The week before Christmas can be wonderfully hectic, filled with shopping, wrapping, and party preparations, but it’s equally important to pause, unwind, and recharge. Why not treat yourself to a moment of pure bliss? Snuggle up on the couch with a cozy blanket, put on your favorite holiday movie, and savor the delightful crunch and cool minty flavor of these homemade Chocolate Covered Peppermint Pretzels. It’s a simple pleasure that perfectly captures the spirit of the season, reminding us to appreciate the small joys and indulge in the sweetness of the holidays.
Chocolate Covered Peppermint Pretzels Recipe
Recipe Summary
Recipe Name: Chocolate Covered Peppermint Pretzels
Author: Stephanie Simmons
Summary: A quick and festive recipe, these Chocolate Covered Peppermint Pretzels will brighten up any holiday cookie plate! All you need is white chocolate, milk chocolate, pretzels, and crushed candy canes!
Prep Time: 40 minutes
Servings: 20
Ingredients
- 12 ounces white almond bark, or good quality white chocolate such as a chopped Baker’s bar or Ghirardelli melting wafers
- 12 ounces good quality semi-sweet or milk chocolate (Baker’s or Ghirardelli work well)
- 1 package mini candy canes
- 1 (16 ounce) bag pretzel twists (use GF pretzels to make this recipe gluten-free!)
Instructions
- Prep Your Workspace: Get all your ingredients out and ready before you begin. Line 2-3 large baking sheets (or a large, clean countertop area) generously with wax paper or parchment paper. Crush your mini candy canes: place them in a sturdy ziploc bag and use a rolling pin or the flat side of a meat mallet to break them into small, coarse pieces. Set aside.
- Melt the Chocolate (Double Boiler Method Recommended): For the best shine and smooth texture, use the double boiler method. Fill a medium or small pot with about 1 inch of water and bring it to a very gentle simmer over low heat. Chop your white chocolate and place it into a heat-safe bowl that fits snugly over the pot without touching the water. Place the bowl over the simmering water and stir the chocolate constantly with a dry spatula until it is about 75% melted. Remove the bowl from the heat and continue stirring until all the chocolate is completely melted and smooth. Repeat this entire process for the semi-sweet or milk chocolate in a separate clean, dry bowl. If using a microwave, heat in 20-30 second intervals at 50% power, stirring thoroughly after each interval until smooth.
- Dip and Decorate the Pretzels: Working quickly (as the chocolate will set), dip each pretzel into the melted chocolate. Use a fork, dipping tool, chopsticks, or a metal grilling skewer to fully coat the pretzel. Gently tap the pretzel on the side of the bowl to remove any excess chocolate, ensuring an even layer. Immediately lay the dipped pretzel onto your prepared wax paper. While the chocolate is still wet and pliable, liberally sprinkle with the crushed candy canes. For a visually appealing multi-colored effect, dip some pretzels in white chocolate and some in milk chocolate before sprinkling with peppermint.
- Set and Store: Allow the chocolate-covered pretzels to set completely at room temperature (this may take 1-2 hours depending on ambient temperature) or, to speed up the process, carefully place the baking sheets in the refrigerator for about 15-20 minutes until the chocolate is firm. Once firm, carefully transfer the pretzels to an airtight container. Store leftovers at room temperature for up to 2 weeks, or in the refrigerator for extended freshness, enjoying their delightful crunch and minty flavor throughout the holiday season.
- Tip for Gifting: These make fantastic homemade holiday gifts that are sure to be appreciated! Place a handful in small cellophane bags, decorative tins, or festive boxes, and add a cheerful bow or ribbon. They are also a wonderful, unexpected addition to holiday cheese boards, offering a delightful sweet-and-salty contrast that surprises and pleases guests!
Notes
Not a fan of peppermint? No problem! You can easily customize these delicious pretzels. Omit the crushed candy canes entirely and instead decorate them with colorful holiday sprinkles, finely chopped nuts (like pecans or almonds), mini chocolate chips, or even a delicate drizzle of contrasting chocolate for a different, yet equally delightful, twist!
Nutrition
Calories: 200 kcal per serving (approximately)
Nutrition information is automatically calculated and should only be used as an approximation. Actual values may vary based on specific ingredients and portion sizes.
Share Your Festive Creations!
Did you make these delightful Chocolate Covered Peppermint Pretzels? We’d absolutely love to see your festive creations and hear about your experience! Snap a photo and share it with us by leaving a comment below. Let us know how they turned out, what variations you tried, or if you added your own unique twist. Your feedback, tips, and photos truly inspire us and our community of home bakers!
This post contains Amazon affiliate links. This in no way affects the cost of the item; it simply means we earn a small commission if you make a purchase using the link. Thanks for supporting Blue Bowl Recipes!