
No-Churn Black Forest Ice Cream: A Decadent Homemade Treat
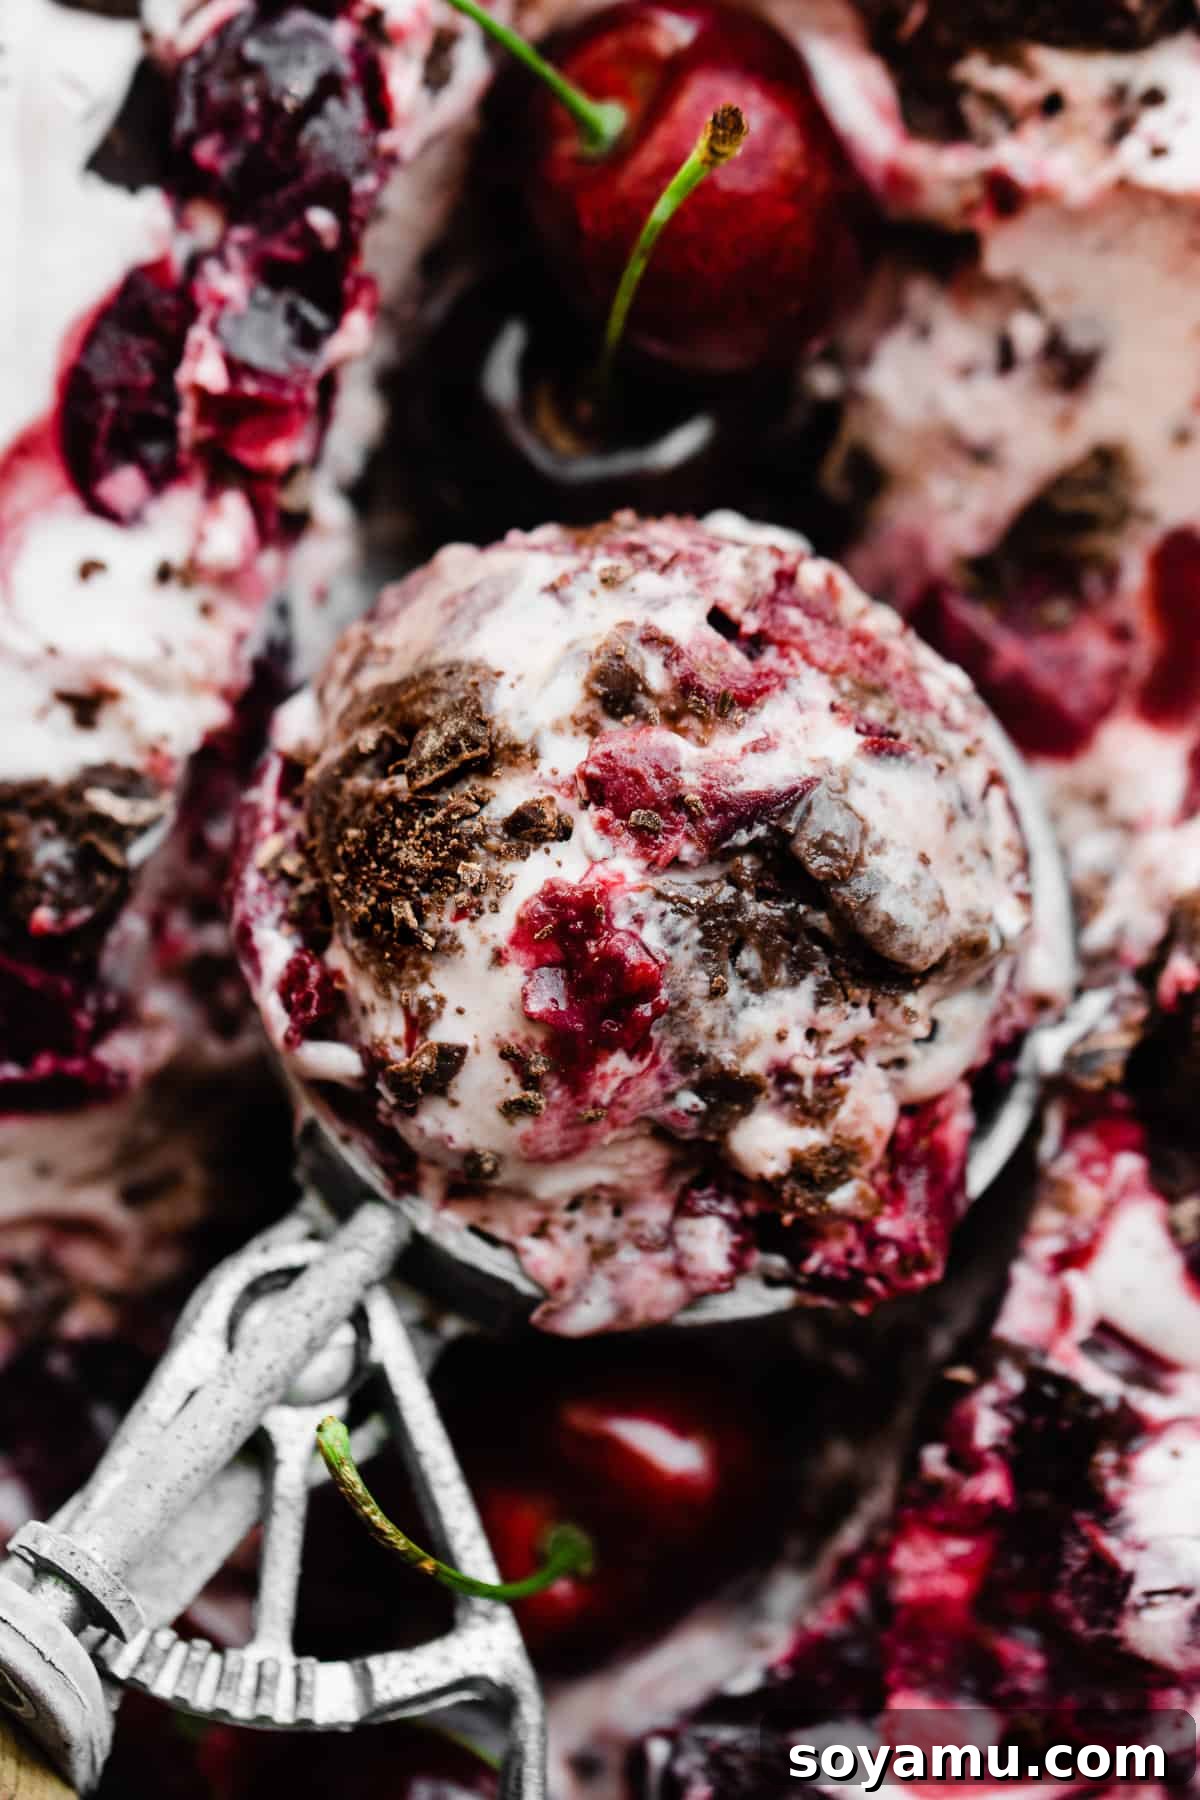
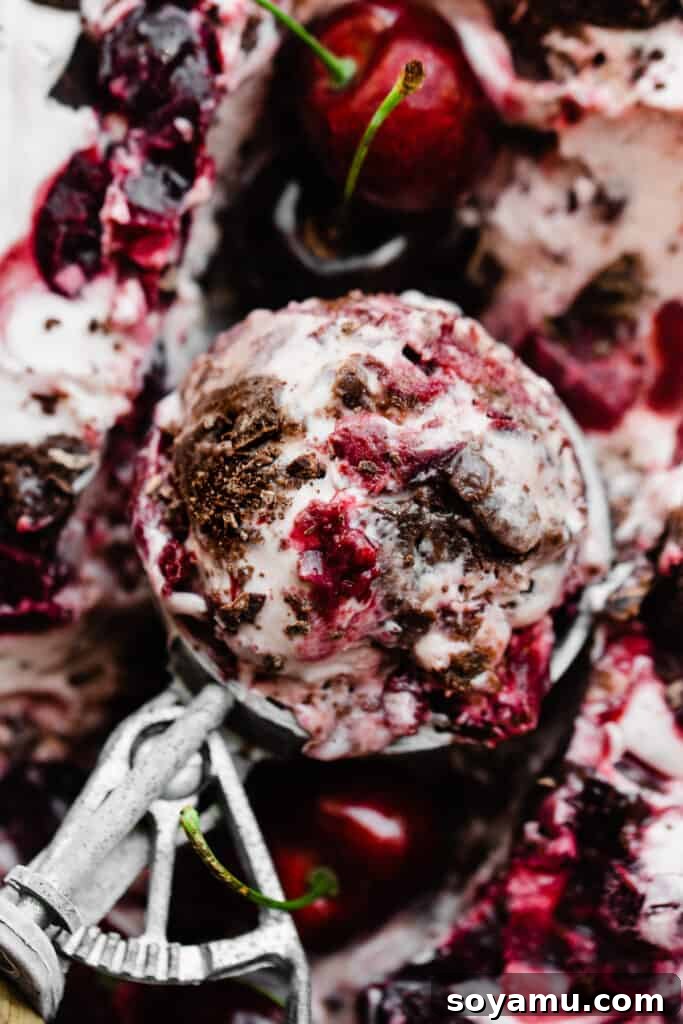
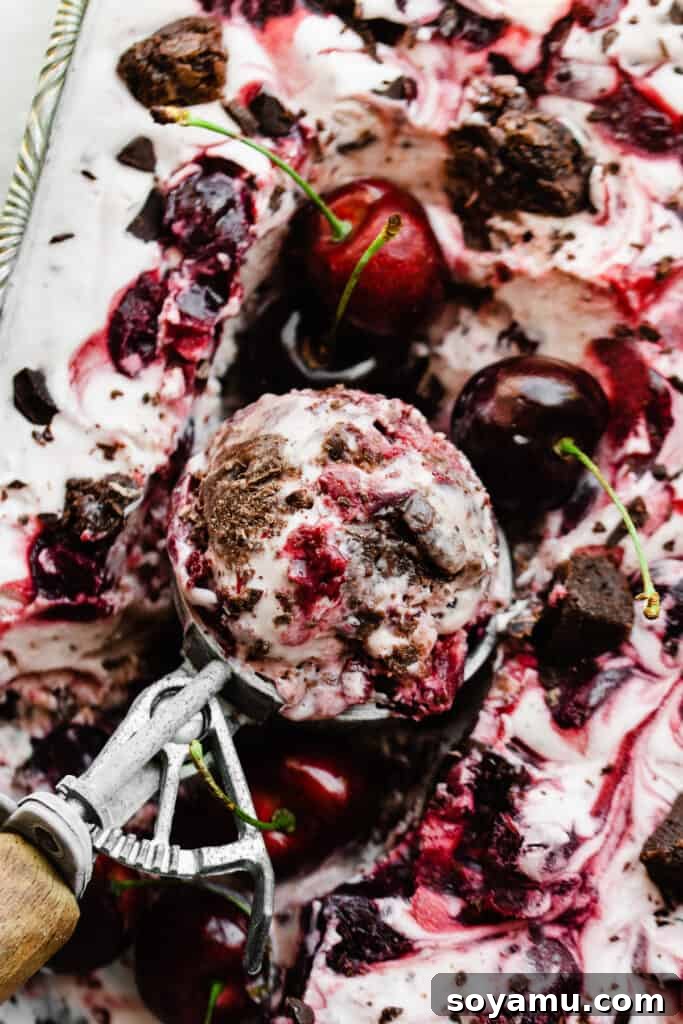
Prepare to be captivated by the rich, complex flavors of this incredible **No-Churn Black Forest Ice Cream**. This delightful frozen dessert brings together all the beloved components of a traditional Black Forest cake: a vibrant, kirsch-infused cherry sauce, tender fudgy brownie pieces, and satisfying chocolate chunks, all artfully swirled into a luxuriously creamy vanilla ice cream base. The best part? You don’t even need an ice cream maker to create this masterpiece. It’s a surprisingly simple yet incredibly impressive dessert that’s absolutely perfect for cooling down on warm summer days or as a show-stopping treat for any occasion.
Why You’ll Fall in Love with This Black Forest Ice Cream:
- Irresistibly Fudgy Brownies: We’re talking about more than just chocolate; these are truly fudgy brownie pieces, expertly folded into the ice cream. Each bite promises a soft, chewy, and intensely chocolatey morsel, adding a delightful textural contrast that elevates the entire experience.
- Generous Chocolate Chunks: Scattered throughout the creamy base, you’ll discover substantial chocolate chunks. Unlike smaller chips, these provide a satisfying snap and a deep, melting chocolate flavor that perfectly complements the cherries and brownies. You can customize the chocolate type to your preference, from bittersweet to milk.
- Luscious Kirsch-Infused Cherry Compote: This isn’t just a simple cherry swirl; it’s a homemade compote bursting with the bright, sweet-tart essence of cherries, beautifully enhanced by a hint of traditional kirsch (cherry liqueur). Swirled in two generous layers, this ensures you get that authentic Black Forest flavor profile in every single spoonful. Utilizing fresh, ripe cherries during their peak season makes this component truly spectacular.
- Remarkably Easy No-Churn Method: Forget about special ice cream machines or complicated steps! This recipe relies on a straightforward no-churn technique, making gourmet-quality homemade ice cream accessible to everyone. All you need are a few basic ingredients and a freezer.
Essential Ingredients for Your Black Forest Creation:
Crafting this incredible Black Forest ice cream begins with selecting quality ingredients. Here’s a detailed look at what you’ll need and why each component is vital:
- Fudgy Brownies: For ultimate convenience and consistent results, a high-quality box mix like Ghirardelli’s Double Chocolate brownies works wonderfully, delivering that rich, fudgy texture we crave. Alternatively, feel free to use your favorite homemade brownie recipe. The key is to ensure they are deeply chocolatey and have a dense, fudgy consistency, not cakey.
- Heavy Cream (Cold): This is the foundation of our no-churn ice cream’s luxurious texture. It’s crucial that your heavy cream is very cold before whipping. Cold cream whips up faster and achieves stiffer peaks, which are essential for creating the light, airy structure of the ice cream without an ice cream maker.
- Chocolate Chunks: We recommend using semi-sweet chocolate bars, roughly chopped into irregular chunks. These irregular pieces provide a more authentic and varied chocolate experience compared to uniform chips. You can experiment with milk or dark chocolate to suit your taste, but semi-sweet offers a balanced sweetness.
- Kirsch (Cherry Liqueur): This is the traditional spirit found in Black Forest cake and adds an authentic, sophisticated cherry aroma and flavor to the compote. While highly recommended for that classic taste, it can be entirely omitted if you prefer an alcohol-free version; the cherry flavor will still shine through beautifully.
- Pure Vanilla Extract: The quality of your vanilla extract significantly impacts the overall flavor of the creamy ice cream base. Opt for pure vanilla extract (or even vanilla bean paste) for the most authentic and robust vanilla notes. Avoid imitation vanilla, as it can leave an artificial aftertaste.
- Powdered Sugar (Confectioners’ Sugar): Crucial for the whipped cream, powdered sugar dissolves seamlessly into the cream, ensuring a smooth, granular-free ice cream texture. Unlike granulated sugar, which can leave a gritty mouthfeel in no-churn recipes, powdered sugar integrates perfectly, contributing to the silky finish.
- Dark Sweet Cherries: Whether fresh or frozen, dark sweet cherries are the star of the compote. If using fresh, make sure to pit and halve them. Frozen cherries are a fantastic year-round option and do not need to be thawed before cooking. For a slightly different profile, tart cherries can also be used, though they might require a bit more sugar.
- Granulated Sugar (for compote): Balances the tartness of the cherries and helps create the rich syrup for the compote.
- Almond Extract: A small amount of almond extract enhances the natural cherry flavor in the compote, adding depth and complexity reminiscent of traditional Black Forest desserts.
- Cornstarch + Water Slurry: This simple mixture is key to thickening the cherry compote to the perfect consistency, ensuring it swirls beautifully without becoming watery in the ice cream.
Smart Ingredient Substitutions & Recipe Variations:
This recipe is wonderfully versatile, allowing you to adapt it to your preferences or what you have on hand. Don’s hesitate to get creative!
- Brownie Options: Feel free to use your absolute favorite homemade brownie recipe for a truly bespoke touch. If you’re short on time, a high-quality boxed brownie mix is a perfectly acceptable and delicious alternative. For a different texture, you could even substitute brownie pieces with chunks of moist **chocolate cake**, either from scratch or a boxed mix.
- Cherry Choices: While dark sweet cherries are traditional, you can easily use fresh or frozen dark cherries for the homemade compote. If dark cherries aren’t available, tart cherries offer a delightful tanginess that pairs wonderfully with the chocolate and cream. In a pinch, a good quality cherry pie filling (drained slightly) can be used for a quicker compote, though homemade always yields the best flavor.
- Chocolate Varieties: The beauty of homemade ice cream means you control the chocolate! Use chocolate bars chopped into irregular chunks for varied texture, or simply grab a bag of your favorite chocolate chunks or chocolate chips. You can opt for creamy milk chocolate, balanced semi-sweet chocolate, or intense dark chocolate to suit your preference.
- Alcohol-Free Version: If you prefer to avoid alcohol, simply omit the kirsch from the cherry compote. The natural flavor of the cherries, enhanced by almond extract, will still create a wonderfully delicious and authentic taste.
- Gluten-Free Adaptation: To make this dessert gluten-free, simply use a certified gluten-free brownie mix or your preferred gluten-free brownie recipe. Ensure all other ingredients are naturally gluten-free.
- Smaller Batch: If you’re hosting a smaller gathering or simply want a more modest amount of this decadent treat, the recipe can be easily halved without compromising on flavor or texture.
Crafting Your No-Churn Black Forest Ice Cream: A Step-by-Step Guide:
Follow these detailed steps to create your luscious Black Forest Ice Cream:
Step 1: Prepare Your Flavors – Brownies and Cherry Compote
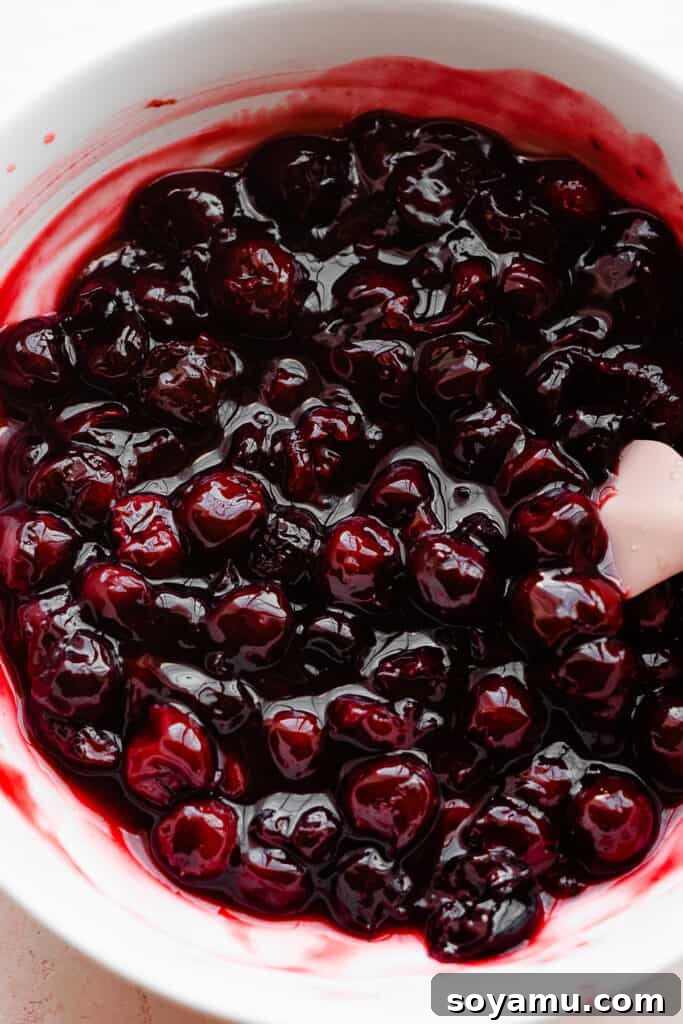
- For the Cherry Sauce: In a small bowl, whisk together the cornstarch and water until completely smooth, forming a slurry. Rinse, pit, and halve your cherries. If using frozen cherries, there’s no need to thaw them beforehand. Combine the cherries, granulated sugar, almond extract, and kirsch (if using) in a medium saucepan. Cook this mixture over medium heat for 10-12 minutes, stirring occasionally, until the cherries soften and release their vibrant juices. Give the cornstarch slurry a quick re-stir, as it tends to settle. Pour the slurry into the hot cherry mixture, stirring constantly for an additional 30 seconds to 1 minute, until the sauce visibly thickens to a spoon-coating consistency. You should be able to draw a finger across the back of a spoon and have the sauce hold its separation. Immediately transfer the hot cherry compote to a shallow bowl or dish and allow it to chill completely in the refrigerator. This cooling step is crucial to prevent it from melting the ice cream base later.
- For the Brownies: Prepare your chosen brownie mix according to the package instructions, or follow your favorite homemade brownie recipe. Bake until set and allow them to cool completely to room temperature. Once cooled, slice the brownies into bite-sized chunks. You’ll need approximately three-quarters of the batch for the ice cream; the remaining quarter is perfect for snacking while you work!
Step 2: Master the Creamy Ice Cream Base
- In a medium mixing bowl, combine the sweetened condensed milk with the pure vanilla extract. Whisk thoroughly until well combined. Set aside.
- In a separate, large mixing bowl, using an electric mixer with a whisk attachment, beat the very cold heavy cream and powdered sugar on high speed. Continue beating until stiff peaks form. To check for stiff peaks, lift the beaters straight up from the cream; the peaks that form should stand upright and hold their shape firmly without drooping. Be careful not to overmix, as this can cause the cream to become grainy or separate.
- Gently scoop about one cup of the whipped cream into the bowl with the sweetened condensed milk mixture. Using a spatula, carefully fold the whipped cream into the condensed milk until just combined. The goal here is to lighten the condensed milk mixture without deflating the whipped cream.
- Pour the lightened condensed milk mixture back into the large bowl containing the remaining whipped cream. Again, using a gentle folding motion (running your spatula down the side of the bowl, across the bottom, and over the top), combine the two mixtures until no streaks of condensed milk remain. This gentle folding technique is paramount to preserving the air in the whipped cream, which gives the no-churn ice cream its characteristic light and creamy texture.
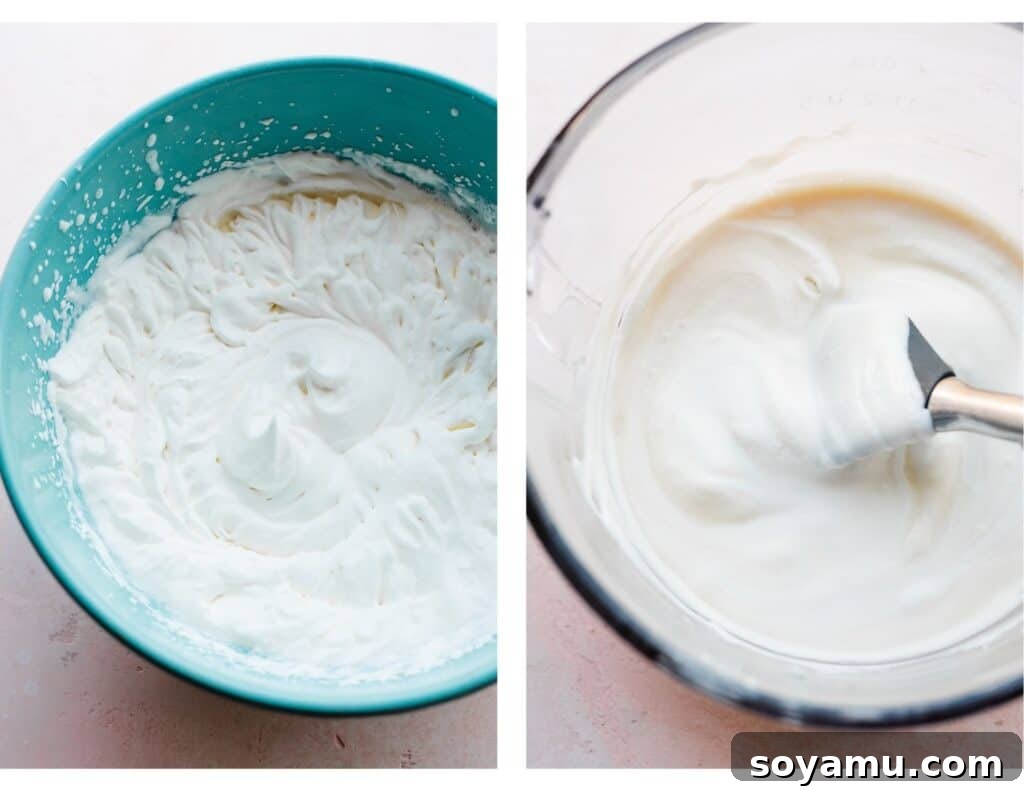
Step 3: Building Layers of Black Forest Delight
- To the prepared ice cream base, gently fold in one-third of your chilled cherry compote, one-third of the chocolate chunks, and one-third of the brownie pieces. Mix just enough to distribute the add-ins evenly without deflating the mixture.
- Pour exactly half of this delightful mixture into a large square (approximately 8×8 or 9×9 inches) or a 9×13 inch pan. Spread it evenly to create the first layer.
- Generously sprinkle another one-third of the remaining cherry compote, chocolate chunks, and brownie pieces over the first layer of ice cream.
- Carefully pour the remaining half of the ice cream mixture over the toppings in the pan, spreading it gently to cover.
- Finally, artfully top the entire surface with the last one-third of the cherry compote, chocolate chunks, and brownie pieces. For a beautiful marbled effect, you can take a butter knife and gently swirl the cherry compote into the top layer of ice cream.
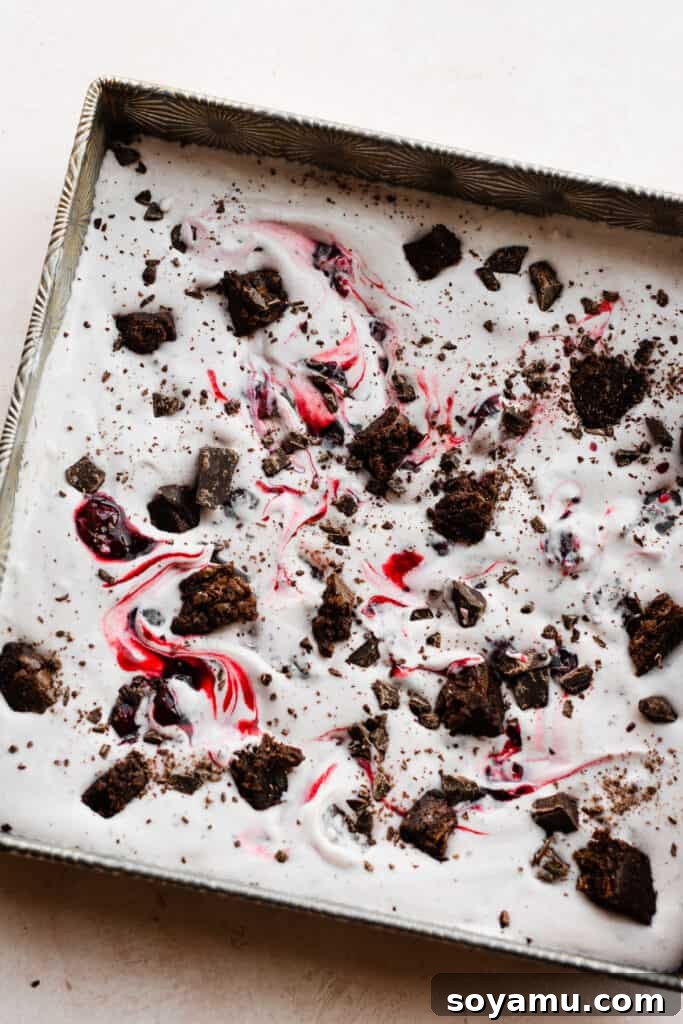
Step 4: Freeze to Perfection
Cover the pan tightly with aluminum foil or plastic wrap, ensuring it’s airtight to prevent ice crystals from forming. Place the pan in the freezer and allow it to freeze completely for at least 8 hours, or preferably overnight. Patience is key for achieving the perfect scoopable consistency.
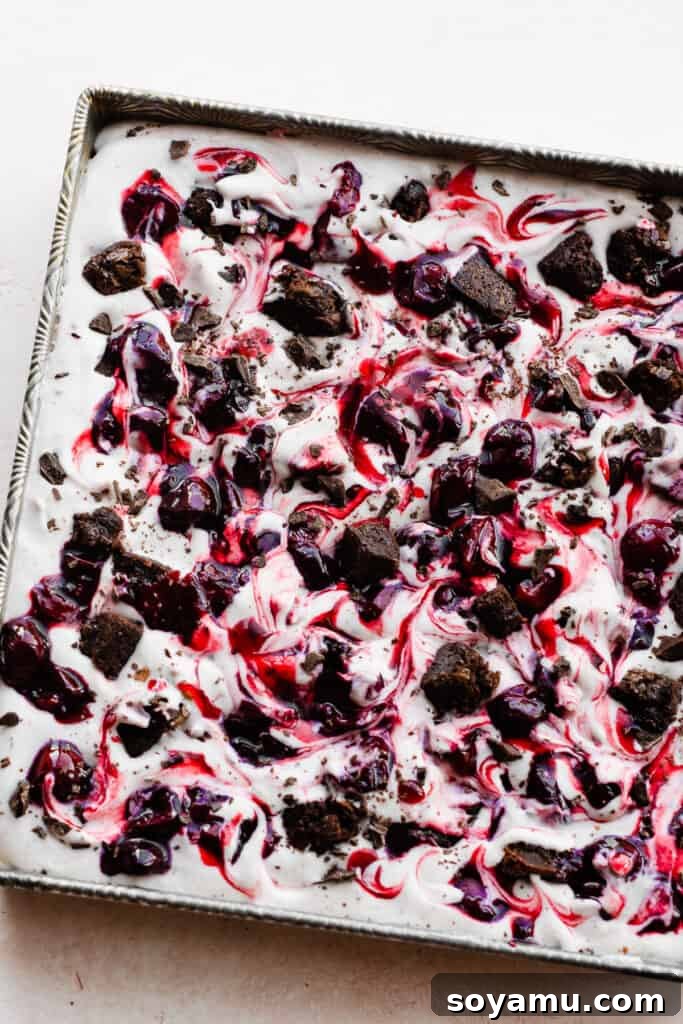
Serving Suggestions & Storage Tips:
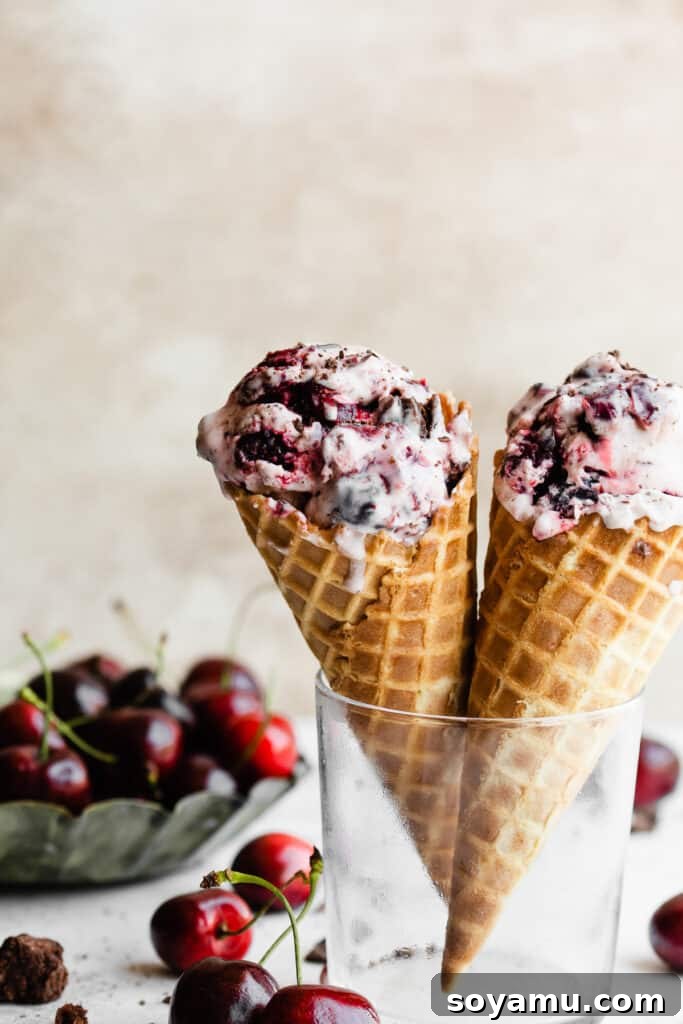
Once your delectable Black Forest Ice Cream has frozen to the perfect consistency, it’s time to enjoy its creamy goodness! Scoop generous portions into bowls or crunchy cones. For an extra touch of indulgence, consider drizzling it with warm hot fudge or a rich chocolate sauce to create magnificent Black Forest sundaes. This creamy, flavor-packed ice cream is truly one of the most satisfying desserts you’ll whip up all season. Get creative by sandwiching scoops between two chewy chocolate cookies or freshly baked brownies for ultimate homemade ice cream sandwiches!
Storage: To preserve its delightful texture and flavor, store any leftover ice cream tightly covered in an airtight container in the freezer. It will remain wonderfully fresh and delicious for a few weeks. Ensure the container is well-sealed to prevent freezer burn and maintain its creamy consistency.
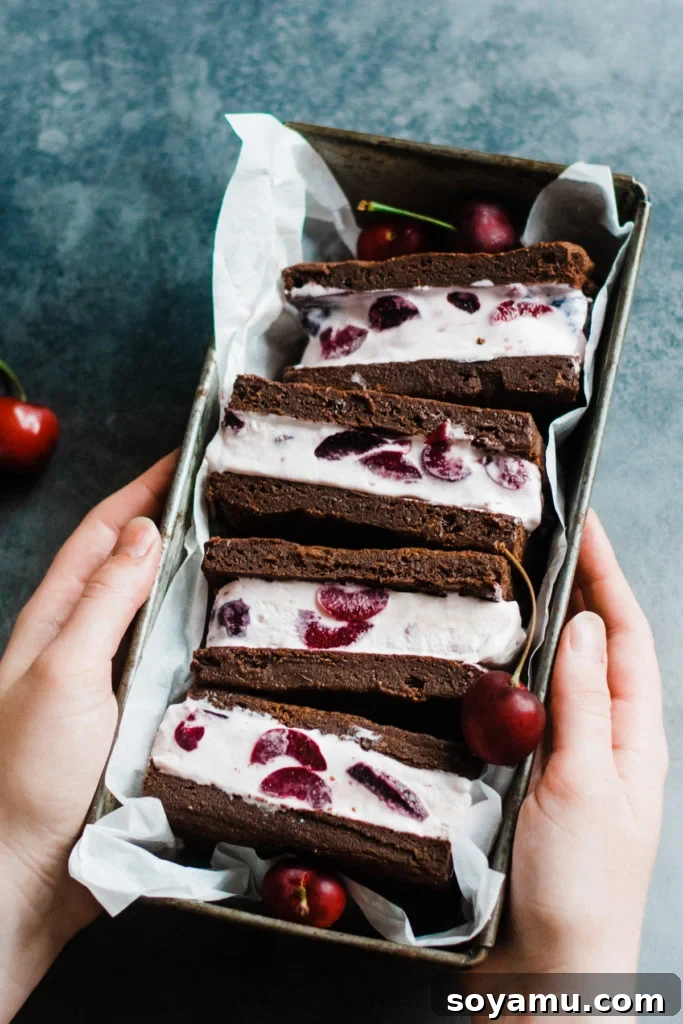
Pro Tips for No-Fail Homemade Ice Cream:
Achieving perfect no-churn ice cream is all about technique. Keep these expert tips in mind for consistently creamy and delicious results:
- Master the Gentle Fold: This is arguably the most critical tip for no-churn ice cream. After whipping your heavy cream to stiff peaks, it’s loaded with air that contributes to the ice cream’s light and airy texture. When combining it with the condensed milk, you must fold gently. Use a spatula to scrape down the side of the bowl, sweep across the bottom, and then fold the mixture over the top. This gentle, scooping motion minimizes the loss of air, preventing your ice cream from becoming dense or icy.
- Ensure Everything is Chilled: Temperature control is key. Your heavy cream must be as cold as possible (straight from the fridge) before whipping; this helps it achieve stiff peaks quickly and efficiently. Similarly, ensure both your prepared brownies and cherry sauce are completely cooled to room temperature, or even chilled, before folding them into the ice cream base. Adding warm ingredients will partially melt the base, compromising its texture.
- Crafting Brownie Ice Cream Sandwiches: For an impressive and customizable dessert, spread your finished ice cream mixture into a cookie sheet lined with parchment paper to create a thinner, even layer. Once fully frozen, use a sharp knife (heated slightly for cleaner cuts) to slice the ice cream into rectangles. Sandwich these frozen rectangles between brownies cut to the same size and shape. You can even dip the edges in melted chocolate and sprinkles for an extra flourish. Find a full guide for Black Forest Ice Cream Sandwiches here!
- Quality Ingredients Matter: While convenience is great, opting for high-quality ingredients, especially your chocolate, vanilla, and fresh cherries, will significantly impact the final flavor profile of your ice cream.
- Patience During Freezing: Don’t rush the freezing process. Allowing the ice cream to freeze for the recommended 8 hours or overnight ensures it develops a firm, yet scoopable, texture. Opening the freezer frequently can also prolong freezing time.
Frequently Asked Questions:
Absolutely! This recipe is very flexible and can easily be halved if you’re looking to make a smaller batch. Simply divide all ingredient quantities by two and use a smaller pan for freezing.
This recipe is specifically designed to be “no-churn,” meaning it doesn’t require an ice cream maker. The method relies on whipping heavy cream to incorporate air, which creates a light and creamy texture. While you *could* potentially adapt it for an ice cream maker, the quantities and ratios might need adjustment, and the final texture may differ from a traditional churned ice cream. We haven’t tested it ourselves, so we can’t guarantee the results. If you do experiment, we’d love to hear how it turns out!
Dark sweet cherries, whether fresh or frozen, are ideal for this recipe as they provide a rich, deep cherry flavor traditional to Black Forest desserts. If you prefer a more tart profile, you can substitute with tart cherries. Just be aware that tart cherries might require a slight increase in sugar for the compote to balance their acidity.
When stored properly in an airtight container, your homemade no-churn Black Forest Ice Cream will maintain its best quality for about 2-3 weeks in the freezer. Beyond that, the texture might start to become icier, although it would still be safe to eat.
More Irresistible Ice Cream Recipes for Sweet Cravings:
If you’re an ice cream enthusiast, you’ll love exploring these other delightful frozen treats:
- Homemade Black Forest Ice Cream Sandwiches
- Homemade Chocolate Ice Cream Sandwiches
- Bailey’s Chocolate Ice Cream Cake
- No-Churn Vanilla Ice Cream with Roasted Rhubarb
- Hot Fudge Samoa Brownie Sundaes
Did you whip up this delicious Black Forest Ice Cream? We’d love to see your creation! Snap a photo and share your thoughts in the comments below!
Be sure to follow bluebowlrecipes on Instagram and tag #bluebowlrecipes with your photo! You can also post a picture of your masterpiece to the bluebowlrecipes Facebook page. We can’t wait to see what you make!