
A Mother’s Day Tribute and My Beloved Homemade Cherry Pie
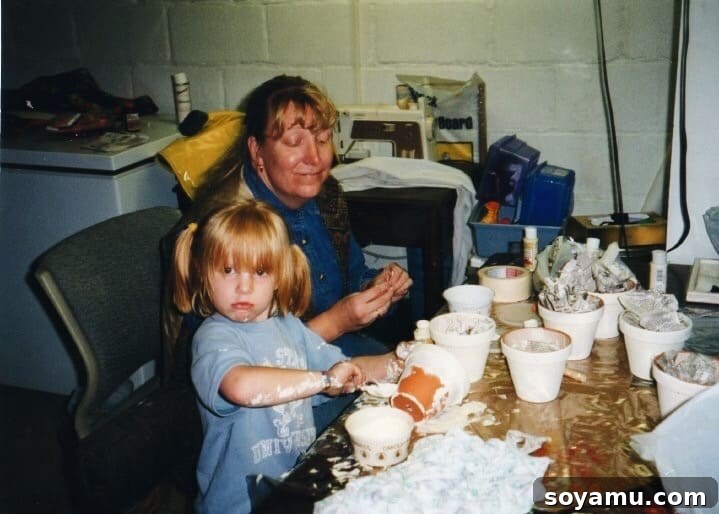
Happy Sunday, dear friends! This isn’t just another coffee break post; it’s a heartfelt ode to the woman who shaped my world – my incredible mom. Happy Mother’s Day, Mom! Your influence, especially in the kitchen, has been nothing short of extraordinary.
Without you, I’d probably still be wondering how to boil a potato without disaster. More importantly, I certainly wouldn’t possess the passion and knowledge for cooking and baking that eventually led to this very food blog.
The Sweet Beginnings: A Legacy of Baking
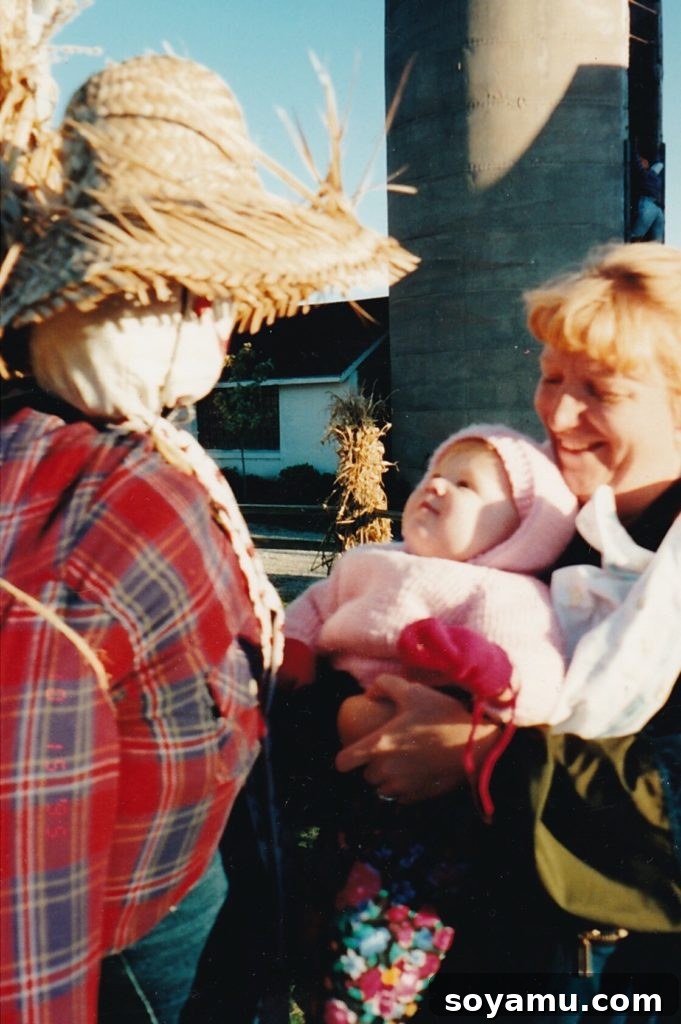
My journey into the world of flour, sugar, and butter began at a very young age, guided by two phenomenal women: my mom and my grandma. They patiently taught me to bake, and from that moment, a lifelong love affair with culinary creation was sparked. I confess, in those early days, my primary motivation might have been the irresistible allure of sneaking bites – or, let’s be honest, fistfuls – of raw cookie dough whenever their backs were turned.
But as the years went by, my fascination with transforming simple ingredients into delicious creations deepened significantly. Thanks to my mom’s enduring patience and guidance, my culinary skills gradually improved from my rudimentary experiments. I fondly recall begging her to let me make “Magic Muck”—a playful concoction of cornstarch and water that was endlessly fun to mix, even if it usually resulted in an impressive mess! These early, messy experiences were crucial in developing my comfort and creativity in the kitchen.
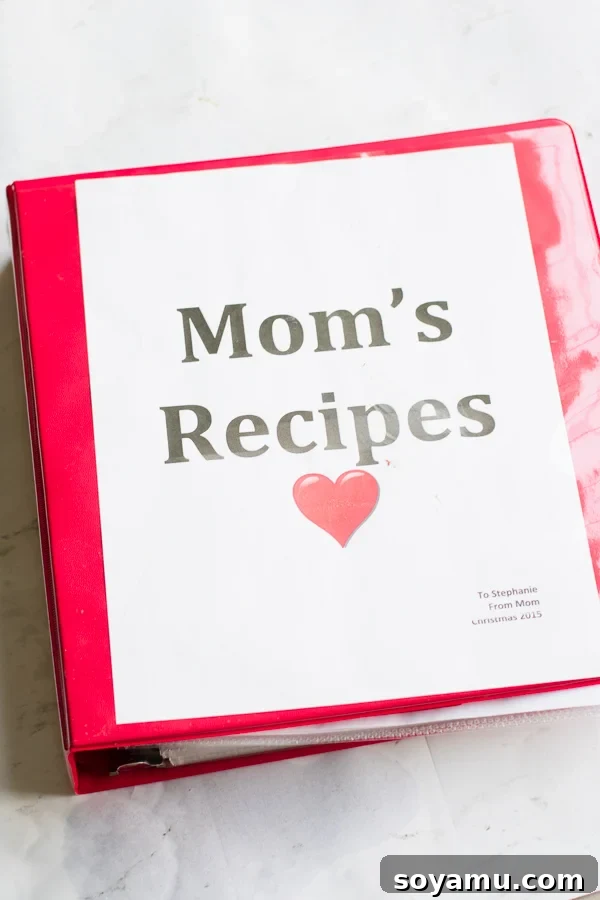
My mom’s talents extend far beyond baking. She is an absolutely amazing cook, too! During my college years, a familiar pattern emerged: I’d call her almost every other day, asking, “Mom, how does that one recipe go, the one you always make for dinner?” Recognizing the pattern, she devised a brilliant solution for both of us. She meticulously compiled a massive binder, overflowing with all her cherished recipes, and gifted it to me. To this day, that binder remains one of the most practical and heartfelt gifts I’ve ever received, a true cornerstone of my own kitchen endeavors.
More Than Just Meals: Life’s Essential Lessons
Beyond teaching me the culinary arts, my mom instilled in me a profound appreciation for the natural world, a commitment to kindness towards everyone, and a deep love for Jesus. Her life is a living testament to self-sacrifice and unwavering service to others. My brother, Nathanael, and I are incredibly blessed to have her as our mom, and we continuously draw inspiration from her boundless generosity and compassion.
On this special day, I must also acknowledge another incredible woman in my life: Grant’s mom. I am truly blessed to have two amazing mothers! Grant’s mom is equally wonderful and bakes some of the most exquisite cookies I’ve ever tasted. Her warmth and culinary skill add another layer of richness to our family celebrations.
Mom, we love you dearly!
The Star of Our Celebration: A Classic Cherry Pie
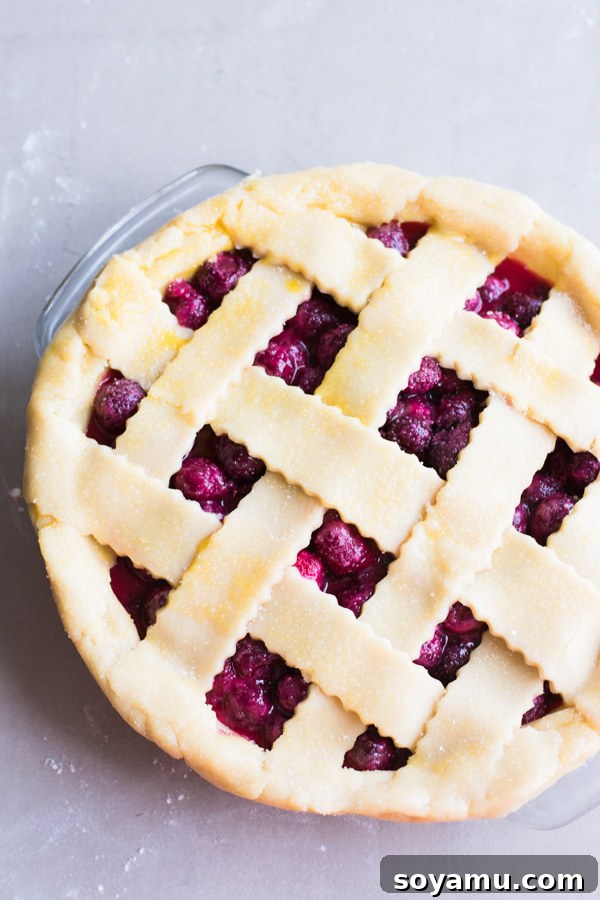
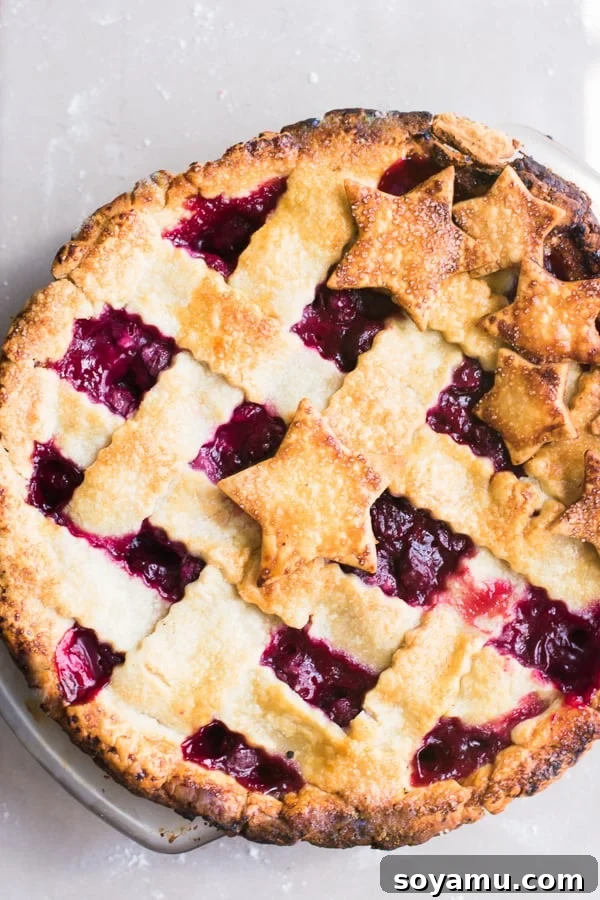
Now, let’s talk about the star of today’s post: this delectable cherry pie. I actually baked this beauty for my mom last weekend. Since Grant and I are visiting his family in Iowa today, we celebrated my mom’s birthday and Mother’s Day a little early. And what was her special request? A homemade cherry pie, of course!
While I wouldn’t consider myself a pie expert by any stretch, this particular pie turned out incredibly yummy! There’s something uniquely satisfying about creating a dessert from scratch, especially one so beloved. And honestly, I seize any opportunity to indulge in pie dough. I’m not sure why, but that simple mixture of flour and butter is just SO GOOD, even before it hits the oven.
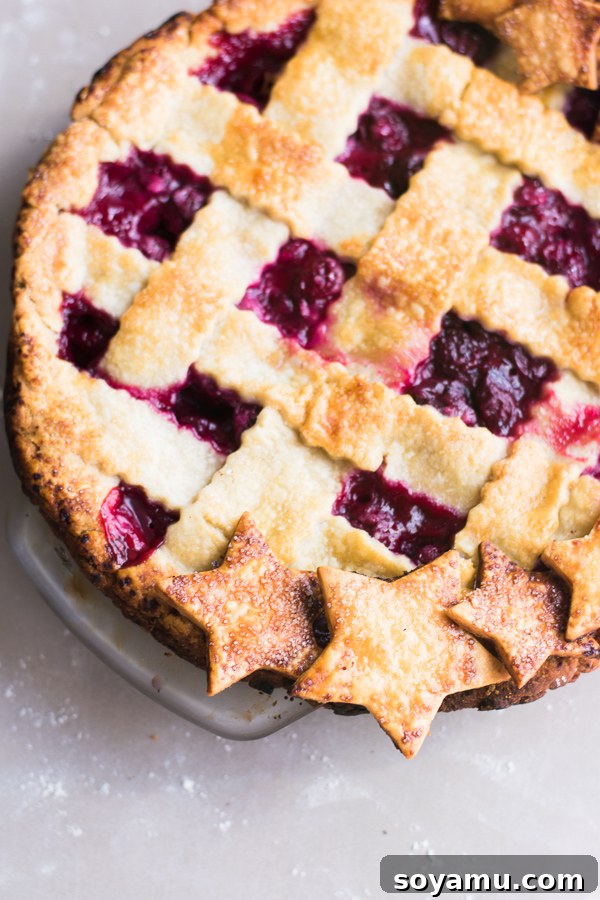
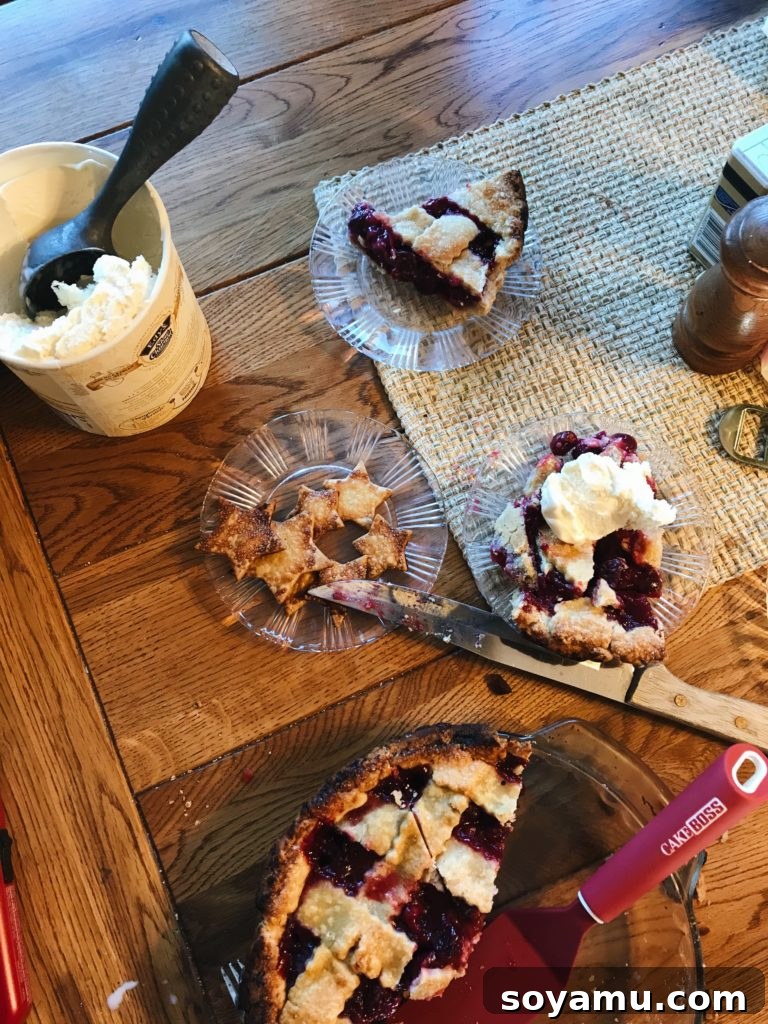
Notice those charming little stars adorning the pie crust? Guess who taught me that delightful trick? My mom! She always makes good use of the leftover scraps of pie dough, transforming them into beautiful shapes to decorate the top of her pies. It’s a wonderful way to add a personal and artistic touch to any homemade pie.
At Thanksgiving, her pies are often embellished with miniature pumpkins and autumn leaves, perfectly capturing the seasonal spirit. Other times, you might find apples or an array of stars, much like on this cherry pie. It’s a small detail that makes a big difference, showing care and creativity in every bake.
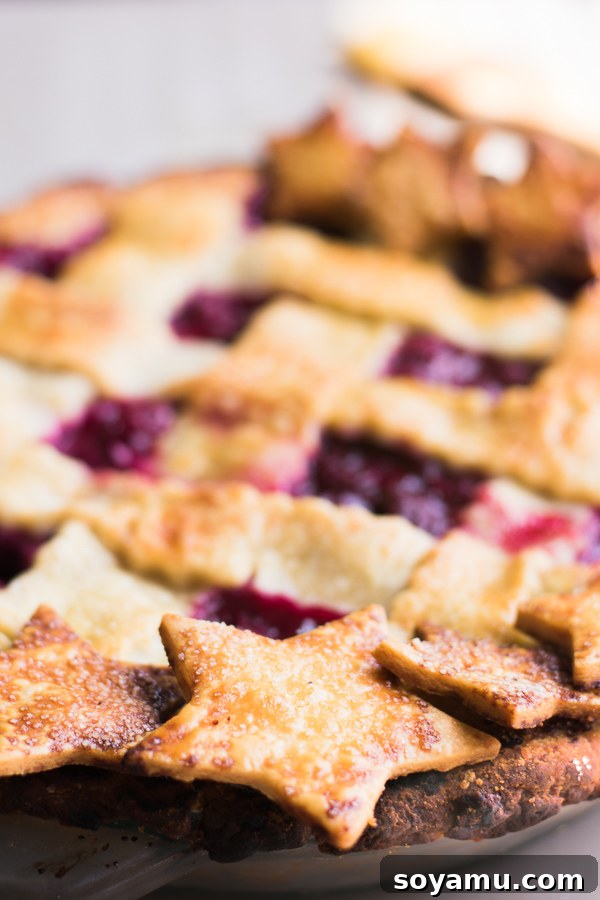
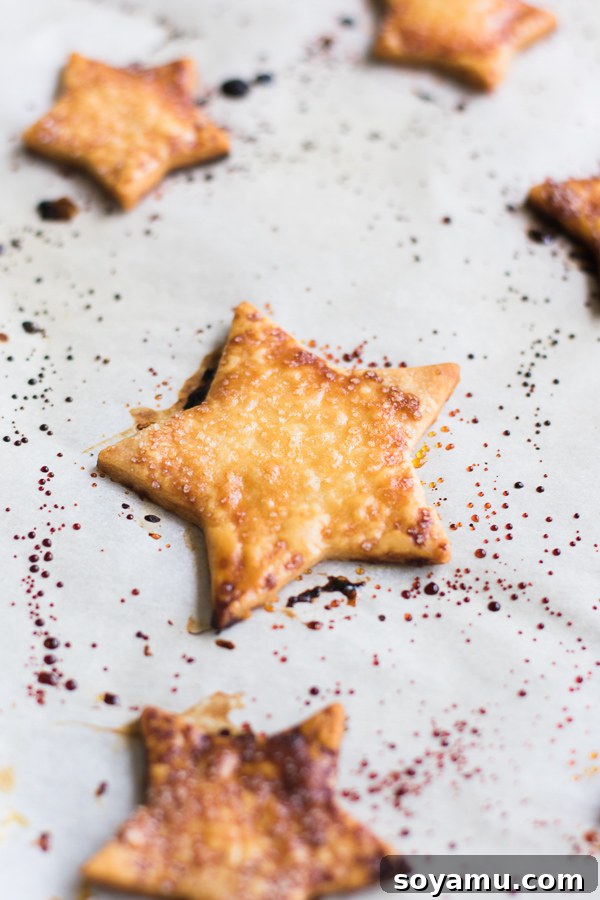
Full disclosure: I’m a bit of a “cheater” and use cookie cutters for my shapes. My mom, however, free-hands hers, and they look absolutely amazing every single time – a true testament to her skill and experience.
If you’ve never attempted to make a cherry pie from scratch before, this is your golden opportunity to shine! It’s not nearly as daunting as you might imagine. I’ve meticulously detailed each step in the recipe to ensure you know exactly what you’re doing. For anyone feeling intimidated or confused by pie crust, I’ve included links (in the recipe notes below) to two incredibly helpful tutorials. I was exactly in that position when I first started my scratch-baking journey, but thanks to my mom’s invaluable lessons, I conquered it!
Besides, a homemade cherry pie is simply delicious, and there’s truly nothing better to enjoy during the warm summer months. It’s a taste of comfort and tradition rolled into one perfect dessert.
Cherry Pie Recipe
By Stephanie Simmons
A delicious and classic cherry pie, made completely from scratch! It’s easier to make than you think and is truly the perfect summer treat.
Prep: 35 mins
Cook: 50 mins
Dough Chilling: 2 hrs
Total: 1 hr 25 mins (plus chilling)
Print Recipe
Ingredients
FOR THE CRUST:
- 3 cups all-purpose flour
- 2 sticks COLD butter
- 2 tbsp shortening
- 7-9 tbsp COLD water
- ¾ tsp salt
FOR THE FILLING:
- 6 cups tart cherries, fresh pitted or thawed frozen work best
- ¾ to 1 cup granulated sugar
- ½ cup flour
- 1 tbsp lemon juice
- ¾ tsp almond extract
- 1 egg for egg wash
- Coarse sugar, to sprinkle on the pie before baking
Instructions
- Make the pie dough: In a large mixing bowl, whisk together the flour and salt. Cut the cold butter into cubes and add it along with the shortening to the flour mixture. Using two forks or a pastry cutter, cut the butter into the flour until you have a mixture with coarse crumbs of various sizes. Gradually add the COLD water, 1-2 tablespoons at a time, stirring gently between each addition, until the dough just begins to come together. Be careful not to add too much water; only add enough to moisten the dough.
- Transfer the dough to a lightly floured counter. Gently work it into a ball. Divide the dough into two equal pieces and shape each into a thick disc. Wrap each disc tightly in plastic wrap and place them in the refrigerator to chill for at least 2 hours.
- Prepare the filling: Begin preparing the filling when the pie dough has only 5-10 minutes left to chill. It’s important not to let the filling sit out for an extended period. In a large mixing bowl, gently stir together the tart cherries, granulated sugar, flour, lemon juice, and almond extract. Taste the mixture and add the extra ¼ cup of sugar if you prefer a sweeter filling. Set the filling aside to rest while you finish preparing the pie dough.
- Assemble the pie: Preheat your oven to 400°F (200°C). Lightly spray a 9-inch pie dish with nonstick cooking spray. In a small bowl, beat one egg to create your egg wash and set it aside.
- Roll out one of the chilled dough discs into an 11 or 12-inch circle. Carefully transfer the rolled dough into the 9-inch pie dish, gently pressing it down to ensure it covers the dish evenly, without any holes. Allow the excess dough to hang over the edges for now.
- Pour the prepared cherry filling into the pie dish. Roll out the second disc of pie dough. Using a pastry wheel or a sharp knife, cut the dough into strips. I typically use about 7 strips, but 4 or 5 strips going in each direction (totaling 8-10 strips) is ideal for a classic lattice top.
- Brush the edges of the bottom crust in the pie dish with the egg wash. Carefully arrange the strips of dough over the filling. To create a lattice design, carefully thread the strips over and under each other, pulling back alternating strips as necessary to weave them together. This step can be tricky initially; please refer to the helpful links in the “Notes” section below for detailed visual instructions on how to create a beautiful lattice top.
- Trim any overhanging crust, then gently press the edges to seal the lattice strips to the bottom crust. Brush the entire top crust, including the lattice strips, with the egg wash and generously sprinkle with coarse sugar for a beautiful sparkle and crunch.
- Pie Crust Shapes (Optional): If you have any remaining pie dough scraps, cut out decorative shapes (like stars or leaves). Brush these shapes with egg wash and sprinkle with sugar. Bake these at 375°F (190°C) for about 7-10 minutes after the main pie has come out of the oven. Check them at the 7-minute mark and add extra time if needed until golden brown.
- Bake the pie: Place the assembled pie on a large baking sheet (to catch any potential drips) and bake for 20 minutes. After 20 minutes, reduce the oven temperature to 375°F (190°C). Carefully place a piece of foil with a hole cut in the center (or a pie shield) over the top of the pie. Ensure the edges of the crust are well covered to prevent them from burning. Return the pie to the oven and continue baking for about 30 more minutes, or until the crust is golden brown throughout and the filling is bubbly.
- Serving: For the cleanest slices and best presentation, the longer you allow the pie to cool, the easier it will be to cut and serve without it being oozy or messy. I often make this pie a day in advance and let it cool completely before serving. If desired, you can always warm individual slices in the microwave for a short time before serving.
- Storage: Let the pie cool completely at room temperature. Once cool, cover it well with foil or plastic wrap and store it in the refrigerator. Do not store any separate pie crust decorations (like the shapes) in the fridge; instead, keep them in an airtight container at room temperature and add them to the pie right before serving. Leftovers can be stored in the refrigerator for 4-5 days.
Notes
PRO TIP: For extra guidance on making perfect pie crust and troubleshooting common issues, check out this helpful post: How to Make Perfect Pie Crust. And for detailed, step-by-step instructions on creating a beautiful lattice top for your pie, I highly recommend this guide: Pie Crust Designs by Sally’s Baking Addiction.
Nutrition Information
Calories: 570 kcal
Nutrition information is automatically calculated and should only be used as an approximation. Actual values may vary.