
Easy Roasted Butternut Squash: The Perfect Autumn Side Dish
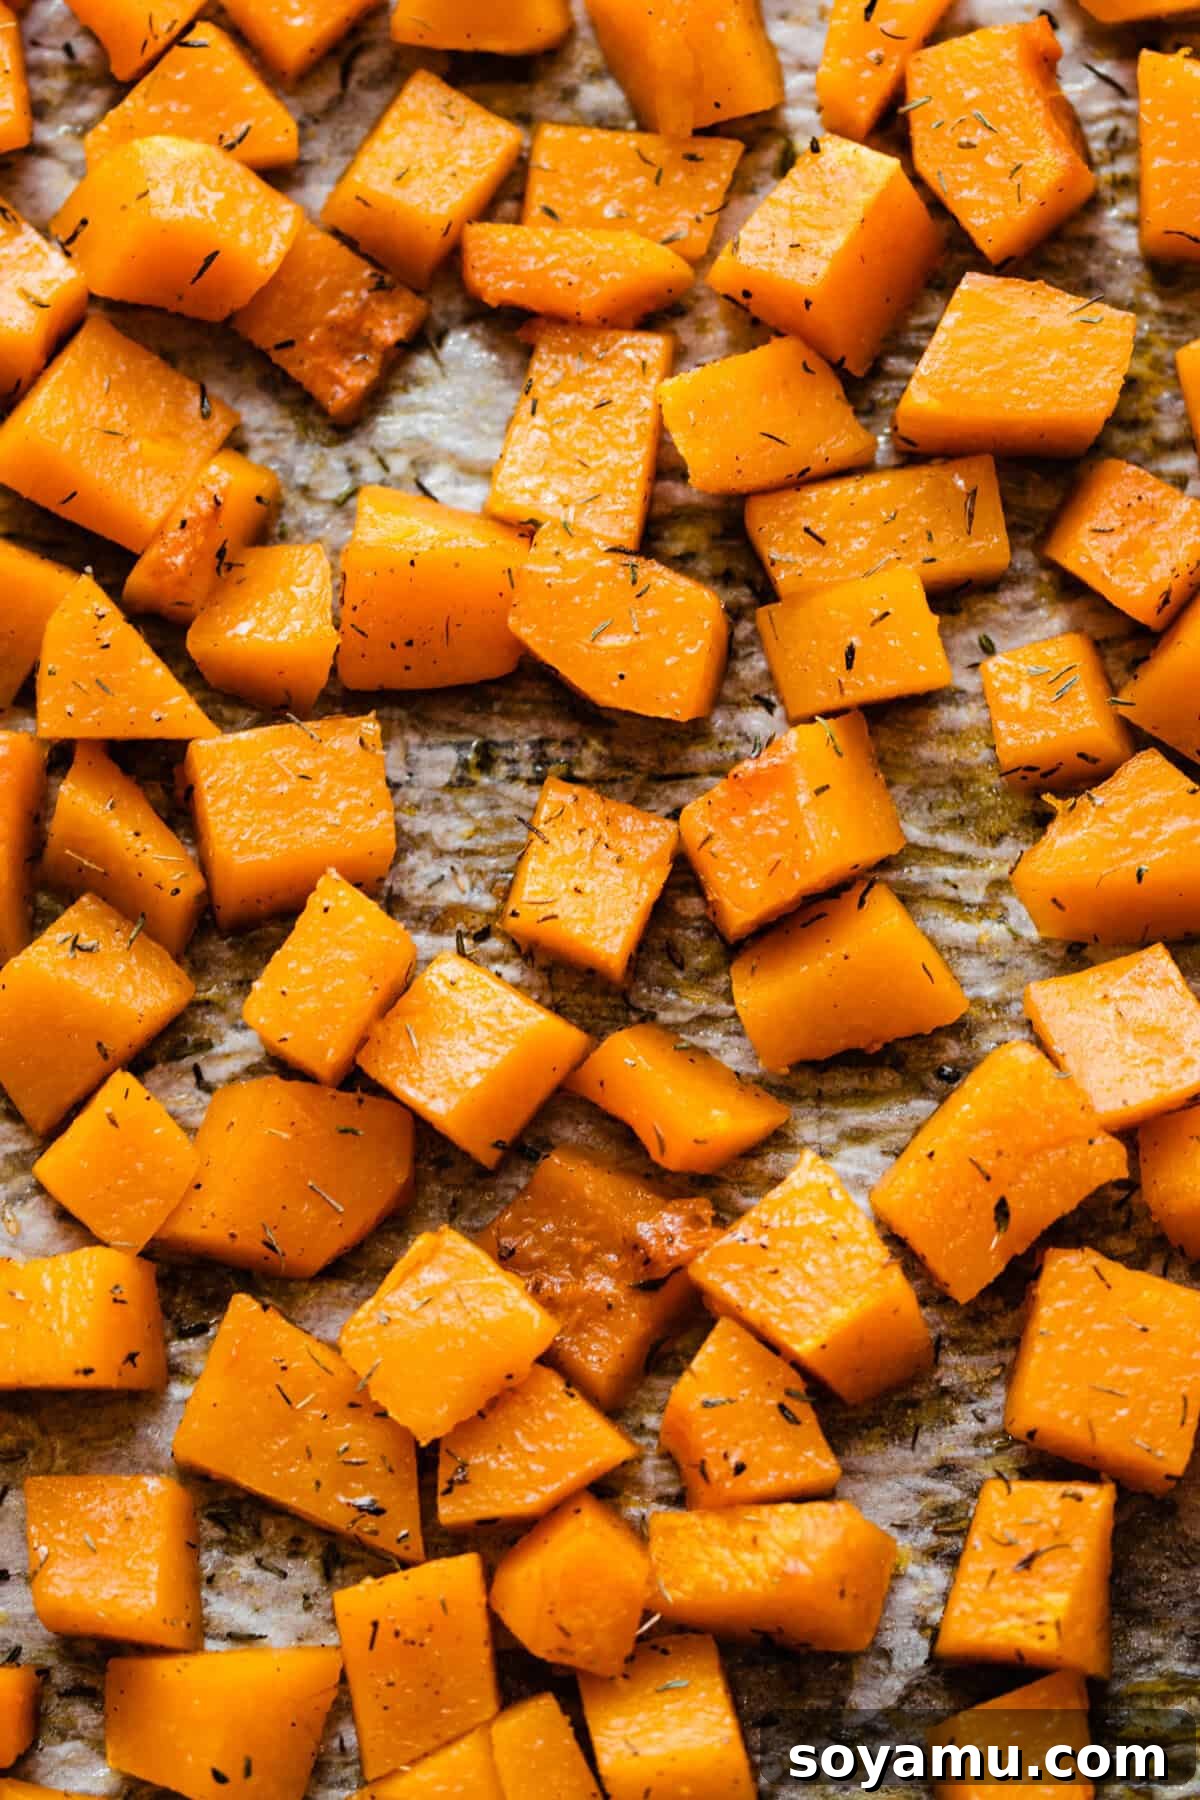
As the vibrant colors of autumn sweep across the landscape and a comforting chill fills the air, there’s nothing quite as inviting as a warm, wholesome dish that captures the essence of the season. Our recipe for easy roasted butternut squash does just that, transforming a humble winter squash into a tender, sweet, and deeply flavorful culinary delight. With beautifully caramelized edges achieved through oven-roasting and a fragrant blend of sage and thyme, this dish is not only incredibly delicious but also remarkably simple to prepare.
Whether you’re planning a cozy weeknight dinner, a festive holiday feast, or simply looking to add more seasonal vegetables to your plate, this roasted butternut squash recipe is a perfect choice. It requires minimal effort, takes less than an hour from start to finish, and relies on just a handful of pantry staples. Get ready to impress your family and friends with this golden, savory-sweet goodness that perfectly complements a wide array of main courses and can even star in its own right.
Why This Roasted Butternut Squash Will Become Your Favorite Fall Recipe
There are countless reasons to adore this simple yet sophisticated roasted butternut squash recipe. Its appeal lies not only in its delightful taste but also in its ease of preparation and impressive versatility:
- Effortlessly Delicious: Achieve restaurant-quality flavor with minimal fuss. The oven does most of the work, allowing the natural sweetness of the squash to shine through, enhanced by aromatic herbs.
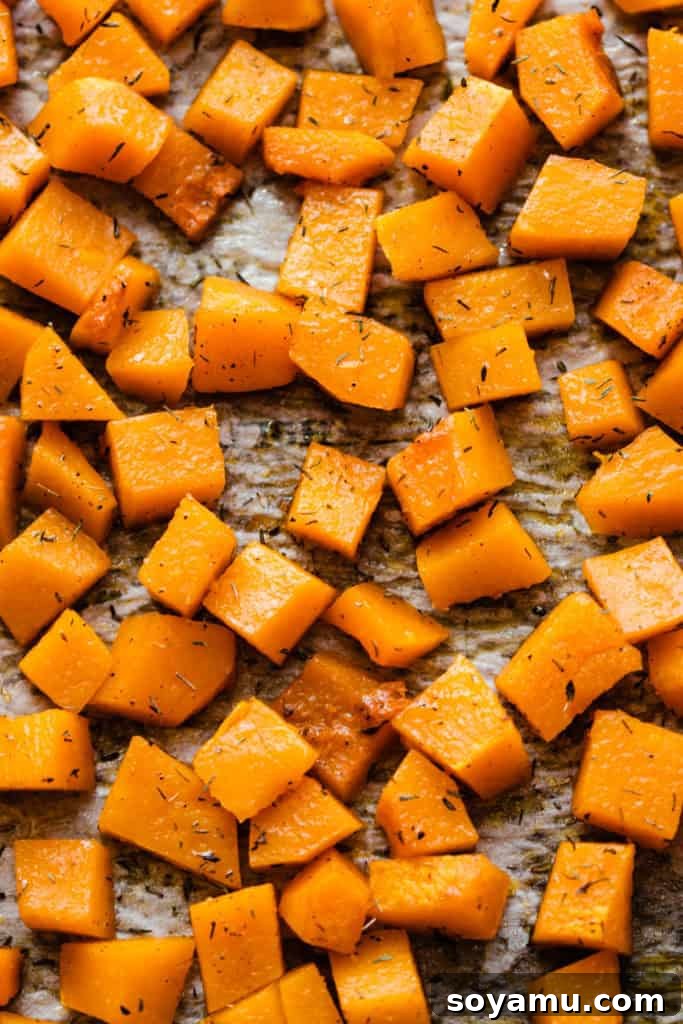
- Perfectly Caramelized Edges: The roasting method creates exquisite browned, slightly crispy edges that are packed with concentrated flavor, adding an irresistible texture to every bite.
- Rich, Aromatic Flavors: Sage and thyme are classic companions to butternut squash, infusing it with an earthy, slightly peppery, and incredibly comforting aroma that defines autumn cuisine.
- Healthy and Nutritious: Butternut squash is a powerhouse of vitamins (especially A and C), fiber, and antioxidants, making this a smart and delicious choice for a healthy diet.
- Highly Versatile: Enjoy it as a standalone side dish, or easily incorporate it into various other recipes like salads, soups, pizzas, and casseroles. It adapts beautifully to many culinary applications.
- Diet-Friendly: This recipe is naturally vegetarian and gluten-free. It can also be made completely vegan by simply omitting the optional Parmesan cheese.
- Quick Prep and Cook Time: From chopping to serving, this dish can be ready in approximately 40 minutes, making it an ideal choice for busy schedules.
Butternut Squash Basics: Selecting and Storing Your Star Ingredient
To ensure the best possible roasted butternut squash, starting with a high-quality squash is essential. Here’s what to look for and how to store it:
Choosing the Best Butternut Squash
When selecting a butternut squash, look for one that is firm and heavy for its size, indicating a dense, moist flesh. The skin should be smooth, dull (not shiny, as a shiny skin can mean it was picked too early), and consistent in color, typically a uniform beige or pale orange. Avoid any squash with soft spots, visible blemishes, cracks, or signs of mold, as these can indicate spoilage or a lack of freshness.
Proper Storage for Freshness
Whole, uncut butternut squash is a fantastic winter keeper. It can be stored in a cool, dark, and dry place, such as a pantry, cellar, or even a garage, for up to one to three months. Once you cut into the squash, its shelf life significantly shortens. Cut squash should be stored in an airtight container in the refrigerator and ideally used within 3-4 days to maintain its freshness and quality. If you have excess roasted squash, it freezes well. Allow it to cool completely, then transfer to freezer-safe bags or containers and freeze for up to 3 months. Thaw in the refrigerator before reheating.
The Simple Ingredients You’ll Need
This recipe celebrates the natural flavors of butternut squash, enhanced by a few carefully selected ingredients:
- 1 Medium Butternut Squash: The star of the show! A medium squash typically yields about 4-6 servings of delicious roasted cubes.
- 1-2 Tablespoons Olive Oil: Extra virgin olive oil is preferred for its flavor and ability to help the squash caramelize and prevent sticking.
- 1/2 to 1 Teaspoon Salt: Enhances all the other flavors. Adjust to your taste preferences.
- Freshly Ground Black Pepper: Adds a subtle kick and aromatic depth.
- 1/2 Teaspoon Dried Thyme: Contributes an earthy, slightly floral, and minty note that complements the squash beautifully.
- 1/2 Teaspoon Dried Sage: A quintessential fall herb, sage provides a warm, savory, and slightly peppery flavor profile that pairs perfectly with the sweetness of butternut squash.
- 1 Tablespoon Brown Sugar (Optional): This addition helps to deepen the caramelization and enhance the squash’s natural sweetness, creating a richer flavor. If you prefer a less sweet profile or a strictly savory dish, you can easily omit it. Maple syrup is a great alternative for a different sweet note.
- Parmesan Cheese (Optional, for finishing): A final sprinkle of grated Parmesan adds a salty, nutty, and umami finish, elevating the dish further.
Mastering the Art of Roasting Butternut Squash: A Step-by-Step Guide
Achieving perfectly tender, golden-brown roasted butternut squash is incredibly easy with a few key techniques. Follow these steps for consistently delicious results:
Step 1: Preheat and Prepare the Squash
Begin by preheating your oven to a robust 400°F (200°C). This high temperature is crucial for encouraging caramelization and ensuring the squash cooks quickly and evenly. Next, tackle the butternut squash. Place the squash on a stable cutting board. Using a sturdy vegetable peeler, carefully remove the tough outer skin. If you find any spots missed by the peeler, a sharp knife can easily trim them away. Once peeled, slice the squash in half lengthwise. Using a spoon, scoop out all the seeds and fibrous strands from the round bulbous end; these can be discarded.
Now, dice the squash into uniform, bite-sized chunks, aiming for pieces that are roughly 1-inch squares. Consistency in size is paramount for even cooking – this prevents some pieces from becoming mushy while others remain firm. If your pieces are too large, they will take longer to cook through; too small, and they might burn before becoming tender.

Step 2: Season and Arrange for Optimal Roasting
Place the uniformly diced butternut squash onto a large, sturdy baking sheet. For the best caramelization and those sought-after crispy edges, it is essential to **avoid using parchment paper or aluminum foil**. Direct contact between the squash and the hot metal of the baking sheet is what facilitates the Maillard reaction, yielding superior flavor and texture. You can lightly spray the baking sheet with cooking spray to prevent sticking.
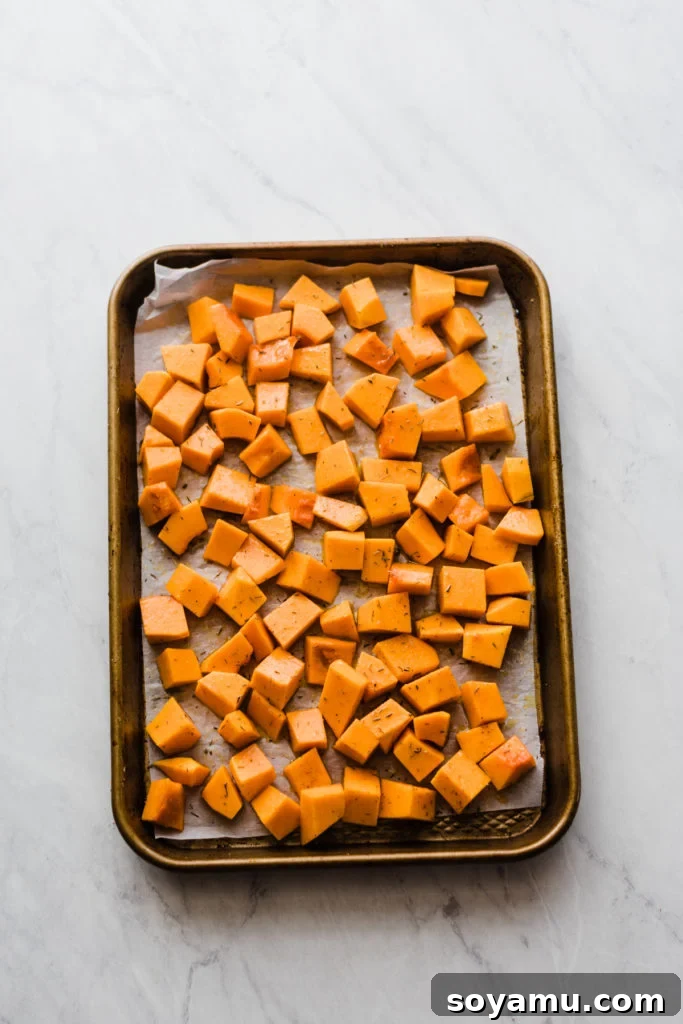
Drizzle the squash generously with olive oil, ensuring every piece gets a light coating. Then, evenly sprinkle the salt, black pepper, dried thyme, dried sage, and the optional brown sugar over the squash. Using your hands or a spatula, toss everything together thoroughly until all the squash pieces are well coated with the oil and seasonings. Finally, spread the seasoned squash in a single layer across the baking sheet. It is crucial not to overcrowd the pan; leave a little space between each piece. If your baking sheet is too full, use a second one to prevent the squash from steaming instead of roasting, which would result in a less flavorful, softer texture.
Step 3: Roast to Golden-Brown Perfection
Carefully transfer the baking sheet with the seasoned butternut squash to your preheated 400°F (200°C) oven. Roast for approximately 20 to 30 minutes. The exact cooking time will depend on the size of your squash pieces and the specific characteristics of your oven. To ensure even cooking and caramelization on all sides, stir or flip the squash pieces once about halfway through the roasting process (around the 10-15 minute mark).
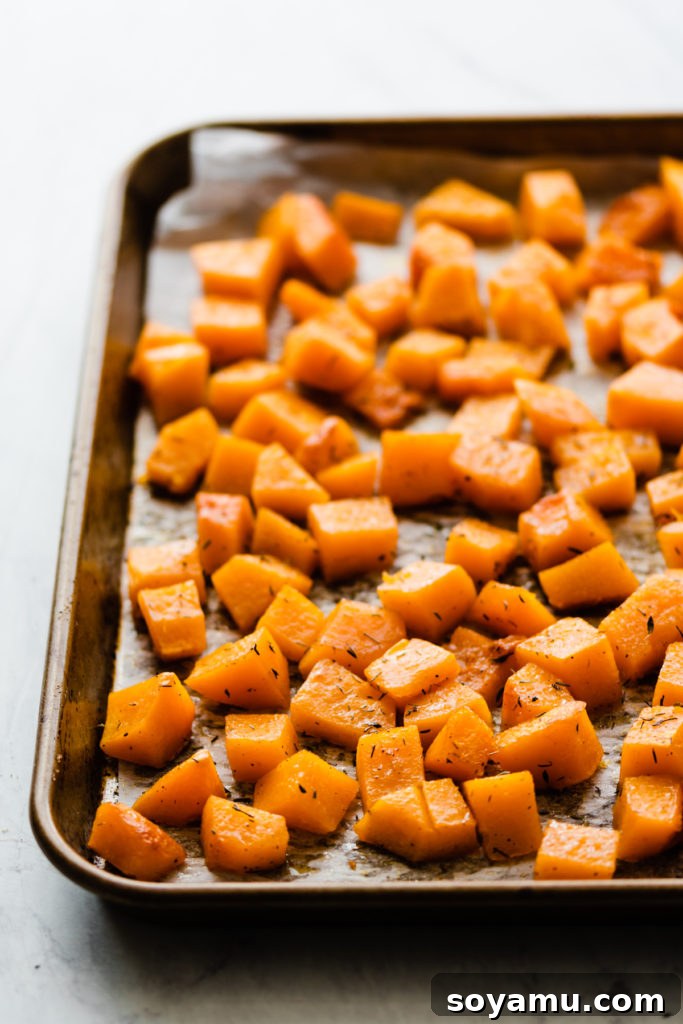
Keep an eye on the squash during the final minutes of roasting. You’re looking for pieces that are fork-tender, meaning a fork can easily pierce through them, and have developed a beautiful golden-brown color with slightly crisp, caramelized edges. Once it reaches this stage, remove the baking sheet from the oven.
Step 4: Season, Serve, and Savor!
Before serving, take a moment to taste a piece of the roasted butternut squash. This is your opportunity to adjust the seasoning as needed; perhaps a touch more salt, pepper, or even a sprinkle of fresh herbs can further enhance the flavors. If you’re using Parmesan cheese, sprinkle it over the warm squash immediately after it comes out of the oven so it melts slightly into the crevices. Serve this delectable roasted butternut squash immediately as a vibrant and flavorful side dish.
Any leftovers can be stored in an airtight container in the refrigerator for up to 5-6 days. When reheating, the oven is best to help restore some of its original crispness, but a microwave will also work if you’re short on time.
Expert Tips for Roasting Butternut Squash Like a Pro
While the recipe is straightforward, these additional tips will help you achieve consistently outstanding results every time you roast butternut squash:
- Uniformity in Dicing: We can’t stress this enough! Uneven pieces will cook at different rates, leading to some being overcooked and mushy while others are still hard. Aim for roughly 1-inch cubes.
- Avoid Overcrowding: This is perhaps the most crucial tip for crispy, caramelized squash. If the pan is too full, moisture released from the squash will get trapped, causing the pieces to steam rather than roast. Use two baking sheets if necessary to ensure a single layer with enough space between pieces.
- Direct Pan Contact is King: For those coveted golden-brown, caramelized edges, always place the squash directly onto a lightly oiled metal baking sheet. Parchment paper or foil creates a barrier that prevents direct heat transfer, hindering caramelization.
- High Heat for Best Results: Roasting at 400°F (200°C) is ideal. This high temperature helps to quickly tenderize the squash while allowing the sugars to caramelize on the exterior.
- Don’t Be Afraid to Season: Taste your squash before serving and adjust the seasonings. A little extra salt or pepper can make a big difference in enhancing the overall flavor.
- Consider a Touch of Sweetness: While optional, a tablespoon of brown sugar or maple syrup not only boosts sweetness but also aids in the caramelization process, resulting in a more complex flavor profile.
- Time-Saving Shortcut: Many grocery stores offer pre-cut butternut squash. While slightly more expensive, this can significantly reduce your prep time. Just be sure to check the size of the pre-cut pieces; you may still want to chop them into more uniform, smaller cubes for optimal roasting.
Creative Culinary Uses for Your Roasted Butternut Squash
Beyond being a simple side dish, roasted butternut squash is a truly versatile ingredient that can elevate a wide range of recipes. Its sweet, earthy flavor and tender texture make it a fantastic addition to both savory and sweet dishes. Here are some inspiring ways to incorporate your perfectly roasted squash:
1. Gourmet Pizza Topping
Elevate your homemade pizzas by adding roasted butternut squash. Its creamy texture and sweet notes pair beautifully with ingredients like caramelized onions, goat cheese, fresh sage, and a drizzle of balsamic glaze. For a truly unforgettable autumn pizza, consider adding it to a Pear Pizza with Arugula, as suggested in the original article. The combination of sweet fruit, savory squash, and peppery greens is simply divine.
2. Hearty Soups and Stews
Roasted butternut squash adds incredible depth, sweetness, and a velvety texture to soups and stews. You can puree it for a rich and creamy squash soup, or leave it in chunks for added body and visual appeal. It would be particularly delicious in a chicken, lentil, or vegetable soup, offering a beautiful golden color and a subtly sweet counterpoint to savory broths. Imagine it enriching a comforting Chicken Wild Rice Soup.
3. Comforting Casseroles
Enhance the nutritional value and flavor of your favorite casseroles by incorporating roasted butternut squash. Its tender consistency makes it a perfect companion to grains, pasta, meats, and other vegetables, creating a more robust and satisfying meal. Try it in a Healthy Chicken Wild Rice Casserole. For casseroles that require further baking, you might want to roast the squash slightly “al dente” (cooked for about 20 minutes) so it finishes perfectly without becoming mushy during the casserole’s baking time.
4. Elegant Galettes and Savory Tarts
For a more sophisticated appetizer or light meal, roasted butternut squash shines in galettes and savory tarts. Its natural sweetness harmonizes beautifully with caramelized onions, tangy goat cheese, herbs, and flaky pastry. A Butternut Squash and Caramelized Onion Galette is an exquisite way to showcase its flavors and impress your guests.
5. Vibrant and Hearty Salads
Transform your everyday salads into seasonal masterpieces by adding warm, roasted butternut squash. It provides a delightful contrast in texture and temperature, especially when combined with crisp greens, crunchy nuts, dried cranberries, and a complementary dressing. Try it in a Fall Harvest Salad with Maple Tahini Dressing, alongside kale, apples, and toasted pecans. Alternatively, use it in a Panzanella-style salad for a substantial and flavorful experience.
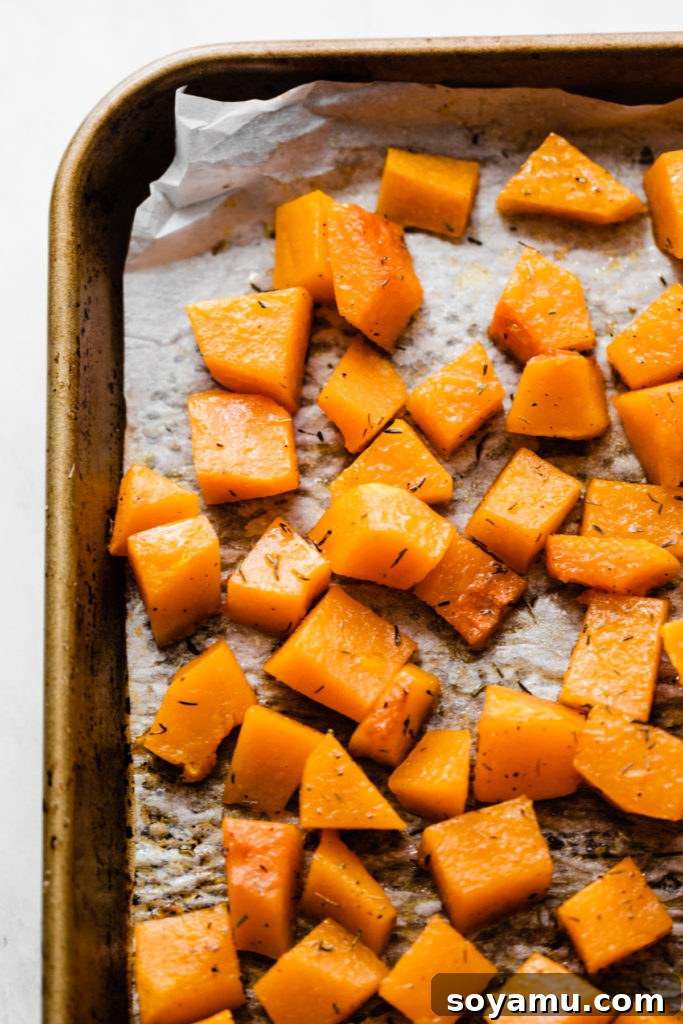
6. A Simple, Flavorful Side Dish
Sometimes, the best way to enjoy roasted butternut squash is in its simplest form. Serve it as a delicious and satisfying side dish, perhaps with an extra sprinkle of Parmesan cheese or a dash of fresh parsley. It pairs exceptionally well with roasted chicken, turkey, pork chops, grilled fish, or alongside any vegetarian main course. Its robust flavor and comforting texture make it a reliable and much-loved addition to almost any meal, proving its status as a true kitchen hero.
The Health Benefits of Butternut Squash
Beyond its wonderful taste and versatility, butternut squash is also a nutritional powerhouse, offering a wealth of health benefits:
- Rich in Vitamins A and C: It’s an excellent source of beta-carotene, which the body converts into vitamin A, crucial for vision, immune function, and skin health. It also provides a significant amount of vitamin C, an antioxidant that supports the immune system and promotes collagen production.
- High in Fiber: Butternut squash is packed with dietary fiber, which aids in healthy digestion, helps regulate blood sugar levels, and promotes a feeling of fullness, assisting with weight management.
- Good Source of Minerals: It contains important minerals like potassium, vital for blood pressure regulation and fluid balance, and magnesium, involved in over 300 biochemical reactions in the body.
- Antioxidant Properties: The vibrant orange flesh indicates a high concentration of antioxidants, which help protect cells from damage caused by free radicals.
Incorporating roasted butternut squash into your diet is a delicious and easy way to boost your intake of essential vitamins, minerals, and fiber.
Storing and Reheating Your Roasted Butternut Squash
Making a larger batch of roasted butternut squash is a great idea for meal prep. Here’s how to store and reheat it effectively:
- Storage: Allow any leftover roasted butternut squash to cool completely before transferring it to an airtight container. Store it in the refrigerator for up to 5-6 days.
- Reheating: For best results and to regain some of those desirable crispy edges, reheat the squash in the oven. Spread it on a baking sheet and warm it at 350°F (175°C) for 10-15 minutes, or until heated through. Alternatively, you can reheat it in a microwave, but it may become softer and lose some of its caramelized texture.
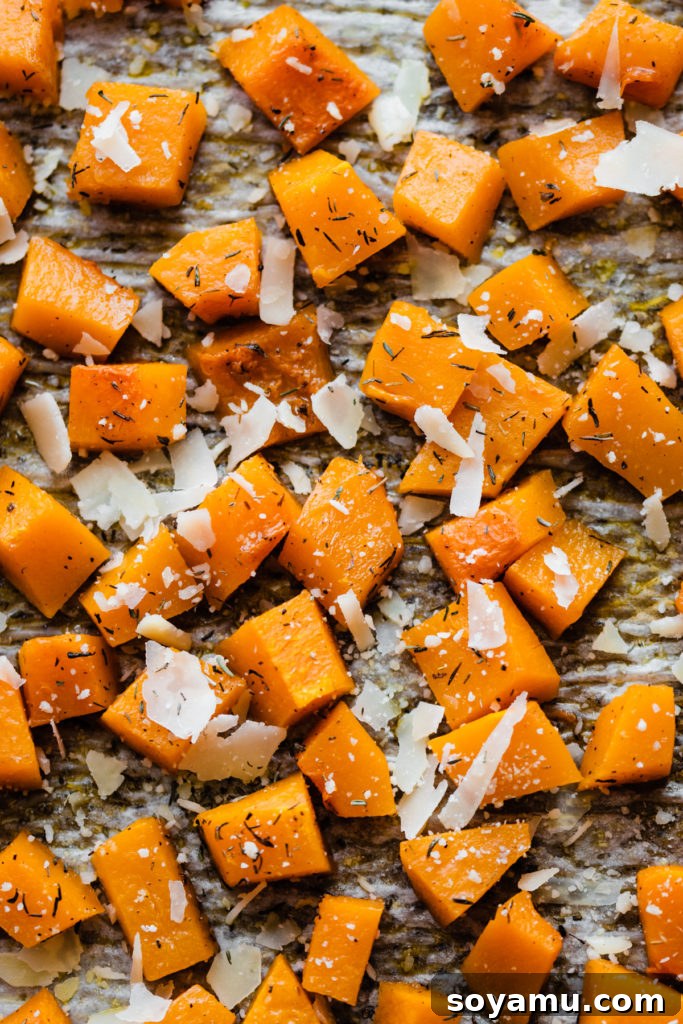
Easy Roasted Butternut Squash Recipe Card
How to Make Easy Roasted Butternut Squash
Stephanie Simmons
10 minutes
30 minutes
6 servings
Ingredients
- 1 medium butternut squash
- 1/2 tsp dried thyme
- 1/2 tsp dried sage
- 1 TBSP brown sugar, optional
- freshly ground black pepper, to taste
- 1/2 to 1 tsp salt, to taste
- 1-2 TBSP olive oil
- Parmesan cheese, for finishing, optional
Instructions
-
1. Prepare the Squash: Preheat oven to 400°F (200°C). Peel the butternut squash using a vegetable peeler. Halve it lengthwise, scoop out the seeds and stringy bits, then chop it into uniform, bite-sized (about 1-inch) chunks. This ensures even cooking.
-
2. Season: Place the chopped squash on a large baking sheet that has been lightly sprayed with cooking spray. For best caramelization, avoid using parchment paper or foil; direct contact with the hot pan is key. Drizzle with olive oil, then toss with brown sugar (if using), thyme, sage, salt, and pepper until all pieces are well coated. Spread the squash in a single layer without overcrowding the pan. Use a second baking sheet if needed.
-
3. Roast: Roast for 20-30 minutes, or until the squash is fork-tender and the edges are beautifully browned and caramelized. Stir or flip the squash once halfway through the cooking time to promote even roasting.
-
4. Serve and Store: Taste the roasted squash and add more seasoning if desired. Optionally, sprinkle with Parmesan cheese while still warm. Serve immediately as a delicious side dish. Store any leftovers in an airtight container in the refrigerator for up to 6 days.
-
Time-Saving Tip: Pre-cut butternut squash is available in many grocery stores, which can save prep time. If using, you may still want to cut the pieces into smaller, more uniform chunks for optimal roasting.
Did you make this recipe? Share your thoughts!
We’d love to see your creations and hear your feedback. Tag us on social media!
Final Thoughts on Easy Roasted Butternut Squash
Roasted butternut squash is truly a celebration of autumn’s bounty and a testament to the fact that simple ingredients, prepared with a little care, can yield extraordinary flavors. Its tender texture, sweet-savory profile, and beautifully caramelized edges make it an irresistible and versatile addition to almost any meal, from a casual weeknight dinner to a festive holiday spread. We hope this comprehensive guide has inspired you to embrace the joy of roasting butternut squash and makes it a cherished feature in your culinary repertoire.
Don’t let the seemingly daunting task of preparing a whole squash deter you. With our clear, easy-to-follow steps and practical tips, you’ll be roasting perfect butternut squash every time. Experiment with different seasonings, explore its many culinary uses, and most importantly, savor the delicious, comforting results!
Did you try this recipe?
We’d love to hear from you! Leave a comment and rating below to share your experience and let us know how it turned out. And don’t forget to tag #bluebowlrecipes on Instagram if you snap a photo of your delicious creation! Your feedback helps us grow and inspires others to cook.