
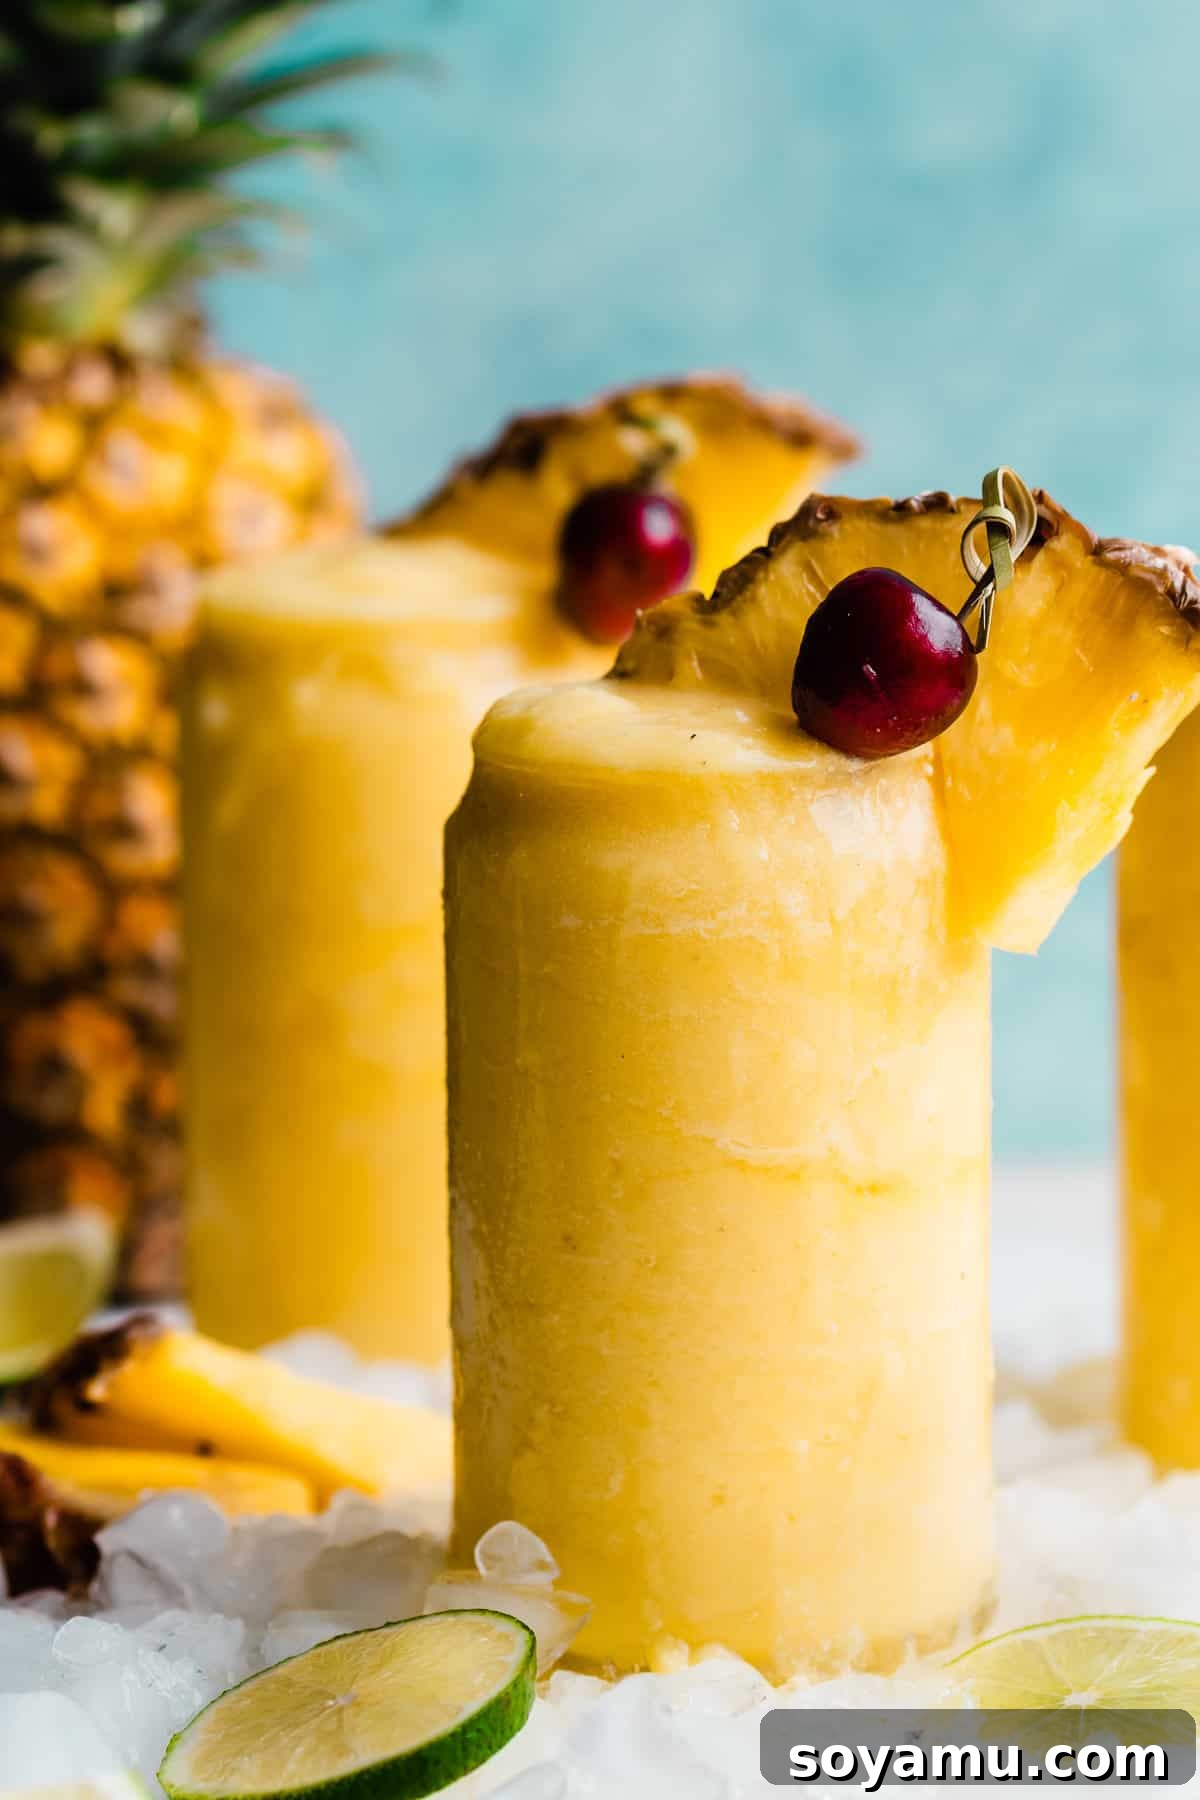
The Ultimate Frozen Piña Colada Recipe: Your Tropical Escape in a Glass
Escape to a sun-drenched beach with every sip of this incredible Frozen Piña Colada. It’s more than just a drink; it’s a creamy, dreamy frozen pineapple smoothie that instantly transports you to the tropics. This easy-to-follow recipe comes together in a blender in mere minutes, using just a handful of simple ingredients. Get ready to indulge in these ultra-refreshing cocktails all summer long, creating your very own slice of paradise right at home.
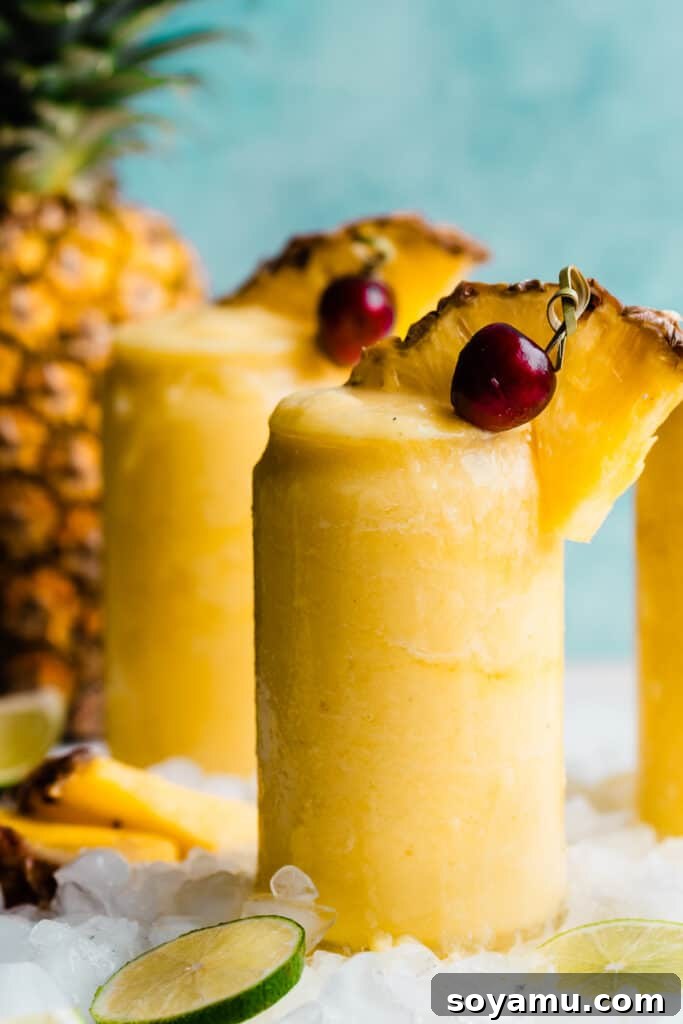
Why You’ll Adore This Frozen Piña Colada
There are countless reasons why this particular frozen Piña Colada recipe stands out, promising to be your go-to summer refreshment. Prepare to fall in love with its irresistible qualities:
- Velvety Creamy Consistency: Unlike some watery versions, this frozen Piña Colada is a luscious, thick blend, much like a gourmet pineapple smoothie. The secret lies in perfectly frozen pineapple and the rich addition of cream of coconut, delivering an unparalleled texture and depth of tropical flavor. Many find the frozen rendition even more satisfying than a classic, unfrozen Piña Colada.
- Effortless and Quick to Make: Forget complicated bar techniques! This tropical delight can be whipped up in approximately 10 minutes from start to finish. It requires minimal effort and just one piece of equipment – your blender – making it ideal for impromptu gatherings or a spontaneous treat.
- Unbelievably Refreshing: On a sweltering summer day, nothing quite hits the spot like a cold, creamy beverage. This Piña Colada is designed to be the ultimate thirst quencher, providing a cooling sensation that revitalizes and transports your senses to a breezy, sun-kissed beach. It’s genuinely one of the best Piña Colada experiences you’ll ever have.
The Tropical Tale: The History of the Piña Colada
Before we dive into crafting this frozen masterpiece, let’s take a moment to appreciate its rich heritage. The Piña Colada, meaning “strained pineapple,” is more than just a delicious drink; it’s a symbol of Caribbean hospitality and ingenuity. This iconic cocktail is widely credited to Ramón “Monchito” Marrero, a bartender at the Caribe Hilton Hotel in Old San Juan, Puerto Rico. In 1954, after three months of tireless experimentation, Marrero perfected the original recipe, aiming to capture the vibrant essence of Puerto Rico in a single glass. His creation quickly became a sensation, cementing its place in cocktail history. So beloved is the drink that in 1978, the Piña Colada was officially declared the national drink of Puerto Rico, a testament to its enduring popularity and cultural significance. Every sip of a Piña Colada connects you to this fascinating legacy, offering a taste of tropical tradition.
Essential Ingredients for Your Perfect Piña Colada
Crafting an outstanding frozen Piña Colada starts with selecting the right ingredients. Each component plays a vital role in achieving that signature creamy texture and balanced tropical flavor profile.
- Pineapple: The heart of your Piña Colada! While pre-frozen pineapple chunks are convenient, for the absolute best flavor, we highly recommend cutting and freezing fresh pineapple yourself. Fresh summer pineapple offers an unmatched sweetness and tang that elevates the drink. To freeze fresh pineapple effectively, cut it into small chunks and spread them in a single layer on a baking sheet. Freeze until solid, then transfer to an airtight freezer bag or container. This prevents the chunks from sticking together, ensuring they blend smoothly.
- Cream of Coconut: This ingredient is non-negotiable and distinctly different from regular coconut cream or coconut milk. Cream of coconut is a sweet, syrupy product, often found in the cocktail or international foods aisle of your grocery store. Brands like Coco Lopez are popular choices. Its thicker consistency and added sweetness are crucial for achieving the classic rich and creamy texture of a Piña Colada. Do not substitute with coconut milk or coconut cream, as they lack the sweetness and body required.
- Pineapple Juice: A splash of pineapple juice helps bind the ingredients and adds an extra layer of pineapple flavor, ensuring your drink is vibrant and tropical. It also aids in achieving a smooth, blendable consistency without watering down the flavor.
- Lime Juice: A touch of fresh lime juice provides a bright, acidic counterpoint to the sweetness of the pineapple and cream of coconut. It’s a small addition that makes a big difference, balancing the flavors and preventing the drink from being overly sweet.
- Rum: Traditionally, light rum is used in Piña Coladas for a smooth, subtle kick. However, you have plenty of options to customize the flavor.
- Light Rum: For a classic, balanced profile.
- Golden or Dark Rum: For a deeper, richer, and slightly more robust flavor.
- Spiced Rum: Adds warm, aromatic notes of cinnamon, clove, and nutmeg, perfect for a cozy twist.
- Coconut Rum: (e.g., Malibu) This is often considered the best rum for Piña Coladas, enhancing the coconut flavor and adding an extra layer of tropical sweetness.
Crafting Your Perfect Piña Colada: Step-by-Step
Making this delightful frozen cocktail is incredibly straightforward. Follow these simple steps for a flawless, creamy result every time.
Step 1: Prepare Your Pineapple (If Freezing Fresh)
If you’re opting for fresh pineapple, ensure you’ve prepared it in advance. Cut a fresh, ripe pineapple into 1-inch chunks. Lay these chunks in a single layer on a baking sheet lined with parchment paper. Freeze for at least 3-4 hours, or preferably overnight, until completely solid. This method prevents the pineapple from clumping together and ensures a smooth blend. Once frozen, transfer the solid chunks to a freezer-safe bag or container until ready to use.
Step 2: Combine Ingredients in the Blender
The key to a smooth blend is adding ingredients in the correct order. Start by pouring all your liquid components into a high-speed blender first. This includes the pineapple juice, fresh lime juice, cream of coconut, and your chosen rum. Placing liquids at the bottom helps the blades move more efficiently and prevents solid ingredients from getting stuck.
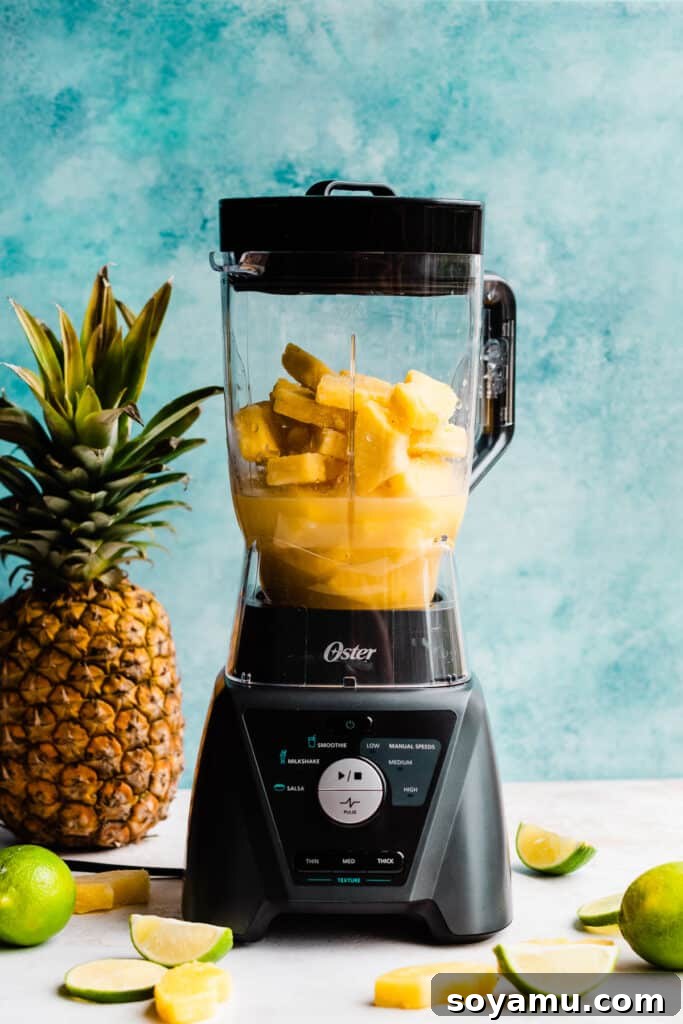
Once the liquids are in, add the star of the show: your frozen pineapple chunks. For an extra thick consistency, you might consider adding a handful of ice cubes, though the frozen pineapple usually provides ample chill and body.
Step 3: Blend to Creamy Perfection
Secure the lid on your blender and begin blending on a low setting, gradually increasing the speed. Blend until all ingredients are thoroughly combined and the mixture is wonderfully smooth and creamy. You might need to pause and scrape down the sides of the blender with a spatula a few times to ensure everything is incorporated evenly. If the mixture is too thick to blend, add a tiny splash more pineapple juice or a tablespoon of water, one at a time, until the blades can move freely.
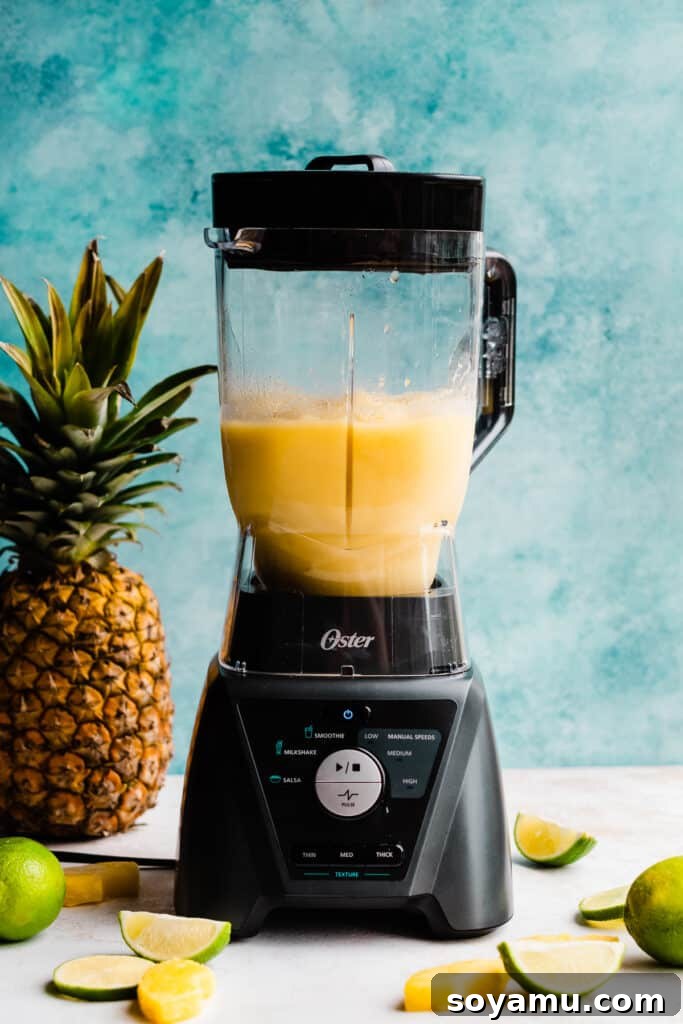
Step 4: Pour, Garnish, and Enjoy!
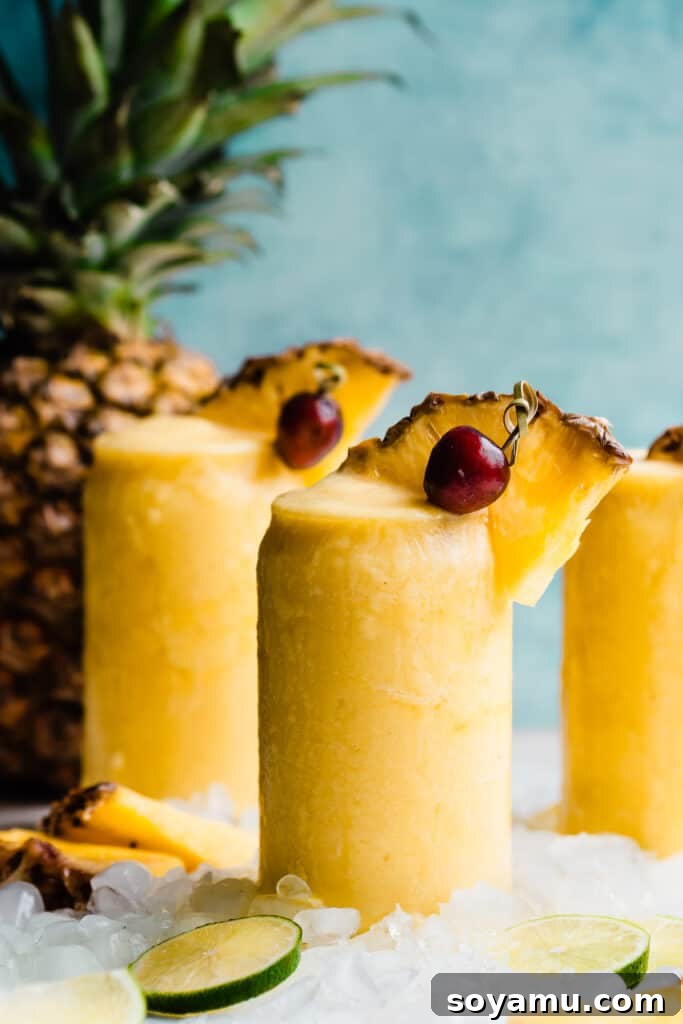
This is the simplest and most rewarding step! Once your Piña Colada reaches that irresistible creamy consistency, carefully pour it into your favorite hurricane glasses or tall tumblers. Garnish generously with a fresh pineapple wedge or a slice, a vibrant maraschino cherry (or a fresh cherry if preferred), and perhaps even a sprinkle of toasted coconut flakes for an extra tropical touch. Serve immediately with straws, and for that ultimate vacation feel, don’t forget a tiny paper umbrella!
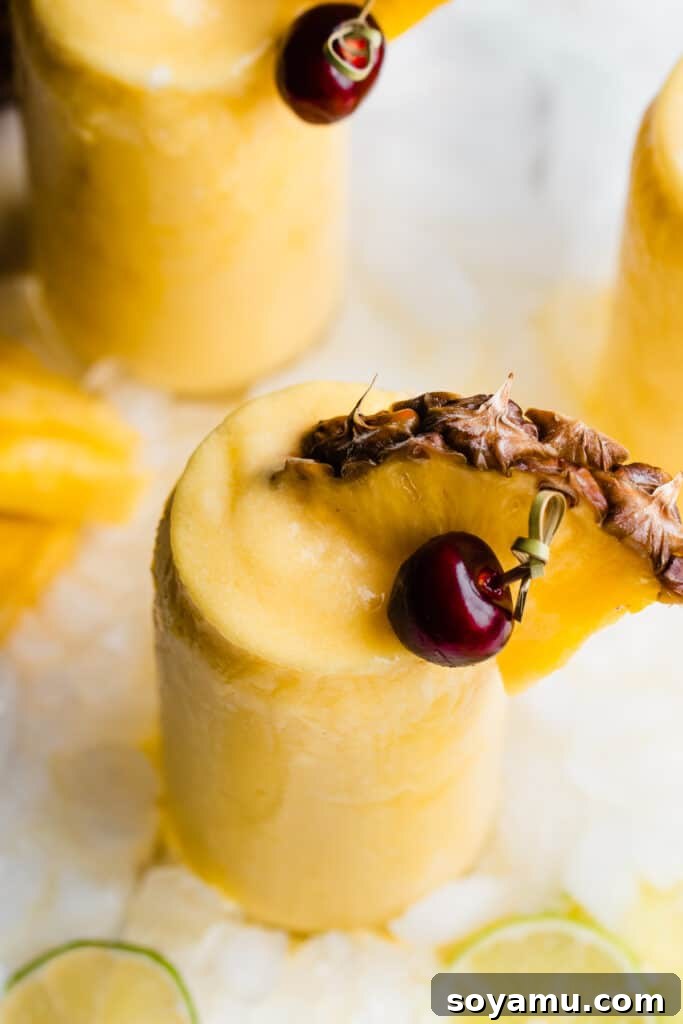
Recipe Variations & Customizations for Every Taste
One of the best things about the Piña Colada is how easily it can be customized to suit your preferences or dietary needs. Get creative with these simple variations:
- Rum Exploration: As mentioned, don’t limit yourself to light rum! Experiment with spiced rum for a hint of warmth, golden rum for depth, or coconut rum for an intensified tropical flavor. Coconut rum truly enhances the classic Piña Colada profile. You can even combine rums for a unique blend.
- Delightful Mocktail Option: Easily transform this into a delicious virgin Piña Colada perfect for all ages. Simply omit the rum and replace the missing liquid with an equal amount of additional pineapple juice. The result is a family-friendly, refreshing, and creamy pineapple-coconut smoothie that everyone can enjoy.
- Fruity Twists: Enhance the tropical experience by adding other frozen fruits. A handful of frozen mango chunks, strawberries, or even a ripe banana can add delightful new dimensions to your Piña Colada. Blend them in along with the pineapple for a colorful and flavorful variation.
- Extra Creaminess: For an even richer, dessert-like consistency, consider adding a scoop of vanilla ice cream or a tablespoon of full-fat coconut milk (in addition to the cream of coconut) to the blender.
- Sweetness Adjustment: If your pineapple isn’t very sweet, or you prefer a sweeter drink, a dash of simple syrup, agave nectar, or a bit more cream of coconut can be added to taste. Conversely, for a less sweet profile, slightly reduce the cream of coconut.
Expert Tips for Your Best Piña Colada Yet
Achieving that perfect, bar-quality frozen Piña Colada at home is easy with a few insider tricks:
- Mastering Pineapple Freezing: If you’re cutting and freezing your own pineapple, always arrange the chunks in a single layer on a parchment-lined sheet pan before placing them in the freezer. This crucial step prevents the juicy fruit from freezing into one giant, unmanageable block. Once thoroughly frozen (after a few hours), you can transfer the individual pieces to a freezer bag or container for convenient storage. This ensures they separate easily for blending.
- Optimal Blending Technique: Always add your liquids (pineapple juice, lime juice, rum, cream of coconut) to the blender first, before introducing the frozen pineapple. This sequence creates a vortex that helps pull the frozen fruit down into the blades, resulting in a smoother, more consistent blend without overworking your blender. If the mixture seems too thick, add small amounts of extra pineapple juice until it reaches your desired consistency. Avoid adding too much liquid at once, as it can dilute the flavor and make the drink too thin.
- Elevate with Garnishes: Never underestimate the visual appeal and added flavor that garnishes provide! A vibrant pineapple wedge, a fresh slice of lime, and a bright red maraschino cherry aren’t just for looks; they make your homemade Piña Colada feel like it was crafted by a professional bartender. For an extra flourish, consider a sprinkle of toasted coconut flakes or a sprig of fresh mint.
- Chill Your Glasses: For an extra frosty experience that lasts longer, place your serving glasses in the freezer for about 15-30 minutes before pouring your Piña Coladas. This helps keep your drink colder and slower to melt, enhancing its refreshing quality.
Frequently Asked Questions About Frozen Piña Coladas
How many Piña Coladas does this recipe yield?
This recipe typically yields about 3 large, generous glasses, as commonly pictured in this article. However, if you opt for slightly smaller serving sizes per person, you can comfortably get 4 to 6 delicious drinks out of this classic recipe, making it flexible for different occasions and thirst levels.
Can I double this recipe?
Whether you can double this recipe depends primarily on the capacity of your blender. If you have a very large, high-powered blender, it might be possible. However, to ensure everything blends smoothly and to avoid overstuffing your appliance, it’s often easier and safer to simply make multiple batches. Blending smaller quantities ensures a consistent, creamy texture without straining your equipment.
Who invented the Piña Colada?
The invention of the original Piña Colada recipe is widely credited to Ramón “Monchito” Marrero. He perfected the drink in 1954 while working as a bartender at the Caribe Hilton Hotel in Old San Juan, Puerto Rico. It is such an integral part of their culture that it is officially considered the national drink of Puerto Rico!
What’s the difference between cream of coconut and coconut milk?
This is a crucial distinction for Piña Coladas! Coconut milk is a thin liquid extracted from grated coconut flesh, used in many savory dishes and curries. Cream of coconut, on the other hand, is a much thicker, sweetened product often found in a can or squeeze bottle. It’s essentially a concentrated coconut cream with added sugar, specifically designed for cocktails and desserts. Using coconut milk instead of cream of coconut will result in a much less sweet, thinner, and less authentic Piña Colada.
Can I make Piña Coladas ahead of time?
While Piña Coladas are best enjoyed immediately after blending for optimal texture and chill, you can prepare the mixture ahead of time. Blend all ingredients and then freeze the mixture in an airtight container. When you’re ready to serve, scoop out the frozen mixture and re-blend it with a little extra liquid (pineapple juice or rum) until it reaches your desired consistency. It might also be enjoyed as a frozen sorbet directly from the freezer!
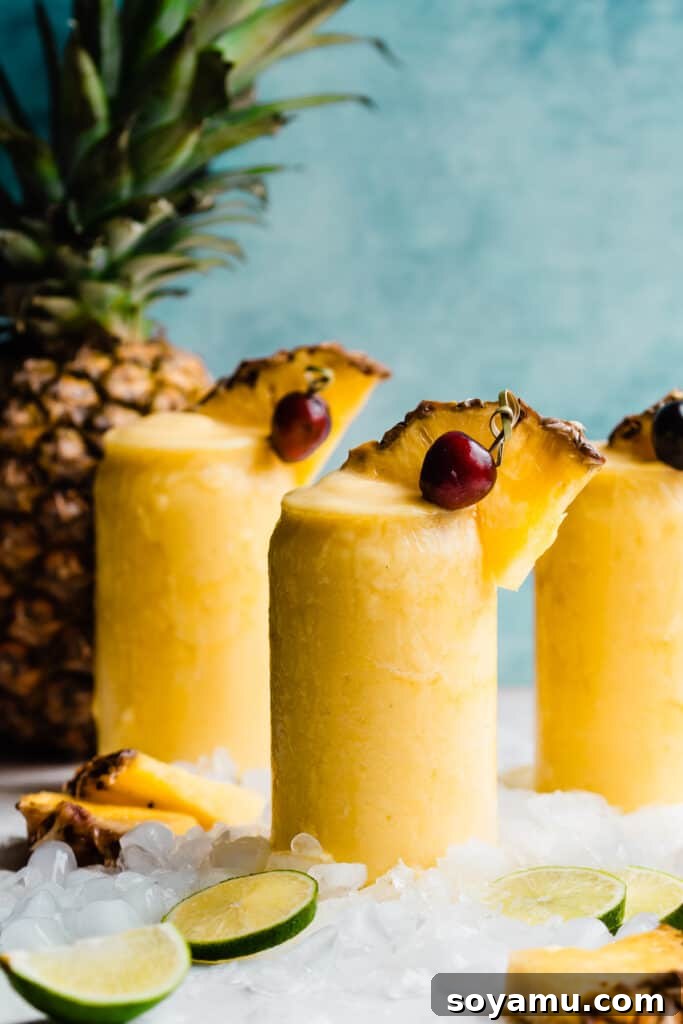
Serving and Storing Your Tropical Delight
For the freshest and most enjoyable experience, serve your frozen Piña Coladas immediately after blending. Their creamy, icy texture is at its peak right out of the blender. However, if you find yourself with leftovers or wish to prepare a batch in advance, this drink actually freezes remarkably well. Once frozen, you can scoop it out and savor it like a refreshing tropical sorbet. Alternatively, for a more drinkable consistency, simply re-blend it with a small amount of extra pineapple juice or rum until it returns to its original creamy state. This makes it a fantastic make-ahead option for parties or a delightful treat to enjoy throughout the week.
Love the vibrant flavors of pineapple and coconut? Be sure to explore these other fantastic recipes: my Pineapple Upside-Down Cheesecake or my incredibly decadent Piña Colada Cake for your next dessert!
Recommended Special Tools
While many kitchen tools can get the job done, a few specific items can make your Piña Colada-making process even smoother:
- High-Powered Blender: A good quality, high-speed blender is essential for achieving that perfectly smooth and creamy consistency without leaving any icy chunks. It ensures all ingredients are thoroughly pulverized for a truly luxurious drink.
- Hurricane Glasses: While optional, serving your Piña Coladas in classic hurricane glasses instantly elevates the presentation and enhances the tropical experience.
Note: This article may contain affiliate links.
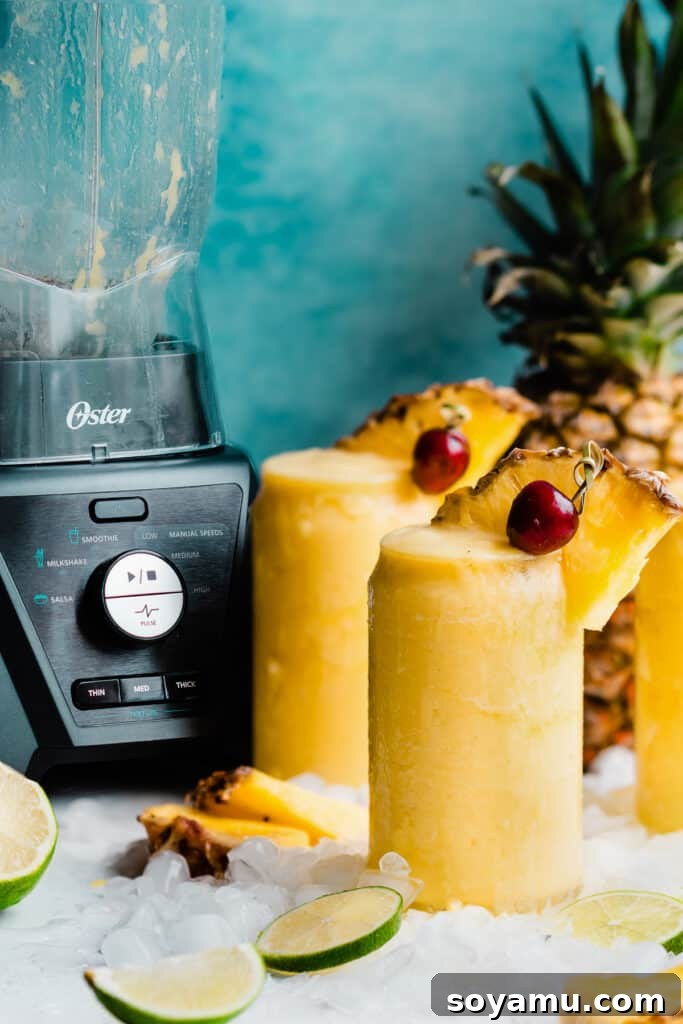
More Refreshing Frozen Drink Recipes to Love
If you’ve fallen in love with the magic of blender drinks, there’s a whole world of frosty concoctions waiting for you to explore. Expand your summer beverage repertoire with these other fantastic frozen recipes:
- Best Ever Frozen Watermelon Margaritas
- Delightful Frozen Cranberry Daiquiris
- Zesty Frozen Cherry Limeade Margaritas
- Tropical Coconut Rum Punch with Strawberry, Mango, and Lime
Did you whip up this fantastic Frozen Piña Colada? We’d love to hear from you!
Share your experience and let us know how much you enjoyed this tropical escape by leaving a comment and a star rating below. Your feedback helps our small business immensely and inspires us to keep creating delicious recipes for you!
Frozen Pineapple Piña Coladas Recipe Card
This recipe is designed to bring the vibrant flavors of the Caribbean directly to your home. Enjoy the process of creating this creamy, refreshing, and utterly delicious frozen cocktail.
Ingredients:
- 8 oz pineapple juice (1 cup)
- 1 large lime, juiced (approx. 1 oz lime juice; a bit more is fine for extra zing!)
- 4-6 ounces coconut rum (adjust to your preference for strength and flavor)
- 1/3 cup cream of coconut (ensure it’s not coconut milk or cream – see notes for clarification)
- 4 and 1/2 cups frozen pineapple cubes
Instructions:
- Pineapple Preparation: If you’re freezing fresh pineapple, cut it into chunks and spread them in a single layer on a sheet pan. Freeze until solid to prevent clumping. Once frozen, transfer to a freezer-safe bag.
- Blend Ingredients: Add the liquid ingredients (pineapple juice, lime juice, coconut rum, and cream of coconut) into a high-speed blender first. Follow with the frozen pineapple cubes.
- Achieve Creaminess: Blend on a medium to high speed until the mixture is completely smooth and creamy. If the blend is too thick, add an additional tablespoon of pineapple juice at a time until you reach your desired consistency.
- Serve and Garnish: Pour the freshly blended Piña Colada into chilled glasses. Garnish with a fresh pineapple wedge, a maraschino cherry, or any other tropical embellishments you desire. Serve immediately and enjoy your taste of paradise!
Notes:
Cream of Coconut: This ingredient is crucial for the authentic texture and sweetness of a Piña Colada. It is thicker and sweeter than regular coconut cream or coconut milk, and can usually be found near other cocktail mixers or in the international aisle of larger grocery stores. Do not skip or substitute this key ingredient for the best results!
Nutrition Information (Approximate Per Serving):
Serving: 1 drink
- Calories: 594 kcal
- Carbohydrates: 99g
- Protein: 2g
- Fat: 9g
- Saturated Fat: 7g
- Polyunsaturated Fat: 0.2g
- Monounsaturated Fat: 0.1g
- Sodium: 32mg
- Potassium: 570mg
- Fiber: 7g
- Sugar: 81g
- Vitamin A: 228 IU
- Vitamin C: 193mg
- Calcium: 65mg
- Iron: 1mg
Nutrition information is automatically calculated and should be used as an approximation only.
Like this recipe? We’d love for you to leave a comment and a star rating below!