

Ultimate One-Bowl Soft & Chewy Chocolate Chip Cookies: Your Go-To Recipe!
Prepare to bake the most incredible soft and chewy chocolate chip cookies you’ve ever tasted! This truly ultimate recipe simplifies the baking process, requiring just one bowl and common pantry ingredients, ensuring a delightful batch of homemade cookies with minimal effort. Imagine thick cookies with perfectly crisp, golden edges, giving way to an irresistibly soft, melt-in-your-mouth, gooey center, generously studded with an abundance of rich chocolate chips. These aren’t just cookies; they’re an experience – and they’re guaranteed to be the first to vanish from any plate, anytime, anywhere. Get ready to discover your new favorite way to make classic chocolate chip cookies!

Why This Is Your New Favorite Chocolate Chip Cookie Recipe
What makes these stand out as the best soft chocolate chip cookies? We’re thrilled you asked! This recipe isn’t just about delicious cookies; it’s about making the baking process incredibly enjoyable and stress-free. Here’s why these will become your absolute go-to for homemade chocolate chip cookies:
Effortless One-Bowl Preparation for Easy Chocolate Chip Cookies
- Streamlined Baking: Say goodbye to extra dishes and complicated steps! This ingenious recipe allows you to combine all your ingredients in a single bowl. There’s no need to meticulously separate wet and dry ingredients first; simply add them in sequence, and watch your perfect cookie dough come together. This one-bowl method is a game-changer for quick clean-up and a smoother baking experience, perfect for busy weeknights or impromptu baking sessions.
- Beginner-Friendly: Even if you’re new to baking, this straightforward approach makes achieving bakery-quality chocolate chip cookies incredibly easy. Less fuss means more fun and more confidence in the kitchen!
The Magic of a Short Chill Time for Perfect Texture
- Quick Gratification: Unlike many cookie recipes that demand hours or even overnight chilling, these cookies only require a brief 1-hour chill time. This crucial step prevents the cookies from spreading too much in the oven, ensuring they maintain their delightful thickness and chewy texture. It also allows the flavors to meld beautifully without keeping you waiting endlessly for your warm, gooey treats.
- Optimal Results: While short, this chill time is perfectly optimized to give you that desirable crisp edge and soft, chewy center without unnecessary delay.
Freezer-Friendly for Freshly Baked Delights Anytime
- Bake On Demand: Life gets busy, but that doesn’t mean you can’t enjoy fresh-baked goodness! This recipe offers an excellent freezer option. You can prepare and scoop the cookie dough balls, then freeze them for later. This means you’re just minutes away from warm, fragrant chocolate chip cookies, whenever the craving strikes or unexpected guests arrive. It’s like having a personal bakery at your fingertips!
- Ultimate Convenience: Freeze a big batch and enjoy the luxury of baking just a few cookies at a time, ensuring maximum freshness with minimal effort.
A Symphony of Chocolate: Milk & Semi-Sweet Perfection
- Double the Decadence: To achieve an unparalleled depth of flavor, we recommend using a harmonious blend of both milk chocolate and semi-sweet chocolate chips. The milk chocolate contributes a creamy sweetness, while the semi-sweet adds a classic, rich cocoa note. This combination creates a complex and utterly satisfying chocolatey experience in every bite. If you prefer, feel free to use your favorite single type of chocolate chip – these cookies will still be fantastic!
- Elevated Flavor Profile: This thoughtful mix ensures a delightful balance, preventing the cookies from being overly rich or too bitter, hitting that sweet spot every time.
Achieving Irresistibly Soft & Gooey Texture
- The Secret Sugar Ratio: The key to these cookies’ incredible texture lies in the perfect ratio of brown sugar to granulated sugar. Brown sugar provides moisture, leading to that desirable soft, chewy, and slightly gooey center, while granulated sugar contributes to the crisp edges and overall structure. This balance is what gives these cookies their signature melt-in-your-mouth quality and the classic chocolate chip cookie flavor we all adore.
- Consistently Perfect: Follow this ratio, and you’ll consistently achieve cookies that are moist, tender, and incredibly satisfying.
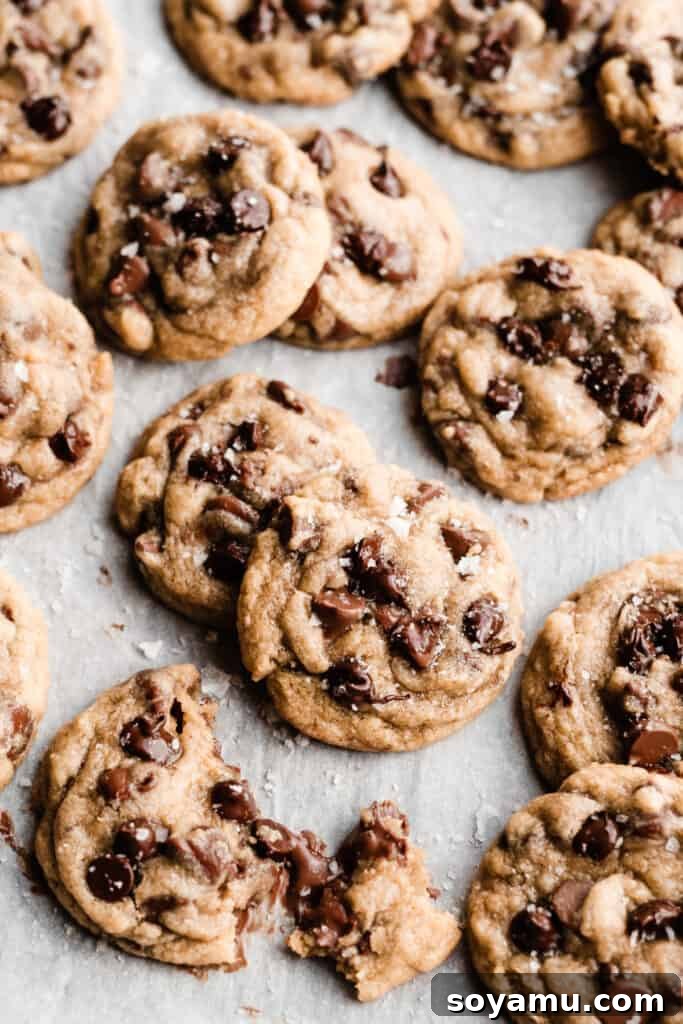
Expert Tips for Flawless Chocolate Chip Cookies Every Time
Mastering the art of the perfect chocolate chip cookie involves a few key techniques. These simple yet effective tips will elevate your baking and ensure your cookies turn out exceptionally soft, chewy, and utterly delicious.
The Art of Creaming Butter and Sugar
First and foremost, let’s talk about creaming your butter and sugar. This step is foundational for the texture of your cookies. Begin by creaming your softened butter in a large bowl on its own for about 30 seconds to a minute until it’s light and fluffy. This aerates the butter, creating pockets that will help the cookies rise and achieve a lighter texture.
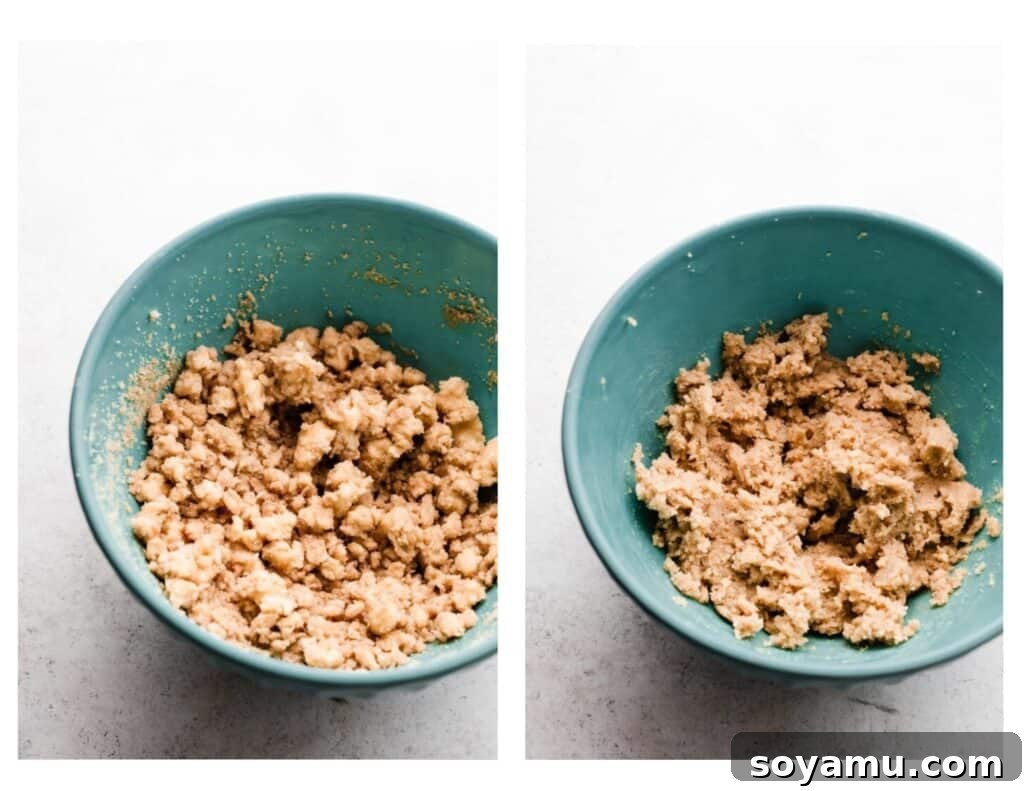
Next, add the granulated and brown sugars to the butter. Continue mixing, scraping down the sides of the bowl occasionally, for at least 1 to 2 minutes. What are you looking for? A cohesive, pale, and fluffy mixture. The photo on the left below illustrates what under-mixed butter and sugar look like – notice the visible lumps of butter? That’s not ideal. The photo on the right shows the desired outcome: a perfectly creamed, uniform mixture. This thorough creaming incorporates air, which contributes significantly to the cookies’ soft and airy texture.
Incorporating Wet and Dry Ingredients Seamlessly
After your butter and sugars are beautifully creamed, it’s time to introduce the eggs and vanilla extract. Mix these in until they are just combined, being careful not to overmix. Overmixing at this stage can incorporate too much air, which might lead to dry or crumbly cookies.
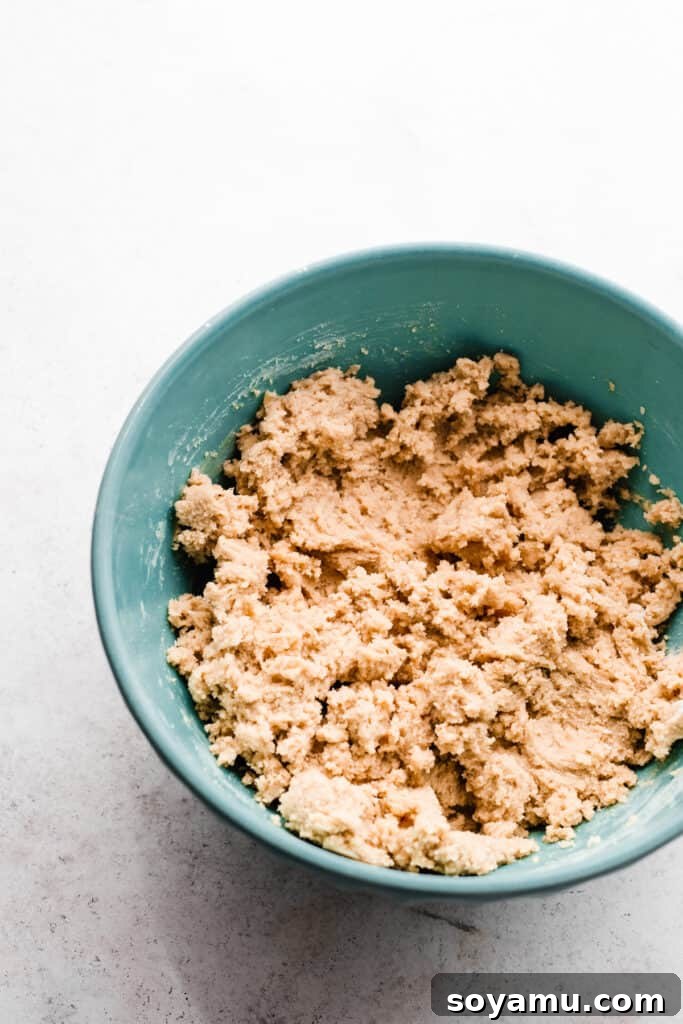
Following the wet ingredients, gently add your dry components: all-purpose flour, baking soda, and salt. When you first start mixing, the dough might appear a bit crumbly or dry. This is perfectly normal! Resist the urge to add more liquid. Continue mixing for about a minute or so, and you’ll witness it transform into a cohesive, pliable cookie dough. The goal is to mix until *just combined*, stopping as soon as no streaks of flour remain, to prevent developing too much gluten, which can make cookies tough.
The Double Chocolate Advantage (or Your Preferred Choice)
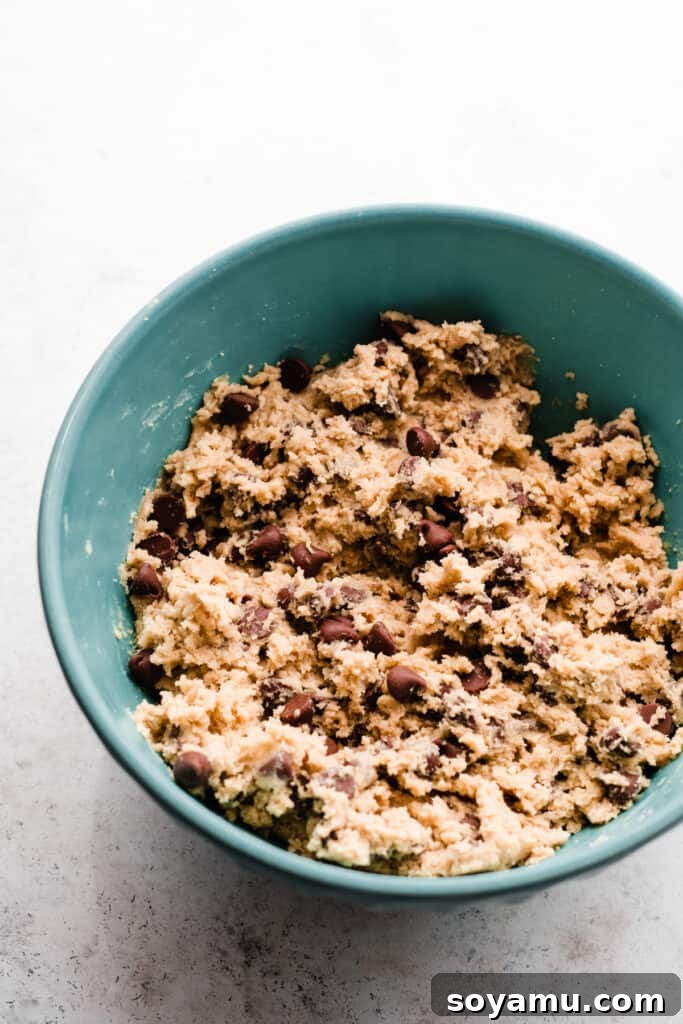
Now for the star of the show: the chocolate chips! Gently fold them into your well-formed dough. As mentioned, using a mix of milk chocolate and semi-sweet chocolate chips creates a wonderful balance of sweetness and rich cocoa flavor. For instance, you might mix milk chocolate chips directly into the dough and then press a few extra semi-sweet chips onto the tops of the dough balls before baking for that perfect molten look. If you choose to use only one type of chocolate, we highly recommend going with semi-sweet chocolate chips, as milk chocolate can sometimes be a bit too rich on its own for the entire batch.
Don’t be shy with the chocolate; the more, the merrier! Ensure they are evenly distributed throughout the dough so every bite is packed with chocolatey goodness.
The Crucial Chill: Don’t Skip It!
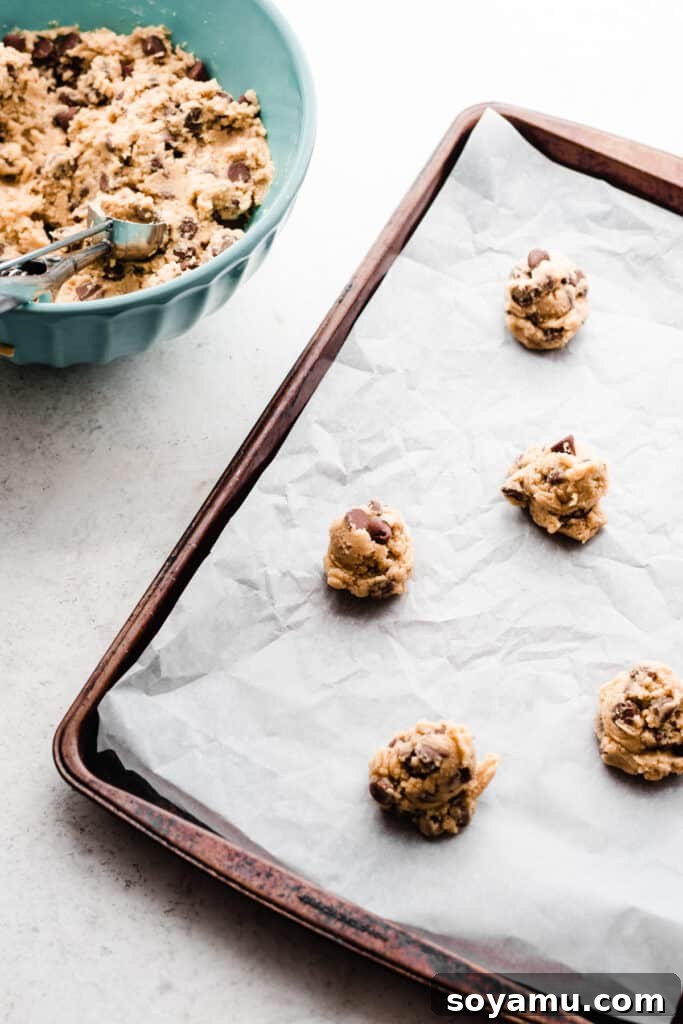
This might be the most challenging part for eager bakers, but chilling the dough is absolutely essential for achieving the ultimate chocolate chip cookies. It only needs 1 hour, but this time in the fridge allows the butter to firm up, preventing the cookies from spreading excessively during baking. More importantly, chilling gives the flour time to fully hydrate and the flavors to deepen, resulting in a richer, chewier, and more flavorful cookie. While your dough chills, take a moment to relax, preheat your oven to the precise temperature, and line your baking sheets. We highly recommend using parchment paper or reusable silicone baking mats – they ensure even baking and effortless release, plus silicone mats are eco-friendly and dishwasher-safe for easy cleanup!
Baking to Perfection: The “Underdone” Secret
Once your dough has completed its brief chill, scoop it into uniform balls, aiming for about 2 tablespoons or 45-50 grams each. Uniformity ensures even baking. Place these dough balls a few inches apart on your lined baking sheets to allow for proper spread. Bake them in your preheated 350°F (175°C) oven.
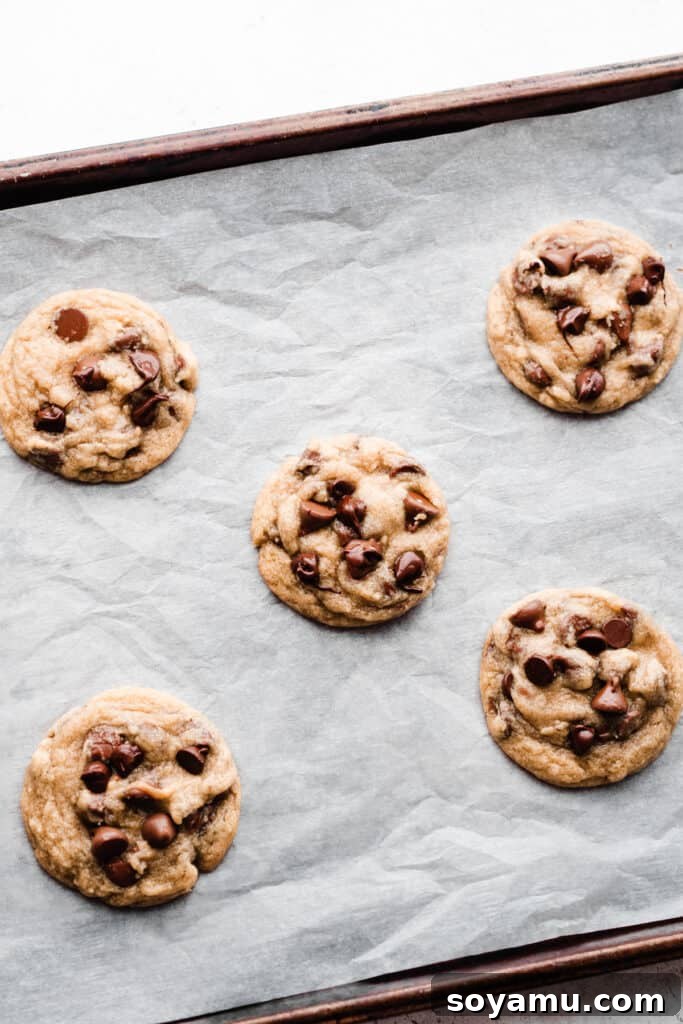
The key to those incredibly soft, gooey centers is to remove the cookies from the oven when they still look slightly underdone in the middle. The edges should appear set and lightly golden, but the centers might seem a bit soft and puffy. This is exactly what you want! They will continue to “bake” and set up as they cool on the hot baking sheet, resulting in that perfectly tender, chewy texture. Don’t overbake them, or you’ll lose that glorious gooeyness!
Post-Bake Finishing Touches for Ultimate Presentation
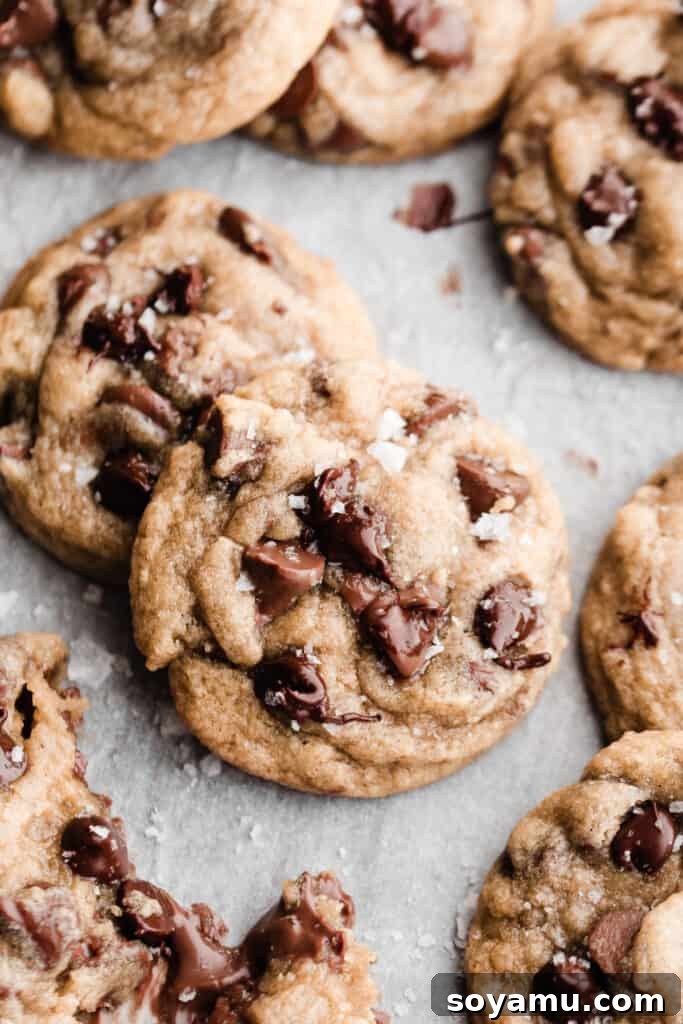
As soon as the cookies emerge from the oven, while they’re still warm and pliable, this is your chance to add a few extra chocolate chips to any bare spots on top. This creates those beautiful pools of melted chocolate that make homemade cookies so irresistible. Another fun trick for perfectly round cookies is to place a round cutter slightly larger than the cookie around it and gently swirl it to nudge the edges into a neat circle. While not essential for taste, it certainly elevates their appearance. (We love this versatile round cutter set, perfect for biscuits, donuts, and hand pies too!)
Serving Suggestions & Storage Secrets
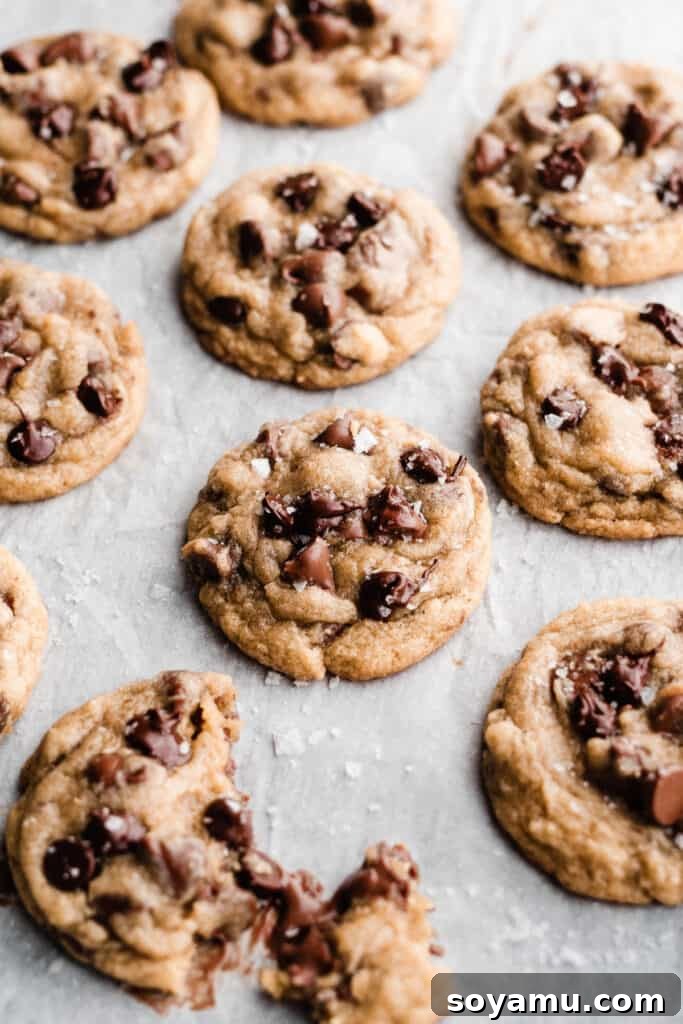
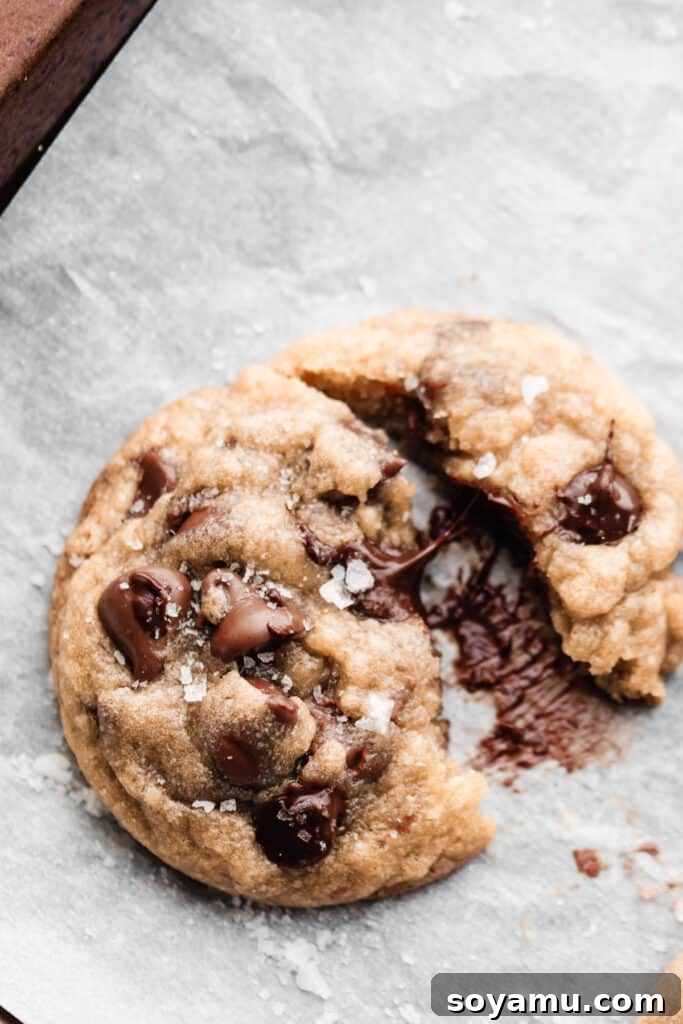
Once your irresistible cookies have set up for a few minutes on the baking sheet, for an extra touch of gourmet flavor, sprinkle them with a little flaky sea salt. This optional step is highly recommended as the salt crystals enhance the chocolate’s sweetness and add a delightful textural contrast. Then, dive in! These warm, gooey, homemade chocolate chip cookies are best enjoyed fresh from the oven, perhaps with a tall glass of cold milk, a hot cup of coffee, or even paired with a scoop of vanilla bean ice cream for an elevated dessert experience. No matter who you share them with – or if you keep them all to yourself – these cookies are guaranteed to disappear in record time. We genuinely hope you love these ultimate chocolate chip cookies as much as we do!
How to Store Your Ultimate Chocolate Chip Cookies
To keep your baked chocolate chip cookies tasting fresh and delicious, store them in an airtight container at room temperature for up to 4-5 days. For that “fresh out of the oven” experience, simply pop a cooled cookie into the microwave for a few seconds until the chocolate is melty and the cookie is warm and soft again. For longer storage, you can freeze baked cookies in an airtight container for up to 2-3 months. Thaw them at room temperature or gently reheat.
Frequently Asked Questions (FAQ) About These Chocolate Chip Cookies
Here are answers to some common questions you might have while baking these ultimate soft chocolate chip cookies:
Q: Can I use different types of chocolate?
Absolutely! While our recipe suggests a mix of milk and semi-sweet chocolate chips for optimal flavor balance, you can certainly customize it. Feel free to use all semi-sweet, dark chocolate, white chocolate, or even a blend of different chocolate varieties. Chopped chocolate bars also work wonderfully for larger pools of melted chocolate.
Q: How do I prevent my cookies from spreading too much?
The primary culprit for over-spreading is often warm butter or insufficient chilling. Ensure your butter is softened but not melted, and stick to the recommended 1-hour chill time. Also, make sure your oven is preheated to the correct temperature; a too-cool oven can cause excessive spreading. Using parchment paper or silicone mats also helps prevent sticking and can contribute to better shape.
Q: What’s the best way to freeze cookie dough?
To freeze dough balls, scoop them onto a baking sheet lined with parchment paper. Flash-freeze them for about 30 minutes until solid. Once firm, transfer the frozen dough balls to an airtight freezer-safe container or a heavy-duty freezer bag. They can be stored this way for 2-3 months. When ready to bake, simply place the frozen dough balls on a lined baking sheet and bake as directed, adding an extra minute or two to the baking time.
Q: Can I make these without an electric mixer?
Yes, you can! While an electric mixer makes creaming butter and sugar much easier and faster, you can achieve similar results with a sturdy whisk and a good amount of arm power. Just ensure you cream the butter and sugar thoroughly until light and fluffy for the best texture.
A Note on Ingredient Quality
The secret to truly exceptional cookies often lies in the quality of your ingredients. Using fresh, good-quality butter (especially European-style butter if available), fresh eggs, pure vanilla extract, and high-quality chocolate chips can make a noticeable difference in the final taste and texture of your ultimate chocolate chip cookies. It’s a small investment that pays off in big flavor!
Happy baking!
Did you make this recipe for ultimate soft chocolate chip cookies? We’d love to hear from you! Leave a comment below letting us know how you liked it!
Be sure to follow bluebowlrecipes on Instagram and tag #bluebowlrecipes with a photo of your creation! You can also post a photo of your recipe to the bluebowlrecipes Facebook page. We’d love to see what you make.
Best Soft One-Bowl Chocolate Chip Cookies
By Stephanie Simmons
Made in one bowl, with simple ingredients, and with little to no fuss at all. These thick cookies are crisp at the edges, soft and gooey in the centers, and loaded up with tons of chocolate chips!
Cook Time: 9 mins
Chill Time: 1 hr
Yields: 28 cookies
Ingredients
- 2 sticks salted butter, softened at room temperature
- 3/4 cup brown sugar, packed
- 3/4 cup granulated sugar
- 1 and 1/2 tsp vanilla extract
- 2 large eggs
- 2 and 2/3 cups all-purpose flour
- 1 tsp baking soda
- 1/4 tsp salt
- 2 cups semi-sweet chocolate chips (or a mix of semi-sweet and milk chocolate)
- Flaky sea salt for sprinkling on the cookies (optional)
Instructions
- Make the Cookie Dough: In a large bowl, cream the softened butter with an electric mixer on high speed until light and fluffy. Add the brown sugar and granulated sugar, and continue mixing until the mixture is well creamed and cohesive (see photos above for visual guide – about 1-2 minutes). Add the vanilla extract and eggs, mixing until just combined. Gradually add the all-purpose flour, baking soda, and salt. Mix until a dough forms. The dough may appear a bit crumbly at first, but keep mixing until it comes together (about a minute). Fold in the chocolate chips until they are evenly distributed throughout the dough.
- Chill: Cover the bowl containing the cookie dough with a clean kitchen towel or plastic wrap. Chill in the refrigerator for at least 1 hour, or up to 24 hours. If you plan to chill the dough for longer than an hour, it’s beneficial to pre-scoop the dough into balls before chilling to make the process easier when the dough is very firm.
- Bake the Cookies: Preheat your oven to 350 degrees F (175°C). Line a few baking sheets with parchment paper or silicone baking mats. Scoop the chilled cookie dough into balls, each approximately 2 tablespoons (45-50 grams) in size. If desired, press a few extra chocolate chips onto any bare spots on top of the dough balls for a more appealing finished look. Place the cookie balls a few inches apart on your prepared baking sheet to allow for proper spreading. Bake for 9-11 minutes, or until the edges are lightly golden and set, but the centers still look slightly soft and underdone. This is crucial for achieving that signature soft and gooey texture as they cool.
- Cool and Serve: Let the freshly baked cookies cool on the baking sheet for about 5 minutes. This allows them to set up properly without breaking apart. Then, carefully transfer them to cooling racks to cool completely. For an enhanced flavor, sprinkle with flaky sea salt while still warm, if desired. These cookies are absolutely amazing when still warm and gooey from the oven.
- Freezing Cookie Dough: To enjoy freshly baked cookies anytime, freeze the dough! Once you’ve scooped the dough into balls, arrange them on a baking sheet lined with parchment paper, ensuring they don’t touch. Cover with a kitchen towel or plastic wrap and freeze until solid (about 1-2 hours). Once frozen, transfer the dough balls to an airtight freezer-safe container or freezer-friendly bags. The dough can be stored this way for approximately 2-3 months. You can bake these straight from frozen; simply follow the baking directions listed above, adding 1-2 minutes to the bake time. This is a fantastic option if you prefer to bake just a few cookies at a time instead of an entire batch!