
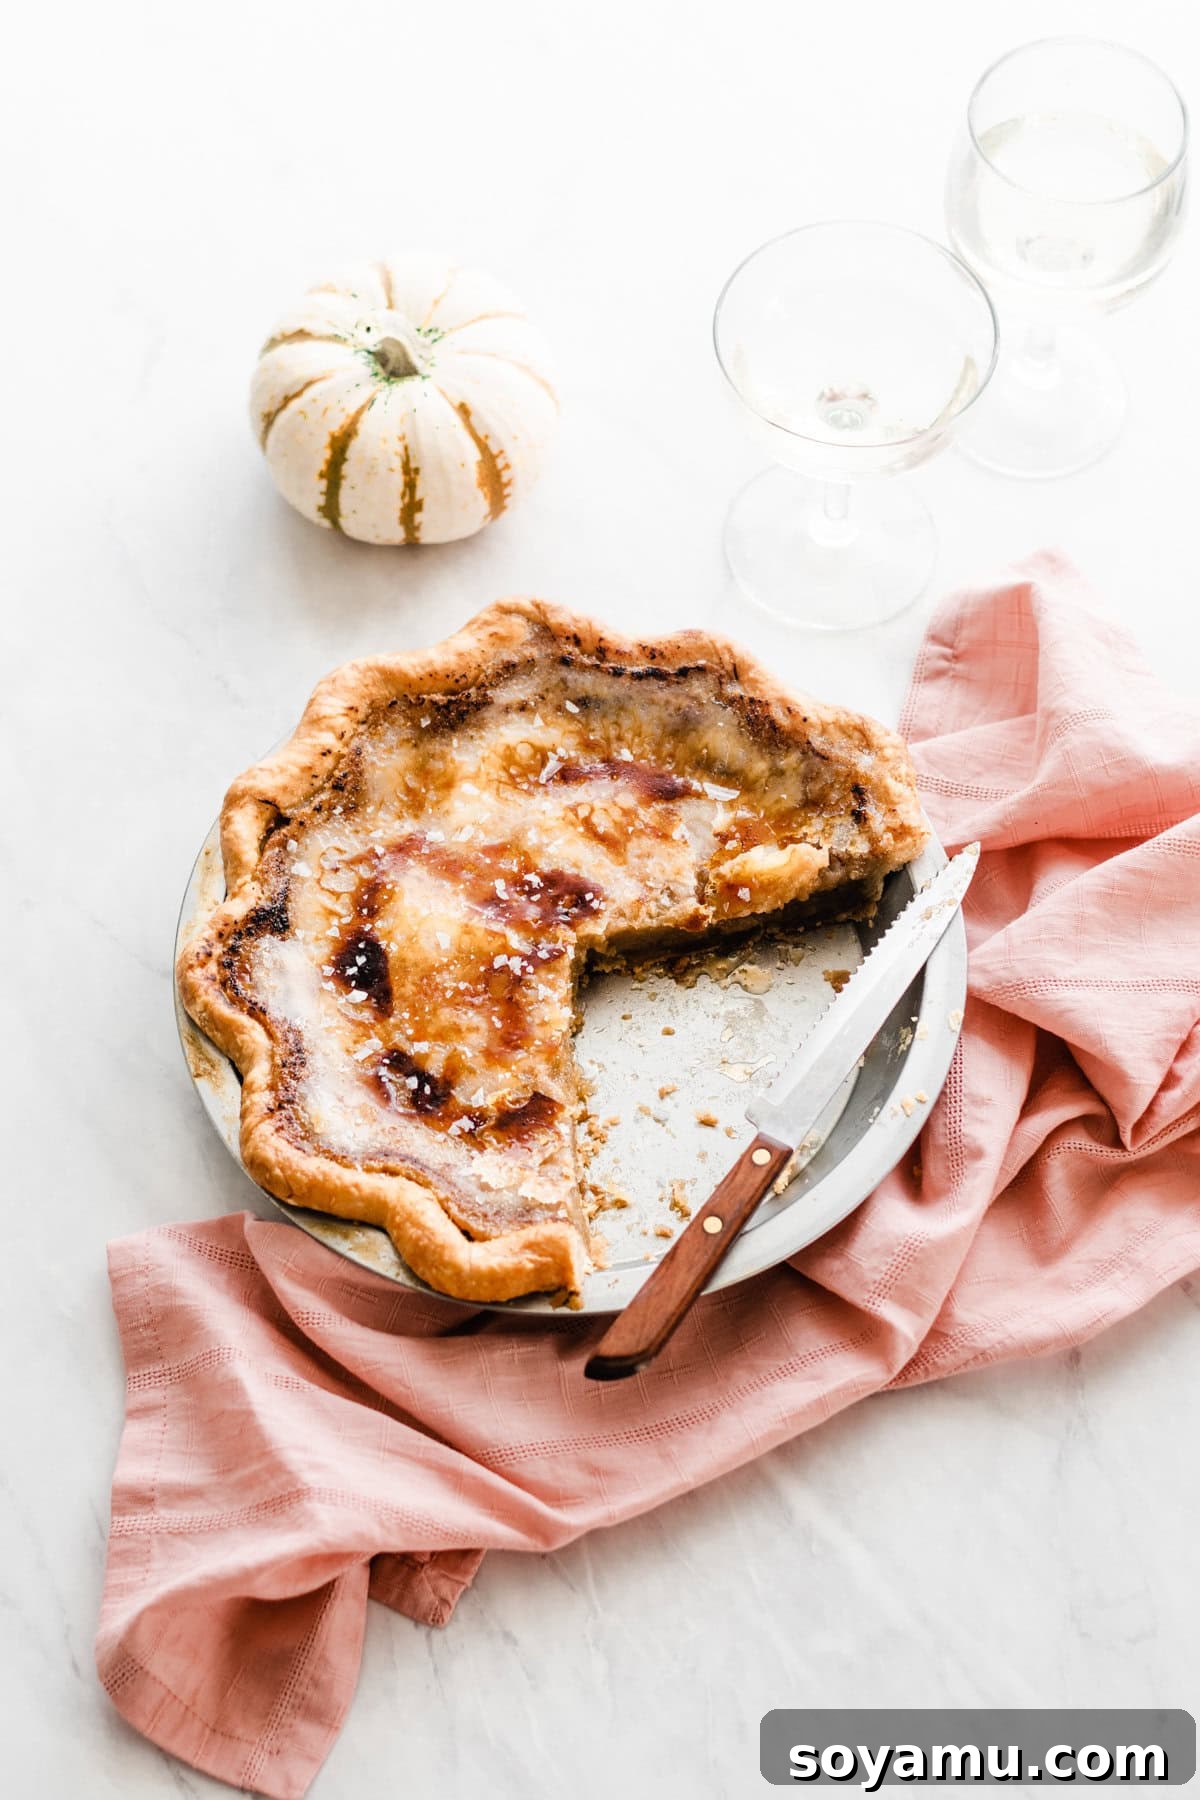
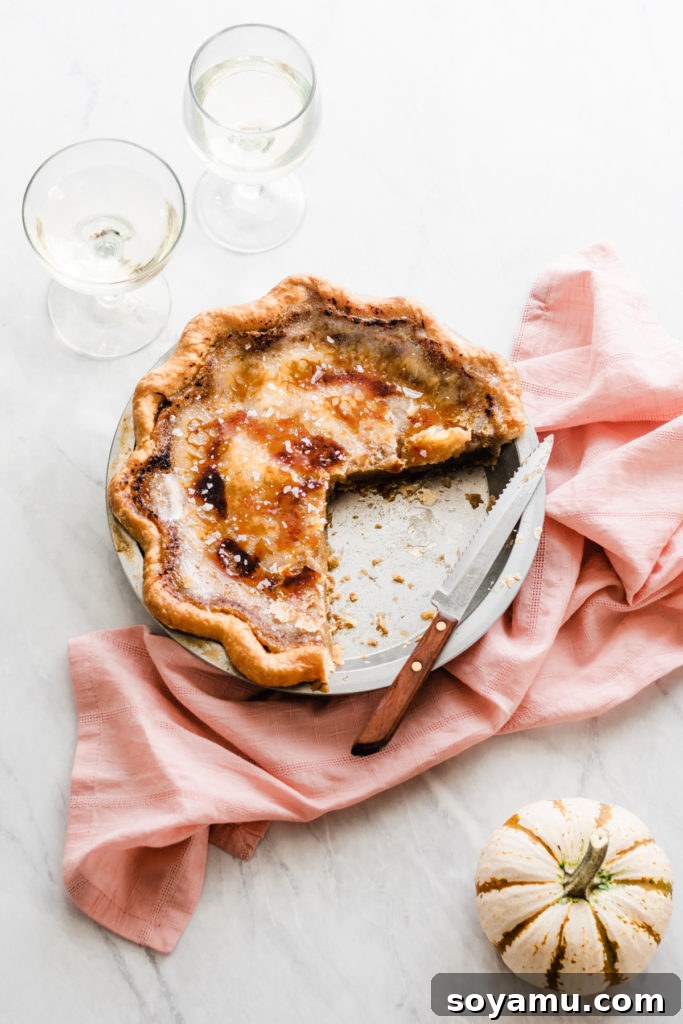
If you’ve ever found yourself opting out of traditional fruit pies, preparing for a holiday feast, or simply craving a unique dessert experience, then this extraordinary Brûléed Maple Pie is undeniably for you. Far from the ordinary, this pie captivates with its lusciously creamy maple filling, nestled within a perfectly buttery, flaky pie crust. What truly elevates this creation is the choice of topping: a decadent layer of whipped cream, a mesmerizing sheet of caramelized, brûléed sugar – or for the ultimate indulgence, both! This isn’t just a dessert; it’s a culinary statement, a remarkably delicious and visually stunning pie destined to become the star of your Thanksgiving dinner or any special occasion.
Why This Maple Pie Will Become Your New Favorite
While traditional fruit pies hold a special place in many hearts, there’s always room for something truly special and distinct on the dessert table, and this Maple Pie perfectly fits that bill. Its texture is delightfully reminiscent of a classic pumpkin pie – a smooth, rich, and incredibly creamy custard-like filling that melts in your mouth. However, the flavor profile is where this pie truly carves its own unique identity. It’s a harmonious blend of authentic maple syrup, rich heavy cream, and a touch of fine cornmeal. Don’t let the cornmeal surprise you; it’s a secret ingredient that works wonders without being detectable in taste or texture. Instead, it subtly balances the inherent sweetness of the maple, ensuring every bite is perfectly nuanced and never cloying. It adds a delicate structure to the filling, contributing to that irresistible silky consistency that differentiates it from a fruit-filled alternative.
The Art of the Brûléed Topping: A Crunchy Delight
One of the most exciting aspects of this maple pie is the incredible versatility in its presentation. You could serve it simply as-is, a testament to its intrinsic deliciousness straight out of the oven after it’s had a chance to cool and fully set. The unadorned pie offers a pure, unadulterated experience of its creamy filling and buttery crust. Alternatively, a generous dollop of freshly whipped cream provides a cloud-like contrast to the rich filling, adding another layer of creamy indulgence and a lighter touch. But, for a truly show-stopping dessert that will impress everyone at your table, my personal favorite method is to embrace the magic of a brûléed topping – just like with a classic crème brûlée!
Creating this magnificent crunchy crust is surprisingly simple and adds an unforgettable dimension to the pie. Once your pie has thoroughly cooled, a crucial step for achieving that crisp shell, just sprinkle a few tablespoons of granulated sugar evenly over the surface of the filling. The fine crystals will patiently wait for their transformation into a glistening, brittle layer.
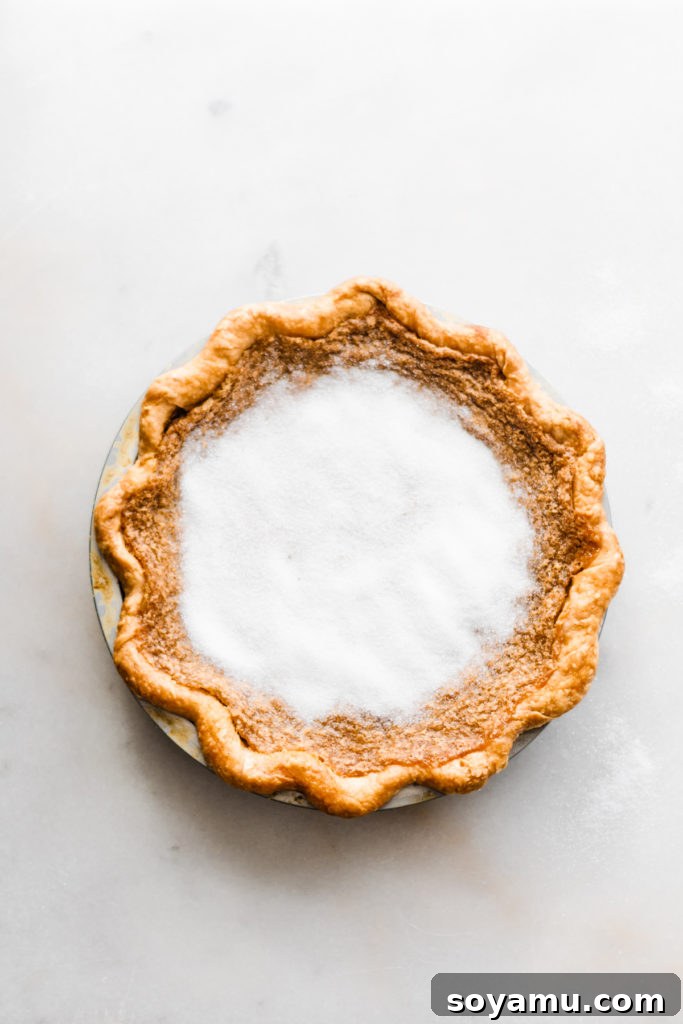
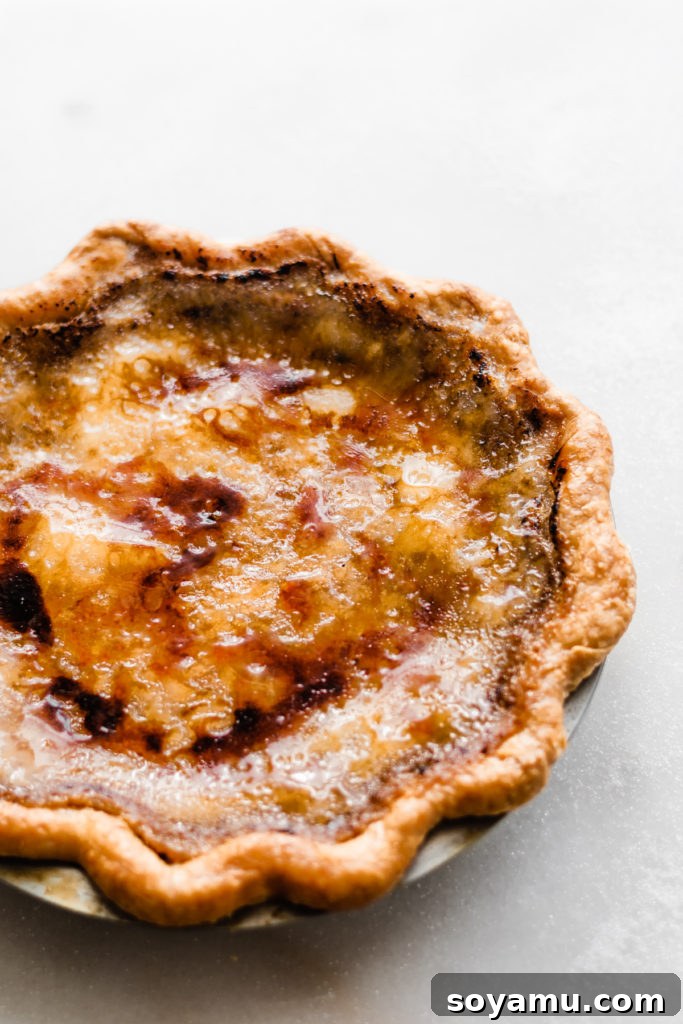
Then, using a kitchen torch (the one I personally use is linked here for your convenience), carefully melt the sugar until it caramelizes into a glistening, amber-colored shell. This creates that iconic, satisfying crack when you tap your spoon into it, revealing the creamy maple custard beneath. It’s a simple step that adds a dramatic flair and an incredible textural contrast that truly elevates the entire pie. The slightly bitter notes of caramelized sugar beautifully complement the sweet maple filling. Of course, always exercise caution and follow safety guidelines when using a kitchen torch.
A Touch of Savory: The Magic of Flaky Sea Salt
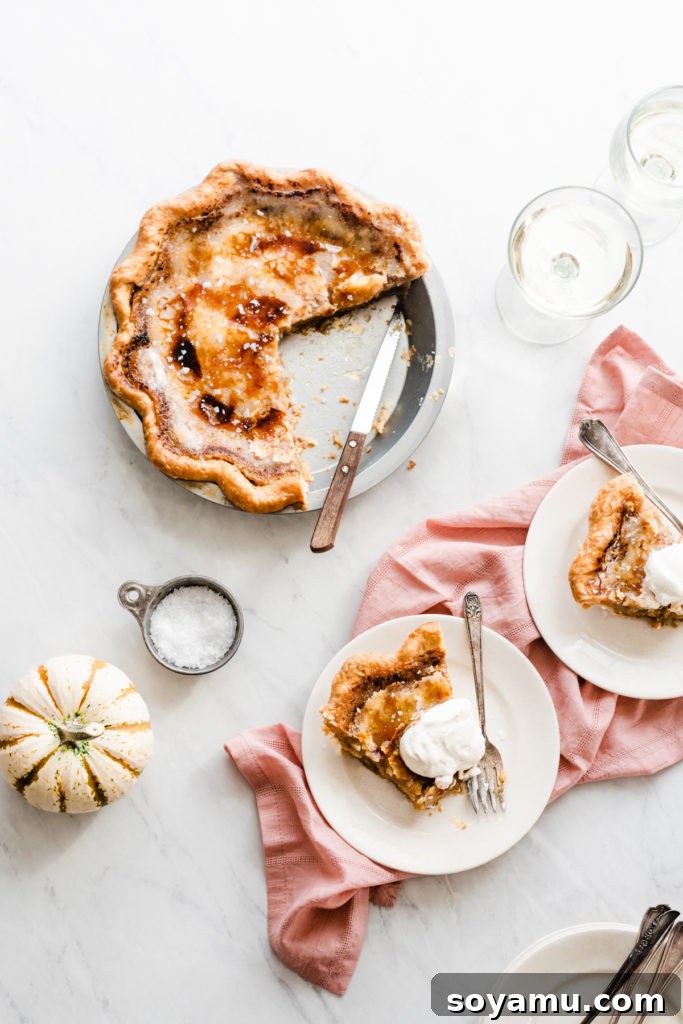
For those who appreciate a harmonious balance of flavors, a subtle sprinkle of flaky sea salt over the top of your finished, brûléed (or un-brûléed) pie is highly recommended. The delicate crystals of sea salt cut through the sweetness of the maple and the caramelized sugar, creating a sophisticated depth of flavor that is truly irresistible. This small addition not only enhances the natural maple notes but also adds a gourmet touch, inviting you to immediately dig into a slice of pure dessert bliss. The slight brininess provides a delightful counterpoint, making each bite even more complex and satisfying.
The Secret to Success: A Flawless Pie Crust
Every exceptional pie begins with an equally exceptional crust. A tender, buttery, and flaky pie crust isn’t just a container for the filling; it’s an integral part of the overall experience, contributing significantly to both texture and flavor. Achieving that perfect texture and golden-brown hue can sometimes feel intimidating, but with the right guidance, it’s entirely achievable. Mastering the cold butter technique, proper mixing to avoid overworking the dough, and precise blind baking are all crucial steps. If you have any questions about crafting the ideal foundation for your pie, from managing the dough to achieving that signature golden brown, I highly recommend consulting my comprehensive Perfect Pie Crust Guide here. It’s packed with tips and tricks to ensure your crust is nothing short of perfection, providing the ideal counterpoint to the rich maple filling.
Elevating Your Thanksgiving & Holiday Dessert Table
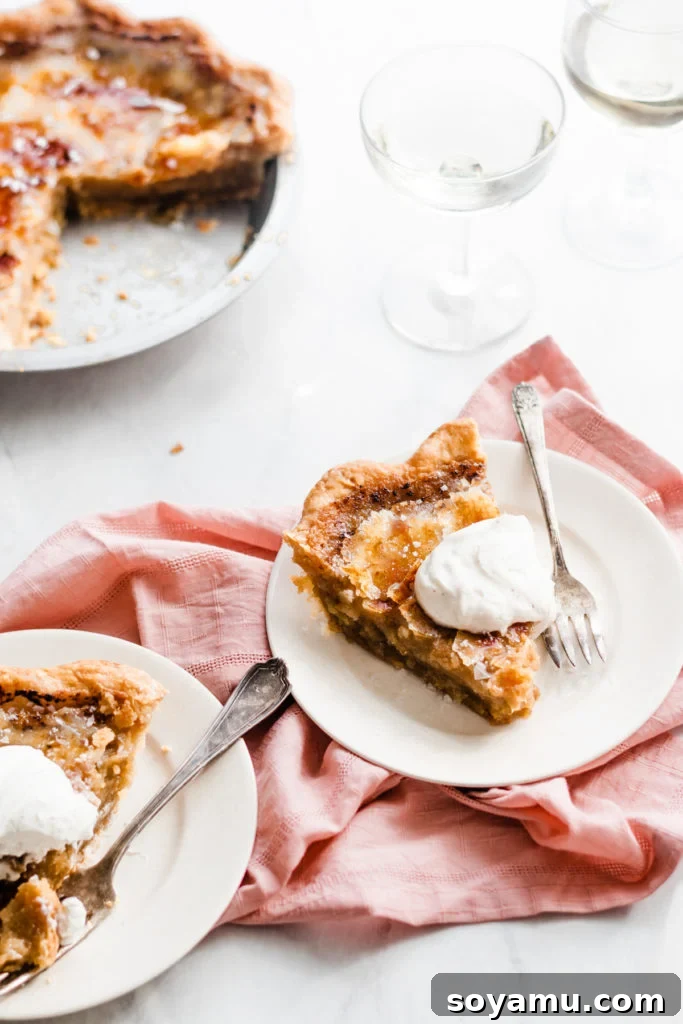
Thanksgiving, in particular, is a time for indulgence, gratitude, and cherished traditions centered around food. While pumpkin and apple pies often dominate the holiday dessert spread, this Brûléed Maple Pie offers a refreshing and sophisticated alternative that still perfectly captures the essence of fall and the festive spirit. The warm, inviting aroma of real maple syrup filling your kitchen as this pie bakes is truly intoxicating, setting the perfect festive mood and evoking feelings of cozy autumn days. Its elegant presentation, especially with the dramatic caramelized sugar topping, makes it an instant showstopper that will have your guests talking long after the last slice is devoured. It’s the perfect blend of comforting familiarity and exciting novelty, ensuring your holiday dessert offerings are both memorable and utterly delicious.
This pie isn’t just reserved for Thanksgiving, though its robust maple flavor makes it an ideal dessert throughout the entire fall and winter seasons. Imagine serving it at a cozy autumn gathering, a family dinner, or simply as a comforting treat on a chilly evening. The combination of rich, earthy maple notes with the sweet crackle of the brûlée makes it a truly versatile and beloved dessert that transcends specific holidays, bringing warmth and joy to any table.
Tips for Achieving Maple Pie Perfection
Mastering the Crust
The key to a truly outstanding maple pie lies in its foundation: the crust. Ensure your butter and shortening are exceptionally cold; this is crucial for creating those coveted flaky layers that shatter with each bite. When blind baking, don’t skimp on the pie weights – they prevent the crust from puffing up and ensure an even bake, creating a sturdy base for your creamy filling. Be patient and allow the crimped edges to achieve a light golden brown, indicating proper doneness and adding a beautiful finish. An under-baked crust can lead to a soggy bottom, which we definitely want to avoid!
Crafting the Silky Filling
For the smoothest, most luxurious maple filling, make sure your eggs, egg yolk, and heavy cream are at room temperature. This allows them to incorporate more seamlessly into the maple and butter mixture, preventing any curdling and ensuring a uniform, velvety texture. Whisk the ingredients just until combined to avoid overworking the mixture, which can introduce too much air and affect the final consistency. Remember, the cornmeal is your friend here – it thickens the custard perfectly without leaving any grainy residue, providing that classic custard-pie body.
The Perfect Brûlée
Timing is everything for the brûlée. Only perform this step 1-2 hours before serving. This ensures the sugar topping is perfectly crisp when enjoyed, providing that delightful snap. Sprinkle the granulated sugar evenly and avoid thick clumps, which can burn unevenly. When using the kitchen torch, move it steadily over the sugar, allowing it to bubble and caramelize into a beautiful amber. Don’t rush this process; a slow, even burn creates the best hard shell. A quick chill in the fridge after brûléeing helps to set the caramelized sugar and enhance the satisfying crack, adding to the dramatic presentation.
Cooling is Crucial
Resist the temptation to cut into your freshly baked pie too soon! The filling needs ample time – ideally 4 to 6 hours – to fully cool and set. This patience will be rewarded with perfectly firm slices that hold their shape and deliver the ideal creamy texture. Cutting into a warm pie will result in a runny, messy slice, so plan ahead for this essential cooling period.
Did you make this delightful Brûléed Maple Pie recipe? We’d love to see your creations! Snap a photo and share your experience.
Be sure to follow bluebowlrecipes on Instagram and tag #bluebowlrecipes with your photo! You can also post a photo of your masterpiece to the bluebowlrecipes Facebook page. I’d absolutely love to see what deliciousness you whip up! Please also consider leaving a comment and a rating if you make this recipe, so others can benefit from your feedback!
Maple Pie with Brûléed Topping Recipe
By Stephanie Simmons
If you love creamy, custard-style pies and the rich, comforting flavor of maple, this Brûléed Maple Pie is a must-try. Featuring a buttery, flaky crust and a silky-smooth maple filling, crowned with an optional crackling layer of caramelized sugar or a dollop of whipped cream, it’s an unforgettable dessert that will impress at any gathering, especially for Thanksgiving or fall festivities.
Servings: 8 slices
Ingredients
For the Pie Crust
- 1 and 1/2 cups all-purpose flour
- 1/4 tsp salt
- 1 and 1/2 tsp granulated sugar
- 1 stick (8 TBSP) cold, salted butter
- 1 TBSP shortening
- 4-5 TBSP ice cold water
For the Maple Pie Filling
- 1/2 cup + 2 TBSP salted butter, melted
- 1 cup real maple syrup (Sister Pie’s recipe calls for Grade B, but Grade A works wonderfully too)
- 3/4 cup brown sugar, packed
- 1/4 cup fine yellow cornmeal
- 1/4 tsp salt
- 3 large eggs, at room temp
- 1 large egg yolk, at room temp
- 3/4 cup heavy cream, at room temp
- 1 and 1/4 tsp vanilla extract
For the Brûléed Topping (Optional)
- 2-3 TBSP granulated sugar
- Kitchen torch (recommended for best results)
Additional for Crust Finishing
- 1 additional egg, for egg washing the crust
For the Whipped Cream (Optional)
- 1 cup heavy cream
- 2-3 TBSP powdered sugar
- 2 tsp vanilla extract
Instructions
-
Prepare the Crust: Follow the directions in my Perfect Pie Crust Recipe + Guide to prepare a single pie crust. The ingredient amounts listed above have already been halved for this recipe. Prepare the crust through step 7 of the guide, ensuring it’s properly chilled before baking.
Preheat your oven to 450 degrees F (230°C). While the oven preheats, set out all ingredients for the pie filling that need to be at room temperature. -
Blind Bake the Crust: Gather your pie weights (about 1 & 1/2 pounds of sugar or rice work perfectly) and a piece or two of foil large enough to cover the pie crust. This should be done before removing the chilled crust from the freezer to keep it cold. After 15 minutes in the freezer, gently press the foil into the frozen crust, ensuring the edges are fully covered. Fill with your chosen pie weights.
Place the pie pan on a baking sheet and bake for 25-27 minutes. Carefully lift the foil to check the crust; the crimped edges should be lightly browned. If needed, bake for an additional 2-4 minutes until the crimps achieve a light golden hue.
Once done, transfer the baking sheet with the pie pan to a cooling rack and let cool for 6 minutes before carefully removing the foil and pie weights. Allow the crust to cool completely while you prepare the filling. Reduce oven heat to 350 degrees F (175°C). -
Make the Filling: In a medium bowl, whisk together the melted salted butter and real maple syrup until well combined. Next, whisk in the brown sugar, fine yellow cornmeal, and salt.
In a separate medium bowl, combine the room-temperature large eggs and egg yolk. Whisk in the vanilla extract and heavy cream.
Slowly pour the egg mixture into the maple mixture, whisking gently just until all ingredients are thoroughly combined. Be careful not to overmix. -
Bake the Pie: In a small bowl, beat 1 egg with a splash of water to create your egg wash. Place the blind-baked pie crust onto a parchment-lined baking sheet. Brush the crimped edges of the pie crust with the egg wash for a beautiful golden finish.
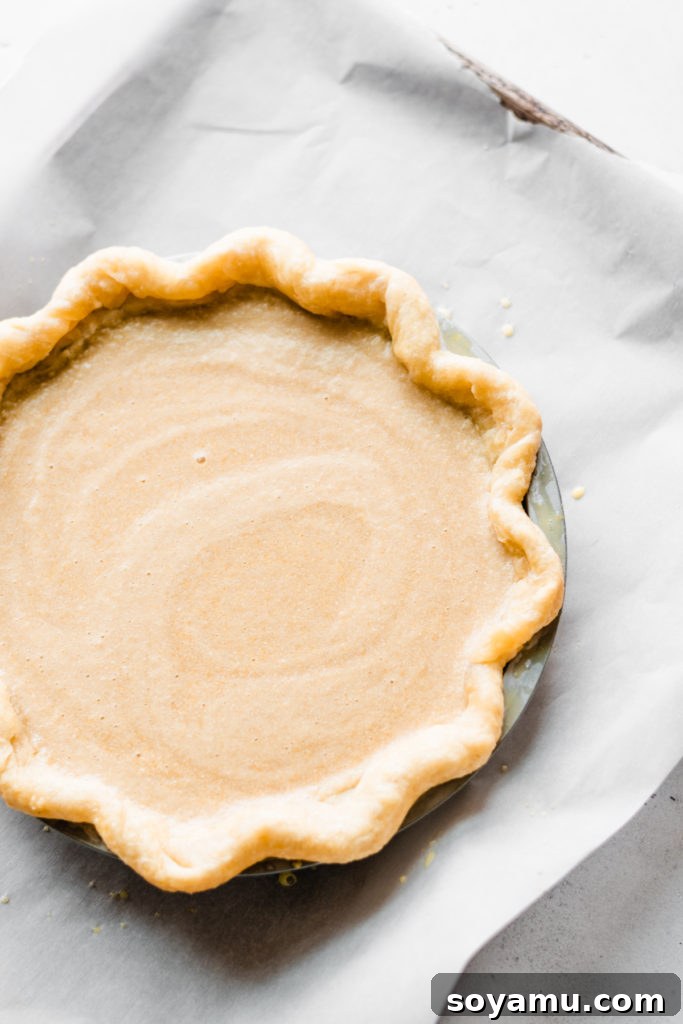
Carefully pour the prepared maple filling into the pie shell until it reaches just below the bottom of the crimps (you might have a tiny bit of filling leftover).
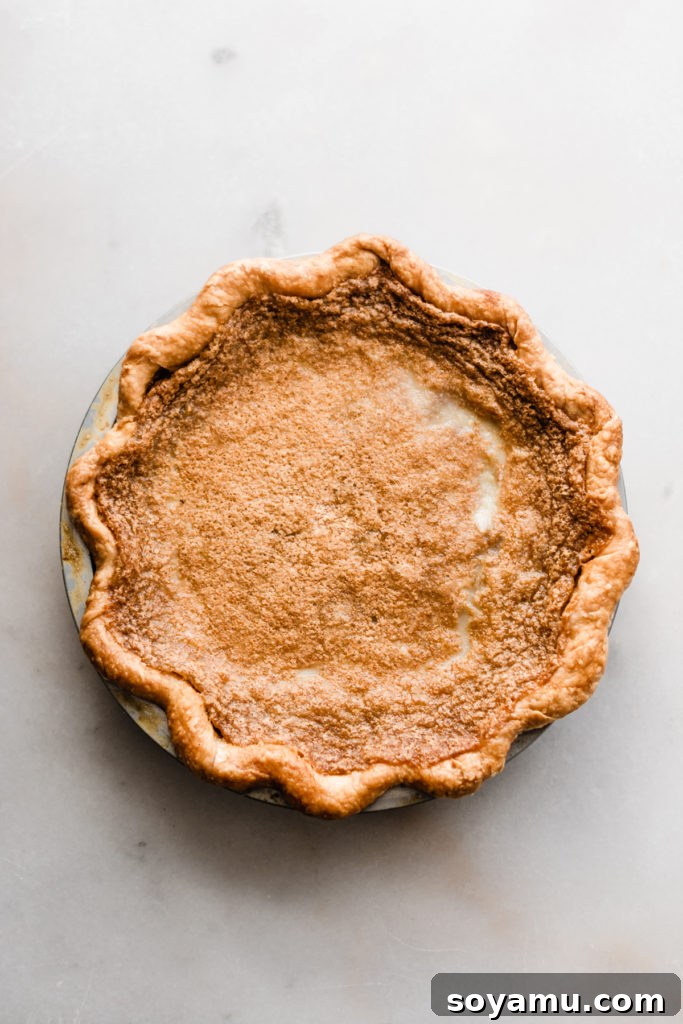
Transfer the baking sheet with the pie to the preheated 350°F (175°C) oven. Bake for 45 minutes to 1 hour (my pie usually takes around 52 minutes). The pie is done when the edges are visibly puffed, and the center still jiggles only slightly when gently shaken. It will continue to set as it cools.
Remove the baking sheet from the oven and transfer the pie to a cooling rack. Allow it to cool completely for 4-6 hours at room temperature. This cooling period is crucial for the filling to fully set. -
Brûlée the Pie (Optional): This step should ideally be done 1-2 hours before you plan to serve the pie for the best crispy topping! If desired, create a stunning crème brûlée-style topping. Sprinkle 2-3 tablespoons of granulated sugar evenly over the cooled pie filling, leaving a small gap between the sugar and the crust edges.
Use a kitchen torch to melt the sugar, moving the flame constantly until it caramelizes into a hard, golden-amber crust. Be careful and ensure even melting.
After brûléeing, place the pie back in the refrigerator for at least 30 minutes to chill and allow the caramelized topping to fully firm up. -
Serve and Store: Slice the pie into 8 generous portions. Serve immediately, perhaps with a dollop of homemade whipped cream!
Store any leftover pie, tightly covered, at room temperature for up to 3 days, or in the refrigerator for up to 6 days.
This recipe is inspired by the Sister Pie Cookbook, with my added twist of the magnificent Brûléed topping.