
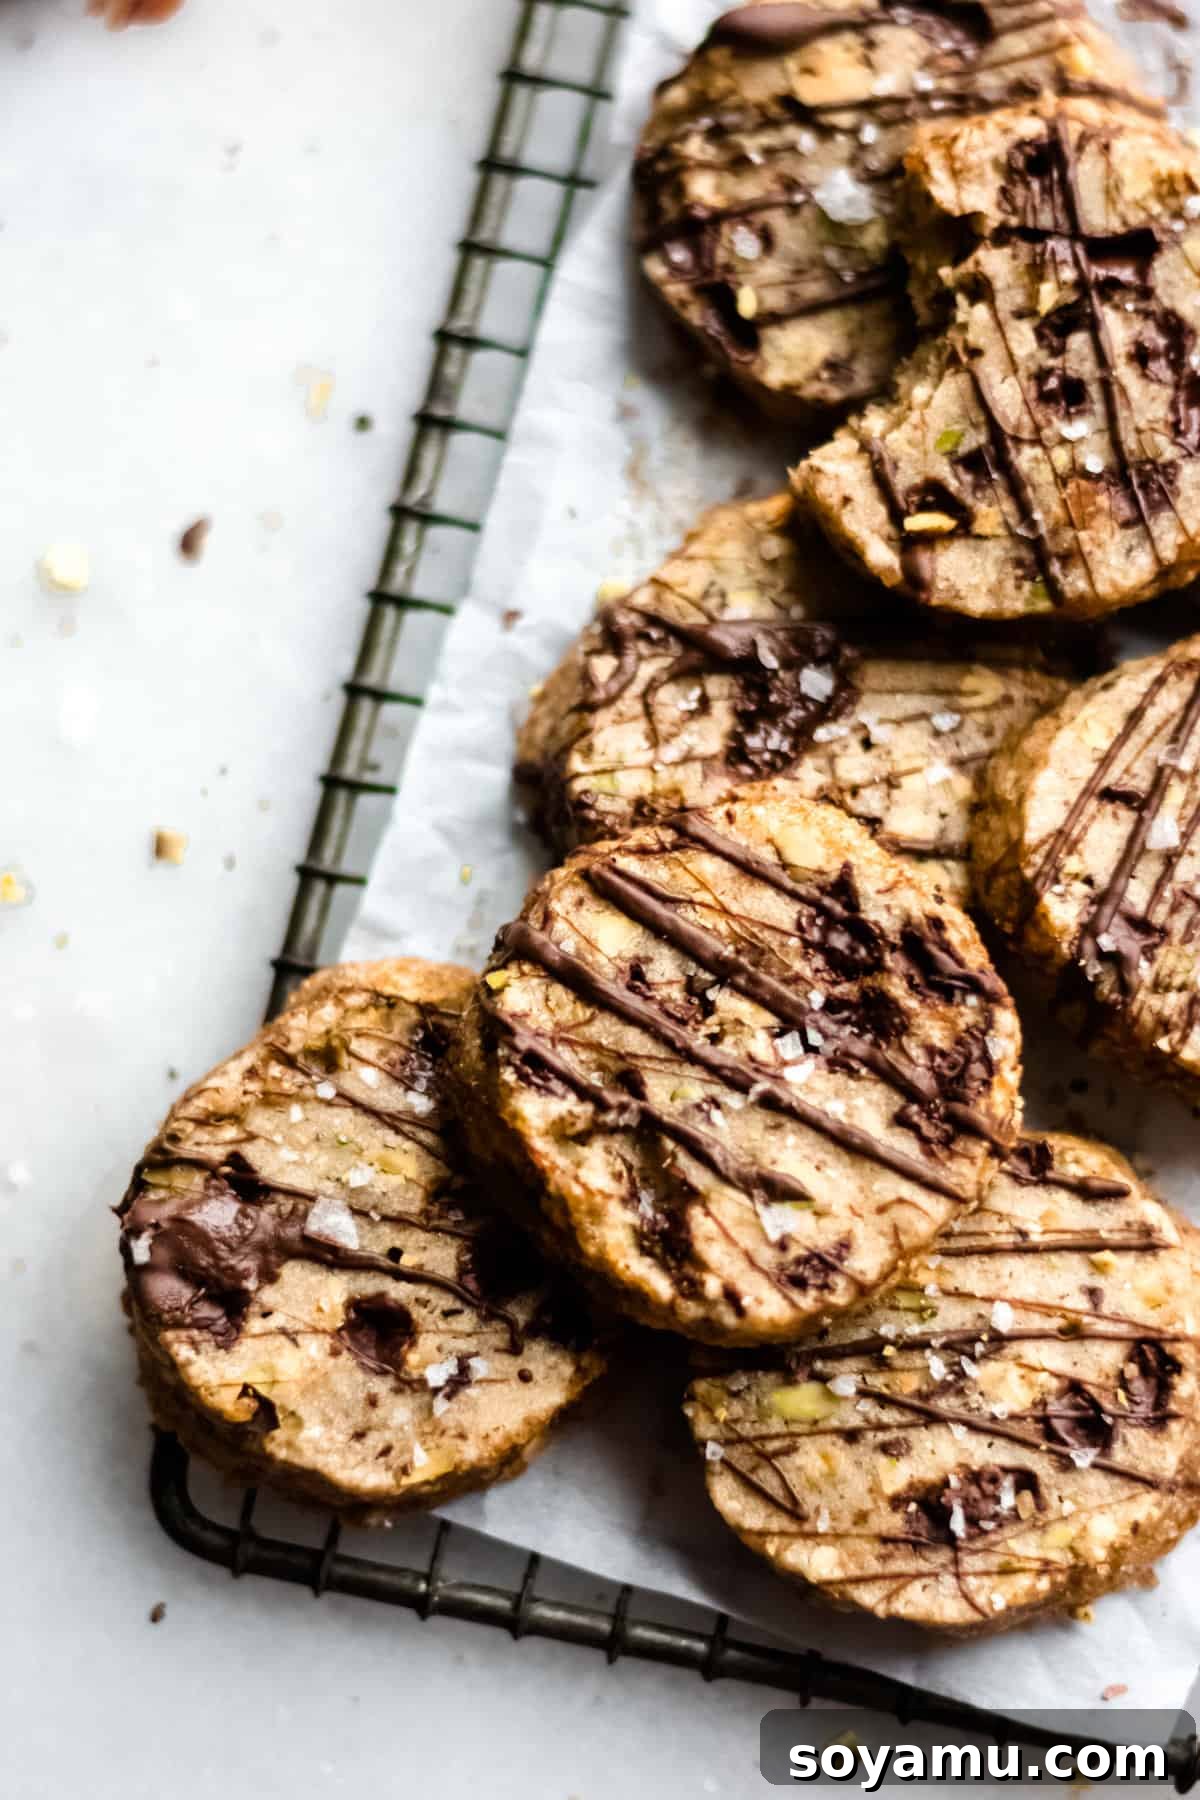
Irresistible Chocolate Pistachio Slice and Bake Cookies: Your New Go-To Recipe
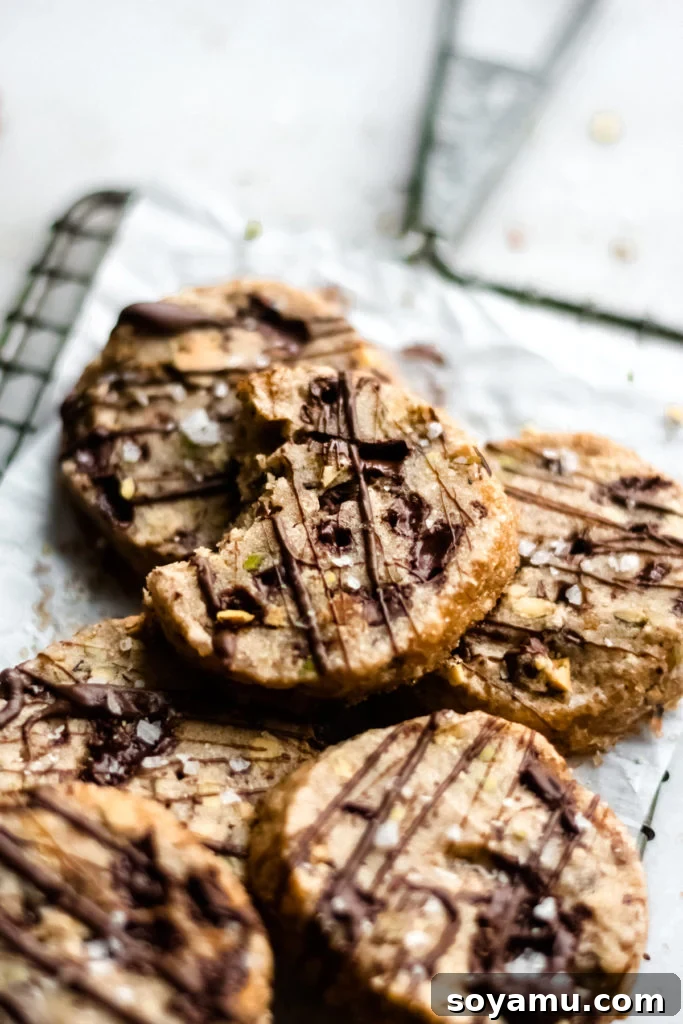
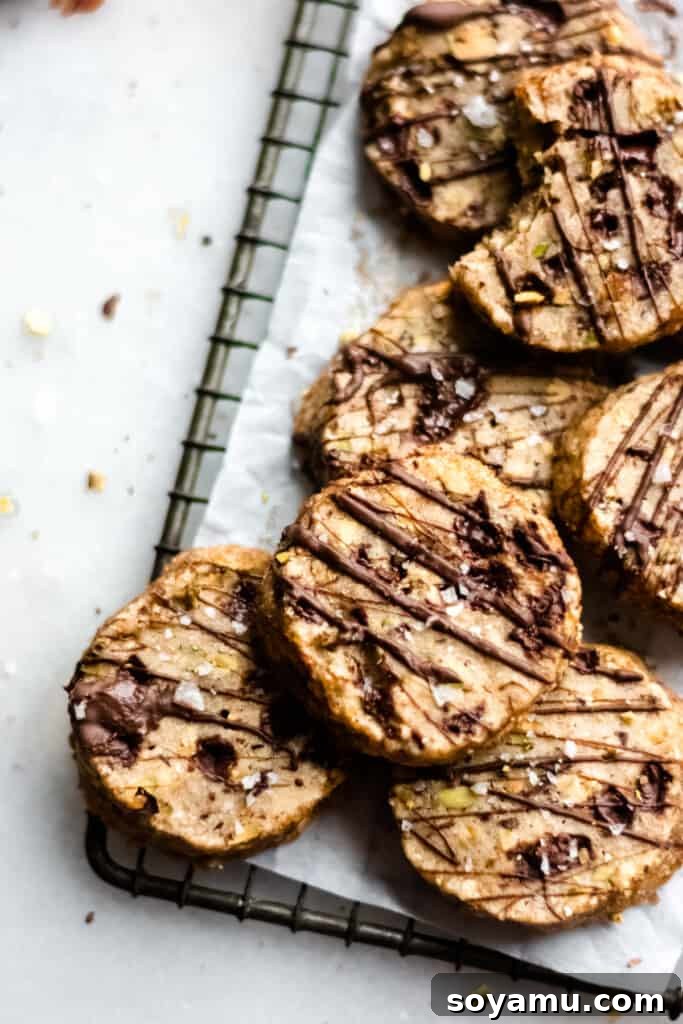
Prepare to fall head over heels for these extraordinary Chocolate Pistachio Slice and Bake Cookies. Imagine soft, buttery centers meeting perfectly crisp edges, each bite a delightful fusion of rich, melted chocolate chunks and the vibrant, earthy crunch of pistachios. These aren’t just cookies; they’re small circles of pure happiness, designed for convenience without compromising on flavor. If you’ve been searching for an easy, make-ahead dessert that truly impresses, look no further – these will quickly become a cherished staple in your baking repertoire.
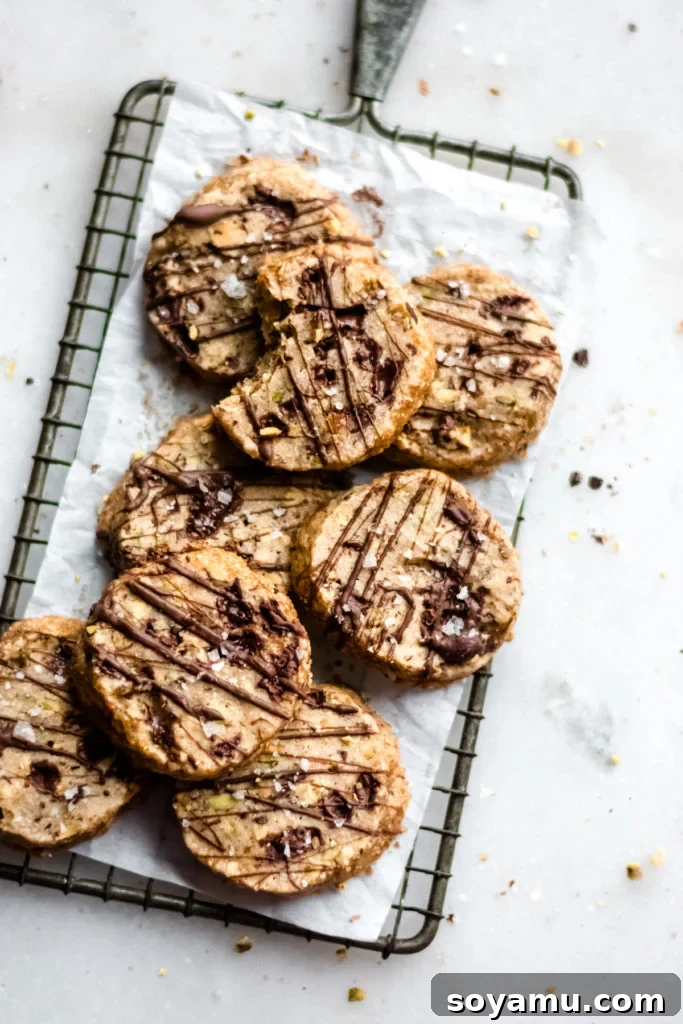
After a brief hiatus from sharing new culinary creations, I’m thrilled to dive back into the kitchen and bring you this sensational recipe. Get ready for a May filled with delicious possibilities, starting with these incredible cookies!
If the concept of “slice and bake” cookies is new to you, prepare for a revelation. This method is a game-changer for home bakers, offering unparalleled convenience and flexibility. Let’s walk through how to master this simple yet ingenious technique to create bakery-quality treats right in your own kitchen.
Why You’ll Love These Chocolate Pistachio Cookies
- Effortless Preparation: Forget tedious rolling and cutting. These cookies come together with minimal fuss, making them perfect for busy schedules.
- Unforgettable Flavor Combination: The pairing of sweet, creamy chocolate with the distinctive, slightly salty crunch of pistachios is truly divine. Each ingredient shines, creating a harmonious balance that will leave you craving more.
- Perfect Texture: Expect a cookie that’s tender and chewy on the inside, with wonderfully crisp, golden-brown edges. The chopped pistachios and coarse sugar on the exterior add an extra layer of delightful texture.
- Make-Ahead Magic: One of the greatest advantages of slice and bake cookies is the ability to prepare the dough in advance. Chill it for a few hours, a few days, or even freeze it for months, allowing you to bake fresh cookies whenever a craving strikes or unexpected guests arrive.
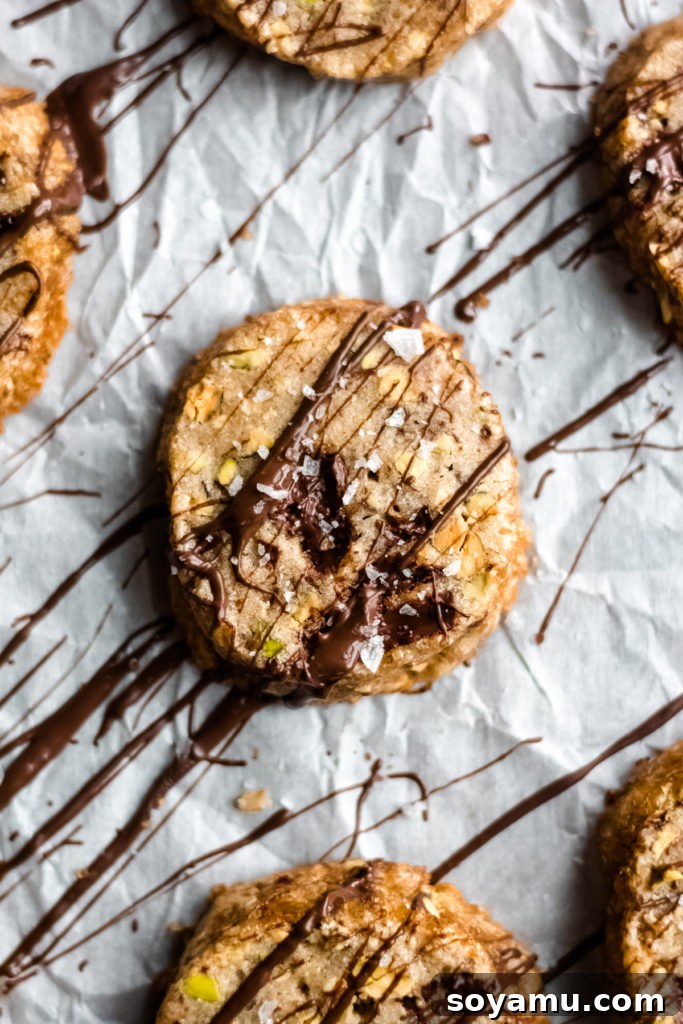
- Visually Appealing: With their rustic, studded appearance and the option for a melted chocolate drizzle and a sprinkle of sea salt, these cookies are as beautiful as they are delicious, making them ideal for gifting or special occasions.
The Simplicity of Slice and Bake: A Step-by-Step Guide
The beauty of slice and bake cookies lies in their straightforward process. It all starts with a foundational cookie dough, enriched with delightful mix-ins, then shaped into logs, chilled, and finally sliced and baked. This method is incredibly forgiving and yields consistently delicious results.
1. Crafting the Perfect Dough
Our cookie dough is a classic base, featuring essential baking ingredients that ensure a rich, buttery flavor and tender texture. You’ll combine softened butter, brown sugar for chewiness and depth, a single egg for binding, and a hint of vanilla for warmth. These wet ingredients are then blended with a mix of all-purpose flour and white whole wheat flour (feel free to use all-purpose if that’s what you have on hand) and a pinch of salt to balance the sweetness.
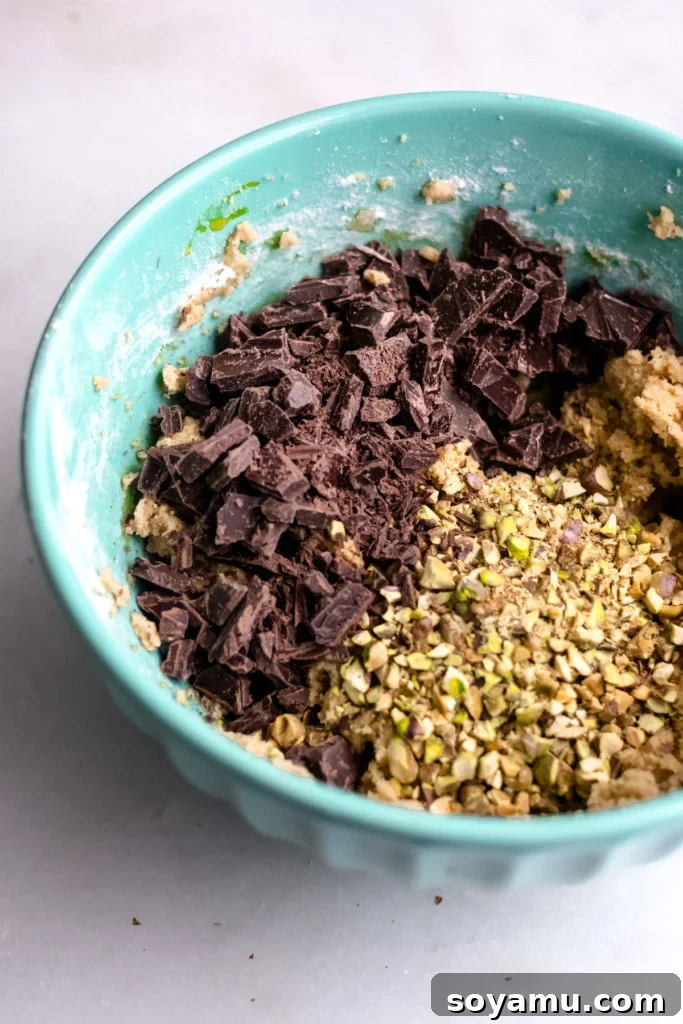
The real stars, of course, are the generous additions: rich semi-sweet chocolate chunks and finely chopped pistachios. We opt for chunks over chips here for those incredible puddles of melted chocolate that make each cookie truly special.
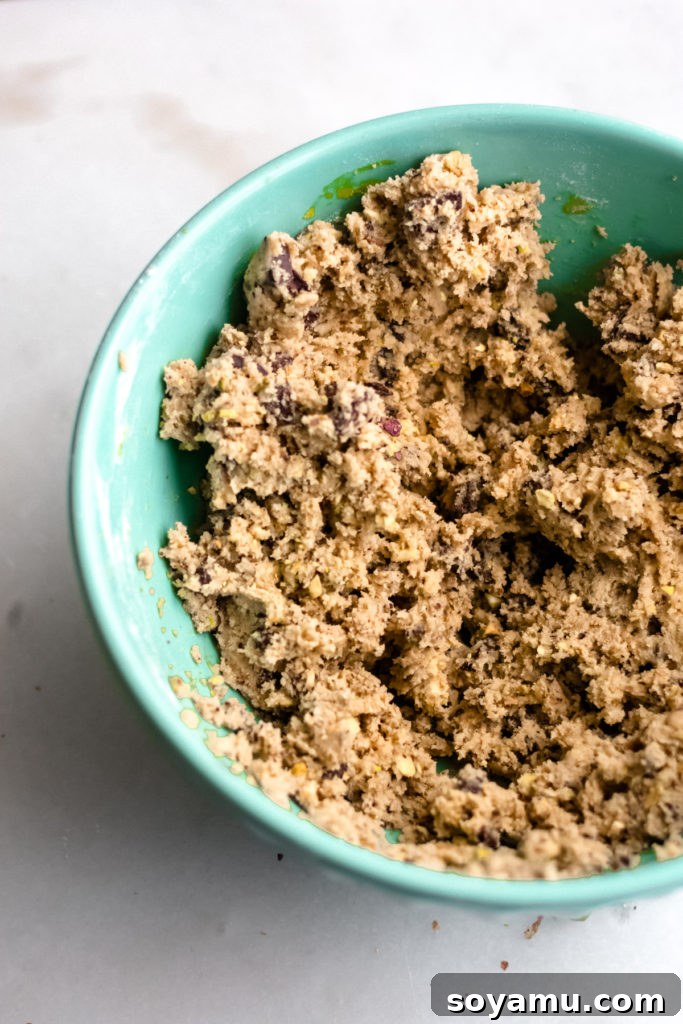
2. Shaping and Coating the Dough Logs
Once your irresistible dough is mixed, it’s time to shape it for easy slicing. Divide the dough into two roughly equal sections. Gently form each section into a log, approximately 8 inches long and 2 inches wide. Don’t worry about achieving perfect symmetry; a slightly rustic shape adds to their homemade charm!
For an extra layer of flavor and a beautiful, crunchy crust, roll each dough log in a delightful mixture of additional chopped pistachios and coarse sugar. This creates a shimmering, irresistible coating that caramelizes slightly during baking, adding another dimension of texture and visual appeal.
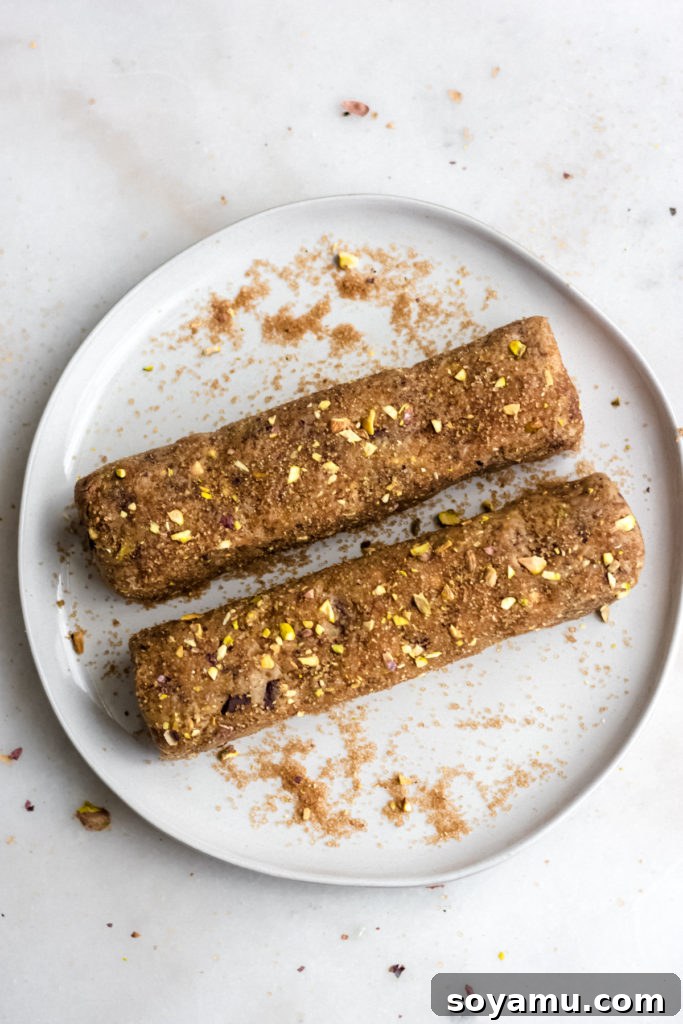
3. The Crucial Chilling Step
This is where the “make-ahead” magic truly comes into play. Tightly wrap each dough log in plastic wrap. Chilling the dough is vital for several reasons: it prevents the cookies from spreading excessively in the oven, allows the flavors to meld and deepen, and results in a more uniform texture.
You have options for chilling:
- Refrigerate: For at least 3 hours, or up to 2-3 days. This is ideal for planning a baking session a few days in advance.
- Freeze: For at least 1.5 hours, or up to 3 months! This is a fantastic option for holiday baking preparation or simply ensuring you always have fresh cookie dough on hand. Just remember to thaw frozen dough in the fridge overnight before you plan to bake.
(Who else is already thinking about getting a head start on their holiday baking? You’re in good company if you are!)
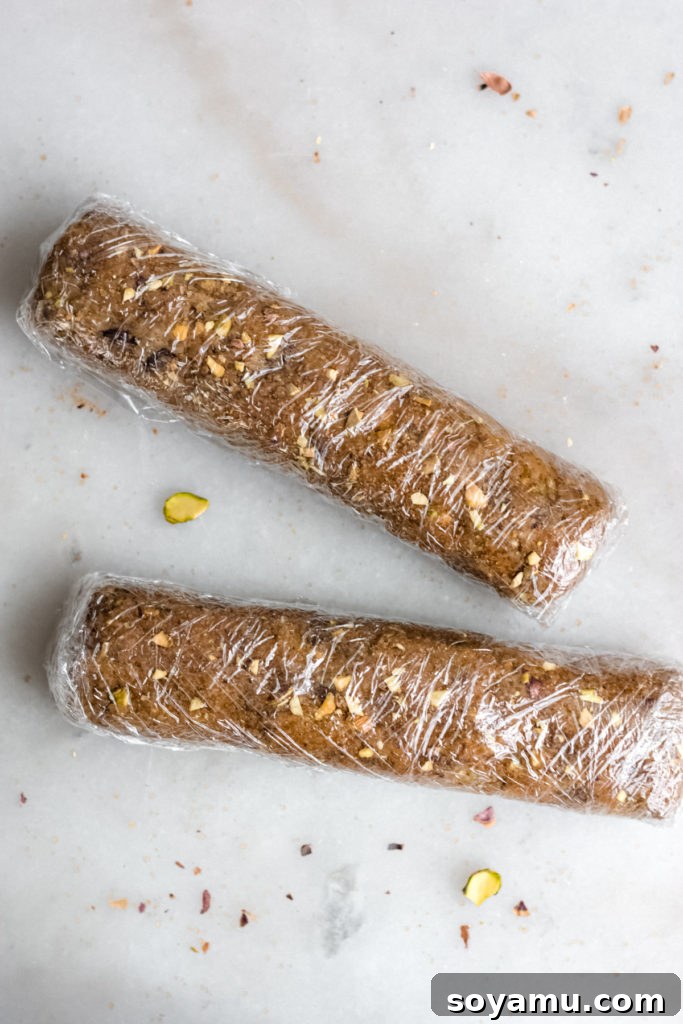
4. Slicing and Baking for Golden Perfection
Once the dough is sufficiently firm, unwrap the logs and prepare to slice. A serrated knife is your best friend here, effortlessly cutting through the dough and any embedded chocolate chunks or pistachios without tearing or squishing the cookies. Aim for slices that are about 1/2 inch thick, yielding approximately 12-14 cookies per log.
Arrange your cookie slices on a baking sheet lined with parchment paper, leaving a little space between each one. Bake them in a preheated oven at 350 degrees F (175 degrees C) for 13-14 minutes, or until the edges are lightly golden brown and the centers are just set. They will firm up further as they cool.
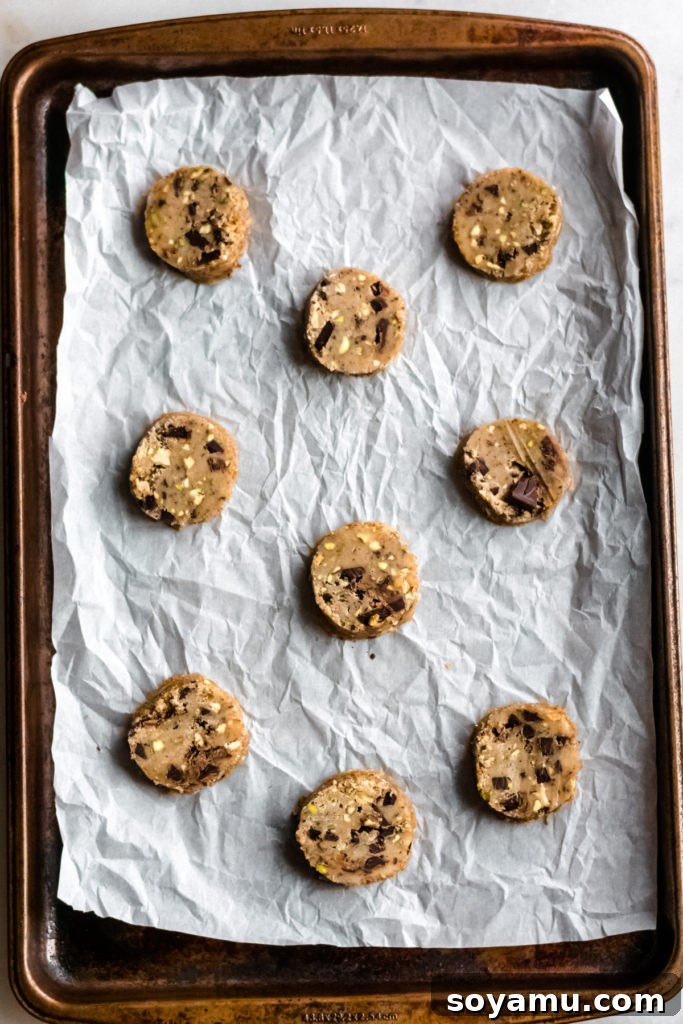
5. The Final Flourish: Drizzle and Sprinkle
For an elegant touch that elevates these cookies from delicious to truly gourmet, consider a simple melted chocolate drizzle and a sprinkle of flaky sea salt. The slight bitterness of the extra chocolate and the pop of sea salt beautifully enhance the existing flavors, creating a stunning visual and taste experience. This step is optional but highly recommended for an extra layer of decadence!
There’s nothing quite like warm, freshly baked cookies, and these are no exception. Get your ovens preheated, because just like April showers bring May flowers, they also bring… May cookies! (At least, that’s how it goes in my book.) And trust me, resisting the urge to devour them straight from the oven will be your biggest challenge. Happy baking!
Enjoy every single buttery, crunchy, chocolatey bite. And good luck eating just one!
Recipe: Chocolate Pistachio Slice and Bake Cookies
Chocolate Pistachio Slice and Bake Cookies
By: Stephanie Simmons
Soft, buttery, crisp-edged, pistachio-studded, chocolate-puddled circles of happiness that are even easier to make than they are to fall in love with.
Prep Time: 20 mins
Cook Time: 14 mins
Dough Chilling: 1 hr (minimum)
Yields: 28 cookies
Ingredients
- 13 TBSP salted butter, softened
- 3/4 cup brown sugar, packed
- 1 egg
- 2 tsp vanilla extract
- 1 1/2 cup all-purpose flour
- 1/2 cup white whole wheat flour (can substitute with all-purpose flour)
- Pinch of salt
- 5 ounces semi-sweet chocolate, chopped into chunks
- 3/4 cup pistachios, shelled and chopped
- 2 tbsp pistachios, chopped (reserved for rolling)
- Coarse sugar, for rolling
Instructions
- Preparation: Allow butter to soften at room temperature. If not pre-chopped, use a food processor to quickly and finely chop your shelled pistachios. Chop your semi-sweet chocolate into desired chunk size.
- Make the Dough: In a large mixing bowl, beat the softened butter until well creamed (about 2-3 minutes). Add the brown sugar and continue mixing until thoroughly combined and creamy (another 2-3 minutes). Stir in the vanilla extract and egg until just combined, being careful not to overmix. Gradually add the flours and salt, mixing until the dry ingredients are just incorporated. Fold in the chopped pistachios and semi-sweet chocolate chunks until evenly distributed throughout the dough.
- Chill the Dough: Divide the cookie dough into two equal sections. Shape each section into a log, approximately 8 inches long and 2 inches wide. On a plate, combine the reserved 2 tablespoons of chopped pistachios and some coarse sugar. Roll each dough log in this mixture until the outside is fully coated. Tightly wrap each log in plastic wrap. Chill in the refrigerator for at least 3 hours (or up to 2 days), or in the freezer for a minimum of 1.5 hours (or up to 3 months).
- Bake: Preheat your oven to 350 degrees F (175 degrees C). Line a baking sheet with parchment paper. Using a serrated knife, slice each chilled dough log into 12-14 cookies (about 1/2 inch thick). The serrated edge helps cleanly cut through the chocolate chunks and nuts. Place the sliced cookies on the prepared baking sheet, leaving a small space between each. Bake for 13-14 minutes, or until the edges are lightly browned and the centers are slightly firm.
- Cool and Finish: Let the cookies cool on the baking sheet for a few minutes before transferring them to a wire rack to cool completely. For an optional but highly recommended finishing touch, drizzle cooled cookies with melted chocolate and sprinkle with flaky sea salt.
- Serve & Store: These cookies are best enjoyed immediately, perhaps with a glass of milk or a cup of coffee. Store any leftover cookies in an airtight container at room temperature for up to 5 days. For long-term storage, cookie dough logs can be kept in the freezer for up to 3 months; simply thaw overnight in the refrigerator before slicing and baking.
Notes
Nut Allergy Note: If you or someone you’re baking for has a nut allergy or simply prefers a nut-free cookie, you can easily omit the pistachios. The resulting cookie will still be a wonderfully delicious chocolate chunk shortbread, offering a rich, buttery, and chocolatey experience.
Nutrition
Calories: 149 kcal (approximate per cookie)
Nutrition information is automatically calculated and should only be used as an approximation.
Loved This Recipe? Share Your Creation!
Your feedback brightens our day! If you made these delightful Chocolate Pistachio Slice and Bake Cookies, we’d love to see them. Snap a photo and share your experience with us.
Be sure to follow us on social media and tag your photos using #bluebowlrecipes. You can find us on Instagram and Facebook. We can’t wait to see your wonderful bakes!
Like this recipe? Leave a comment below and let us know what you think!