

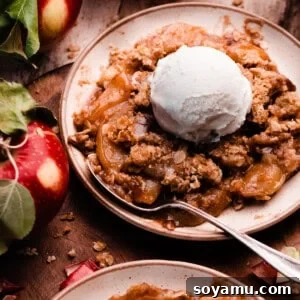
Apple Crisp is the quintessential fall dessert, bringing warmth and comfort to any occasion. This incredible one-bowl recipe makes preparing this classic treat an absolute breeze, perfect for bakers of all skill levels. Imagine perfectly sliced apples, gently tossed with a harmonious blend of cozy spices and a touch of sweetness, then crowned with a quick-to-assemble, buttery oat crisp topping. Baked until it achieves a deeply golden brown hue and a delightfully bubbly filling, this dessert will not only tantalize your taste buds but also fill your home with an absolutely irresistible aroma. For the ultimate indulgence, serve it warm straight from the oven, crowned with a generous scoop of creamy vanilla ice cream.

Say goodbye to the fuss of traditional apple pie while still savoring all its beloved flavors! This easy Skillet Apple Crisp recipe offers all the nostalgic taste of apple pie, but with the delightful convenience of a buttery oat topping instead of a labor-intensive pie crust. We firmly believe this is truly the best apple crisp you will ever taste. The combination of warm, tender apples nestled beneath a perfectly crisp, cinnamon-infused oat topping creates a symphony of textures and flavors that is simply heavenly. Get ready to dive into a dessert experience that will become a cherished tradition in your home!
Why You’ll Adore This Skillet Apple Crisp
There are countless reasons why this particular Apple Crisp recipe stands out as a true culinary delight. From its effortless preparation to its sensational taste, here’s why this will quickly become your go-to fall dessert:
- Perfectly Spiced, Tender Apples: Our recipe ensures every slice of apple bakes to tender perfection, retaining a slight bite without ever becoming mushy. We use a carefully balanced blend of cozy spices like warm cinnamon, aromatic nutmeg, fragrant cloves, and a hint of allspice. This ensures the apples are infused with a rich, comforting flavor that sings of autumn, creating a juicy, saucy filling that’s simply irresistible beneath the crisp topping.
- Effortless One-Bowl Preparation: Designed for convenience, this entire dessert can be assembled in a single oven-safe skillet, drastically cutting down on cleanup time. Simply toss the apple filling ingredients directly in the skillet you plan to bake in, then prepare the topping in a separate bowl. This streamlined approach makes it incredibly accessible for bakers of all skill levels, from novices to seasoned pros, making it an ideal choice for a stress-free dessert that tastes gourmet.
- Unforgettable Oat Crisp Topping: The crowning glory of this dessert is its unparalleled oat crisp topping. Crafted from a blend of old-fashioned rolled oats, brown sugar, flour, and cold butter, it bakes into a golden-brown, irresistibly crunchy layer. Each bite offers a delightful contrast to the soft apple filling, bursting with buttery, cinnamon-sweet goodness. This isn’t just a topping; it’s a testament to perfection, promising a satisfying crunch with every spoonful.
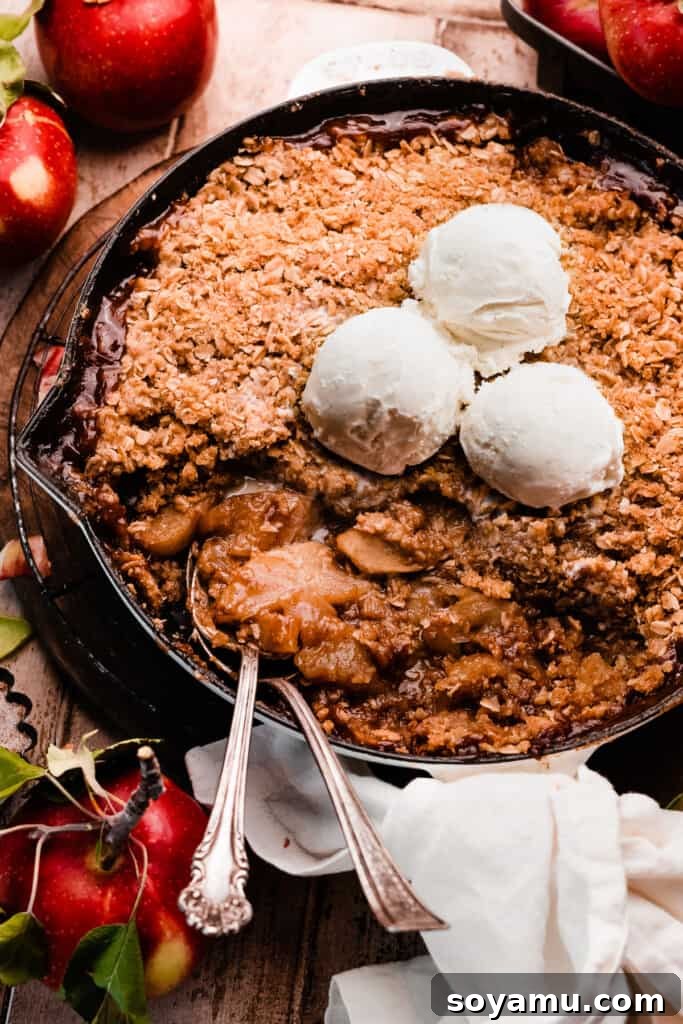
Key Ingredients for the Perfect Apple Crisp
Crafting the perfect apple crisp starts with selecting the right ingredients. Each component plays a vital role in achieving that balance of flavor and texture that makes this dessert truly exceptional. Below is a detailed look at what you’ll need:
- Apples: The star of our show! For baking, it’s crucial to use firm varieties that hold their shape and offer a good balance of sweet and tart flavors. I recommend a mix, such as 3 Honeycrisp, 1 Golden Delicious, and 1 Granny Smith. Other excellent choices include Fuji, Pink Lady, Cortland, Braeburn, or Jonathan. Avoid overly soft apples like McIntosh or Red Delicious, as they can turn mushy during baking. A tart apple, like Granny Smith, helps to cut through the sweetness and adds depth to the overall flavor profile.
- All-Purpose Flour: This essential ingredient serves a dual purpose. In the apple filling, it acts as a crucial thickening agent, ensuring your crisp has a luscious, saucy base rather than a watery one. In the crisp topping, it forms the structural backbone, binding the oats, sugar, and butter to create that perfect crumbly texture. For gluten-free options, see our substitution notes below.
- Brown Sugar: Brown sugar contributes more than just sweetness; its molasses content adds a rich, caramel-like flavor and a wonderful moistness to both the apple filling and the crisp topping. This depth of flavor is what truly makes the dessert comforting and autumnal.
- Aromatic Spices: The soul of any fall dessert! Our carefully selected blend includes ground cinnamon, nutmeg, cloves, and allspice. These warm, fragrant spices beautifully enhance the natural sweetness and tang of the apples without overpowering them. They create that signature cozy aroma that fills your kitchen while baking.
- Apple Cider: A splash of apple cider is my secret weapon for intensifying the apple flavor in the filling. It also contributes to a wonderfully saucy consistency. If apple cider isn’t readily available, unsweetened apple juice is a good substitute. In a pinch, you can omit it, but you might miss some of that deep apple essence. Important: Do not use apple cider vinegar, which is a very different product!
- Fresh Lemon Juice: A small amount of lemon juice in the apple filling is a game-changer. It brightens the flavors, balances the sweetness, and helps prevent the apples from browning too quickly, preserving their fresh appearance.
- Old-Fashioned Whole Rolled Oats: For the best crisp topping, whole rolled oats are key. They provide a wonderfully chewy texture and help create those desirable clusters of golden crispness. While quick oats can be used in a pinch, they result in a finer, less substantial texture for the topping.
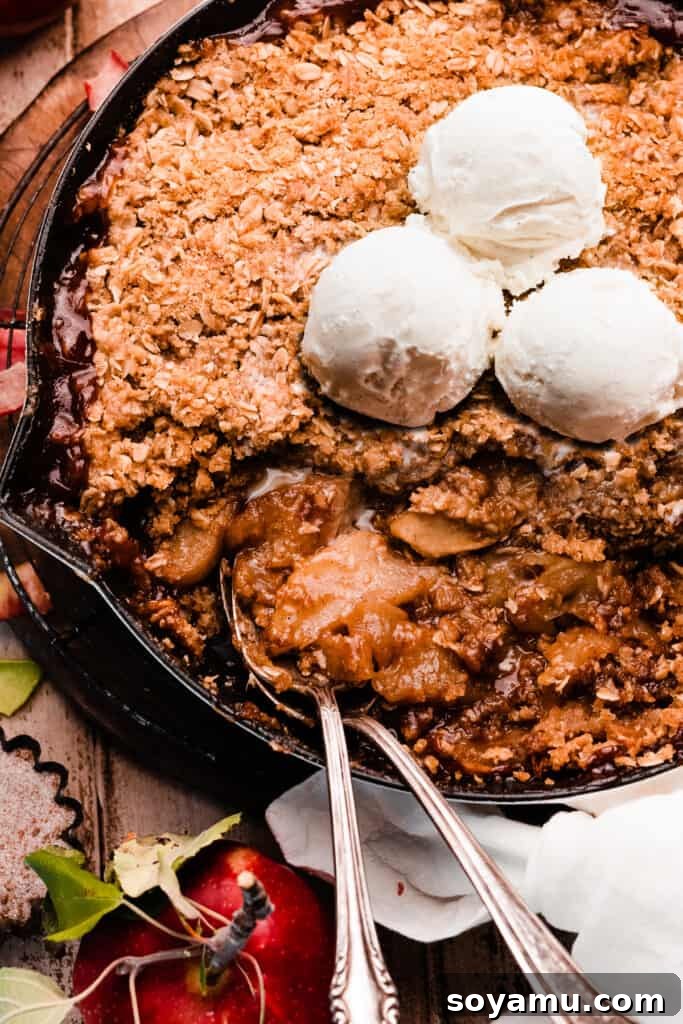
Recipe Adaptations & Creative Variations
This versatile apple crisp recipe provides a fantastic foundation for various dietary needs and flavor experiments. Don’t hesitate to personalize it!
- Dairy-Free & Vegan Apple Crisp: Achieving a dairy-free and vegan version of this crisp is straightforward. Simply substitute the butter with your favorite high-quality dairy-free butter substitute. Brands like Miyoko’s Kitchen or Earth Balance often yield excellent results, providing that familiar richness and texture without any dairy products.
- Gluten-Free Apple Crisp: For those following a gluten-free diet, this recipe is easily adaptable. In the crisp topping, you can try a 1:1 gluten-free all-purpose flour blend (ensure it contains xanthan gum for best results) in place of regular flour. Alternatively, almond flour can be used, though it might result in a slightly different, perhaps more tender, topping texture. For the apple filling, replace the all-purpose flour with half the amount of cornstarch, as cornstarch has double the thickening power of flour.
- Add Nuts for Extra Crunch: To introduce an additional layer of texture and nutty flavor, stir in about 3/4 cup of chopped pecans, walnuts, or even almonds into your crisp topping mixture. Lightly toasting the nuts beforehand can further enhance their flavor.
- Explore Other Fruits: While apple is classic, this crisp recipe is wonderfully adaptable to other fruits. For a festive twist, try my Cranberry Apple Crisp. You can also experiment with peaches, mixed berries (such as raspberries and blueberries), or even a pear-cranberry blend as found in my cookbook, The One-Bowl Baker, for a unique seasonal dessert.
- Transform it into an Apple Crumble: The distinction between a crisp and a crumble often lies in the topping. If you prefer a topping without oats, you can easily convert this into an apple crumble. Simply use the crumble topping from my One-Bowl Strawberry Rhubarb Crumble recipe, making sure to double the quantities to ensure ample coverage for this apple dessert.
Crafting the Best Skillet Apple Crisp: A Step-by-Step Guide
Making this incredible apple crisp is simpler than you might think. Follow these straightforward steps to achieve a dessert that’s bursting with flavor and perfect texture:
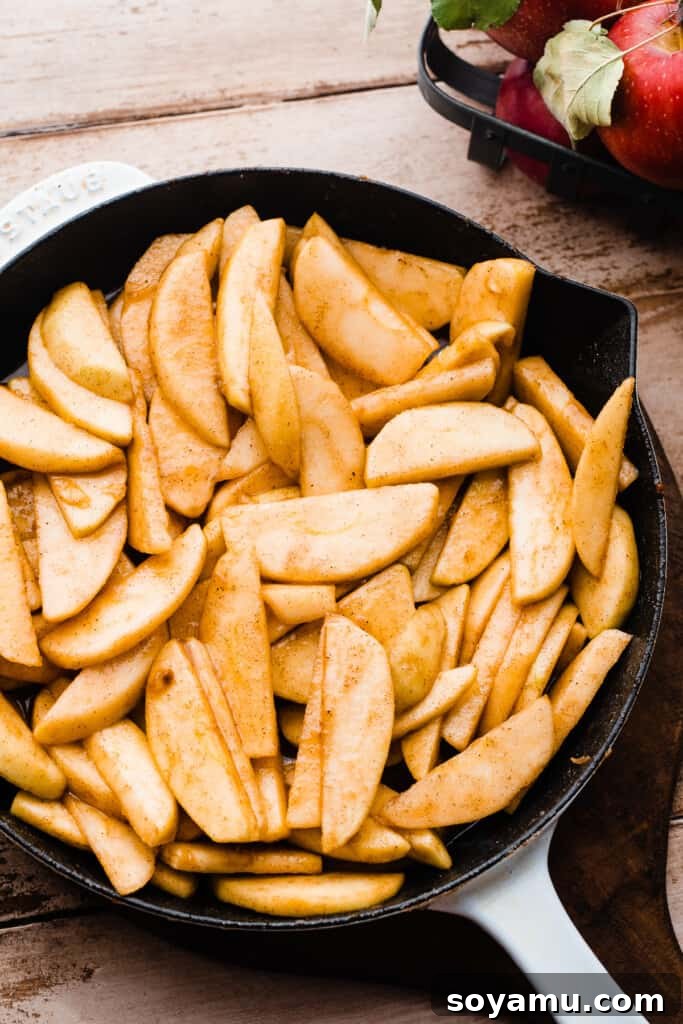
Step 1: Prepare Your Apples. Begin by peeling your chosen baking apples. Once peeled, core them and slice them into uniform pieces, approximately 1/4-inch thick. Consistency in thickness is key to ensuring that all apples cook evenly and achieve that delightful tender, yet slightly firm, texture. Thinner slices will result in softer apples, while slightly thicker slices will offer a bit more chew.
Step 2: Create the Luscious Apple Filling. In a 10-inch oven-safe skillet (the same one you’ll be baking in to save on dishes!), combine your sliced apples with the brown sugar, granulated sugar, all-purpose flour, fragrant spices (cinnamon, nutmeg, cloves, allspice), lemon juice, and apple cider. Toss everything thoroughly until the apples are evenly coated. This ensures that every apple slice is infused with flavor and that the filling will thicken beautifully during baking. Give it a good stir to prevent any sugar clumps from settling at the bottom.
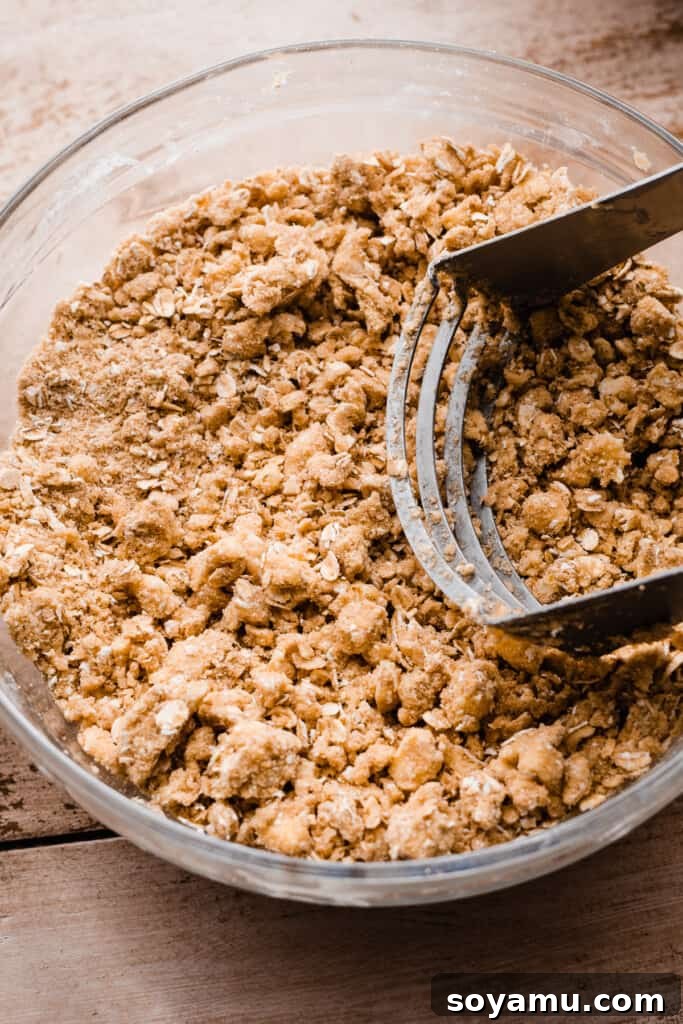
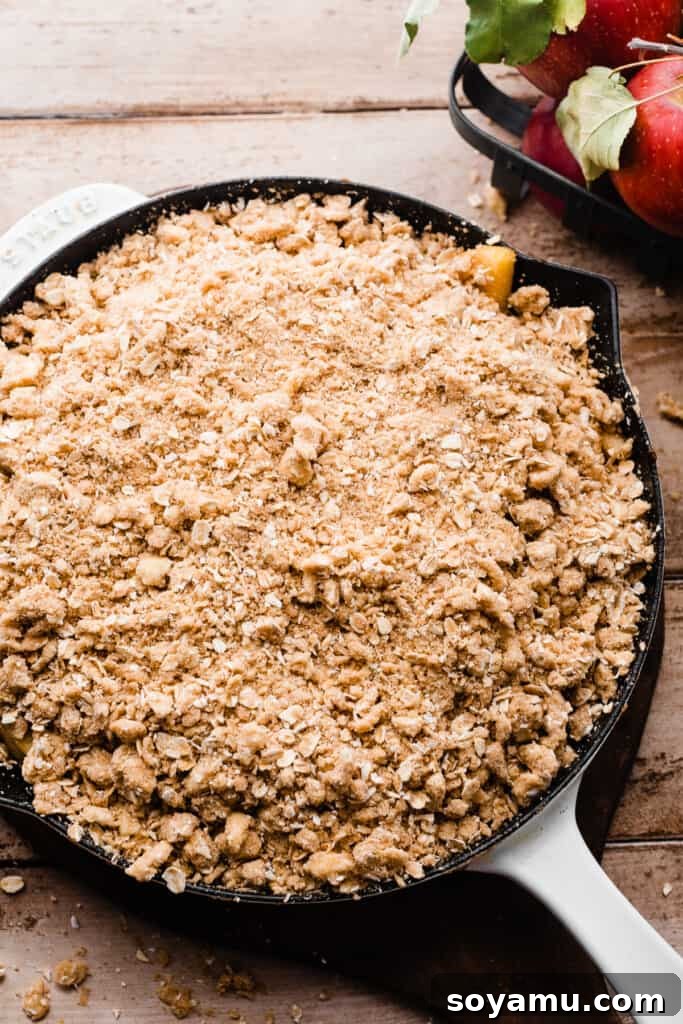
Step 3: Assemble the Irresistible Oat Topping. In a separate medium-sized bowl, whisk together the dry ingredients for the topping: all-purpose flour, packed brown sugar, salt, cinnamon, and old-fashioned whole rolled oats. Next, add the cold, cubed butter. Using a pastry cutter, your fingertips, or two knives, cut the butter into the dry ingredients until the mixture resembles coarse crumbs with some pea-sized pieces of butter still visible. This is crucial for achieving a perfectly crisp and buttery topping texture.
Step 4: Bake to Golden Perfection. Give the apple mixture one final good stir in the skillet to ensure everything is well combined and the spices are evenly distributed. Then, generously sprinkle the prepared oat crisp topping evenly over the entire surface of the apples. Transfer the skillet to your preheated oven and bake as directed in the recipe card below. The crisp is done when the topping is deeply golden brown, the filling is visibly thick and bubbling vigorously around the edges of the skillet, and a fork can easily pierce an apple piece in the center, indicating they are tender.
Serving Suggestions & Storage Tips
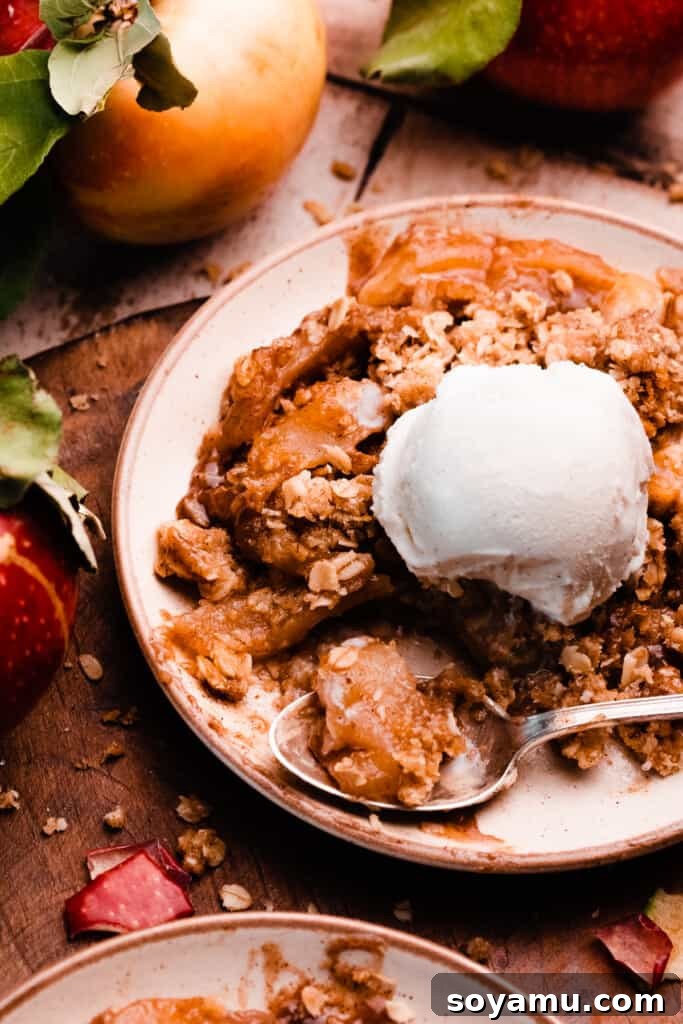
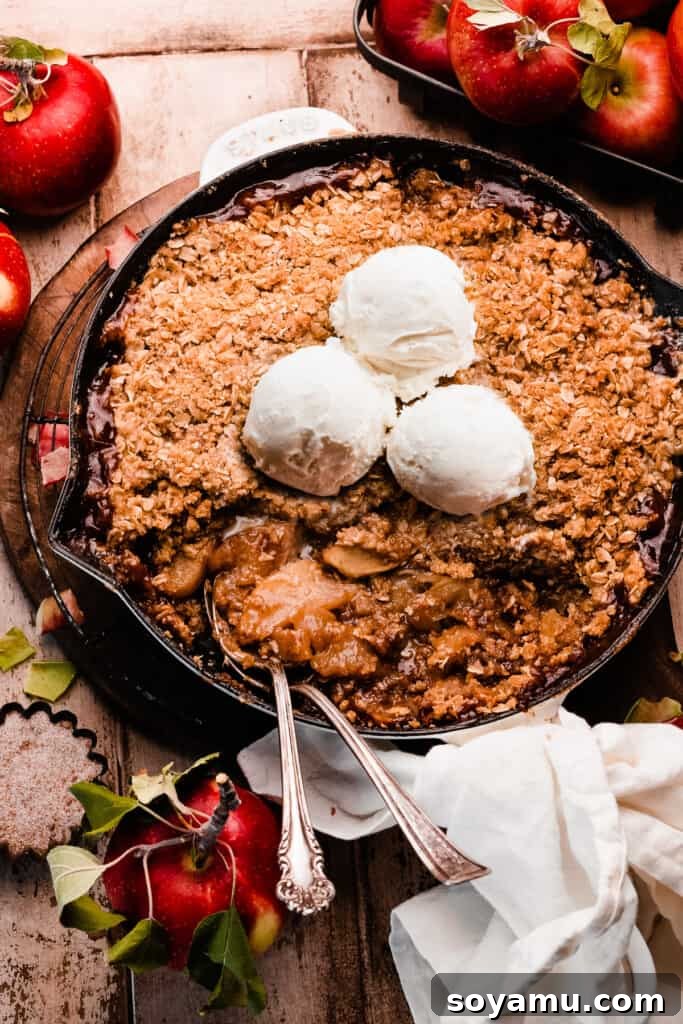
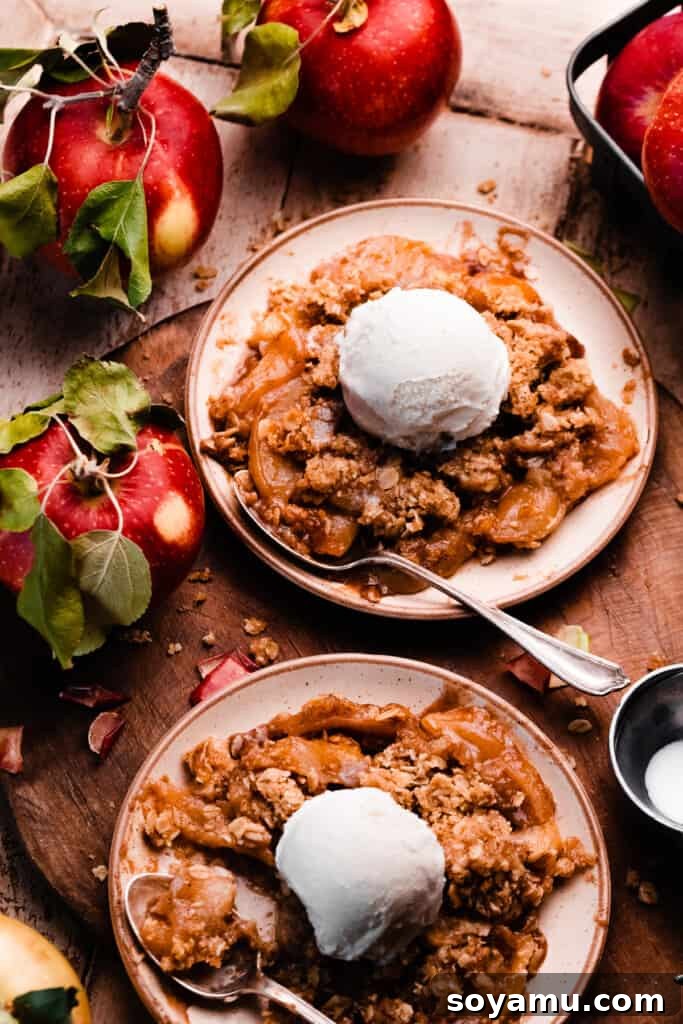
To fully appreciate the irresistible flavors and textures of this apple crisp, allow it to rest for about 10-15 minutes after it comes out of the oven. This brief resting period allows the filling to set slightly, making it easier to serve and preventing it from being too runny. For an unforgettable dessert experience, serve it piping hot, accompanied by a generous scoop of cold vanilla bean ice cream. The contrast between the warm, spiced apples and the melting ice cream is pure bliss. Caramel sauce or a dollop of fresh whipped cream also make excellent additions.
While this apple crisp is undeniably at its best enjoyed fresh from the oven on the first day, any leftovers can be stored. Once completely cooled to room temperature, transfer the crisp to an airtight container and refrigerate for up to 2-3 days. To best retain the crispness of the topping when reheating, I highly recommend warming individual portions in a conventional oven or a toaster oven until heated through. Reheating in the microwave is possible for speed, but be aware that the topping may lose some of its desirable crisp texture and become softer.
Craving more comforting apple desserts? Be sure to try my Salted Caramel Apple Pie Bars or my cozy Apple Upside Down Cake next!
Expert Tips for Apple Crisp Perfection
Achieving the perfect apple crisp every time is easier with these valuable insights from experienced bakers:
- Apple Thickness Matters: The way you slice your apples significantly impacts their final texture. For apples that are wonderfully tender but still offer a slight “crisp” bite, aim for slices around 1/4-inch thick. If you prefer your apples to be very soft and melt-in-your-mouth, you can slice them a bit thinner. Conversely, slightly thicker slices will yield apples with more chew. Don’t worry, with good baking apples, they’ll never turn mushy!
- Verify Oven Temperature with an Oven Thermometer: One of the most common reasons for baking inconsistencies is an inaccurate oven temperature. Many home ovens run hotter or colder than their display indicates. An oven thermometer is an inexpensive tool that will tell you the exact temperature inside your oven. Leaving one in at all times helps you maintain consistent baking results.
- Precision with a Kitchen Scale: For baking, accuracy is paramount, especially with flour. The volume of flour can vary significantly depending on how it’s scooped and packed. A food scale provides the most accurate measurement, ensuring your crisp topping has the perfect ratio of ingredients for optimal crispness and flavor, preventing a dry or greasy outcome.
- Cold Butter is Crucial for Topping: When making the crisp topping, always use very cold butter. Cold butter creates pockets of steam as it bakes, which contributes to the light, flaky, and exceptionally crisp texture of the topping. If the butter is too warm, it will melt too quickly and result in a dense, greasy topping.
Frequently Asked Questions About Apple Crisp
Here are answers to some common questions to help you master this delicious apple crisp:
Can I use other fruits in this crisp recipe?
Absolutely! This recipe is incredibly adaptable. Refer to the “Recipe Adaptations & Creative Variations” section above for detailed suggestions. You can substitute all or part of the apples with fruits like peaches, blueberries, raspberries, or even pears for a delightful seasonal twist. Ensure any high-moisture fruits are drained well before mixing into the filling.
Can I double or halve this recipe?
Yes, you can adjust the recipe to suit your needs. To 1.5x the filling and keep the topping the same (or slightly increase it), you could bake this in a standard 9×13 inch baking dish. For doubling the recipe, you’ll need a larger baking dish, possibly two 9×13 inch dishes, or a very large deep casserole dish, and you should double both the filling and the topping ingredients. If you want to halve the recipe, simply halve all ingredients for both the filling and topping, and bake it in an 8-inch or 9-inch square or round baking dish.
Can I make this dessert ahead?
While fresh from the oven is always best for crisps and cobblers, as the topping loses its crisp texture over time, you can prepare some components in advance. You can slice and mix the apples with the spices and lemon juice (but not the flour or sugar) a few hours ahead and keep them refrigerated. The crisp topping can also be made ahead and stored in the fridge or freezer until ready to bake. However, for optimal crispness, it’s best to assemble and bake the entire dessert right before you plan to serve it.
What kind of apples are best for baking?
For baking, it’s crucial to choose firm, crisp apples that can withstand the heat of the oven without turning to mush. A mix of sweet and tart varieties often provides the best flavor balance. Excellent choices include Honeycrisp, Granny Smith, Fuji, Golden Delicious, Pink Lady, Braeburn, and Jonathan. Avoid soft, mealy apples like McIntosh, Red Delicious, or Gala, as they tend to break down too much during baking, resulting in a less desirable texture in your crisp.
Why is my crisp topping not crispy?
Several factors can lead to a less-than-crispy topping. Ensure your butter is very cold when cutting it into the dry ingredients. Overworking the topping mixture can also result in a tougher texture. Lastly, make sure your oven is at the correct temperature (an oven thermometer helps!) and that you bake the crisp until the topping is deeply golden brown and the filling is visibly bubbling, indicating it’s fully cooked through.
Recommended Special Tools
While this recipe is designed to be straightforward, a couple of tools can make the process even smoother and enhance your baking experience:
- Oven-Safe Skillet: The beauty of this “skillet” apple crisp is that it bakes and serves in one pan. A quality 10-inch oven-safe skillet, particularly a cast iron one, is ideal. I personally love the 10-inch Staub Cast Iron Skillet for its even heat distribution and beautiful presentation. However, any oven-safe skillet of similar size will work perfectly, such as this reliable Lodge option.
- Pastry Cutter: While you can use your fingers or two knives, a pastry cutter makes quick work of incorporating cold butter into the dry ingredients for the topping, ensuring those perfect pea-sized crumbs that lead to a wonderfully crisp texture.
More Irresistible Apple Desserts to Enjoy
If you’ve fallen in love with the comforting flavors of this apple crisp, you’ll surely enjoy these other apple-centric treats:
- Caramel Apple Cake: A moist cake studded with apples and swirled with rich caramel.
- Caramel Apple Cider Cookies: Chewy cookies infused with apple cider and caramel goodness.
- Salted Caramel Apple Galette: An elegant, rustic free-form pie with apples and salted caramel.
- Cranberry Apple Crisp: A tart and sweet variation of our favorite crisp.
- Homemade Apple Fritters: Light, airy, and fried to perfection, drizzled with a maple glaze.
- Caramel Apple Crumb Cake: A tender cake topped with apples, streusel, and a caramel drizzle.
- Apple Cider Old Fashioned Cocktails: A seasonal beverage for grown-ups to enjoy.
- The Best Recipes to Make During Apple Season: A collection of delightful apple-inspired dishes.
Did you try this irresistible Skillet Apple Crisp? We’d love to hear from you!
Please consider leaving a comment and a star rating below. Your feedback helps us and other home bakers discover delicious recipes!
Rating: 4.91 from 11 votes
The Best Skillet Apple Crisp
By Stephanie Simmons
Apple Crisp is a classic fall dessert, and this one-bowl dessert couldn’t be easier to make! Stir together sliced apples with cozy spices and sugar in a skillet, then top with a quick oat crisp topping. Bake until deeply golden brown and bubbly. Your house will smell absolutely incredible! Dig in while it’s warm from the oven, and don’t skip the vanilla ice cream on top!
Prep: 20 mins | Cook: 55 mins | Total: 1 hr 15 mins
Servings: 8 servings
Pin Recipe | Rate Recipe | Print Recipe
Ingredients
For the Apple Filling
- 5 medium apples (approx. 883 grams sliced; See notes below for type)
- 1/2 cup + 1 tbsp brown sugar (124 g)
- 1/4 cup granulated sugar (55 g)
- 3 tbsp all-purpose flour (24 g)
- 2 and 1/4 tsp cinnamon
- 1/2 tsp nutmeg
- 1/4 tsp ground cloves
- 1/8 tsp allspice
- 1/2 tsp vanilla extract
- 2 tbsp apple cider (See note below for sub)
- 1 tbsp lemon juice
For the Crisp Topping
- 1 cup + 2 tbsp all-purpose flour (144 g)
- 1 cup brown sugar, packed (220 g)
- 1/2 tsp salt
- 1 tsp cinnamon
- 2 cups old-fashioned whole rolled oats (208 grams)
- 1 cup salted butter, cubed (226 grams), cold
Units: US Customary – Metric
Instructions
- Prep: Preheat your oven to 350℉ (175°C). Lightly butter a 10-inch oven-safe skillet or a similar size baking dish. Non-stick cooking spray can also be used.
- Slice Apples: Peel, core, and slice your apples into uniform 1/4-inch thick slices. For apples with a slightly firmer, “crisp-tender” texture, you may slice them a bit thicker.
- Make the Filling: In the greased skillet, combine the sliced apples with the brown sugar, granulated sugar, all-purpose flour, cinnamon, nutmeg, ground cloves, allspice, vanilla extract, apple cider, and lemon juice. Toss all ingredients together thoroughly, ensuring there are no clumps of sugar remaining at the bottom and all apples are well coated. Set the skillet aside.
- Make the Topping: In a medium mixing bowl, whisk together the all-purpose flour, packed brown sugar, salt, cinnamon, and old-fashioned whole rolled oats. Add the cold, cubed butter. Using a pastry cutter, cut the butter into the dry ingredients until the mixture resembles coarse crumbs with some pea-sized pieces of butter remaining. This texture is key for a truly crisp topping. (Refer to photos above for visual guidance if needed.)
- Assemble: Give the apple filling in the skillet one final good stir to ensure even distribution of flavors. Then, evenly sprinkle the entire oat crisp topping mixture over the top of the prepared apples.
- Bake: Bake the apple crisp for 55 to 63 minutes, or until the topping is deeply golden brown, and the apple filling is visibly thick and bubbling vigorously around the edges of the skillet. To confirm doneness, you can also gently prick an apple piece in the center of the crisp with a fork; if it pierces easily, the apples are tender and cooked through.
- Serving & Storing: Allow the crisp to rest for 10-15 minutes before serving warm with vanilla ice cream. Store any cooled leftovers in an airtight container in the refrigerator for up to 4 days. Reheat in the oven to best preserve the topping’s crisp texture.
Notes
Apples: For the filling, I used a mix of three Honeycrisp, one Granny Smith, and one Golden Delicious apples. Any combination of firm baking apple varieties will work well, such as Jonathan, Gala, Fuji, or Cortland. It’s important to avoid soft apples like McIntosh or Red Delicious, as they tend to turn mushy when baked.
Apple Cider: Apple juice can be used as a substitute if apple cider is unavailable. In a pinch, water can also be used, though it will not add the same depth of apple flavor. Please do not use apple cider vinegar, as this is a very different ingredient with a strong acidic flavor.
Nutrition Facts
Serving Size: 1 serving (approximate)
Calories: 593kcal | Carbohydrates: 92g | Protein: 5g | Fat: 25g | Saturated Fat: 15g | Polyunsaturated Fat: 1g | Monounsaturated Fat: 6g | Trans Fat: 1g | Cholesterol: 61mg | Sodium: 343mg | Potassium: 288mg | Fiber: 6g | Sugar: 59g | Vitamin A: 773IU | Vitamin C: 6mg | Calcium: 71mg | Iron: 2mg
Nutrition information is automatically calculated and should only be used as an approximation. It may vary based on specific ingredients and preparation methods.
Like this recipe? We’d love your feedback!
Leave a comment and star rating below to share your experience.