
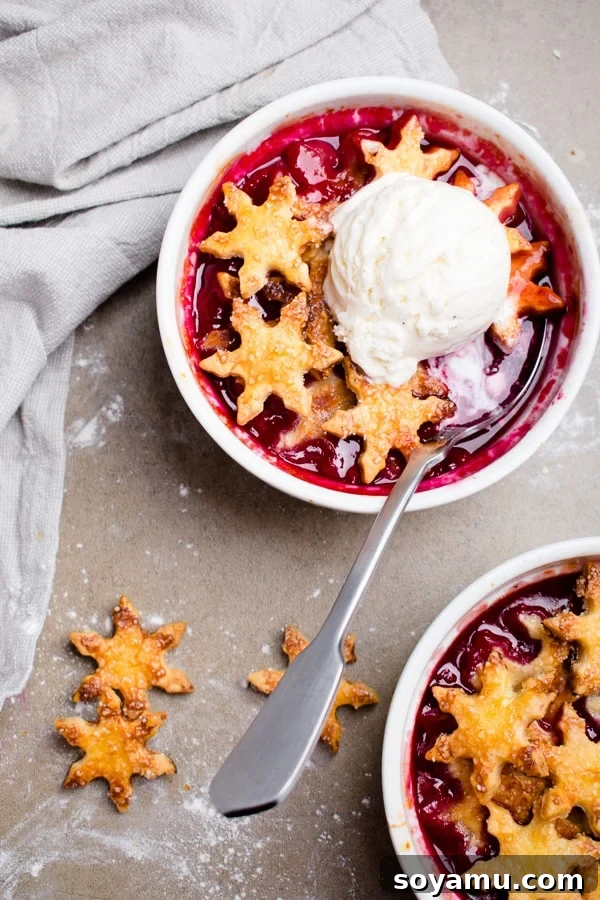
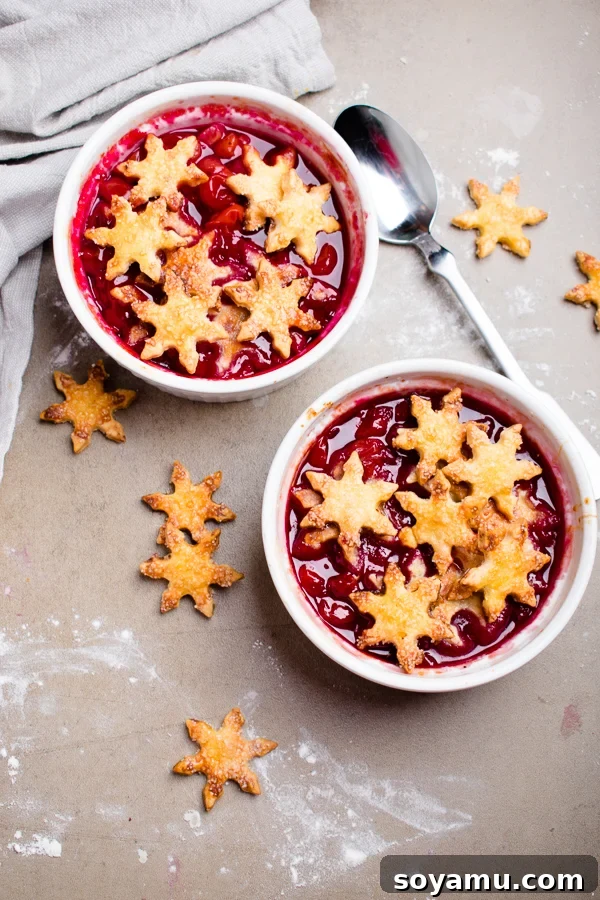
Delicious Cherry Cobbler for Two: The Perfect Small-Batch Dessert
There’s an undeniable joy that comes with baking a homemade dessert, especially when it’s warm from the oven and smells absolutely divine. However, the reality for many of us is that a full-sized pie or cobbler often yields far too much for one or two people, leading to leftovers that might not get enjoyed at their peak. That’s precisely where our exquisite Cherry Cobbler for Two comes into its own! This recipe perfectly balances homemade goodness with portion control, ensuring you get all the comforting flavors without the commitment of feeding a crowd. It’s truly a lovely little beauty designed for intimate moments or a delightful personal treat.
Imagine a bubbling, sweet-tart cherry filling crowned with a perfectly golden, flaky pie crust. This isn’t just a dessert; it’s an experience, tailor-made for those times when a large batch simply isn’t needed. Whether you’re celebrating a special occasion, enjoying a quiet evening in, or simply craving something sweet, this small-batch cherry cobbler hits all the right notes. It’s incredibly easy to make, promises fresh-baked perfection, and is adaptable to your personal preferences. Let’s dive into why this recipe is about to become your new favorite!
Why a Small-Batch Cherry Cobbler is Your New Go-To Dessert
Sometimes, the biggest obstacle to baking is the sheer scale of typical recipes. Our Cherry Cobbler for Two eliminates this hurdle, offering a dessert that’s not only simple to prepare but also perfectly portioned. Here are just a few scenarios where this recipe shines:
-
Date Night Delight
Planning a romantic evening? This cobbler is the ideal sweet finale for a cozy dinner at home. It’s intimate, impressive, and perfectly sized for sharing a special moment without overindulging. Forget about fancy restaurant reservations; create your own romantic ambiance with this delightful dessert.
-
Intimate Gatherings
Whether you’re hosting a single friend for dinner or enjoying a quiet meal with your significant other, this recipe provides just the right amount of dessert. No excessive leftovers, just fresh, warm cobbler enjoyed by everyone present.
-
A Well-Deserved Solo Indulgence
Who says you need company to enjoy a fantastic dessert? Treat yourself to a comforting bowl of cherry cobbler. Picture this: curled up on the couch in your comfiest slippers, savoring every spoonful. It’s the ultimate act of self-care and a truly underrated pleasure!
-
Effortless Sweetness for Any Day
This recipe is incredibly straightforward, making it perfect for satisfying a sudden dessert craving. When you want something delicious without spending hours in the kitchen, this cherry cobbler delivers on flavor and simplicity.
-
A Healthier-ish Dessert Option
While still a treat, baking for two naturally encourages portion control. This smaller serving size allows you to enjoy a decadent dessert in moderation, making it a “healthier-ish” choice compared to consuming a larger portion.
-
Utilizing Pantry Staples
Have a lonely scoop of vanilla ice cream lingering in the freezer? This cobbler is its perfect companion! It’s also a great way to use up a small amount of fresh cherries or a bag of frozen ones. This recipe helps you finish off those odds and ends in your kitchen.
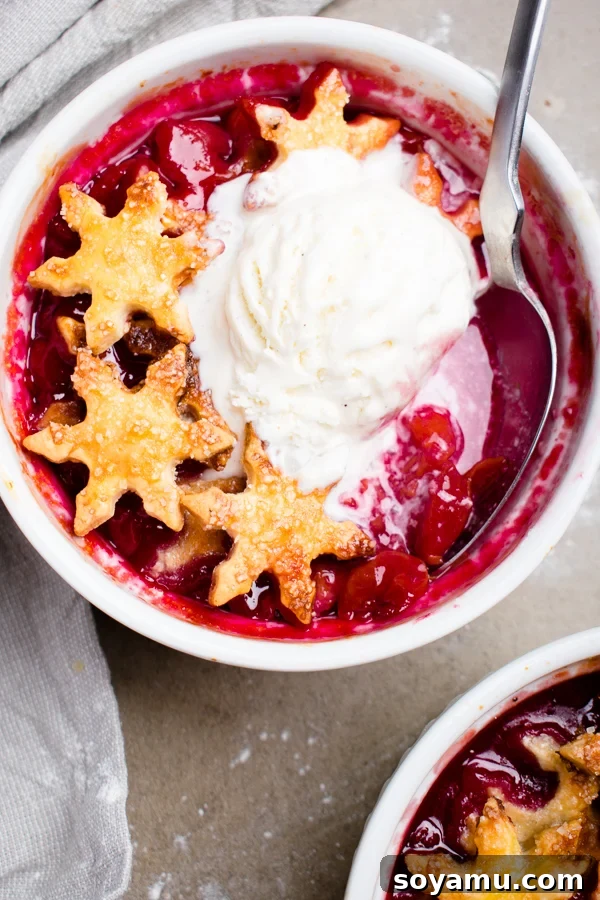
By now, I truly hope I’ve convinced you of the sheer delight and convenience of making this easy Cherry Cobbler for Two. It’s a recipe designed for enjoyment, not excessive labor or leftovers.
The Heart of the Cobbler: The Cherry Filling
The star of any cherry cobbler is, of course, the cherries themselves. For this recipe, we recommend using tart cherries, whether fresh or thawed from frozen. Tart cherries offer a vibrant flavor that beautifully balances the sweetness of the sugar, creating a complex and irresistible filling. If using fresh cherries, be sure to pit them thoroughly. If opting for frozen cherries, simply thaw them beforehand and gently drain any excess liquid to prevent a watery filling. The beauty of using frozen cherries is that this delicious dessert can be enjoyed year-round, regardless of cherry season.
Beyond the cherries, a few simple ingredients elevate the filling to perfection. A touch of sugar enhances the fruit’s natural sweetness, while a hint of almond extract adds a sophisticated depth of flavor that complements cherries wonderfully. Finally, a squeeze of fresh lemon juice brightens the entire mixture, ensuring a well-rounded and tantalizing taste. These simple additions work in harmony to create a truly luscious and inviting cherry filling that will have you reaching for seconds – or at least enjoying every last spoonful of your perfectly portioned cobbler!
Crafting the Perfect Topping: Flaky Pie Crust
While the cherry filling is undeniably important, the crust is what truly distinguishes a cobbler from other fruit desserts. For this particular small-batch cherry cobbler, I wholeheartedly recommend making your pie crust from scratch. Don’t let that intimidate you – it’s surprisingly easy, especially when you employ the “cheat method” of using a food processor!
Making pie crust in a food processor takes mere minutes. The key is to use very cold butter, cut into small chunks, which helps create those desirable flaky layers. The food processor quickly cuts the butter into the flour, resulting in a crumbly mixture that comes together with just a touch of cold water. This technique makes homemade pie crust accessible to even novice bakers. I’ve specifically scaled down a reliable pie crust recipe to one-quarter of its original amount in the recipe card below, so you don’t have to worry about the math.
However, if time is of the essence or you simply prefer a shortcut, feel free to use a store-bought, pre-made pie crust. I promise, I won’t tell! While homemade offers an unparalleled texture and flavor, a quality store-bought crust will still yield a delicious cobbler, making this dessert even simpler to assemble.
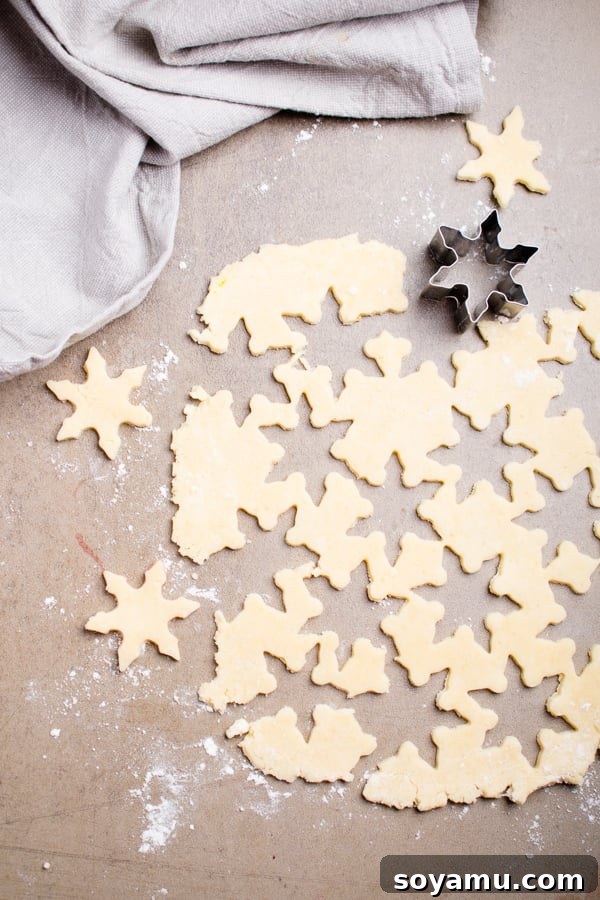
The Delightful Pie Crust Snowflakes
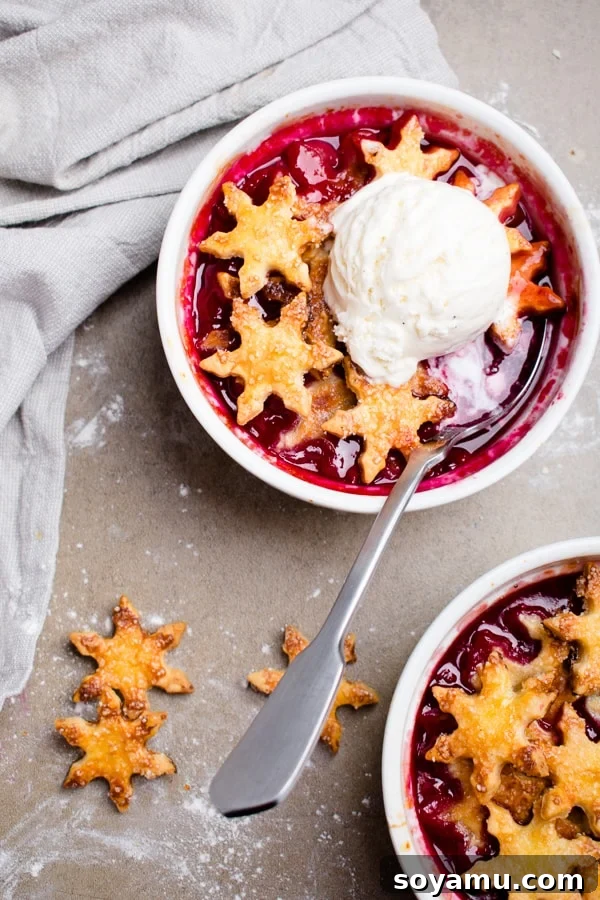
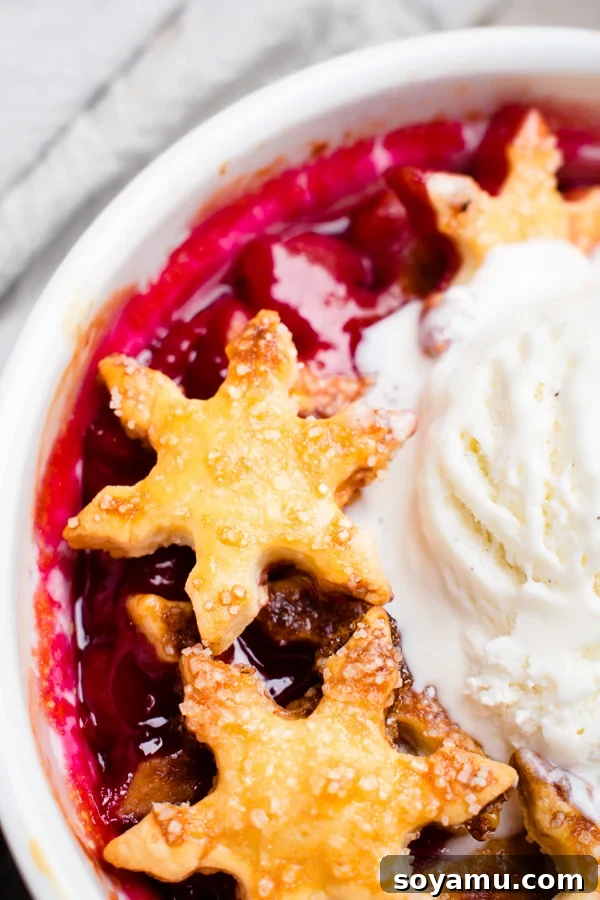
Now, for my absolute favorite reason to make this particular cherry cobbler recipe – the adorable pie crust snowflakes! Instead of a traditional lattice or full crust, we’re using small cookie cutters to create charming snowflake shapes. This not only adds an incredibly cute and festive touch to your individual cobblers but also provides a delightful textural contrast. The small, crisp snowflakes bake up to be incredibly delicious, sweet, and perfectly golden. You can arrange a few on top of each cobbler, and then bake the remaining snowflakes separately on a baking sheet. These extra, crisp piecrust delights are fantastic for snacking on their own or crumbling over ice cream.
This little detail elevates the dessert from simple to truly special, making it a joy to both make and eat. The combination of the warm, bubbling cherry filling and the crisp, buttery piecrust snowflakes is simply irresistible. Each bite offers a perfect harmony of flavors and textures.
Baking and Serving Perfection
The baking process for this easy cherry cobbler is straightforward. Preheat your oven, prepare your ramekins, assemble the filling and crust, and then let the oven work its magic. You’ll know your cobblers are ready when the cherry mixture is visibly bubbling around the edges and the pie crust snowflakes are beautifully golden brown. The aroma filling your kitchen will be a reward in itself!
And now, for the grand finale: serving. Is there anything better than a warm dessert, fresh from the oven, especially when it’s topped off with a generous scoop of cold vanilla bean ice cream? The answer, unequivocally, is no. The contrast between the warm, sweet-tart cherries and the cold, creamy ice cream is pure bliss. As the ice cream slowly melts, it creates luscious puddles that mingle with the fruit juices, enhancing every spoonful. Don’t forget to serve those extra pie crust snowflakes alongside for added crunch and charm!
For an extra touch of indulgence, consider a dollop of freshly whipped cream, a sprinkle of toasted almonds, or a dusting of cinnamon. While vanilla ice cream is the classic pairing, feel free to experiment with other flavors like almond, cinnamon, or even a subtle berry sorbet. This cherry cobbler is a versatile canvas for your favorite toppings.
Tips for a Flawless Cherry Cobbler for Two
- Cold Ingredients for Crust: Always use very cold butter and ice water for your pie crust. This prevents the butter from melting too quickly, ensuring a flaky texture.
- Don’t Overwork the Dough: Mix the pie crust dough just until it comes together. Overworking it will develop the gluten too much, resulting in a tough crust instead of a tender, flaky one.
- Adjust Sweetness: The amount of sugar needed for the filling might vary depending on the natural sweetness of your cherries. Taste a cherry before adding all the sugar, and adjust to your preference.
- Ramekin Size: This recipe is designed for two 6-ounce ramekins. If your ramekins are larger or smaller, you may need to adjust baking time accordingly.
- Watch for Bubbling: The bubbling of the cherry filling is a key indicator that the fruit is cooked through and the juices have thickened.
- Golden Crust: Keep an eye on the crust snowflakes. They should be golden brown, not burnt. If they are browning too quickly, you can loosely tent them with foil.
Cherry Cobbler for Two Recipe
A simple, delightful dessert, made with sweet-tart cherries and a few other ingredients. This recipe yields the perfect serving for two people!
Prep Time: 20 mins
Cook Time: 25 mins
Total Time: 45 mins
Servings: 2 servings
Ingredients
- FOR THE PIE CRUST:
- ¾ cup all-purpose flour
- Pinch of salt
- 4 ½ tablespoons cold butter, cut into small chunks
- 3 tablespoons ice-cold water
- 1 teaspoon granulated sugar (for the crust itself)
- FOR THE CHERRY FILLING:
- 2 ½ cups fresh or thawed frozen tart cherries, pitted
- 4 teaspoons cane or granulated sugar (adjust to taste based on cherry sweetness)
- ¾ teaspoon almond extract
- 1 teaspoon fresh lemon juice
- 1 beaten egg (for egg wash)
- Coarse sugar for decorating (cane sugar works beautifully)
Instructions
- Prepare Oven: Preheat your oven to 400°F (200°C).
- Make the Pie Crust: In a food processor, combine the flour, salt, and cold butter. Pulse a few times until the mixture resembles coarse crumbs. Add the cold water and pulse a few more times until a crumbly dough forms. If needed, add a tiny bit more or less water to achieve the right consistency. Form the dough into a ball, wrap it tightly in plastic wrap, and refrigerate while you prepare the filling.
- Prepare Cherry Filling: In a medium mixing bowl, gently combine all the cherry filling ingredients: pitted cherries, sugar, almond extract, and lemon juice. Mix until well combined.
- Assemble Cobblers: Lightly spray two 6-ounce ramekins with non-stick spray. Divide the cherry mixture evenly between the prepared ramekins. Set aside.
- Cut Pie Crust Snowflakes: On a lightly floured surface, roll out the chilled pie dough to about ¼-inch thickness. Using a small cookie cutter (a snowflake shape is delightful, but any shape will do), cut out various shapes from the dough. Continue cutting until all the dough is used.
- Decorate and Bake: Brush the cut pie crust snowflakes with the beaten egg wash. Arrange a few snowflakes on top of the cherry mixture in each ramekin. Sprinkle these with coarse sugar. Place the remaining pie crust snowflakes on a separate small baking sheet and sprinkle them with coarse sugar as well.
- Bake: Bake the cherry cobblers for approximately 25-27 minutes, or until the cherry mixture is bubbling vigorously and the crust is golden brown. Bake the extra snowflakes on the separate baking sheet for about 8-10 minutes, or until they are golden and crisp.
- Serve: Serve the cherry cobblers warm, ideally with a scoop of vanilla ice cream and your delightful extra pie crust snowflakes. Enjoy!
Did you make this delightful Cherry Cobbler for Two? We’d absolutely love to see your creations! Snap a photo and leave a comment below to share your experience and tips.
Be sure to follow bluebowlrecipes on Instagram and tag #bluebowlrecipes with your photos! You can also post your recipe photos to the bluebowlrecipes Facebook page. Your feedback and photos truly inspire us and the entire baking community!