
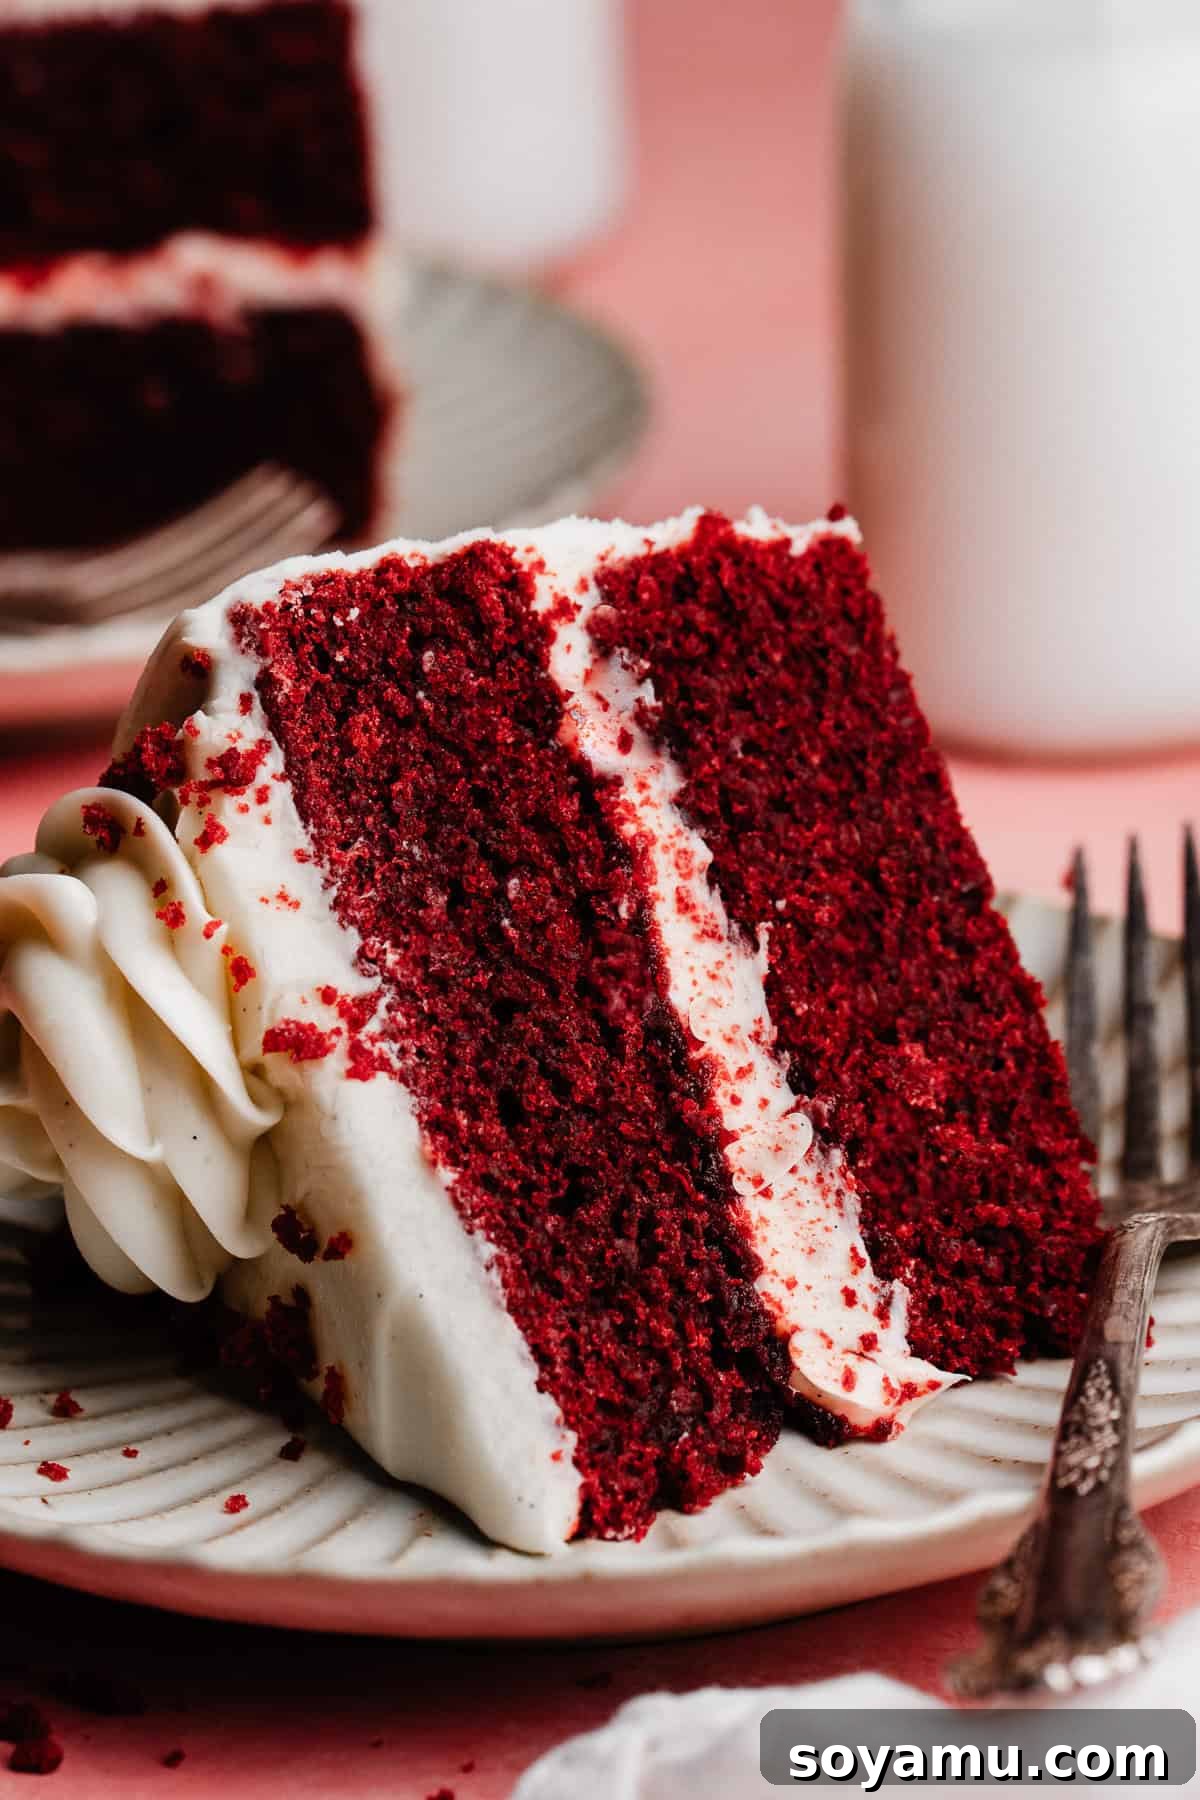
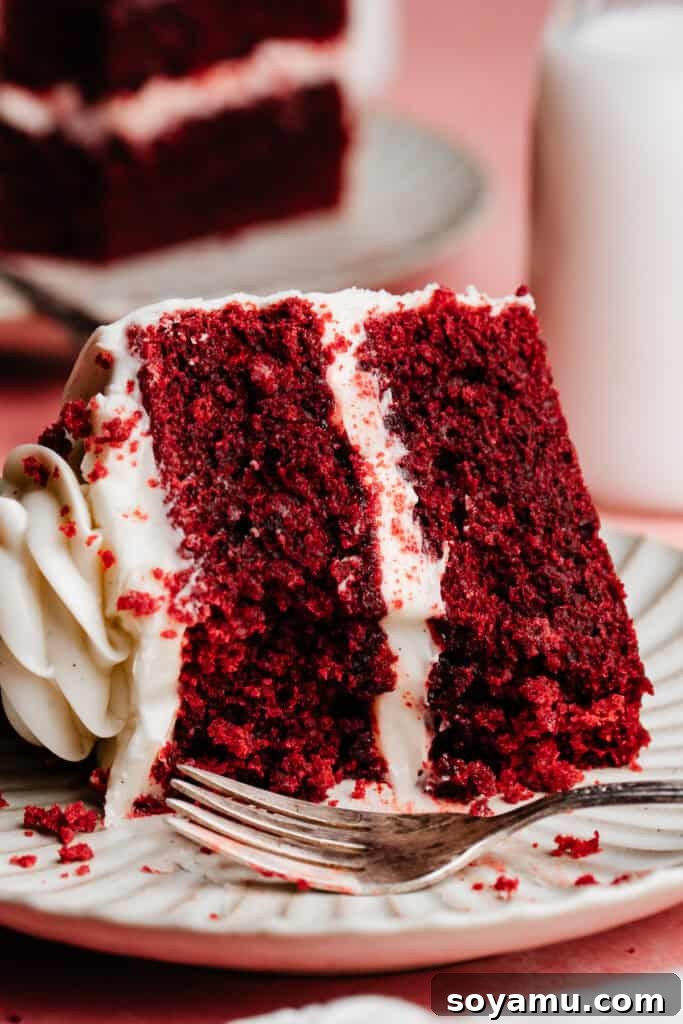
Welcome to the ultimate guide for crafting a truly exceptional Red Velvet Cake. This isn’t just any recipe; it’s a meticulously developed creation designed to deliver everything you desire in this classic Southern dessert. Imagine layers of profoundly moist, tender cake, boasting that signature subtle chocolate flavor intertwined with a delightful tang from rich buttermilk. Each bite offers a perfect balance, setting the stage for the star frosting. Our decadent cream cheese frosting is intensely cream cheese-forward, impeccably silky, and, crucially, never overly sweet. It complements the cake beautifully, creating a harmonious symphony of flavors and textures that will captivate your taste buds and impress every guest.
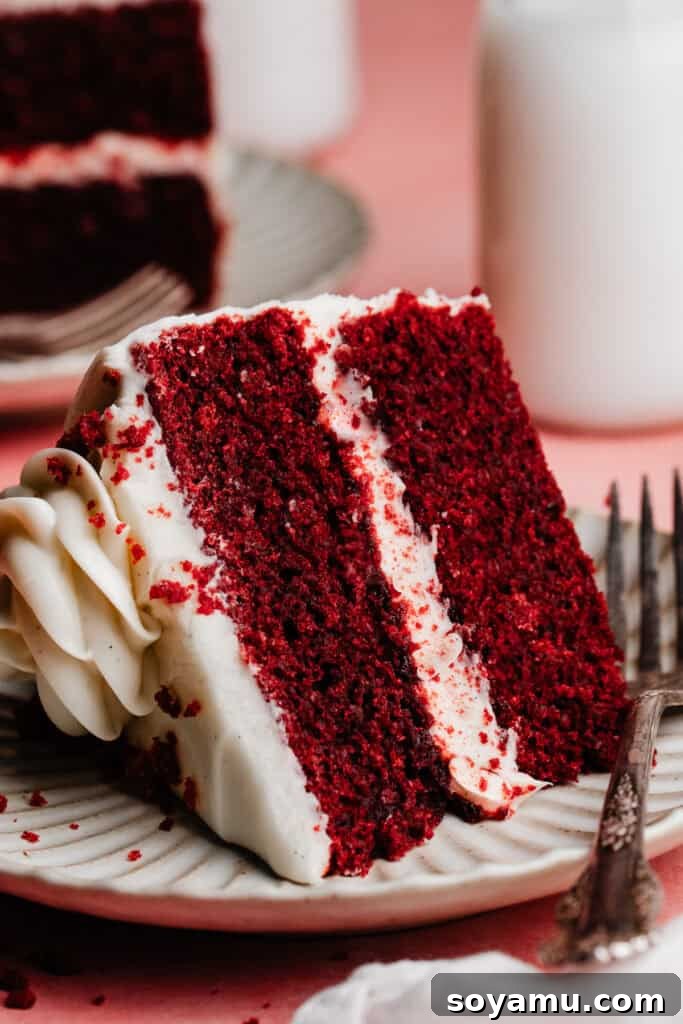
Discover the Magic of Our Perfect Red Velvet Cake
Red velvet cake holds a special place in the hearts of dessert enthusiasts worldwide. Its iconic deep red hue, soft crumb, and signature tangy cream cheese frosting make it a showstopper for any occasion. From holiday feasts to special celebrations, or simply as a comforting treat, a well-made red velvet cake is an experience unto itself. Our recipe simplifies the process without compromising on flavor or texture, ensuring a consistently spectacular result every single time.
Why You’ll Fall in Love with This Red Velvet Cake Recipe:
- Effortlessly Simple to Master: Forget complex baking techniques. Both the cake batter and the rich cream cheese frosting come together with surprising speed and minimal fuss. This recipe is designed for home bakers of all skill levels, making the assembly and decoration process straightforward and enjoyable. You’ll be amazed at how easily you can create such an elegant dessert.
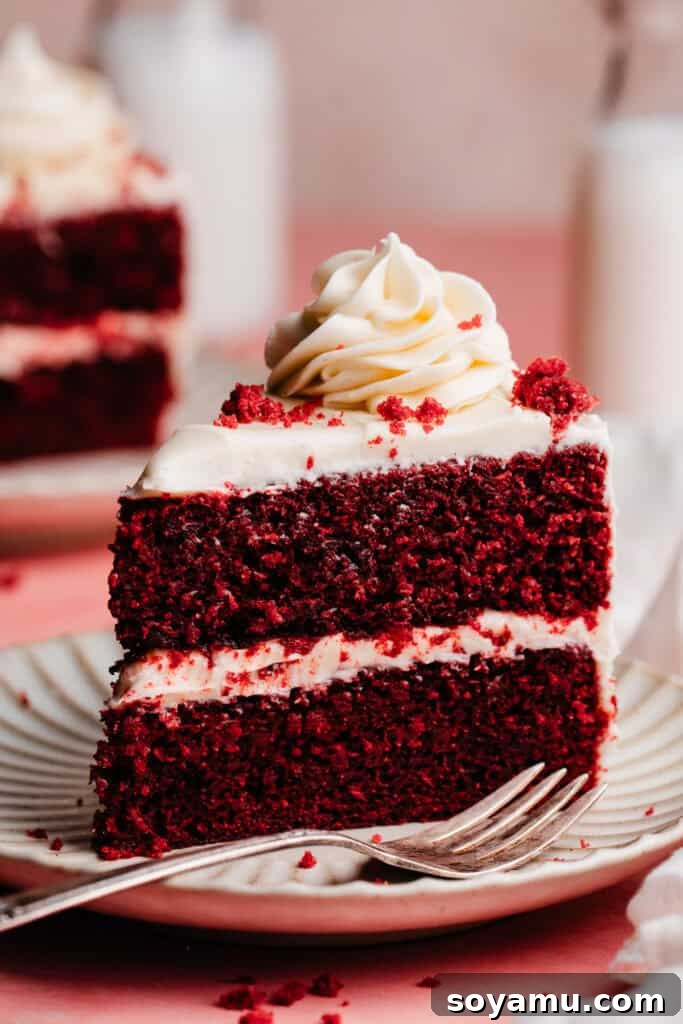
- Unforgettable Tender & Flavorful Cake Layers: Prepare for cake layers that are nothing short of perfection. Each layer boasts a soft, tender crumb and the quintessential red velvet flavor profile. A delicate hint of rich cocoa powder provides that classic chocolate undertone, while the buttermilk contributes a delightful tanginess that balances the sweetness beautifully. What’s more, these layers are designed to stay incredibly moist and flavorful for several days, ensuring your cake remains fresh and delicious for longer.
- Luxuriously Silky Cream Cheese Frosting: The frosting is often the highlight of any red velvet cake, and ours is truly a dream. It achieves a beautifully silky-smooth consistency every single time, without the need for tiresome powdered sugar sifting. This rich, creamy frosting is intensely flavored with cream cheese, making it the ideal counterpart to the cake layers – offering a perfect balance of sweet and tangy without being cloying.
Key Ingredients for Your Red Velvet Masterpiece:
Crafting the perfect red velvet cake begins with understanding the role of each ingredient. Below, we’ll delve into the essential components that make this cake truly special. For precise measurements and step-by-step instructions, please refer to the comprehensive recipe card located at the bottom of this article.
- Butter: We advocate for using salted butter in our recipes. In our extensive testing, salted butter consistently imparts a superior depth of flavor that truly enhances the overall taste profile of the cake. However, if unsalted butter is your preference or what you have on hand, feel free to use it – just be sure to adjust the added salt in the recipe slightly if needed.
- Cake Flour: The secret to a delightfully light and tender crumb lies in cake flour. Its lower protein content results in a softer, more delicate texture, which is absolutely ideal for most cake and cupcake preparations. While you can create a makeshift cake flour substitute using all-purpose flour and cornstarch (details below), we highly recommend using genuine cake flour for the best possible results and texture.
- Cocoa Powder: The distinctive red velvet flavor isn’t just about the color; it’s also about a subtle, yet crucial, hint of chocolate. A small amount of unsweetened cocoa powder provides this background note, contributing complexity and depth to the cake without overpowering its unique character.
- Buttermilk: This ingredient is non-negotiable for an authentic red velvet experience. Buttermilk is a cornerstone of this recipe, playing a dual role: it reacts with the baking soda to create an incredibly fluffy texture, and its inherent acidity imparts the essential tangy flavor that defines red velvet cake. Do not substitute buttermilk; its unique properties are vital.
- Cream Cheese: For the silkiest, most flavorful cream cheese frosting, always opt for full-fat block cream cheese. The higher fat content ensures a rich, stable, and wonderfully smooth frosting that holds its shape beautifully and melts in your mouth. Avoid using cream cheese spreads or lower-fat versions, as these can lead to a runny or less flavorful frosting.
- Red Gel Food Coloring: Achieving that iconic vibrant red hue requires a high-quality gel food coloring. Gel colors are concentrated, meaning you need less to achieve a deep color without thinning the batter. Liquid food coloring often requires much larger quantities and can impact the cake’s texture.
- Vanilla Extract: Pure vanilla extract is crucial for both the cake and the frosting, enhancing all other flavors and adding a warm, aromatic depth.
Understanding Cake Flour and Substitutions:
Cake flour is milled from soft wheat and has a protein content of 6-8%, compared to all-purpose flour’s 10-12%. This lower protein means less gluten development, resulting in a tender, softer cake. If you don’t have cake flour, you can create a substitute: for every cup of cake flour, measure out 1 cup of all-purpose flour, remove 2 tablespoons, and then replace those 2 tablespoons with 2 tablespoons of cornstarch. Sift this mixture several times to ensure even distribution. While this substitute works in a pinch, dedicated cake flour typically yields the best results.
Recipe Substitutions & Variations: Exploring Possibilities
While this recipe is meticulously crafted for optimal results, we understand the desire for adaptability. Here’s a look at potential modifications and why sticking to the original is often best for this particular cake:
- Gluten-Free/Dairy-Free: Unfortunately, this specific recipe has not been tested with gluten-free flours or dairy-free alternatives. Red velvet cake relies heavily on the specific protein structure of wheat flour and the fat content of dairy for its unique texture and moistness. Altering these core components would require significant re-engineering and testing to achieve a comparable result. We recommend seeking out recipes specifically developed for gluten-free or dairy-free red velvet cake to ensure success.
- The Importance of Following the Recipe: For a cake as nuanced as red velvet, the balance of ingredients is crucial. The interaction between the buttermilk, cocoa, baking soda, and specific flours creates its signature flavor and texture. Therefore, we strongly advise (and echo Colette’s famous sentiment!) to “follow the recipe!” Deviating from the specified ingredients or quantities may significantly impact the cake’s structure, moisture, color, and flavor. Trust the process, and you’ll be rewarded with a truly perfect red velvet cake.
- Scaling and Pan Sizes: This recipe is designed for two 8-inch or 9-inch cake pans, yielding a beautiful two-layer cake. However, for those looking to create a taller, three-layer cake, you would need to increase the recipe by 1.5 times. This would mean multiplying each ingredient quantity by 1.5. For example, 10 tbsp of butter would become 15 tbsp. When dealing with eggs, if you end up with a half egg (e.g., 4.5 eggs), simply crack one egg into a small bowl, lightly beat it with a fork to break up the yolk and white, then measure out approximately 2 tablespoons for the half portion.
- Red Velvet Cupcakes or Sheet Cake: While designed as a layer cake, this batter can be adapted for other forms. For cupcakes, fill liners about two-thirds full and reduce baking time to 18-22 minutes. For a sheet cake (e.g., a 9×13 inch pan), you may need to scale the recipe up slightly and adjust baking time accordingly, typically longer than cupcakes but shorter than two thick layers. Always use the toothpick test to determine doneness.
How to Make the Ultimate Red Velvet Cake: Step-by-Step Guide
Creating this magnificent cake is a delightful process. Follow these detailed steps to ensure a flawless and delicious outcome.
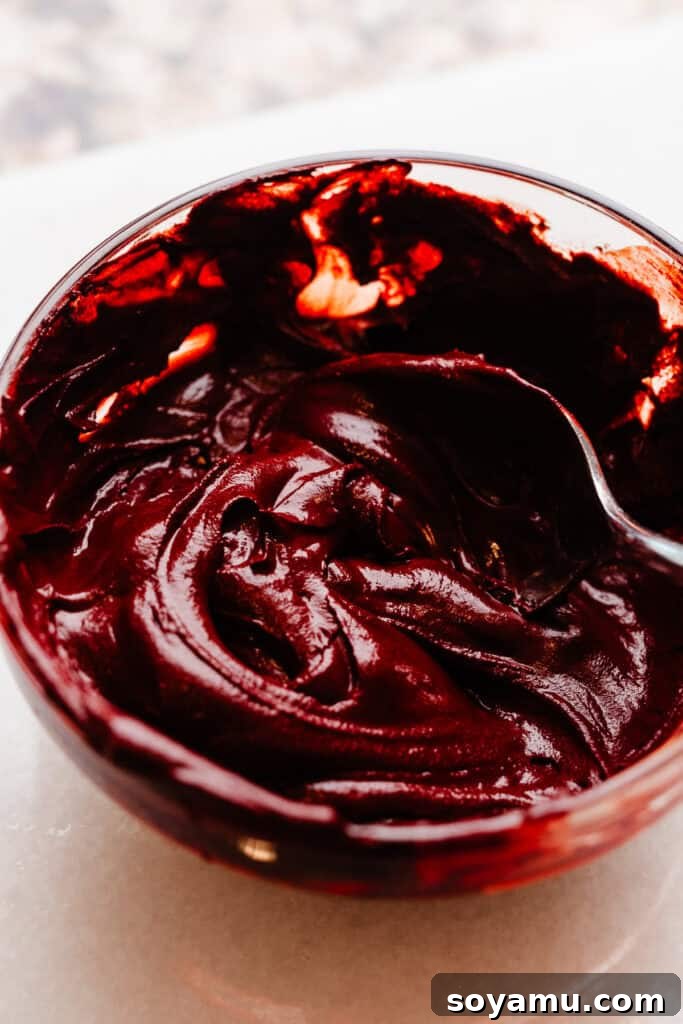
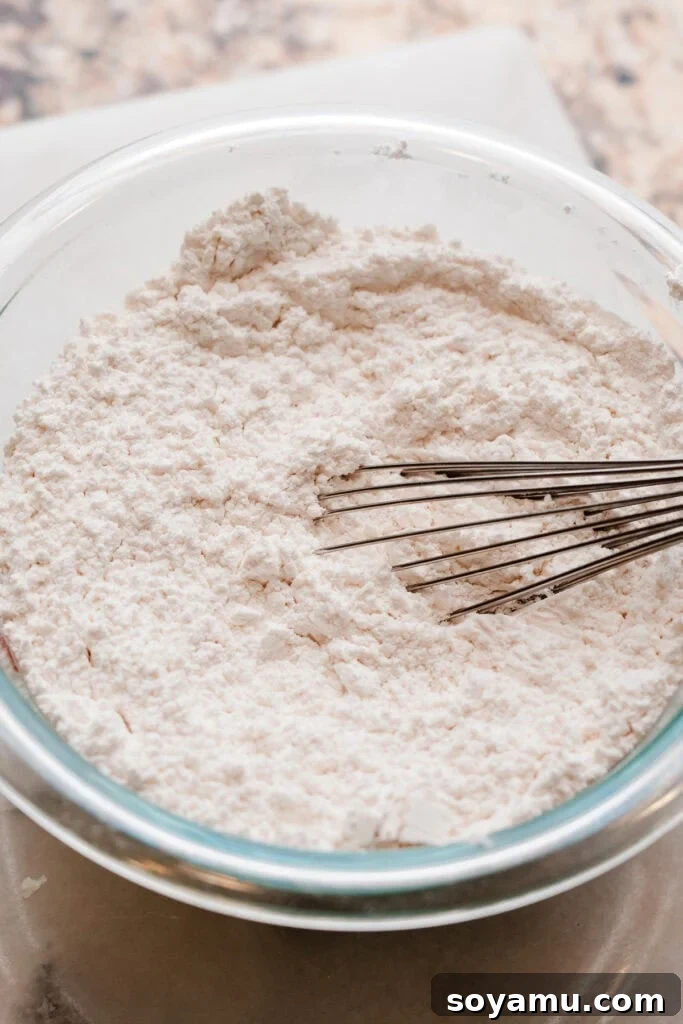
Step 1: Create a Flavorful Cocoa Paste & Prepare Dry Ingredients. This initial step might seem unconventional, but trust that it’s key to achieving the cake’s signature color and flavor depth. In a small bowl, thoroughly combine the cocoa powder, water, pure vanilla extract, and vibrant red gel food coloring. Stir until you have a smooth, thick, deeply colored paste. This paste ensures uniform color distribution and a richer chocolate essence. In a separate medium bowl, whisk together your cake flour, baking soda, and salt until well combined. Set both bowls aside, ready for incorporation.
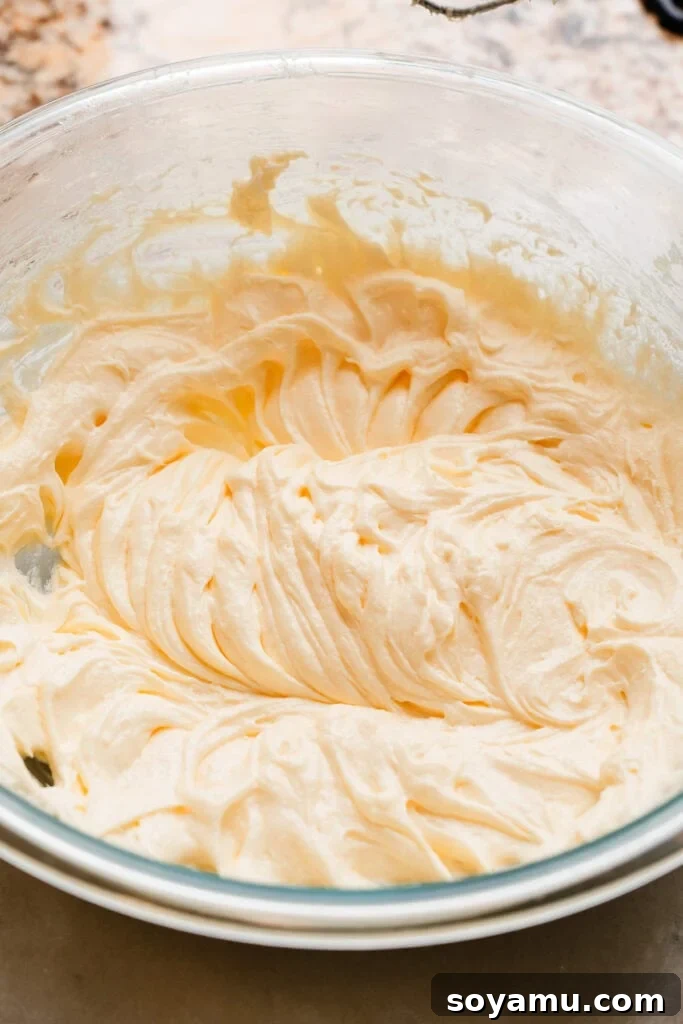
Step 2: Expertly Craft the Cake Batter. Begin by creaming softened butter and granulated sugar together in a large mixing bowl until the mixture is light, fluffy, and pale. This aeration is crucial for a tender cake. Next, beat in the large eggs, one at a time, continuing to beat until the mixture achieves a wonderfully light and airy consistency. The volume will increase noticeably (as shown in the image below left). Then, gently fold in the prepared cocoa paste mixture, ensuring it is evenly distributed throughout the butter-egg mixture. Finally, alternate adding the dry ingredients with the buttermilk, mixing only until they are just combined. Overmixing at this stage can lead to a tough cake, so stop as soon as no dry streaks remain.
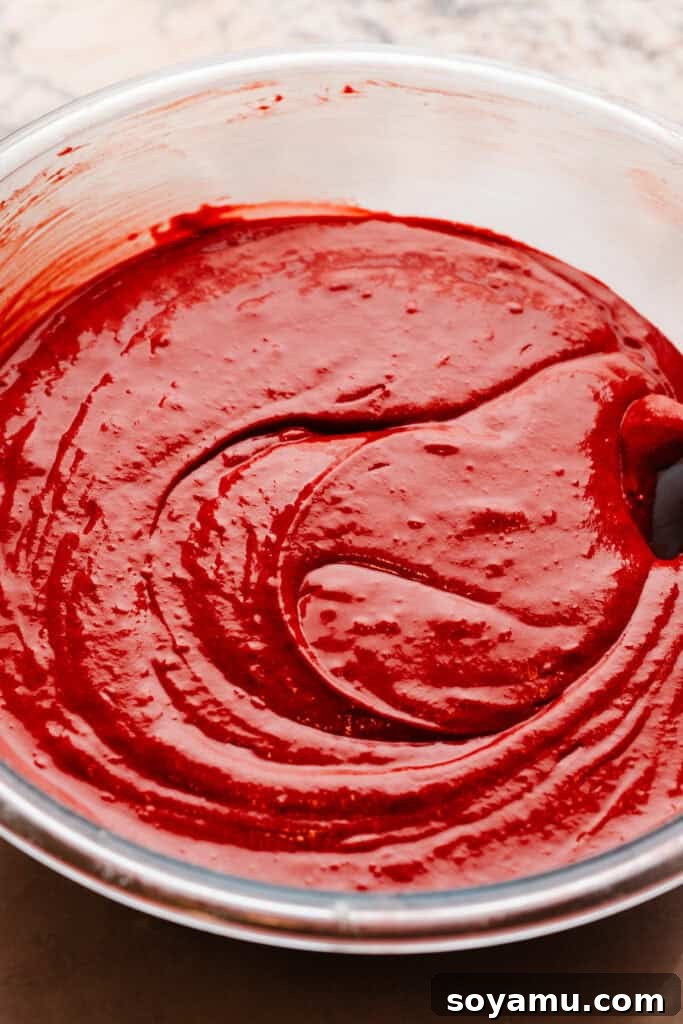
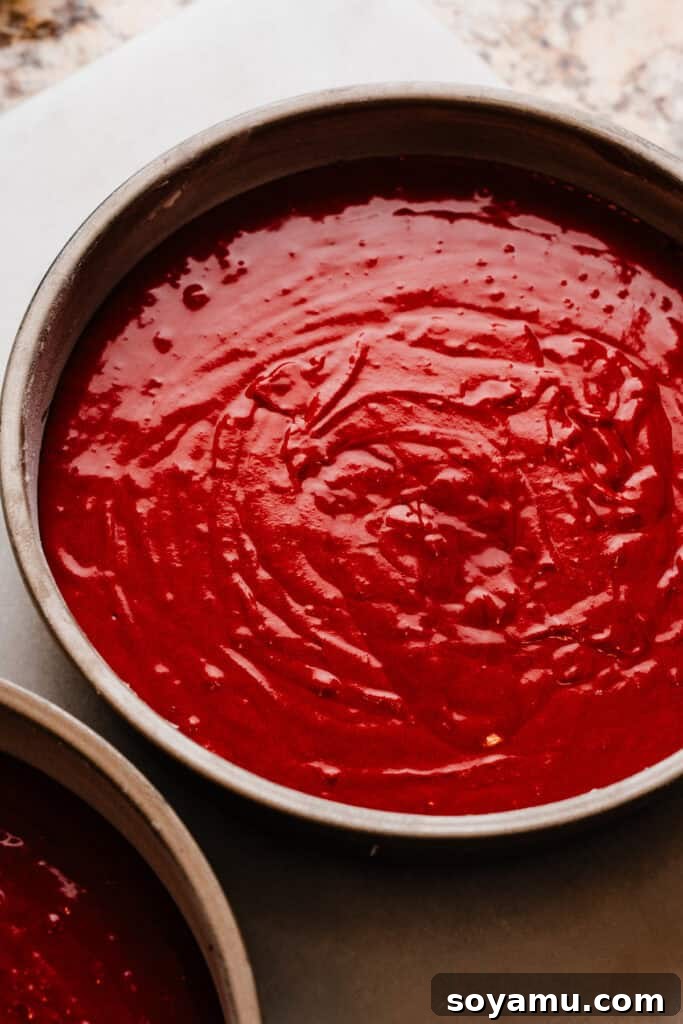
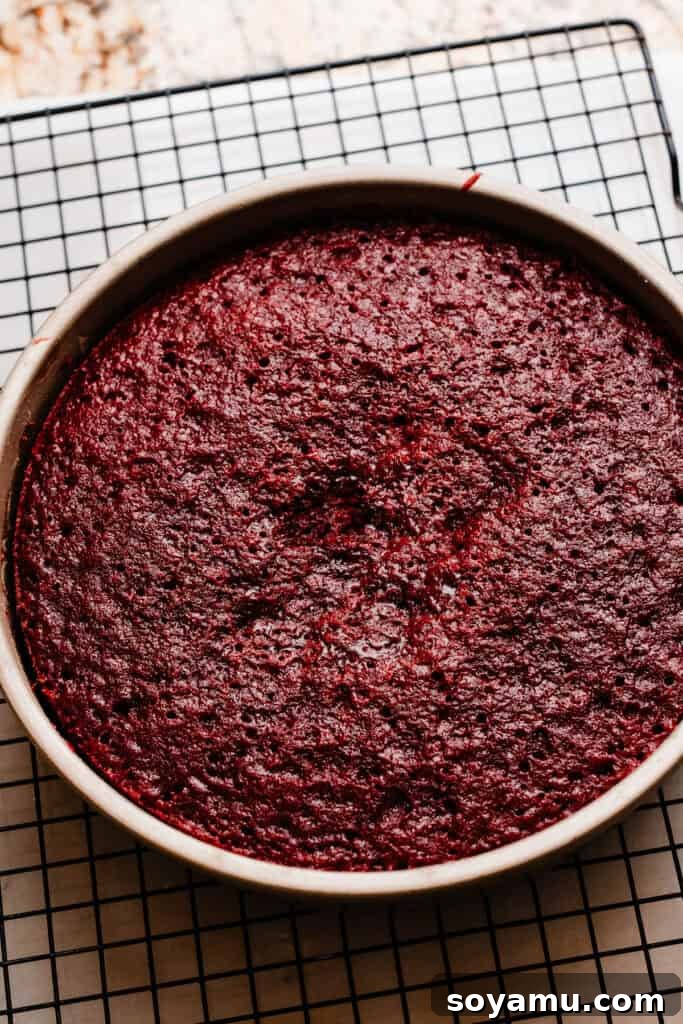
Step 3: Bake to Perfection. Once your batter is ready, divide it equally between your two meticulously prepared 8-inch or 9-inch cake pans. Even distribution is key for evenly baked layers. Refer to the recipe card below for precise baking times and oven temperatures. Bake until a toothpick inserted into the center of each cake comes out with moist crumbs, but no wet batter. Allow the freshly baked cakes to cool in their pans for about 10 minutes; this helps them firm up slightly and prevents sticking. After 10 minutes, carefully invert them onto cooling racks to cool completely. Ensure they are fully cooled before attempting to frost, as warm cakes will cause the frosting to melt.
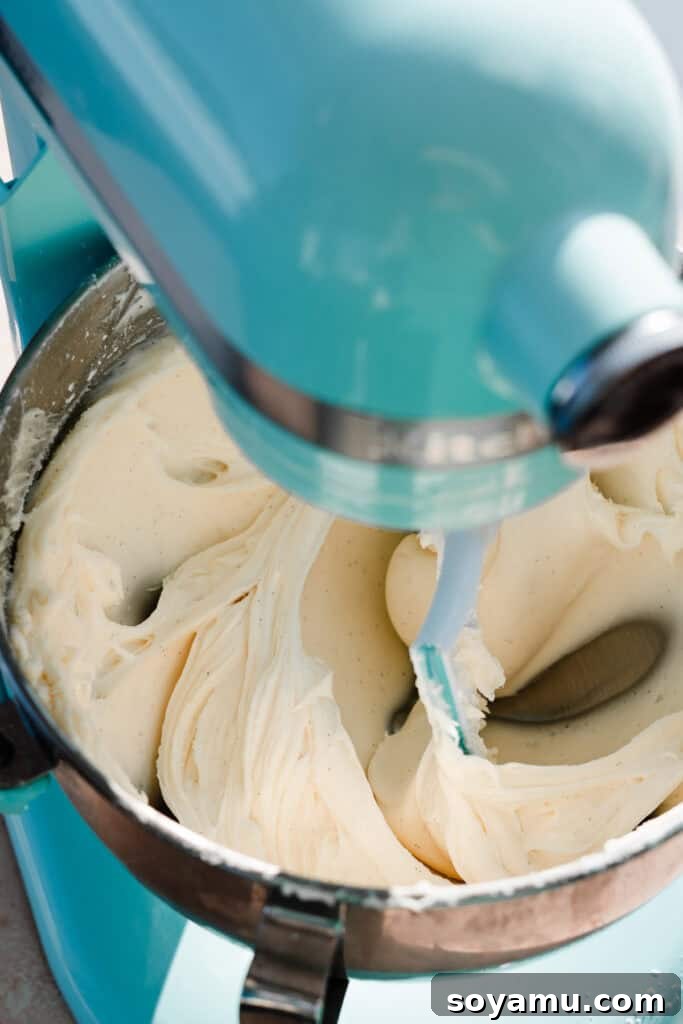
Step 4: Prepare the Silky Cream Cheese Frosting. In a large mixing bowl, or the bowl of your stand mixer fitted with the paddle attachment, cream together the softened butter and full-fat block cream cheese until the mixture is entirely smooth and free of lumps. This is crucial for a silky frosting. Gradually beat in the powdered sugar, adding it in two additions, using a tablespoon or two of milk or heavy cream as needed to achieve your desired consistency. Finally, beat in the vanilla extract and a pinch of salt. Taste and adjust sweetness if necessary; some prefer a slightly sweeter frosting, which can be achieved by adding a little more powdered sugar.
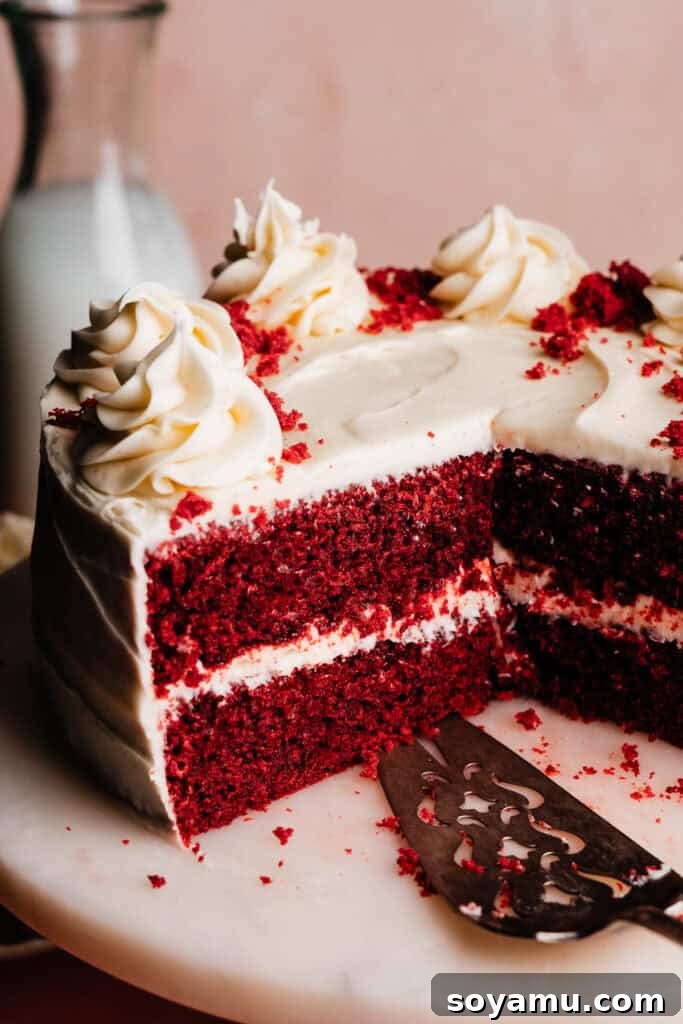
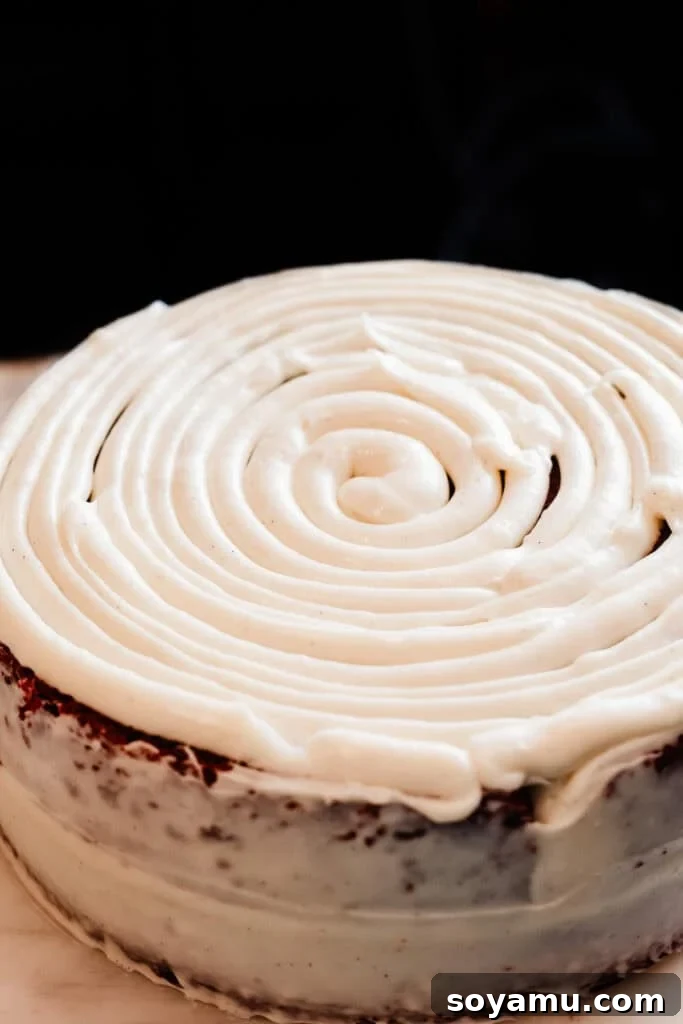
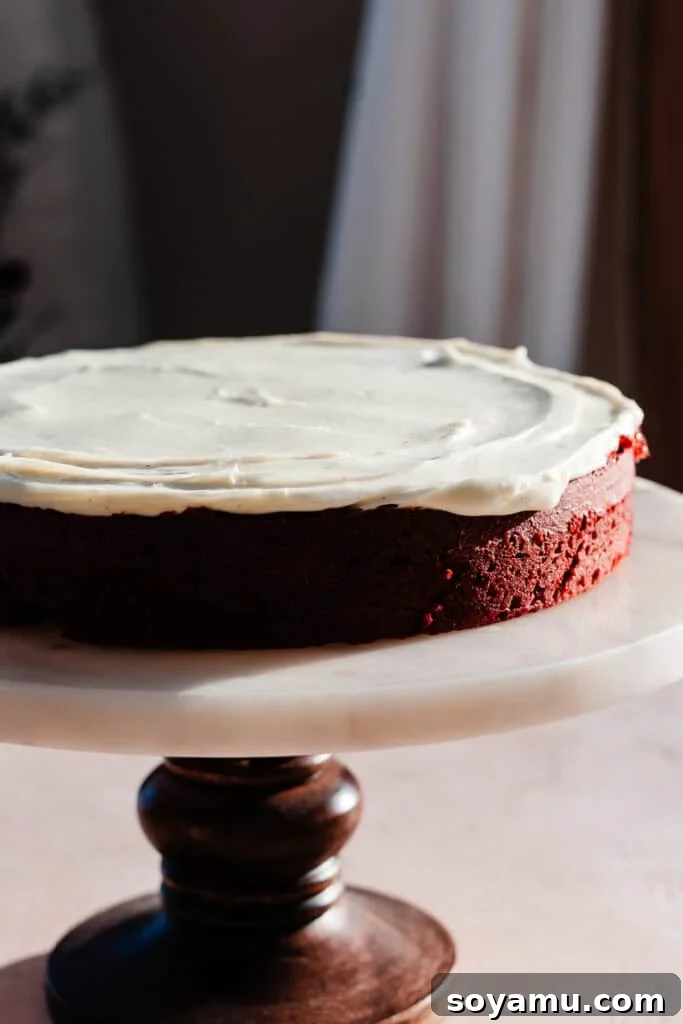
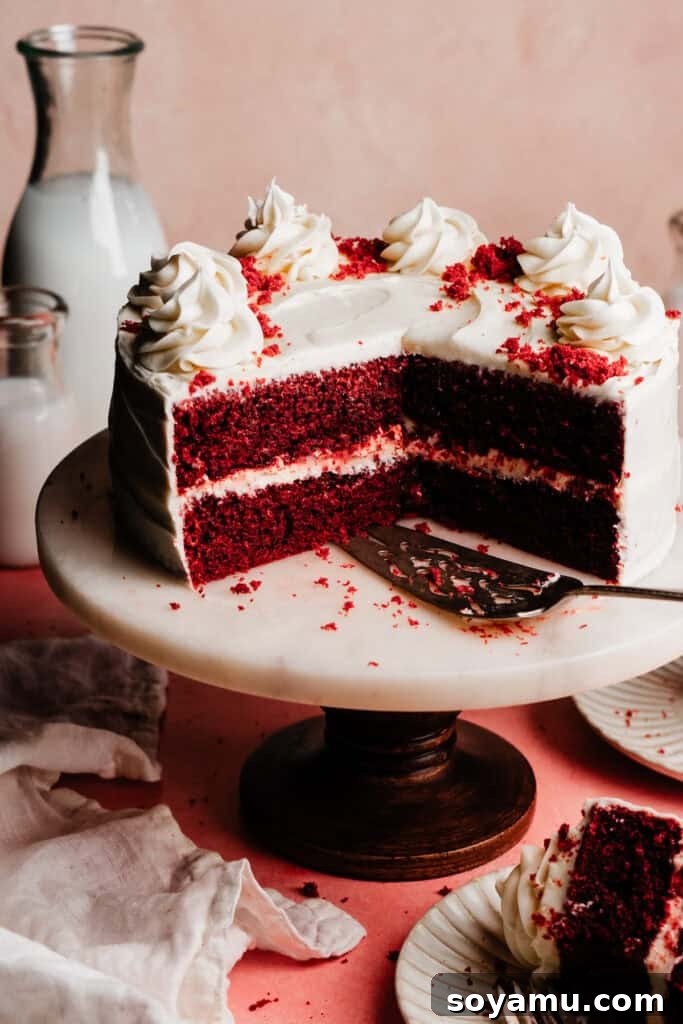
Step 5: Master the Cake Assembly. To ensure a stable foundation, place a small dollop of frosting on your cake plate or stand before centering the first completely cooled cake layer. This “glue” prevents the cake from sliding. Next, pipe a generous, giant swirl of frosting evenly over the first cake layer, then use an offset spatula to smooth it out. This method guarantees a beautifully even layer of frosting between your cake tiers. Carefully place the second cake layer on top, ideally upside down for a perfectly flat top surface. Apply a thin layer of frosting around the sides of the cake – this is known as a “crumb coat.” The crumb coat seals in any loose crumbs, creating a clean canvas for your final frosting layer. Chill the cake in the refrigerator for at least 20 minutes to allow the crumb coat to firm up. This step is vital as it stabilizes the layers, preventing any unwanted shifting while you apply the final frosting. Once chilled, you can proceed to frost the remainder of the cake as desired. If you opt for a popular semi-naked cake look, you’ll likely have enough frosting remaining to pipe elegant swirls or decorative details on top, adding a professional finish. For a fully frosted cake, adjust the amount for the crumb coat to ensure sufficient frosting for complete coverage.
Serving and Storing Your Red Velvet Masterpiece:
To ensure the most elegant presentation and optimal flavor, it’s essential to properly prepare your cake for serving and to store any leftovers correctly. Once your red velvet cake is fully frosted, allow it to chill in the refrigerator for a minimum of 60 minutes, or ideally, overnight. This crucial chilling period allows the cream cheese frosting to firm up and set beautifully, making it much easier to cut clean, neat slices. A well-chilled cake also enhances the interplay of textures and flavors. When you’re ready to serve, bring the cake to room temperature for about 30 minutes to an hour before slicing for the best possible flavor and texture experience.
For storing any leftover cake, wrap it tightly with plastic wrap or place it under a sturdy cake cover. Due to the cream cheese frosting, the cake must be stored in the refrigerator. It will remain delicious for 4-5 days. If you’re planning ahead or have a larger cake, the cake layers (unfrosted) can be wrapped well in multiple layers of plastic wrap and foil, then frozen in a freezer bag or container for 1-2 months. Thaw frozen layers in the fridge overnight before frosting. You can also freeze individual frosted slices by wrapping each in parchment paper or plastic wrap, then in foil, and sealing them in a freezer bag or container for 1-2 months. Thaw slices in the fridge for a few hours or quickly on the counter before enjoying. Can’t get enough red velvet? Extend your baking adventure with our delightful Red Velvet Lava Cookies or our rich and fudgy Red Velvet Brownies next!
Expert Baking Tips for Flawless Results:
Achieving baking perfection often comes down to a few key insights and proper tools. Here are some expert tips to ensure your red velvet cake is nothing short of magnificent:
- The Indispensable Oven Thermometer: Your oven’s internal temperature can be surprisingly inaccurate, often fluctuating by as much as 25-50 degrees from what the dial indicates. An oven thermometer is an inexpensive tool that will tell you the precise temperature your oven is actually running at. Accurate oven temperature is absolutely crucial for most baking endeavors, especially for cakes that rely on precise leavening. We recommend keeping an oven thermometer in your oven at all times to monitor its calibration and ensure consistent baking results.
- The Precision of a Kitchen Scale: While volumetric measurements (cups) are common, they can be highly inconsistent. The amount of flour in a “cup” can vary significantly depending on how it’s scooped or settled. A food scale is the most reliable way to ensure your ingredients, particularly flour, are measured to the exact proper weight. This precision guarantees the correct balance of ingredients, leading to a perfectly structured and moist cake every time. Investing in a digital kitchen scale is one of the best ways to elevate your baking accuracy and consistency.
- Room Temperature Ingredients: For creamed butter and sugar, and for smooth emulsification of eggs and wet ingredients, ensure your butter, cream cheese, and eggs are at true room temperature. This means soft but not melted butter, and eggs that aren’t cold to the touch. This allows ingredients to blend seamlessly, creating a uniform batter and frosting without lumps, leading to a superior final product.
- Don’t Overmix: When incorporating dry ingredients into wet, mix only until just combined. Overmixing develops gluten, which can result in a tough, dense cake. A few streaks of flour are acceptable; these can be gently folded in by hand.
FAQs:
Absolutely! This recipe can be successfully halved. If you choose to do so, we recommend baking the batter in two 6-inch round cake pans. Adjust baking time as needed; smaller cakes will bake more quickly.
Yes, you can easily adapt this recipe for a more impressive three-layer cake. To achieve this, you will need to scale the recipe up by 1.5 times. This means multiplying the quantity of each ingredient by 1.5. For instance, 10 tablespoons of butter would become 15 tablespoons of butter. When dealing with eggs, if you calculate 4.5 eggs, simply crack one egg into a small bowl, lightly beat it with a fork to break it up, and then weigh out approximately half of the egg’s volume (roughly 2 tablespoons worth).
Yes, red velvet cake freezes beautifully, both as unfrosted layers and frosted slices. For unfrosted cake layers, ensure they are completely cooled. Wrap each layer tightly in multiple layers of plastic wrap, followed by a layer of aluminum foil. Freeze them in a freezer bag or airtight container for 1-2 months. Thaw them in the refrigerator overnight before proceeding with frosting. For freezing frosted cake slices, wrap each slice individually in parchment paper or plastic wrap, then in foil. Store them sealed in a freezer bag or container for 1-2 months. You can thaw individual slices in the refrigerator for a few hours or on the counter for quicker enjoyment.
Several factors can contribute to a less vibrant red color. Ensure you’re using a high-quality, concentrated red gel food coloring, not liquid. The cocoa powder also plays a role; traditional recipes use a small amount of natural cocoa powder which, when combined with acidic buttermilk, would create a reddish-brown hue. Modern recipes enhance this with food coloring. Too much cocoa or insufficient food coloring can mute the red. Also, ensure your ingredients are fresh, especially baking soda and buttermilk, for the proper chemical reactions.
Recommended Special Tools for Baking and Decorating:
While this recipe is designed to be accessible, a few special tools can significantly enhance your baking and decorating experience, making the process smoother and your results more professional:
- A cake turntable is an absolute game-changer for frosting cakes. It allows you to effortlessly rotate the cake as you apply and smooth the frosting, resulting in an impeccably even and polished finish around the sides and top.
- An offset spatula, with its angled blade, is indispensable for spreading frosting smoothly and evenly across cake layers and around the sides. It provides better control and keeps your knuckles from dragging in the frosting.
- For piping decorative swirls and borders, we recommend using a Wilton 2D piping tip paired with a sturdy piping bag. This combination creates beautiful, professional-looking details with ease, adding that extra touch of elegance to your finished cake.
Explore More Layer Cake Recipes:
If you’ve enjoyed mastering this Red Velvet Cake, we encourage you to broaden your baking repertoire with these other exquisite layer cake recipes from our collection:
- Perfect White Birthday Cake: A classic, fluffy white cake ideal for any celebration.
- Orange Dreamsicle Cake: A nostalgic and refreshing cake with vibrant orange and creamy vanilla flavors.
- Eggless Chocolate Cake: A rich and moist chocolate cake, perfect for those with egg allergies or dietary preferences.
- Ultimate Nutella Cake: Indulge in layers of decadent chocolate and hazelnut goodness.
- Strawberry Chocolate Cake: A delightful combination of sweet strawberries and rich chocolate.
Did you make this recipe? We’d love to hear from you!
Please share your experience in the comments section below and consider leaving a star rating. Your feedback is invaluable to us and helps our small business immensely! We take all comments seriously and appreciate you being part of our baking community.
Red Velvet Cake
By Stephanie Simmons
This Red Velvet Cake recipe is everything you want in a red velvet cake! The fluffy, moist cake layers have classic red velvet flavor, with a hint of chocolate, and a hint of tanginess from the buttermilk. The cream cheese frosting is very cream cheese forward, and is silky smooth – without being too sweet!
Prep Time: 1 hr 20 mins
Cook Time: 26 mins
Total Time: 1 hr 46 mins
Yields: 8 to 16 slices
Ingredients
For the Cake:
- 1/4 cup cocoa powder (23 grams)
- 2 tbsp water (28 grams)
- 3 tsp red gel food coloring (see note below)
- 1 tbsp vanilla extract (8 grams)
- 2 and 1/4 cups cake flour, spooned & leveled or weighed out (247 grams)
- 1 tsp baking soda
- 1/2 tsp salt
- 10 tbsp salted butter, softened at room temperature
- 2 cups granulated sugar (420 grams)
- 3 large eggs, at room temperature
- 1 and 1/2 cups buttermilk, at room temperature
For the Cream Cheese Frosting:
- 3/4 cup salted butter, softened at room temperature
- 16 ounces cream cheese, full-fat block
- 4 and 1/2 cups powdered sugar, or up to 5 cups (adjust to taste), (518 to 575 grams)
- 1-2 tbsp milk or heavy cream
- 1 tbsp vanilla extract
- pinch of salt
Instructions
- Prep: Preheat your oven to 350℉ (175°C). Prepare two 8-inch or 9-inch cake pans. Use a paper towel to rub shortening or butter all over the inside of each pan, coating them completely. Cut a round of parchment paper to fit inside each pan. Place this on top of the greased pan bottom, then grease over the parchment paper. Add a handful of flour, and tap the pan around to evenly coat the entire inside with flour, tapping out the excess.
- Start the Cake Batter: First, make a cocoa paste. In a small bowl, combine the cocoa powder, water, red gel food coloring, and vanilla. Stir together until well combined and set aside. In a medium bowl, whisk together the cake flour, baking soda, and salt. Set aside.
- Finish the Cake Batter: In a large bowl, cream the butter with an electric mixer for 30-60 seconds, until creamy. Add the granulated sugar and beat on high speed for 2 minutes. Add the three eggs, one at a time, and beat on medium-high speed for 4 minutes until the mixture is light, thick, and pale. Scrape the sides and bottom of the bowl well to ensure everything is incorporated. Beat in the prepared cocoa paste until thoroughly combined. Then, add half of the flour mixture, and mix on low speed until it’s about 75% combined. Add all of the buttermilk, and continue mixing on low speed until about 75% combined. Add the remaining dry ingredients, and mix on low speed until just a few streaks of flour remain. Finish by folding these last streaks in by hand with a silicone spatula, scraping the sides and the bottom of the bowl.
- Bake: Divide the batter equally between your prepared pans (approximately 720 grams per pan if using a scale for precision). Bake at 350℉ (175°C) for 24 to 30 minutes. The cakes are done when a toothpick inserted into the center pulls out moist crumbs, not wet batter. Let cakes rest in the pans on cooling racks for 10 minutes to set. Then, run a butter knife carefully around the edge to loosen the cakes before inverting them onto cooling racks to cool completely. It is crucial that the cakes are entirely cool before frosting.
- Make the Frosting: In a large bowl or in the bowl of a stand mixer, cream the softened butter. Add the full-fat block cream cheese and beat for 1 minute or so, until well combined with the butter and no lumps remain. Gradually add the powdered sugar in two additions, using 1-2 tablespoons of milk or heavy cream as needed to help the powdered sugar incorporate and achieve a smooth, silky consistency. Beat in the vanilla extract and a pinch of salt last. Taste and add more powdered sugar if desired for a sweeter frosting.
- Assemble the Cake: Add a small dollop of frosting to your cake plate or stand, and place the first cooled cake layer down (this helps prevent it from sliding around). Spread 1 and 1/2 cups (approximately 350 grams) of frosting evenly over the layer. A cake turntable and offset spatula make this process a breeze! Place the second cake layer on top (upside down, for a perfectly flat top!) and add a thin layer of frosting around the sides to create a “crumb coat” and seal things together. Chill the cake in the fridge for 20 minutes or so, which allows the crumb coat to set and prevents layers from sliding around during final frosting. Then, frost the sides and top of the cake as desired. If you’re aiming for a popular semi-naked cake look, you’ll have enough frosting left to pipe decorative swirls on top. Alternatively, use all the frosting for full coverage on the top and sides.
- Serve & Store: Once completely frosted, chill the cake in the fridge for at least 1 hour or up to overnight before slicing and serving. This allows the frosting to set properly, enabling you to cut neat, clean slices. For optimal flavor and texture, allow the cake to come to room temperature for 30-60 minutes before serving. Store leftover cake in the fridge, well-covered with plastic wrap or a cake dome, for 4-5 days.
Nutrition
Serving: 1 slice, Calories: 1130kcal, Carbohydrates: 150g, Protein: 12g, Fat: 55g, Saturated Fat: 33g, Polyunsaturated Fat: 3g, Monounsaturated Fat: 14g, Trans Fat: 1g, Cholesterol: 216mg, Sodium: 788mg, Potassium: 257mg, Fiber: 2g, Sugar: 121g, Vitamin A: 1910IU, Calcium: 139mg, Iron: 1mg
Nutrition information is automatically calculated and should only be used as an approximation.
There you have it – the definitive guide to creating a truly unforgettable Red Velvet Cake. With its vibrant color, moist and tender crumb, and luscious cream cheese frosting, this cake is more than just a dessert; it’s a celebration in every slice. We hope this comprehensive recipe empowers you to bake with confidence and joy. Happy baking, and enjoy every moment of this delightful creation!