
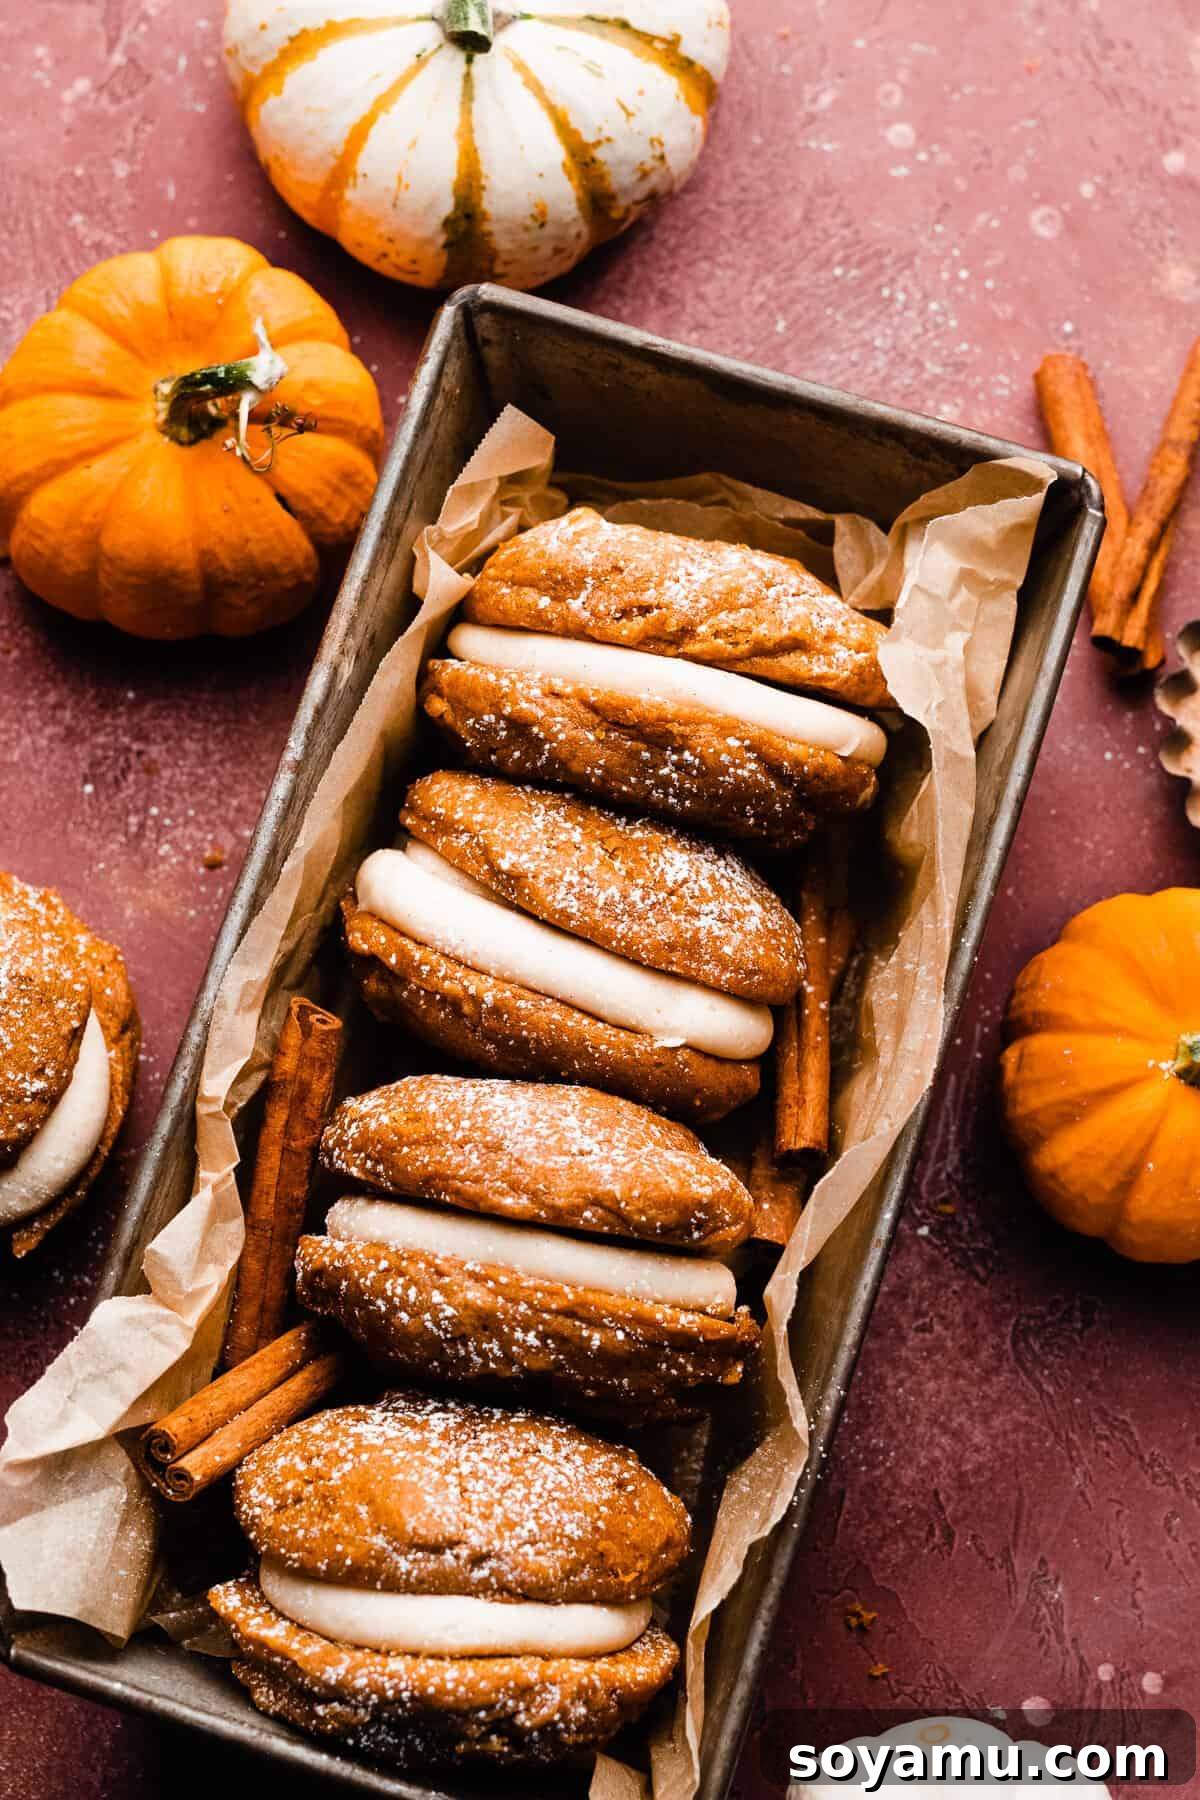
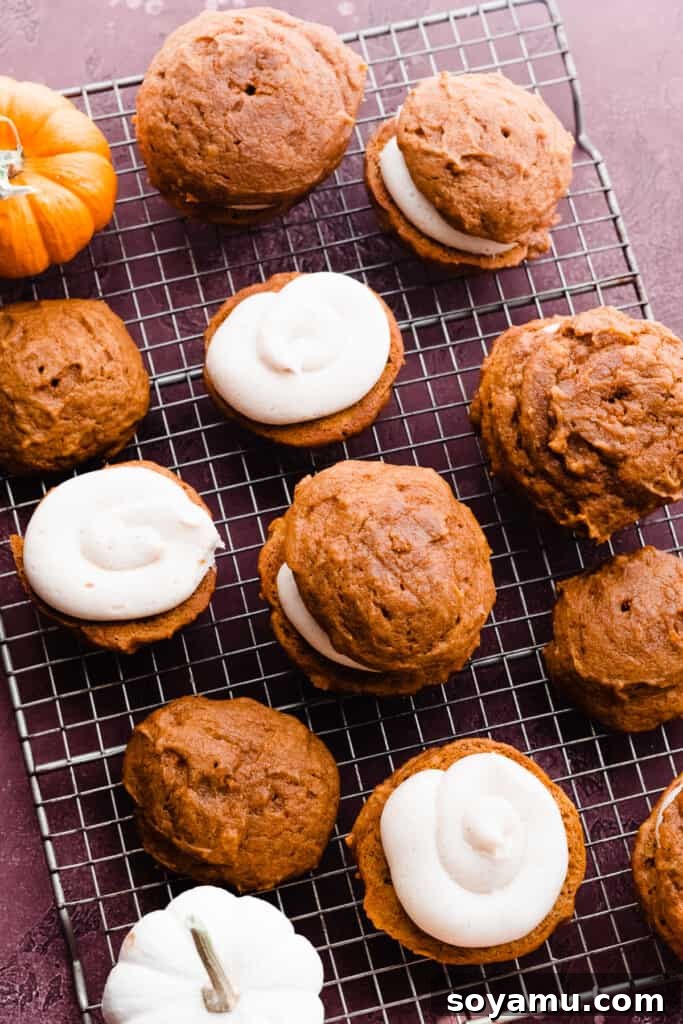
Get ready to embrace the flavors of autumn with these truly irresistible Pumpkin Whoopie Pies. Imagine pillowy soft, spiced pumpkin cakes, incredibly moist and rich with the essence of real pumpkin, generously sandwiched around a luxurious, silky brown butter cream cheese frosting. Each delightful bite offers a harmonious blend of warm spices and creamy indulgence, finished with a delicate dusting of powdered sugar. These festive treats are an absolute must-have for your Halloween party spread, a delightful addition to your Thanksgiving dessert table, or simply a cozy indulgence for a crisp fall afternoon.
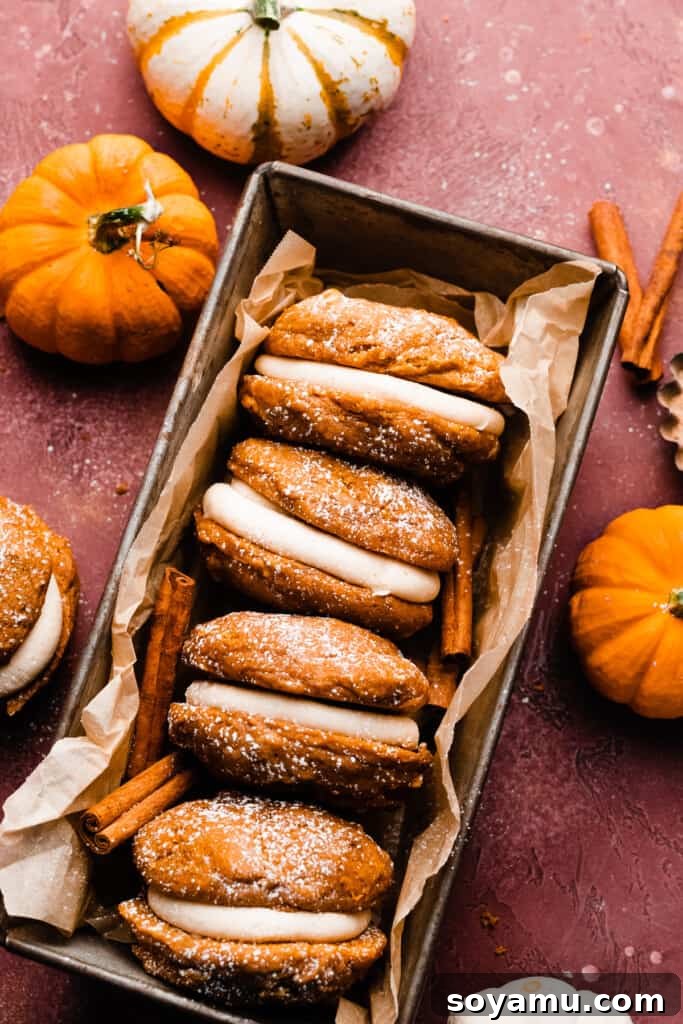
As the leaves begin to change and the air turns crisp, it’s undeniably the season for all things pumpkin. And I’m confident in saying that these Pumpkin Whoopie Pies are destined to become a new favorite in your autumnal baking repertoire. Not only are they delightfully easy to prepare, making them accessible for bakers of all skill levels, but they also use a generous whole can of pumpkin puree, ensuring an authentic and robust pumpkin flavor in every bite. This recipe is a guaranteed crowd-pleaser, perfect for sharing with family and friends at any gathering. Let’s explore what makes these whoopie pies truly special and how you can bring this seasonal magic into your kitchen!
Why You’ll Fall in Love with These Pumpkin Whoopie Pies
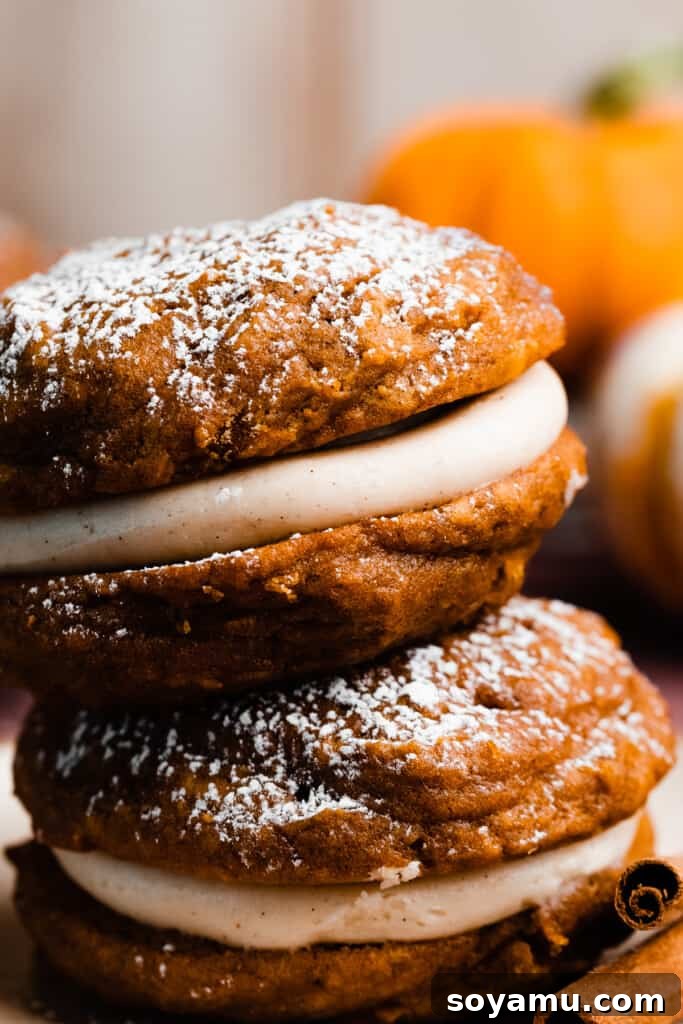
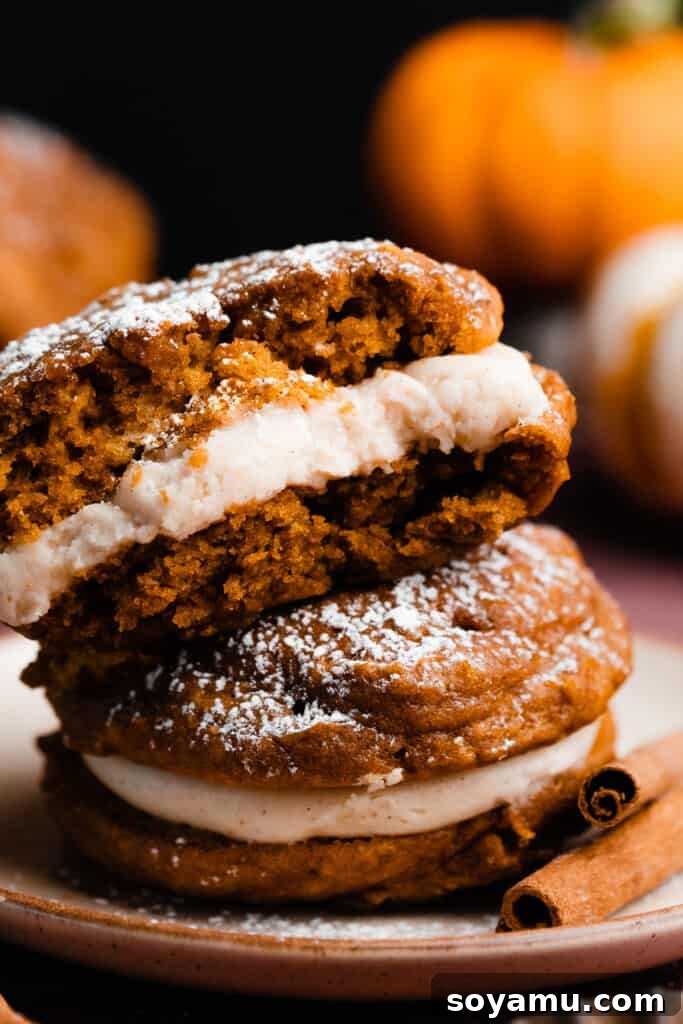
- Unbelievably Pillowy Soft Cakes: These aren’t just cookies; they’re miniature, moist cake-like masterpieces. The texture is incredibly light, fluffy, and tender, so much so that they practically melt in your mouth. What’s more, they retain their delightful softness for days, ensuring continued enjoyment long after they’re baked. This pillowy consistency is what truly sets a whoopie pie apart, making each bite a delightful experience.
- Bursting with Authentic Pumpkin Flavor: Forget artificial pumpkin flavorings! This recipe proudly incorporates a full can of pumpkin puree, delivering a rich, natural pumpkin taste that forms the heart of these whoopie pies. Complementing this, a generous blend of classic pumpkin pie spices—cinnamon, ginger, cloves, and nutmeg—infuses the cakes with a warm, inviting aroma and a depth of flavor that perfectly captures the essence of fall.
- Decadent Brown Butter Cream Cheese Frosting: The filling is nothing short of divine. A luscious brown butter cream cheese frosting takes center stage, offering a creamy, tangy sweetness with a subtly nutty complexity from the browned butter. A delicate hint of cinnamon in the frosting further enhances the cozy fall flavors, creating a harmonious balance that perfectly complements the spiced pumpkin cakes. Be warned: this frosting is so good, you might find yourself sneaking spoonfuls straight from the bowl!
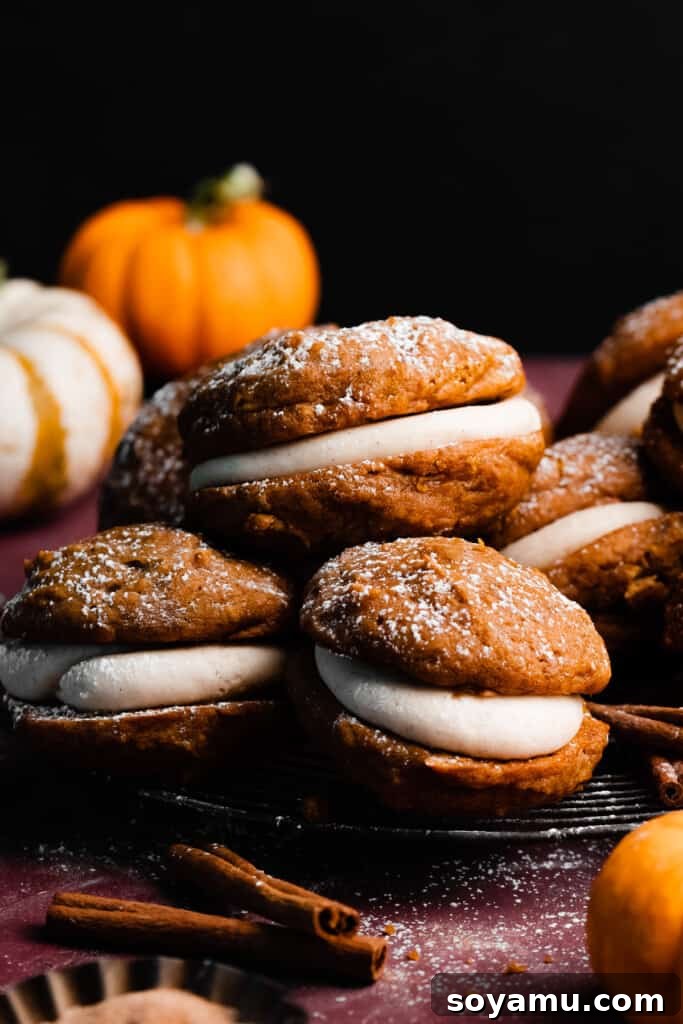
Essential Ingredient Breakdown: Crafting Perfect Pumpkin Whoopie Pies
Understanding your ingredients is the first step to baking success. Here’s a detailed look at what you’ll need and important tips for each item:
- All-Purpose Flour: The foundation of our whoopie pie cakes. For the most accurate results and to prevent a dry bake, always spoon your flour into the measuring cup and then level it off with a flat utensil. Better yet, use a kitchen scale to weigh your flour for consistent perfection. Scooping directly from the bag can compact the flour, leading to an excess amount and a tougher, drier texture.
- Butter: For both the whoopie pie batter and the frosting, I highly recommend using salted butter. The hint of salt truly enhances the overall flavor profile and balances the sweetness. However, if you prefer to control the salt content precisely, unsalted butter works just as well; just be sure to add a pinch more salt to your dry ingredients.
- Eggs: Large eggs are specified for this recipe, and it’s crucial to use them at room temperature. Room temperature eggs emulsify better with other ingredients, creating a smoother, more cohesive batter and resulting in a lighter, more evenly textured whoopie pie.
- Pumpkin Puree: This is where the magic happens! Be absolutely certain you are using plain canned pumpkin puree, NOT pumpkin pie filling. Pumpkin pie filling comes pre-spiced and sweetened, which will throw off the flavor balance of this recipe. Look for cans that list only “pumpkin” as the ingredient.
- Cream Cheese: For a truly rich, stable, and luscious frosting, full-fat cream cheese is non-negotiable. Its higher fat content contributes to a smoother texture and a better-bodied frosting that holds its shape beautifully. Ensure it’s slightly softened, but not overly warm, for optimal mixing.
- Cozy Spices (Pumpkin Pie Spice Blend): A thoughtful blend of cinnamon, ginger, cloves, and nutmeg is essential for creating that quintessential fall flavor. These spices don’t just add warmth; they beautifully enhance and elevate the natural sweetness and earthiness of the pumpkin, creating an aromatic and flavorful whoopie pie that truly sings of autumn.
Exciting Recipe Variations to Explore
While the classic Pumpkin Whoopie Pie with Brown Butter Cream Cheese Frosting is perfection on its own, don’t hesitate to get creative with these delicious variations:
- Dairy-Free Delight: If you or your guests have dietary restrictions, this recipe can be easily adapted. Simply substitute your favorite high-quality dairy-free butter and dairy-free cream cheese. Always opt for brands you trust for baking, as performance can vary between products.
- Skip the Brown Butter (If You Must): While brown butter adds an unparalleled depth and nutty complexity to the frosting, you can technically skip this step in a pinch. The frosting will still be delicious with regular softened butter, but you’ll miss out on that extra layer of gourmet flavor. It’s definitely worth the extra few minutes if you have them!
- Salted Caramel Infusion: Elevate these whoopie pies even further by incorporating homemade salted caramel. Mix about 1/4 cup of homemade salted caramel sauce directly into the cream cheese frosting for an extra layer of sweet and salty goodness. For an even more indulgent touch, drizzle extra caramel sauce over the assembled whoopie pies just before serving. The rich caramel notes perfectly complement the warm fall spices.
- Chocolate Chip Addition: For chocolate lovers, a touch of chocolate can be a wonderful addition. Instead of mixing chocolate chips into the batter (which can sometimes weigh down the delicate cakes), I recommend gently pressing a handful of mini chocolate chips onto the top of each portioned batter blob on the baking sheet before baking. This ensures the chips don’t sink and provides a lovely visual and textural contrast.
Step-by-Step Guide: How to Craft Perfect Pumpkin Whoopie Pies
Creating these delightful treats is a straightforward process. Follow these detailed steps for the best results:
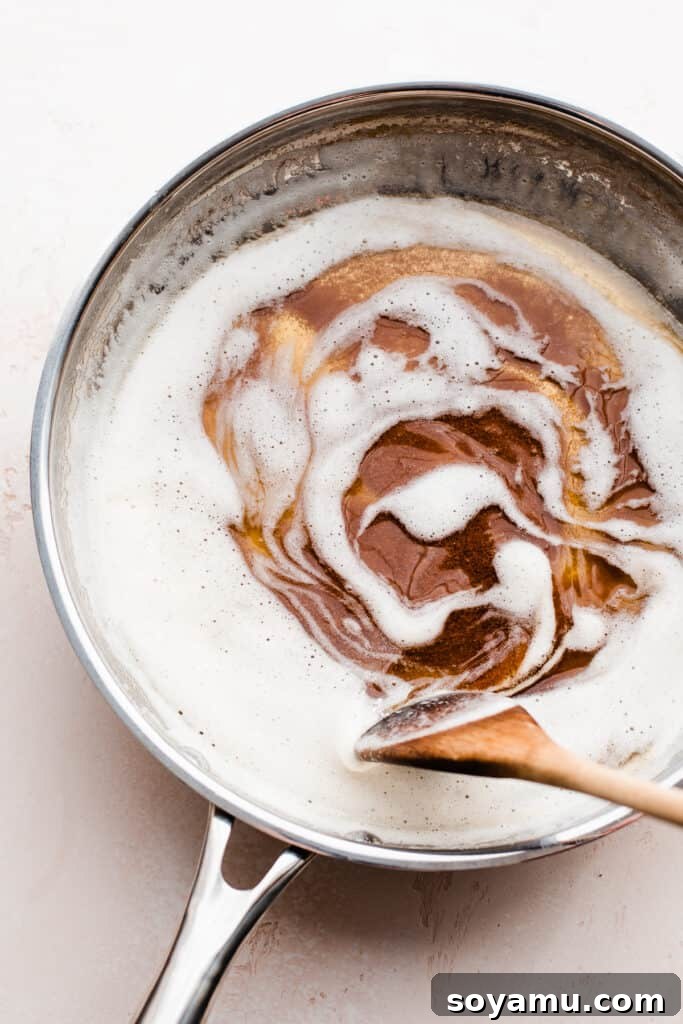
Step 1: Master the Brown Butter for the Frosting. The secret to our incredible frosting starts here. In a medium saucepan, melt the required butter over medium heat. Continue cooking, stirring occasionally, as the butter transitions from melted to foamy, then golden, and finally to a rich, deeply golden brown with delightful specks at the bottom. This transformation unlocks a complex, nutty aroma that is utterly divine. As soon as it reaches this perfect color, immediately pour the browned butter into a separate heat-safe bowl to stop the cooking process. Allow it to cool completely to room temperature – this is crucial for a stable frosting.
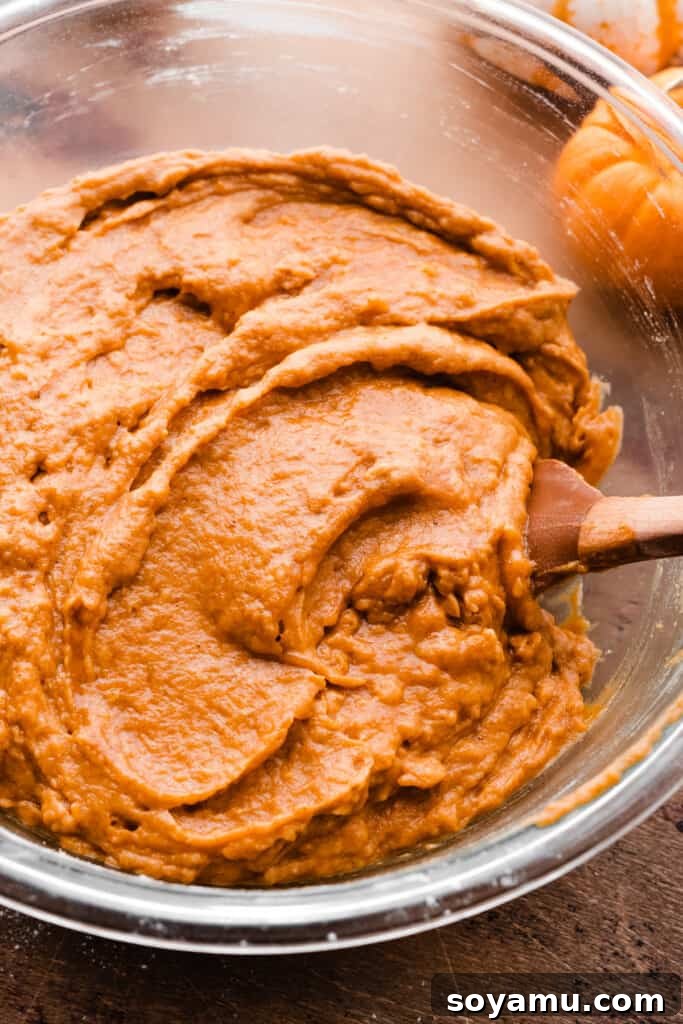
Step 2: Prepare the Whoopie Pie Batter. In a large mixing bowl, combine the melted butter, vegetable oil, and both granulated and brown sugars. Whisk these together until they are well combined and smooth. Next, add the room temperature eggs, pumpkin puree (remember, not pie filling!), and vanilla extract. Whisk thoroughly until the mixture is beautifully smooth and integrated. Finally, gently fold in the dry ingredients (flour, salt, baking powder, baking soda, and all those cozy pumpkin spices) using a silicone spatula. Mix just until no dry streaks remain, being careful not to overmix, as this can lead to tough whoopie pies. The batter will be pleasingly thick and may have a few small lumps, which is perfectly normal.
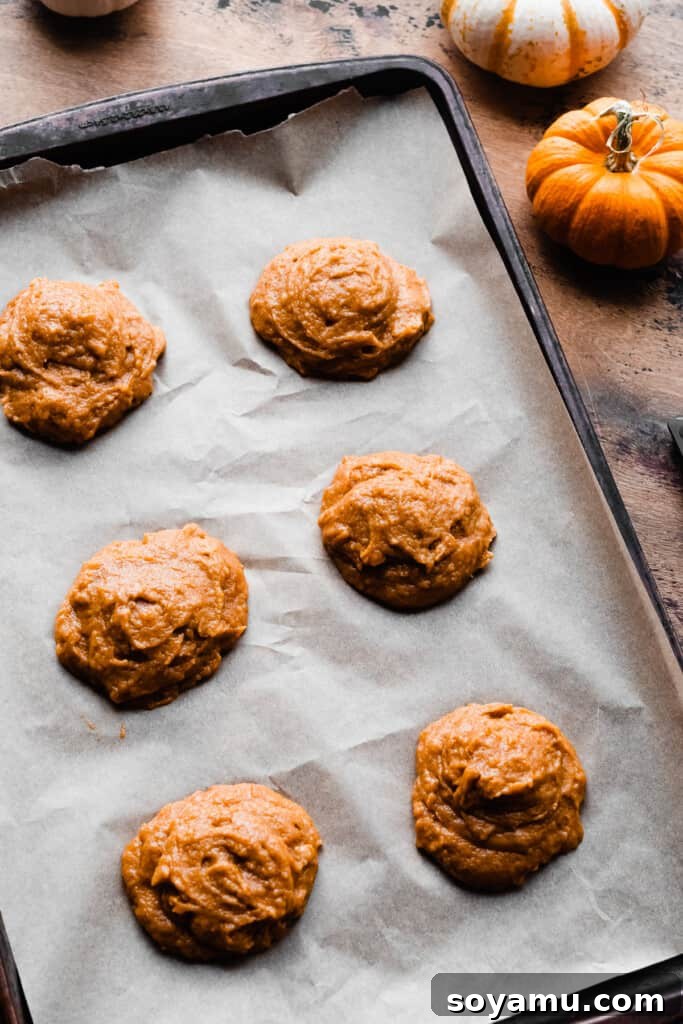
Step 3: Dollop Batter onto Baking Sheet. Line a few large baking sheets with parchment paper – this prevents sticking and ensures even baking. Using a 2-tablespoon cookie scoop or two spoons, carefully drop uniform dollops of the pumpkin batter onto the prepared baking sheets. Leave adequate space between each dollop, as they will spread slightly during baking. Aim for neat, small mounds to achieve that classic whoopie pie shape.
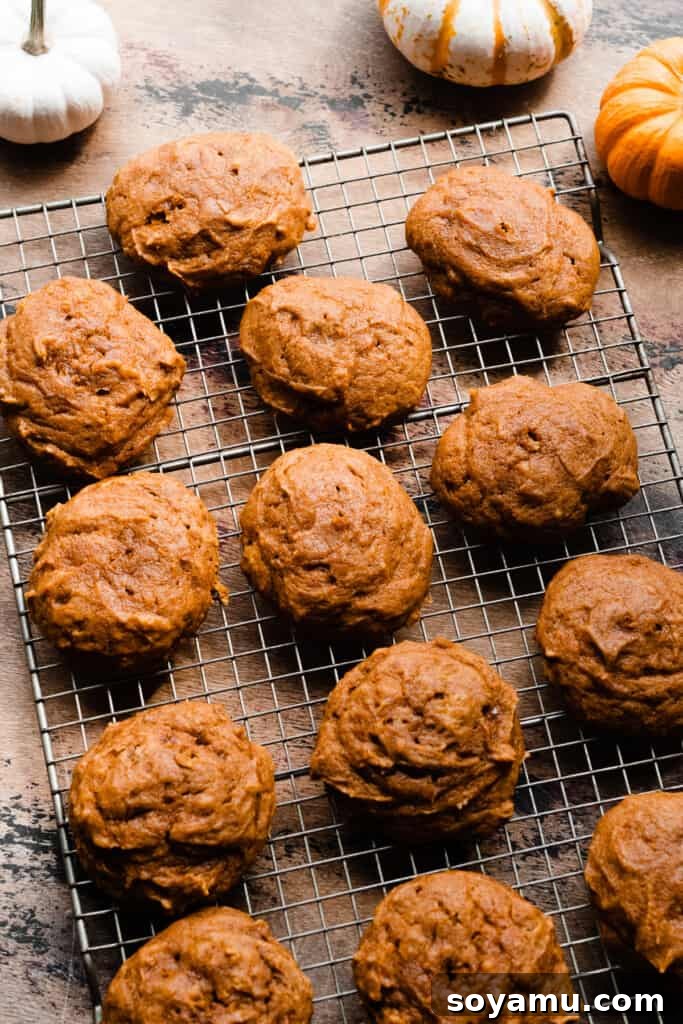
Step 4: Bake to Perfection. Transfer the baking sheets to your preheated oven and bake according to the recipe card’s specified time. Keep a close eye on them; whoopie pies are typically done when the edges are lightly golden and a toothpick inserted into the center comes out with moist crumbs, not wet batter. Avoid overbaking, as this will result in dry cakes. Once baked, remove them from the oven and let them cool on the baking sheet for a few minutes before transferring them to a wire rack to cool completely. They must be entirely cool before frosting to prevent the filling from melting.
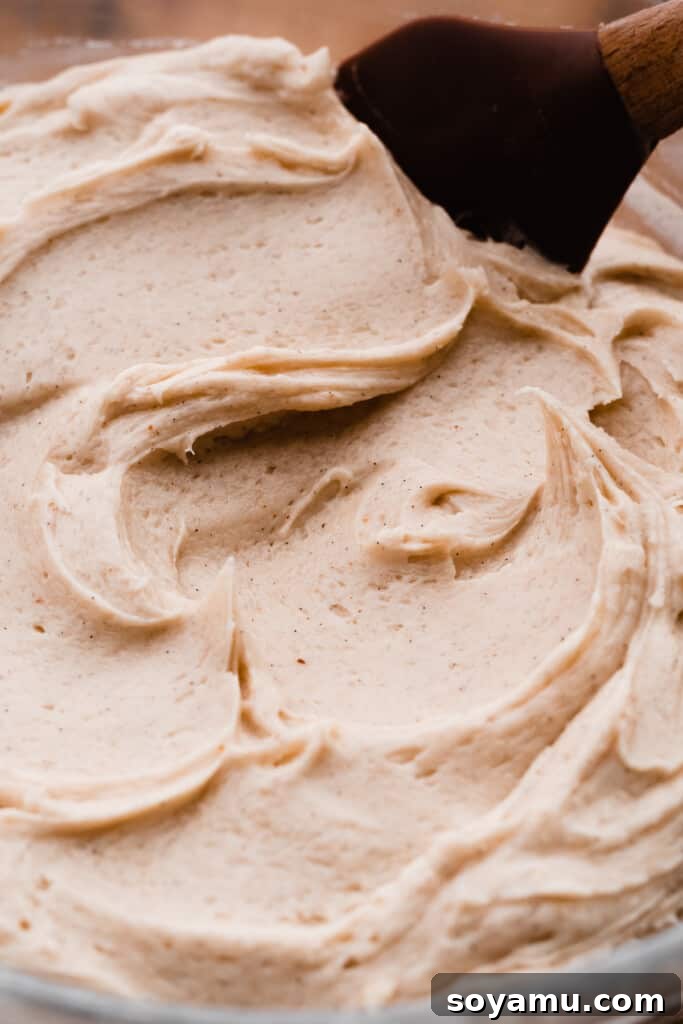
Step 5: Prepare the Brown Butter Cream Cheese Filling. Once your browned butter has cooled to room temperature (it should be firm but still pliable), combine it in a medium mixing bowl with the slightly softened cream cheese. Begin beating with an electric mixer. Initially, the mixture might appear a bit curdled or lumpy, but don’t worry! Continue beating for several minutes until it transforms into a beautifully smooth and creamy consistency. Gradually add the powdered sugar in two additions, mixing until fully incorporated. Stir in the vanilla extract, a pinch of salt, and a touch of cinnamon. Beat until light and fluffy. Taste and adjust the sweetness or spice as desired.
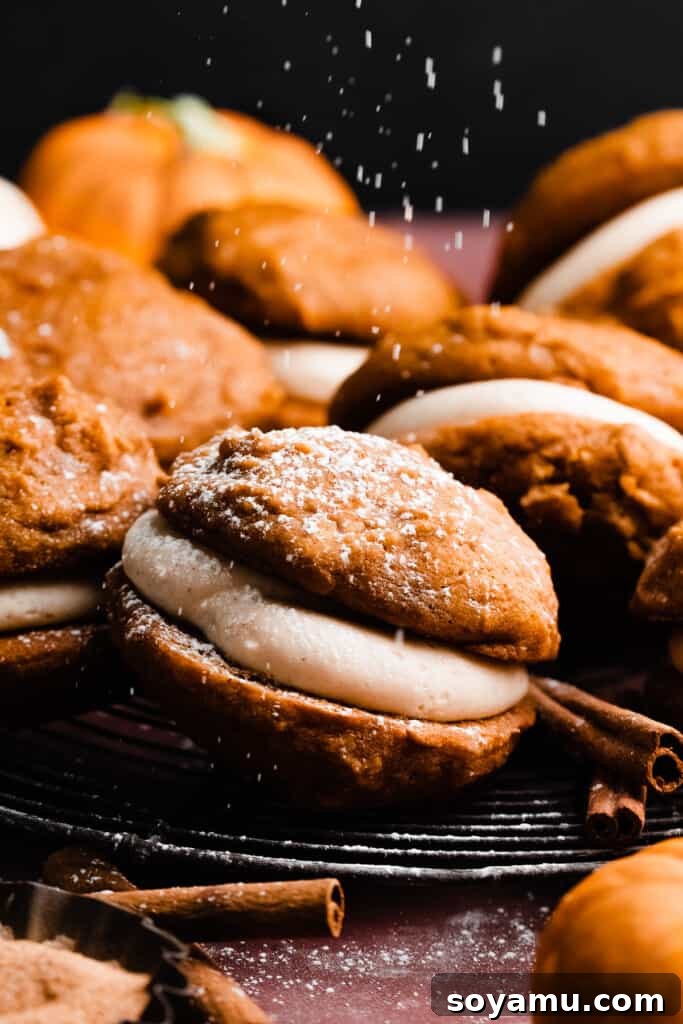
Step 6: Assemble and Frost the Pies. Now for the fun part! Once the whoopie pie cakes are completely cool, it’s time to assemble. Transfer the brown butter cream cheese frosting to a piping bag fitted with a round tip (a Wilton 1A piping tip is excellent for this, or simply snip off the corner of a sturdy ziploc bag). Pipe a generous swirl of frosting onto the flat side of half of your pumpkin cakes. Then, gently place another pumpkin cake on top, flat side down, to create a perfect sandwich. Lightly press them together until the frosting just reaches the edges. Repeat with the remaining cakes and frosting. For a final flourish, dust the tops with a light flurry of powdered sugar before serving, if desired.
Serving Suggestions and Storage Tips
These Pumpkin Whoopie Pies are best enjoyed once frosted, allowing the flavors to meld beautifully. They make a stunning presentation on a dessert platter and are fantastic with a warm cup of coffee, tea, or cider. Consider them a delightful ending to a casual dinner or a standout treat at any fall gathering.
Due to the cream cheese in the frosting, proper storage is essential. Store any leftover whoopie pies in an airtight container in the refrigerator for up to 3-4 days to maintain their freshness and safety. For optimal enjoyment, let them sit at room temperature for about 15-20 minutes before serving to allow the frosting to soften slightly.
Have extra canned pumpkin after making this recipe (you’ll likely have about 1/2 can left)? Don’t let it go to waste! Use it to make my delightful Pumpkin Snickerdoodles with Rum Caramel or indulge in the soft, sweet goodness of my Gooey Pumpkin Cinnamon Rolls!
Expert Tips for Whoopie Pie Perfection
Achieve bakery-quality Pumpkin Whoopie Pies every time with these valuable insights:
- Ensure Cooled Brown Butter: This is arguably the most critical step for frosting success. After browning your butter, you must allow it to cool completely to room temperature. If the brown butter is even slightly warm when incorporated into the cream cheese, your frosting will become too soft and runny, making it difficult to pipe and resulting in a messy whoopie pie. For best results, it should be firm enough to hold its shape but still pliable like soft butter.
- Calibrate with an Oven Thermometer: An accurately calibrated oven is the unsung hero of consistent baking. An oven thermometer is an inexpensive tool that will tell you the true temperature of your oven, which often differs from what the dial indicates. Accurate oven temperature is absolutely crucial for the proper rise and texture of whoopie pies, so consider keeping one in your oven at all times to monitor its calibration.
- Invest in a Kitchen Scale: For truly consistent and professional baking results, especially with flour, a food scale is your best friend. The weight of flour can vary dramatically depending on how it’s measured (e.g., scooped vs. spooned), and even between different measuring cups, as they are not universally standardized. Weighing your flour ensures you’re using the exact amount specified in the recipe, preventing dry or overly dense cakes.
Frequently Asked Questions About Pumpkin Whoopie Pies
What exactly is a Whoopie Pie?
A whoopie pie is a delightful dessert that’s essentially two soft, cake-like cookies (often referred to as “cakes” or “disks”) sandwiched together with a creamy, fluffy filling. Unlike a traditional cookie, whoopie pies are much softer, moister, and have a more cake-like crumb. They are a classic New England treat, with origins debated between Maine and Pennsylvania. You can think of them as a delightful hybrid: too soft to be a cookie, too dense to be a cupcake, and too small to be a full cake – truly unique and utterly delicious!
Can I easily double or halve this recipe?
Absolutely! This recipe is quite flexible and can be scaled up or down to suit your needs. If you choose to double the recipe, be prepared with a very large mixing bowl to accommodate the increased volume of batter and frosting. You’ll also need more baking sheets. When halving, simply divide all ingredient measurements by two. Adjust baking times slightly if your whoopie pies are smaller, but generally, the timing should remain similar.
Is it possible to make these pumpkin whoopie pies in advance?
Yes, these whoopie pies are fantastic for making ahead! You can bake the pumpkin cakes and allow them to cool completely. Store them in an airtight container at room temperature for up to 24 hours before you plan to frost and serve them. The frosting can also be prepared up to 24 hours in advance. Cover it tightly with plastic wrap and store it in the refrigerator. Before using, let the frosting come to room temperature for about 10-15 minutes, then give it a quick beat with your electric mixer to restore its creamy, spreadable consistency.
My frosting seems too thin or “weepy” – what went wrong?
Don’t despair! A “weepy” or overly soft frosting is a common issue with cream cheese frostings. The most likely culprits are warm brown butter (it must be completely cooled!), overmixing the frosting, or a warm kitchen environment. To fix it, simply pop the frosting back into the fridge or even the freezer for a period. This cooling time will help it firm back up to a lovely spreadable consistency. It could take anywhere from 10 minutes to an hour, depending on how warm it got. If it becomes too firm to work with after chilling, just give it another quick whip with your mixer, and it will miraculously become creamy again.
Recommended Special Tools for Easy Baking
While not strictly essential, these tools will make your whoopie pie baking experience much smoother and more enjoyable:
- Cookie Scoop: A 1-tablespoon cookie scoop (or even a slightly larger one, around 4 teaspoons) is invaluable for portioning out uniform dollops of batter. This ensures that all your whoopie pie cakes are of similar size, which is key for even baking and a beautiful, consistent final product when assembling.
- Mixing Bowls: A good set of durable glass mixing bowls is always a kitchen asset, especially for baking. They allow you to easily see the consistency of your batter and frosting, are non-reactive, and clean up beautifully.
More Irresistible Pumpkin Recipes to Love This Season
- Pumpkin Streusel Muffins with Maple Glaze
- Pumpkin Snickerdoodles with Rum Caramel
- Pumpkin Cupcakes with Brown Butter Cream Cheese Frosting
- Fluffy Pumpkin Pancakes
- Mom’s Best Ever Pumpkin Bread
- Pumpkin Pasties with Maple Glaze
Loved this recipe? Share your experience and leave a star rating!
Your feedback is incredibly valuable to me! If you enjoyed making these Pumpkin Whoopie Pies, please take a moment to leave a comment and a star rating at the bottom of this recipe card. It helps my small business grow and encourages me to keep sharing more delicious recipes!

Pumpkin Whoopie Pies with Brown Butter Cream Cheese Frosting
Pumpkin Whoopie Pies are pillowy soft and made with a whole can of pumpkin and plenty of cozy pumpkin spice. They’re sandwiched around a silky brown butter cream cheese frosting and topped with a flurry of powdered sugar. Serve these pumpkin treats at a Halloween party or to switch things up at Thanksgiving!
Rate Recipe
Print Recipe
Ingredients
For the Whoopie Pies
- 1/4 cup salted butter, melted, 57 grams
- 3/4 cup vegetable oil, 166 mL
- 2 cups brown sugar, packed, 440 grams
- 3 tbsp granulated sugar, 39 grams
- 2 large eggs, at room temperature
- 2 and 3/4 cups canned pumpkin puree, Do not use canned pumpkin pie filling – 660 grams
- 2 tsp vanilla extract
- 3 cups all-purpose flour, spooned & leveled or weighed, 390 grams
- 1/2 tsp salt
- 1 tsp baking powder
- 1 tsp baking soda
- 2 and 1/4 tsp cinnamon
- 1 and 1/4 tsp ginger
- 1 tsp nutmeg
- 1/2 tsp ground cloves
Brown Butter Cream Cheese Frosting
- 1/2 cup + 1 tbsp salted butter, 127 grams
- 6 oz full-fat cream cheese, This only needs 5 mins or so at room temperature – 170 grams
- 3 cups powdered sugar, adjust to taste, 360 grams
- 1/4 tsp cinnamon
- 1 tbsp maple syrup
- 1 tsp vanilla extract
Measurements are in US Customary units.
Instructions
-
Brown the Butter for the Frosting. In a medium saucepan over medium heat, melt the butter. Reduce the heat to medium-low and continue cooking the butter, stirring lazily but consistently. The butter will become foamy, then turn golden, and finally begin to develop a rich brown color and a distinct nutty, caramely aroma. Once it reaches a deep golden hue with light brown solids at the bottom, immediately pour it into a separate heat-safe container (such as a small bowl or ramekin) and place it in the fridge to cool down completely to room temperature. This cooling step is essential for the frosting’s consistency.
Make-Ahead Tip: This browned butter can be prepared up to 2 weeks in advance and stored in the refrigerator until you’re ready to use it.
-
Prepare Your Workspace. Preheat your oven to 350℉ (175°C). Line a few large baking sheets with parchment paper; this will prevent the whoopie pies from sticking and ensure easy cleanup.
-
Make the Whoopie Pie Batter. In a large mixing bowl, combine the melted butter from the whoopie pie ingredients, vegetable oil, brown sugar, and granulated sugar. Whisk thoroughly until the mixture is smooth and well combined. Add the room temperature eggs, canned pumpkin puree, and vanilla extract. Whisk again until all wet ingredients are fully incorporated and the mixture is silky. In a separate bowl, whisk together the all-purpose flour, salt, baking powder, baking soda, cinnamon, ginger, nutmeg, and ground cloves. Add these dry ingredients to the wet mixture and gently fold with a silicone spatula until just incorporated. Be careful not to overmix; a few small lumps are perfectly fine. The batter will be slightly thick.
-
Bake the Cakes. Using a 2-tablespoon cookie scoop or two spoons, drop mounds of batter onto the prepared baking sheets. Space them about 2 inches apart, as they will spread. Aim to keep the batter in a small mound rather than flattening it. Bake for 12-13 minutes, or until the edges are lightly set and a toothpick inserted into the center comes out with moist crumbs (not wet batter). Let them cool on the baking sheet for a few minutes on a wire rack, then carefully transfer them directly to a wire rack to cool completely before you begin frosting and assembling.
-
Prepare the Brown Butter Cream Cheese Frosting. Once the browned butter has completely cooled and firmed up (it should be solid but still soft), combine it in a medium mixing bowl with the slightly softened cream cheese. Beat with an electric mixer on medium speed. The mixture will initially appear curdled or lumpy; continue beating for 2-3 minutes until it becomes smooth and creamy. Gradually add the powdered sugar in two additions, mixing until fully incorporated after each addition. Finally, stir in the maple syrup, vanilla extract, and cinnamon. Beat until the frosting is light, fluffy, and smooth. Taste and adjust sweetness or spice as desired.
-
Assemble Your Whoopie Pies. Transfer the finished frosting to a piping bag fitted with a round tip (like a Wilton 1A) or simply use a sturdy ziploc bag with one corner snipped off. Pipe a generous swirl of frosting onto the flat side of half of the cooled pumpkin cakes. Gently place a second pumpkin cake on top, flat side down, to form a sandwich. Press lightly until the frosting reaches the edges. Repeat this process for all remaining cakes. For a decorative touch, lightly dust the assembled whoopie pies with a little extra powdered sugar just before serving.
Tip: If using a ziploc bag, don’t try to force a piping tip into it; the pressure will often cause the tip to shoot out. Simply snip the corner for an easy piping method.
-
Serve & Store. Enjoy these delicious Pumpkin Whoopie Pies immediately once assembled and frosted! Store any leftovers in an airtight container in the refrigerator for up to 4 days. Allow them to come to room temperature for a short while before serving again for the best texture.
Nutrition
Calories: 517kcal
Carbohydrates: 74g
Protein: 5g
Fat: 24g
Saturated Fat: 9g
Polyunsaturated Fat: 7g
Monounsaturated Fat: 6g
Trans Fat: 0.4g
Cholesterol: 57mg
Sodium: 289mg
Potassium: 181mg
Fiber: 3g
Sugar: 54g
Vitamin A: 6997IU
Vitamin C: 2mg
Calcium: 78mg
Iron: 2mg
Nutrition information is automatically calculated, so should only be used as an approximation.
Like this? Leave a comment below!