

The Easiest Ever Lemon Bars: A Zesty Delight with Perfect Shortbread Crust
Prepare to fall in love with these quintessential Lemon Bars! They are a timeless dessert for a multitude of reasons, chief among them being their irresistible combination of textures and flavors. Each bar boasts an ultra-creamy, vibrant lemon filling that truly bursts with fresh citrusy goodness. It strikes that elusive, perfect balance between delightfully tart and subtly sweet, making every bite an absolute pleasure.
Underneath this luscious lemon layer lies a buttery, crisp, and incredibly easy-to-make shortbread crust. Forget complicated techniques or stovetop fuss; this recipe is designed for simplicity without compromising on taste. If you’ve been searching for a reliable, utterly delicious lemon bar recipe that delivers consistent perfection, your search ends here. These bars require minimal effort but yield maximum flavor, making them an ideal treat for any baker, from novice to experienced.
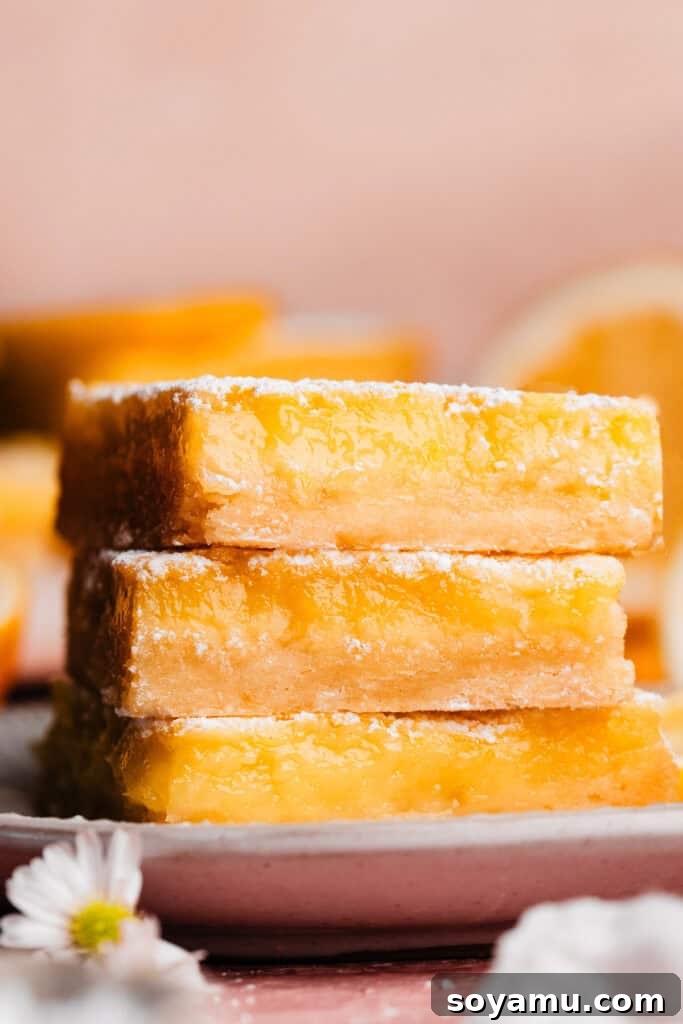
Why These Lemon Bars Are a Must-Try
What makes this particular lemon bar recipe stand out from the rest? Beyond their classic appeal, several elements combine to create a truly exceptional dessert experience:
- Unbeatable Flavor Profile: We’ve meticulously balanced the lemon juice and sugar to ensure a filling that’s intensely lemony and delightfully “puckery” without being overwhelmingly sour. It’s a harmonious blend that keeps you coming back for more.
- Effortless Buttery Shortbread Crust: This isn’t just any crust; it’s a dream to make! Crafted from just four simple ingredients and using melted butter, it comes together quickly and is pressed directly into the pan. The result is a crisp, tender base that perfectly complements the creamy filling.
- Potluck and Party Perfect: Bar desserts are inherently practical and incredibly convenient for any gathering. You bake one large batch, and suddenly you have numerous servings ready to go. These lemon bars travel well and are always a crowd-plepleasing hit, whether it’s a casual BBQ, a family reunion, or a celebratory potluck.
- A Lemon Lover’s Dream (and a Convert’s Delight!): If you’re already a fan of lemon desserts, these bars will solidify your affection. But even if you usually lean towards chocolate (like many of us!), prepare to be utterly smitten. Their vibrant, refreshing taste often wins over even the most dedicated chocolate enthusiasts.
- No Finicky Steps: This recipe prioritizes ease. There’s no stovetop custard to constantly stir, no water bath, and no complicated tempering. Simple mixing and baking steps ensure a stress-free baking experience.

Key Ingredients for Perfect Lemon Bars
While the full recipe with precise measurements and detailed instructions can be found in the recipe card below, understanding the role of each ingredient is crucial for baking success and achieving that perfect lemon bar texture and flavor.
- Butter: For the shortbread crust, I highly recommend using salted butter. In my experience, it provides a richer, more nuanced flavor that truly elevates the crust. However, if unsalted butter is all you have, feel free to use it and simply add a tiny pinch more salt to the crust mixture to enhance the flavor.
- All-Purpose Flour: Proper flour measurement is paramount for the delicate texture of the shortbread and the consistency of the filling. The best method is to spoon your flour into the measuring cup, then level it off with a flat utensil (like the back of a knife). Alternatively, for the most accurate results, use a kitchen scale to weigh your flour. Scooping directly into the flour bag with your measuring cup can compact the flour, leading to too much in the recipe and a dry, crumbly crust or a too-thick filling.
- Fresh Lemons: This is non-negotiable for superior flavor! Always opt for fresh lemon juice and zest. Bottled lemon juice simply doesn’t compare in terms of brightness and aroma. The zest contains essential oils that contribute a significant depth of lemon flavor, so don’t skip it!
- Granulated Sugar: Essential for balancing the tartness of the lemon, especially in the filling. The sugar also plays a role in the texture of the filling, helping it set beautifully.
- Vanilla Extract: A touch of real vanilla extract in the filling helps to round out and enhance the overall flavor, adding a subtle warmth that complements the bright lemon without overpowering it.
- Large Eggs: Eggs are crucial for the structure and creamy texture of the lemon filling. They act as a binder and thickener. Ensure your eggs are at room temperature, as this helps them incorporate more smoothly into the mixture, resulting in a more uniform and velvety filling.
- Salt: A small amount of salt in both the crust and the filling might seem insignificant, but it’s a flavor enhancer that makes all the other ingredients shine. It balances sweetness and intensifies the lemon notes.
Creative Variations & Dietary Adaptations
While these lemon bars are perfect as they are, don’t hesitate to get creative or adapt them to suit dietary needs:
- Gluten-Free Lemon Bars: While I haven’t personally tested it, many readers have reported success using a high-quality cup-for-cup gluten-free flour blend in the crust. For the filling, most gluten-free flour blends should work similarly to all-purpose flour, as the amount is relatively small. Start with your trusted brand and be mindful that slight adjustments to liquid or baking time might be needed.
- Dairy-Free Delight: For a dairy-free version, substitute your favorite reliable brand of plant-based butter (specifically one designed for baking) in the shortbread crust. Ensure it has a similar fat content and performs well in baking applications. The filling is naturally dairy-free (excluding the butter in the crust), making this a relatively easy adaptation.
- Explore Other Citrus Flavors: Feeling adventurous? While I haven’t tried these variations myself, you could potentially swap out the lemon juice and zest for other vibrant citrus fruits like oranges or limes. Imagine zesty lime bars or sweet orange bars! The sugar ratio might need slight adjustment depending on the sweetness of the fruit.
- Topping Innovations: Beyond a simple dusting of powdered sugar, consider garnishing your bars with fresh berries (raspberries or blueberries are fantastic!), a sprinkle of toasted coconut flakes, or even a dollop of fresh whipped cream for an extra touch of indulgence.
Step-by-Step Guide: Crafting Your Easy Lemon Bars
Creating these delightful lemon bars is straightforward when you follow these steps. The key is to prepare efficiently, especially to ensure the filling goes over the crust while it’s still warm.
Step 1: Preparation is Key
Begin by preheating your oven to 350°F (175°C). Lightly spray a 9×13 inch baking pan with nonstick cooking spray, then line it with parchment paper, leaving an overhang on the longer sides. This parchment “sling” will make lifting and slicing the cooled bars incredibly easy. Crucially, gather and measure all your filling ingredients now. Having everything ready to go will allow you to quickly assemble the filling while the crust bakes, preventing the crust from cooling too much, which can lead to the crust and filling inverting during the second bake.
Step 2: The Buttery Shortbread Crust
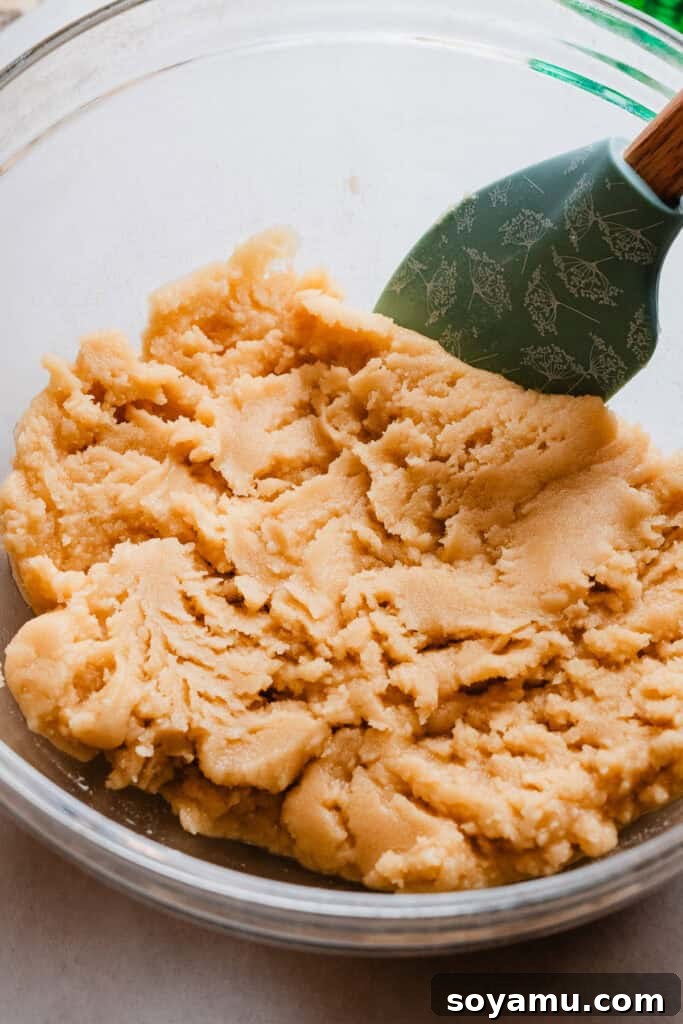
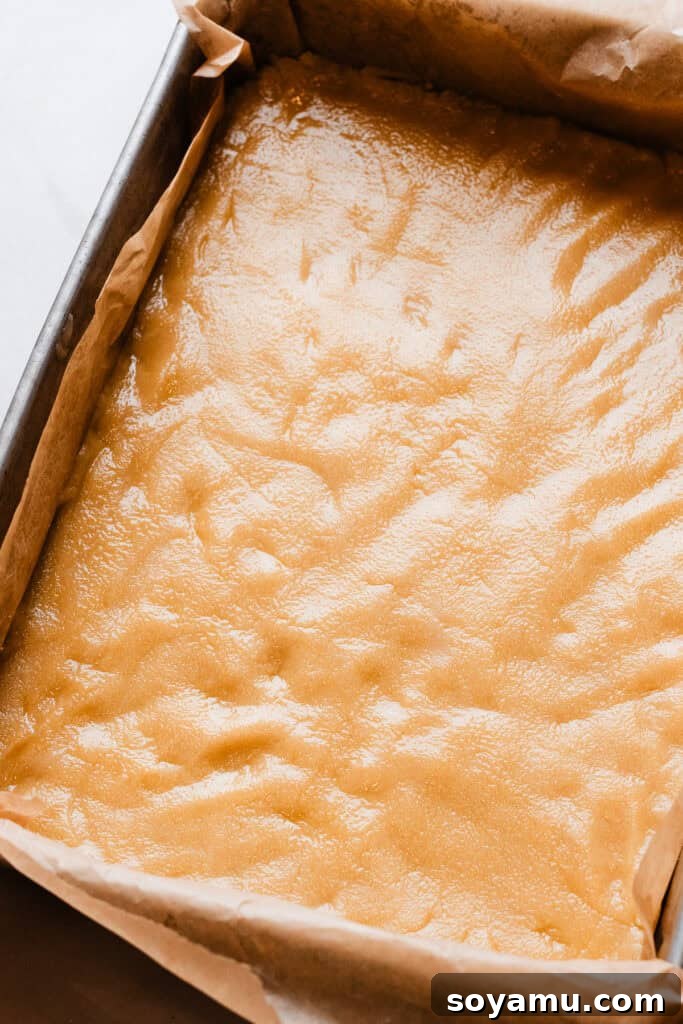
In a medium bowl, melt the butter until smooth. Stir in the granulated sugar and salt until well combined. Then, add the all-purpose flour and mix until a crumbly dough forms. Press this mixture evenly into the bottom of your prepared 9×13 inch pan. Bake the crust in the preheated oven for 20-22 minutes, or until it appears set and the edges are just barely golden brown. Immediately upon removing the crust from the oven, gently prick the entire surface with a fork, being careful not to go all the way through to the bottom of the pan. This helps prevent the crust from puffing up. While the crust is still hot, quickly move on to preparing the filling.
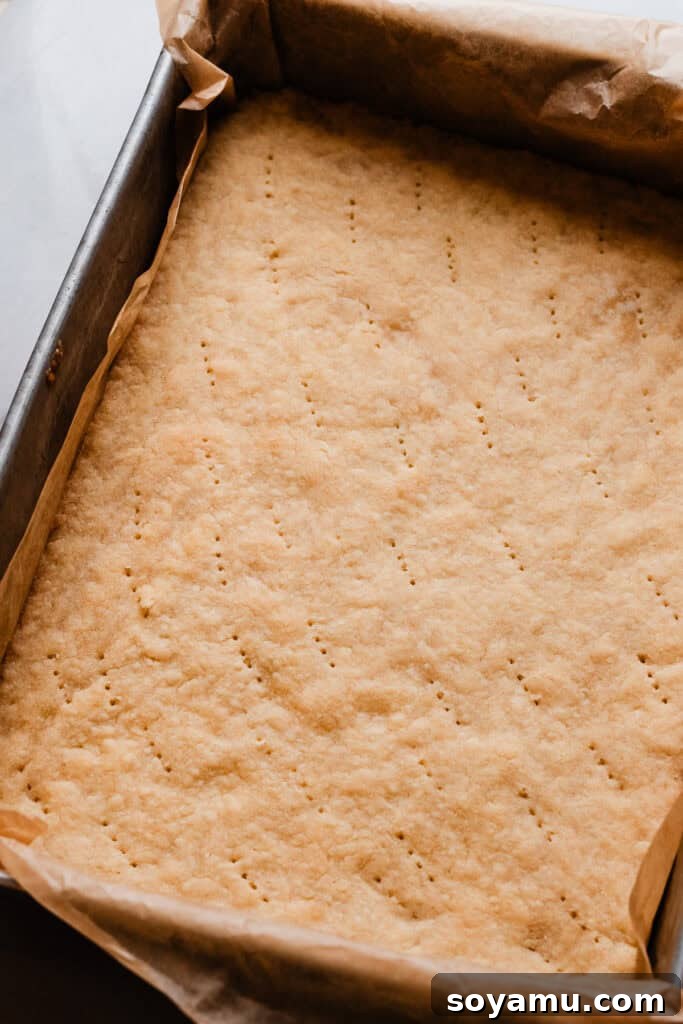
Step 3: Whipping Up the Zesty Lemon Filling
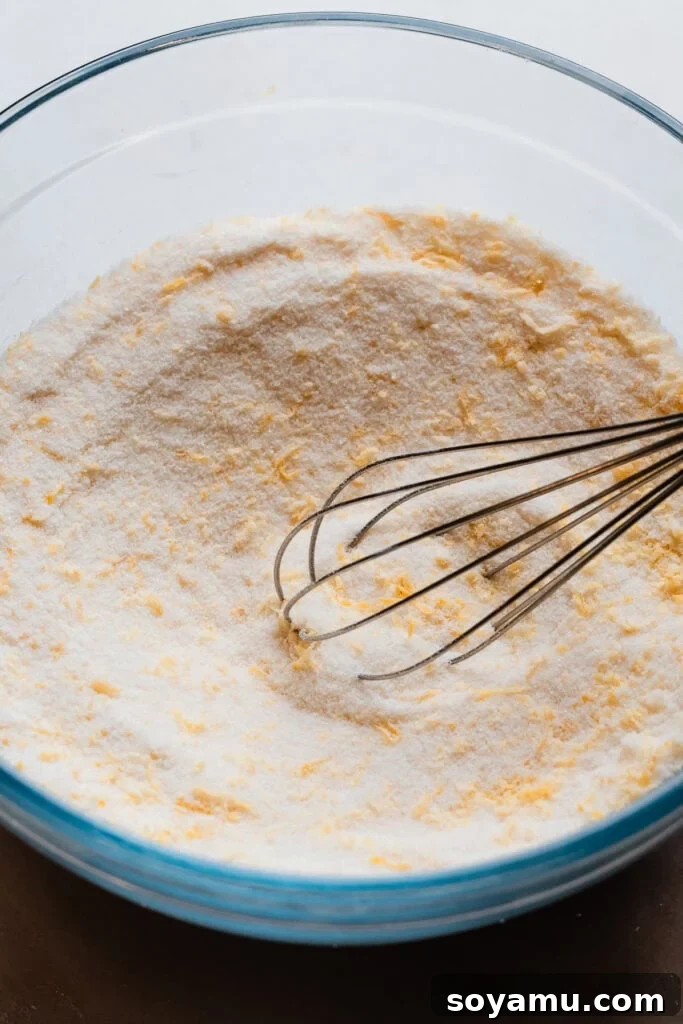
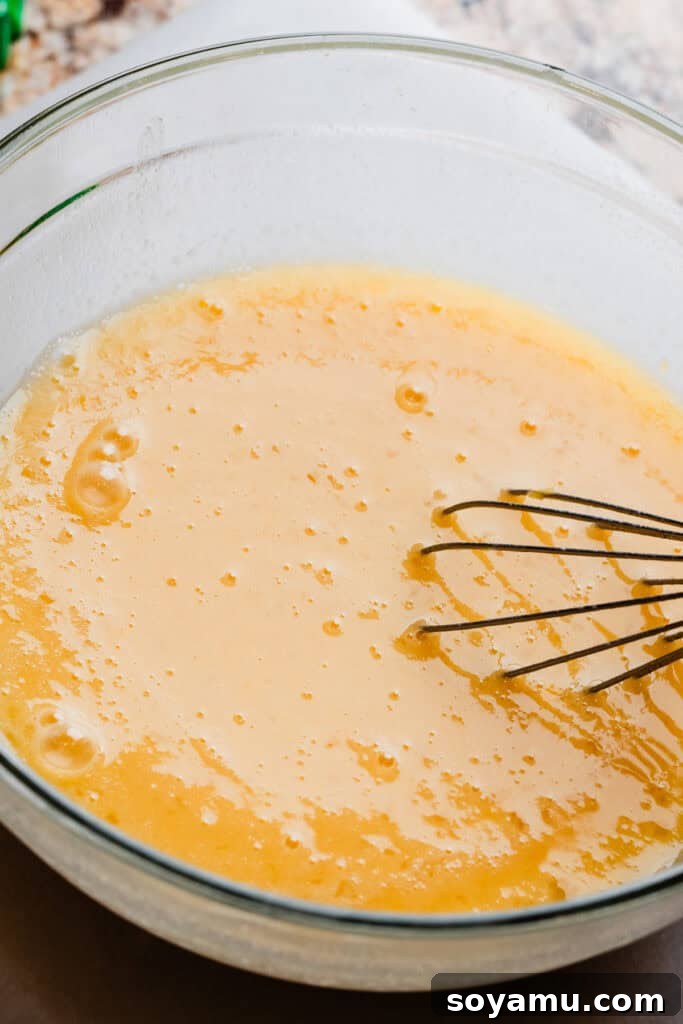
While the crust is baking, gently whisk the eggs with a pinch of salt in a separate small bowl or large measuring cup until just combined. In a large mixing bowl, combine the granulated sugar and lemon zest. Using your fingertips, rub the lemon zest into the sugar for about 1-2 minutes until the sugar becomes fragrant and takes on a slightly damp, sandy texture. This “zest-rubbing” technique releases the aromatic oils from the lemon, infusing the sugar with intense flavor. Next, whisk in the 6 tablespoons of all-purpose flour until no lumps remain. Finally, whisk in the beaten eggs, fresh lemon juice, and vanilla extract until the mixture is smooth and well combined.
Step 4: The Crucial Bake
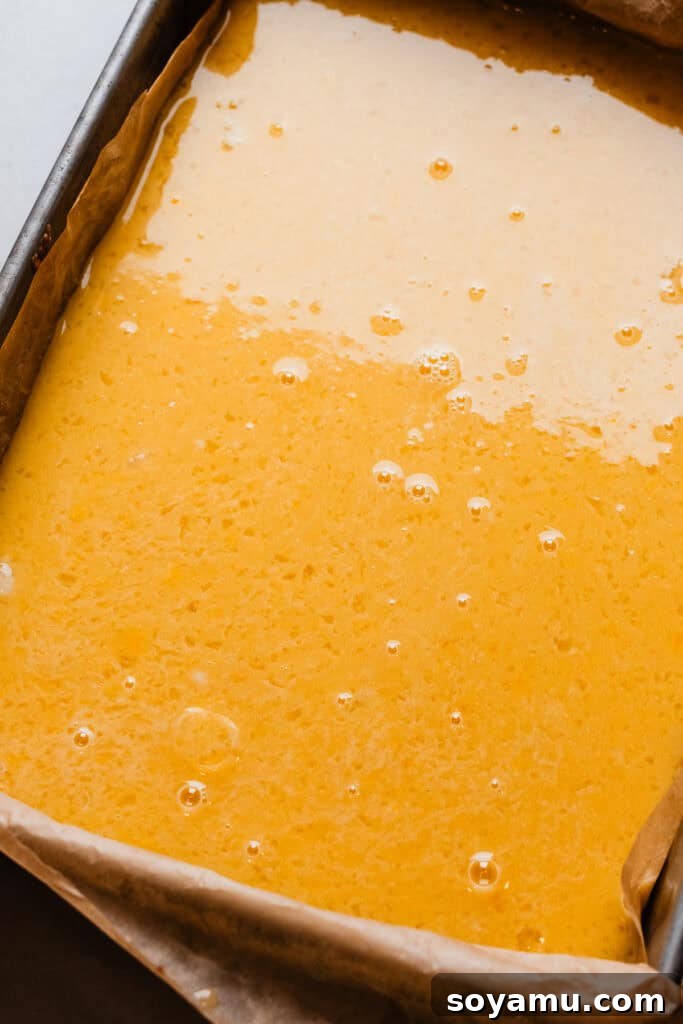
Immediately pour the prepared lemon filling evenly over the still-hot, pricked shortbread crust. This critical step helps prevent the crust and filling from separating or inverting during baking. Return the pan to the oven and bake for another 18-24 minutes. The filling is done when the edges are set, and the center has a slight, barely perceptible wobble when gently shaken. An instant-read thermometer inserted into the center (without touching the bottom) should register 180°F (82°C). Another quick test: poke a small hole with a toothpick; if the hole remains, the filling is set; if it fills back in, it needs a little more time.
Step 5: Cooling and Chilling for Perfection
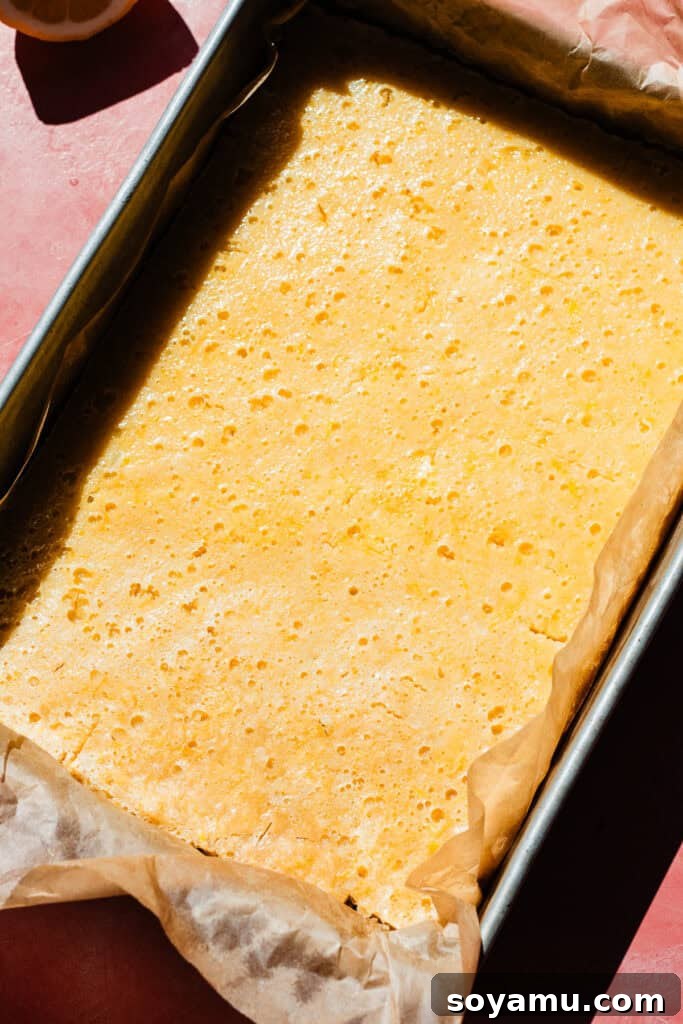
Once baked, remove the pan from the oven and let the lemon bars cool completely on a wire rack at room temperature for about an hour. Resist the urge to cut them yet! After initial cooling, transfer the pan to the refrigerator to chill for at least 2-3 hours, but preferably overnight. This chilling period is essential for the filling to fully set, ensuring clean, beautiful slices. Make sure to place a hot pad or trivet under the pan if putting it directly on refrigerator shelves to protect them from residual heat.
(Note: Even if a batch doesn’t look picture-perfect – perhaps from being jet-lagged or under the weather – rest assured, the taste remains absolutely divine! Don’t let appearances fool you; flavor is king!)
Step 6: Serving Your Golden Treats
Once thoroughly chilled, use the parchment paper overhang to carefully lift the entire slab of lemon bars out of the pan and onto a cutting board. With a sharp, warm knife (wiping it clean between each cut helps ensure pristine edges), slice the bars into your desired size. Just before serving, generously dust them with powdered sugar for a beautiful presentation and an extra touch of sweetness. Enjoy your perfectly balanced, zesty creations!
Serving & Storing Lemon Bars
These lemon bars are best enjoyed when thoroughly chilled. The cold enhances their refreshing tartness and sets the filling to a delightful, creamy consistency. For presentation, a final dusting of powdered sugar just before serving adds an elegant finish and a hint of extra sweetness that slowly melts into the lemon top.
Storing Leftovers: Any leftover lemon bars should be stored in an airtight container in the refrigerator. They will maintain their freshness and delicious taste for 3-4 days. Remember that the powdered sugar will absorb moisture in the fridge and disappear, so it’s always best to dust individual bars just before serving for the freshest look.

Pro Tips for Lemon Bar Perfection
Achieving bakery-quality lemon bars at home is easier than you think with these expert tips:
- Invest in an Oven Thermometer: Oven temperatures can vary significantly from what the dial indicates. An affordable oven thermometer is a game-changer for consistent baking results, ensuring your oven is always at the precise temperature required for perfect doneness. Leave it in your oven permanently to monitor calibration.
- Utilize a Kitchen Scale for Flour: Flour measurement is notoriously tricky by volume. For the most accurate and consistent results, especially with baking, a food scale is your best friend. Weighing flour prevents accidental over-measurement, which can lead to dry, tough baked goods.
- The “Mise en Place” for Filling: This French culinary term means “everything in its place.” Have all your filling ingredients prepped, measured, and ready to go *before* the crust finishes baking. This is crucial because the filling needs to be poured over the crust while it’s still warm to prevent separation or “inversion” during the second bake.
- Don’t Overbake the Filling: An overbaked lemon filling will be firm and rubbery rather than creamy and delicate. Look for just a slight wobble in the center; residual heat will continue to set the filling as it cools. An instant-read thermometer helps confirm doneness.
- Chill, Chill, Chill: Patience is key! Adequate cooling at room temperature followed by thorough chilling in the refrigerator is vital. This allows the lemon filling to fully set and firm up, ensuring clean, neat slices and the best possible texture.
- Warm Your Knife for Clean Slices: To get those perfectly straight, clean cuts that are Instagram-worthy, dip a sharp knife in hot water, wipe it dry, and then slice. Repeat this process for each cut.

Frequently Asked Questions
- My crust and filling inverted in the oven! What happened?
- This is a common issue that occurs if the filling isn’t poured over the shortbread crust immediately after the crust comes out of the oven. The crust needs to be warm to create a seamless bond with the filling. To prevent this, ensure all your filling ingredients are prepped and ready for quick assembly while the crust bakes. The good news is, even if they look a little wonky, they will still taste absolutely delicious!
- Can I freeze lemon bars?
- Absolutely! Lemon bars freeze beautifully. Once fully cooled and sliced, arrange them in a single layer in a freezer-safe container, separated by parchment paper to prevent sticking. They can be frozen for 4-6 weeks. Thaw them overnight in the refrigerator before serving. Remember to dust with powdered sugar after thawing, as the sugar tends to absorb moisture during freezing and thawing.
- How long do lemon bars last?
- When stored in an airtight container in the refrigerator, these lemon bars will stay fresh and delicious for 3 to 4 days.
- What kind of lemons should I use?
- Always use fresh, bright yellow lemons for both the juice and the zest. Meyer lemons can offer a slightly sweeter, less tart flavor profile if you prefer, but standard Eureka or Lisbon lemons work perfectly for that classic zesty taste. Look for firm, heavy lemons with smooth, unblemished skins.
- Can I make these ahead of time?
- Yes, these lemon bars are an excellent make-ahead dessert! They actually taste better after a day in the fridge, allowing the flavors to fully meld. Prepare them the day before your event, chill overnight, and then slice and dust with powdered sugar just before serving.

More Zesty Lemon Recipes to Love
If you’re a true lemon enthusiast like us, you’ll want to explore more vibrant citrus desserts:
- Try our delightful Lemon Cupcakes for a fluffy, individual treat.
- Indulge in the moist and flavorful Lemon Poppyseed Bundt Cake, perfect for sharing.
- For a lighter option, consider a refreshing lemon mousse or a tangy lemon curd tart.
Did you make this recipe? We’d love to hear from you!
Please leave a comment and a star rating in the section below, letting us know how you enjoyed this recipe. Your feedback helps our small business immensely!

Easiest Ever Lemon Bars
By Stephanie Simmons
These classic lemon bars are renowned for their ultra-creamy, zesty lemon filling and a crisp, buttery shortbread crust. Simple to make and utterly delicious, they’re perfect for any occasion.
Prep Time: 40 mins
Cook Time: 20 mins
Total Time: 1 hr (plus chilling)
Yields: 15 to 30 bars
Ingredients
For the Crust:
- 1 cup salted butter, melted
- 1/2 cup granulated sugar
- 1/4 tsp salt
- 2 cups all-purpose flour, spooned & leveled or weighed out
For the Filling:
- 1 and 3/4 cups granulated sugar
- Zest of 2 large lemons
- 6 large eggs, at room temperature
- 3/4 cup + 1 tbsp fresh lemon juice
- 1/2 tsp vanilla extract
- Pinch of salt
- 6 tbsp all-purpose flour, spooned & leveled or weighed out
Instructions
- Prepare: Preheat your oven to 350°F (175°C). Lightly spray a 9×13 inch pan with nonstick spray, then line it with parchment paper, leaving an overhang on the longer sides. Gather all your filling ingredients and measure them out so they are ready to go. This allows you to quickly make the filling while the crust bakes, preventing the crust from cooling too much, which can cause the crust and filling to invert while baking.
- Make the Crust: In a medium bowl, melt the butter. Stir in the granulated sugar and salt. Add the all-purpose flour and mix until well combined. Press this mixture evenly into your prepared pan. Bake for 18-22 minutes, until the crust looks set and the edges are slightly golden brown. Immediately upon removing the crust from the oven, prick holes all over the surface with a fork, only going halfway down – not all the way through to the bottom. Quickly proceed to make the filling.
- Make the Filling: Lightly beat the eggs with a pinch of salt in a large measuring cup or small bowl and set aside. In a large bowl, combine the granulated sugar and lemon zest. Using clean hands, rub the zest into the sugar until the mixture is fragrant and resembles wet sand. Whisk in the 6 tablespoons of all-purpose flour. Then, add the beaten eggs, vanilla extract, and fresh lemon juice. Whisk until the mixture is smooth and well combined.
- Bake: Pour the lemon filling evenly over the still-warm crust. Return the pan to the oven and bake for 18 to 24 minutes. The filling will appear mostly set with just a tiny wobble in the very center. An instant kitchen thermometer inserted into the center (without touching the bottom) should read 180°F (82°C). If you poke a hole with a toothpick, it should leave a distinct hole; if the hole fills in, the filling is too runny and needs a little more time.
- Cool & Chill: Once baked, let the bars cool completely on a wire rack for about an hour. Then, transfer the pan to the refrigerator to chill for at least 2-3 hours, or preferably overnight. This chilling process is crucial for the filling to fully set, ensuring clean slices.
- Serve & Store: Once thoroughly chilled, use the parchment paper overhang to lift the bars out of the pan. Slice into desired portions and generously dust with powdered sugar just before serving. Leftovers can be stored in an airtight container in the refrigerator for 3-4 days. Note that the powdered sugar will absorb into the bars over time in the fridge, so dust them only when ready to serve.
Nutrition Facts
(Nutrition information is an approximation and can vary based on ingredients and preparation.)
- Serving: 1 bar
- Calories: 328kcal
- Carbohydrates: 46g
- Protein: 5g
- Fat: 14g
- Saturated Fat: 8g
- Polyunsaturated Fat: 1g
- Monounsaturated Fat: 4g
- Trans Fat: 1g
- Cholesterol: 107mg
- Sodium: 165mg
- Potassium: 67mg
- Fiber: 1g
- Sugar: 30g
- Vitamin A: 487IU
- Vitamin C: 6mg
- Calcium: 20mg
- Iron: 1mg