
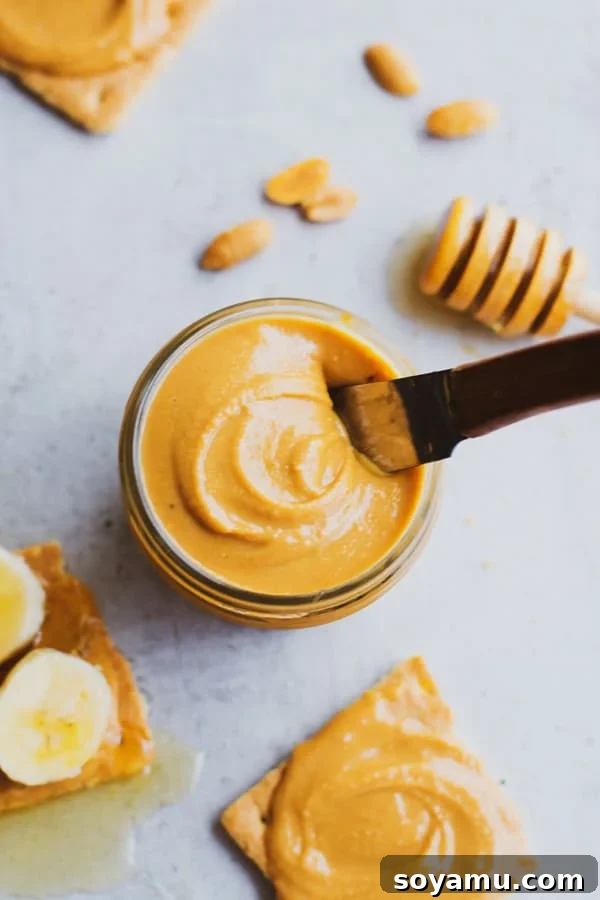
The Easiest Homemade Peanut Butter Recipe: Creamy, Delicious & Healthy
After a wonderful, relaxing long weekend, I’m thrilled to be back and share a recipe that will revolutionize your snacking: incredibly fast, 3-ingredient Homemade Peanut Butter! Forget store-bought jars with hidden sugars and unnecessary additives. This DIY peanut butter is not only easy to make but also bursts with fresh, natural flavor and a delightfully creamy texture that will make you wonder why you ever bought it.
Imagine a spread so rich, so smooth, and so utterly delicious, crafted right in your own kitchen in mere minutes. This isn’t just a recipe; it’s a game-changer for anyone who loves peanut butter and appreciates wholesome, simple ingredients. Let’s dive into the world of creamy, dreamy homemade goodness!
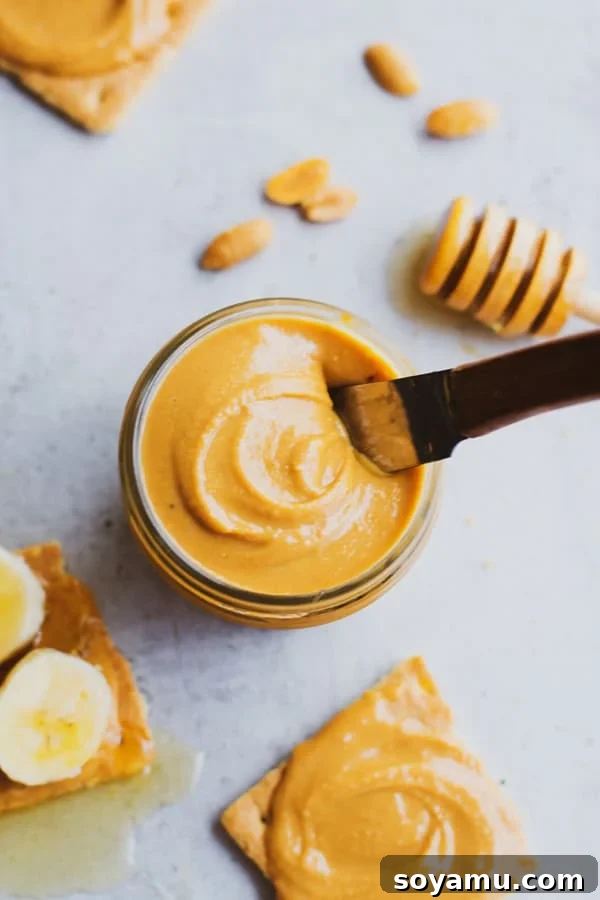
Why Choose Homemade Peanut Butter?
The appeal of making your own peanut butter goes far beyond just saving a few dollars. It’s about taking control of what goes into your food and experiencing a superior product. Here’s why homemade wins every time:
- Purity of Ingredients: Most commercial peanut butter brands contain added sugars, hydrogenated oils, and preservatives to enhance shelf life and texture. When you make it at home, you decide what goes in – typically just peanuts, a touch of oil, and a pinch of salt. This means a healthier, more natural spread for you and your family.
- Superior Freshness and Flavor: There’s simply no comparison to the taste of freshly made peanut butter. The roasted peanuts release their natural oils and robust flavor notes, creating a spread that is intensely nutty and aromatic. Store-bought versions often lack this vibrant, fresh quality.
- Customizable Texture and Flavor: Do you prefer extra chunky or super smooth? Slightly sweet or more savory? With homemade peanut butter, you’re the chef! You can adjust the processing time for your desired texture and experiment with different types of sweeteners, salts, or even spices.
- No Stabilizers Needed: Commercial peanut butter often uses stabilizers to prevent oil separation. While natural separation in homemade peanut butter might require a quick stir, it’s a small trade-off for avoiding artificial additives.
- Quick and Easy: Despite popular belief, making peanut butter from scratch is surprisingly fast. With a good food processor, you can go from whole peanuts to creamy spread in less than 10 minutes.
The Simple Magic of 3 Ingredients (and a Food Processor)
The beauty of this recipe lies in its simplicity. You only need a few key components:
- Peanuts: Dry roasted peanuts are ideal for this recipe. If you start with raw peanuts, you’ll want to roast them first to bring out their rich flavor. Unsalted peanuts give you maximum control over the final salt content, preventing your peanut butter from becoming overly salty.
- Honey (or other sweetener): A touch of honey adds a lovely sweetness and helps with the overall texture. You can adjust the amount to your preference or substitute with maple syrup or agave for a vegan option.
- Vegetable Oil (or other neutral oil): This is key to achieving that perfectly smooth, pourable consistency. Neutral-flavored oils like vegetable oil, canola oil, grapeseed oil, or even melted coconut oil (in warm conditions) work best. Peanut oil can also be used to enhance the peanut flavor further.
- Salt (to taste): A pinch of salt brightens all the flavors and balances the sweetness. Even if using salted peanuts, you might find a little extra salt enhances the depth of flavor.
And the most important tool? A high-powered food processor. This is where the real magic happens, transforming humble peanuts into a glorious, spreadable delight. The one I use is fantastic and makes the process incredibly efficient.
The Transformation: A Step-by-Step Guide to Creamy Perfection
1. The Initial Grind: From Whole Nuts to Crumbles
Begin by adding your chosen peanuts to the bowl of your high-powered food processor. Make sure the lid is securely in place, and then process on high. Initially, the peanuts will break down into coarse crumbs. This stage might take a minute or two. Don’t be tempted to stop here; this is just the beginning of their amazing transformation!
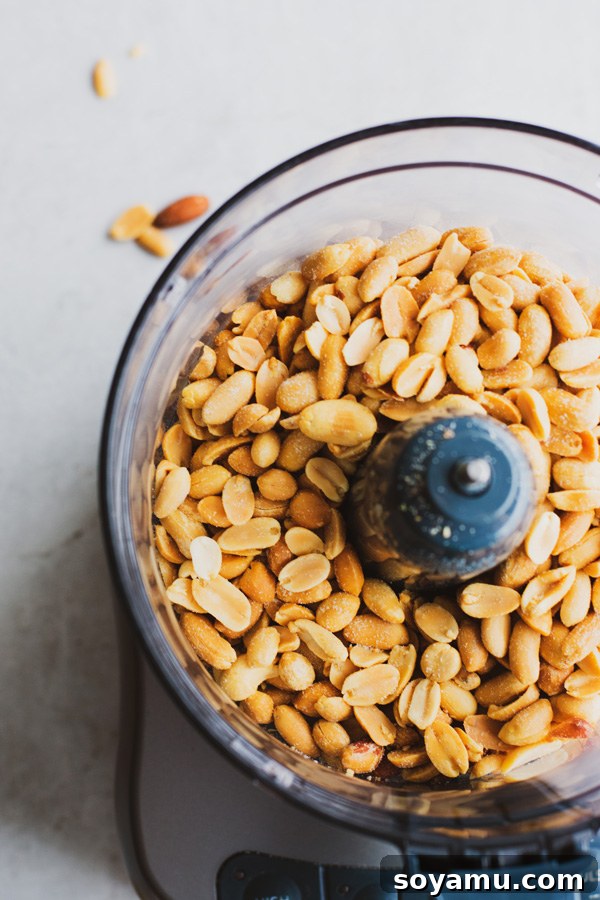
2. The Ball Stage: A Rocky Road to Smoothness
As you continue to process, the crumbs will start to clump together, forming a large, sticky ball. This happens as the natural oils within the peanuts begin to release and bind the particles together. It might look like nothing is happening for a moment, or that your food processor is struggling, but trust the process! This stage is crucial and indicates you’re well on your way. You may need to stop the food processor occasionally to scrape down the sides, ensuring all the peanuts are evenly processed.
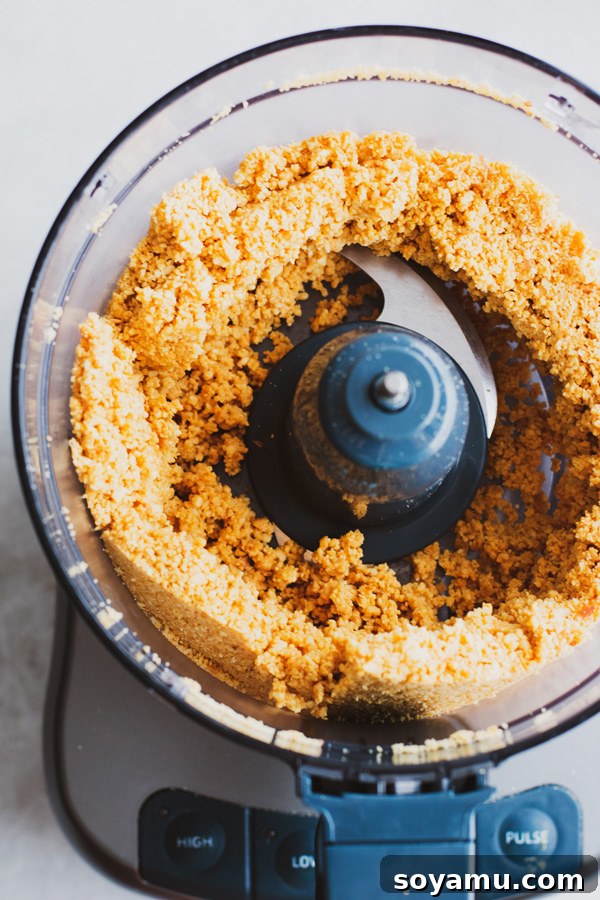
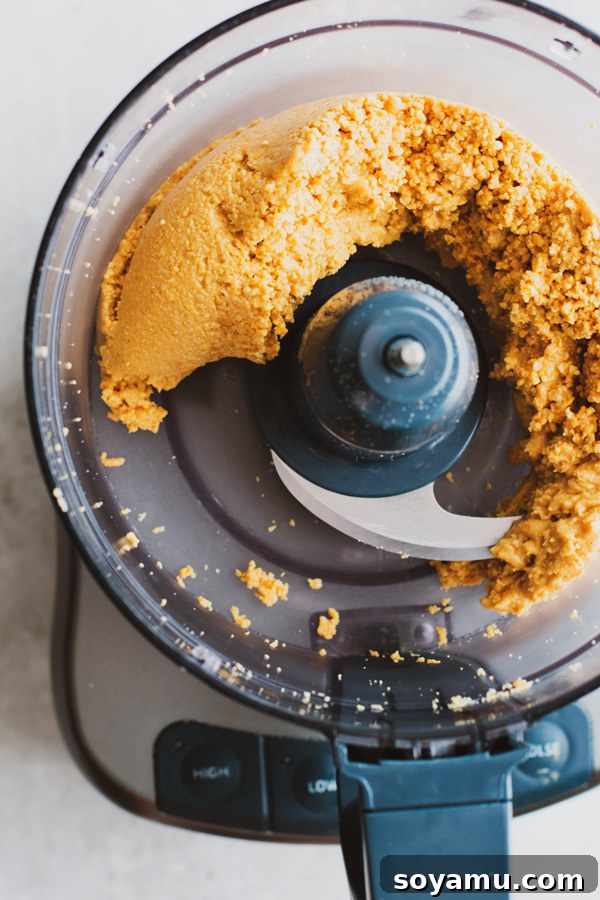
3. Approaching Liquidity: The Thick Paste
After the ball stage, the mixture will start to become a thick, cohesive paste. It will look dense and might still have some graininess, but it’s much smoother than before. The peanuts are really starting to break down now, and more oil is being released. It’s getting closer, but it’s not quite pourable yet. Resist the urge to stop! Many people make the mistake of stopping here, thinking it’s done, but true creaminess is still a few moments away.
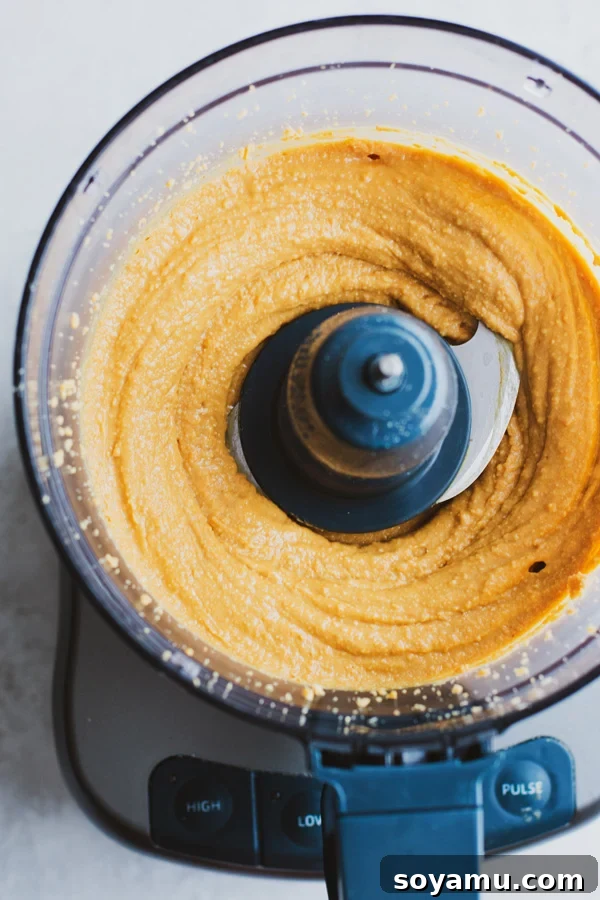
4. Achieving Ultimate Creaminess: The Golden Flow
Keep processing! Eventually, the peanut butter will thin out considerably and become a wonderfully smooth, pourable liquid. At this point, the mixture might look a bit thick but is starting to flow. This is where we perfect the consistency. You’ll want to add some oil to help smooth the peanut butter out even further, making it irresistibly creamy. Start with 1 tablespoon of vegetable oil, process, and add more if needed, up to 3 tablespoons, until you reach your desired consistency. This step ensures a luxurious, spreadable texture that rivals any premium store-bought brand.
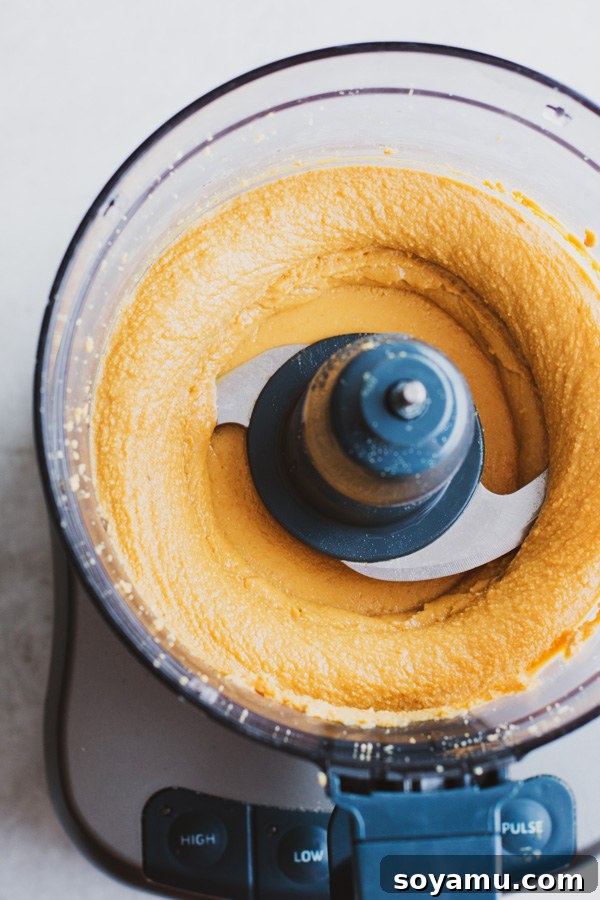
5. Flavor It & Finish It!
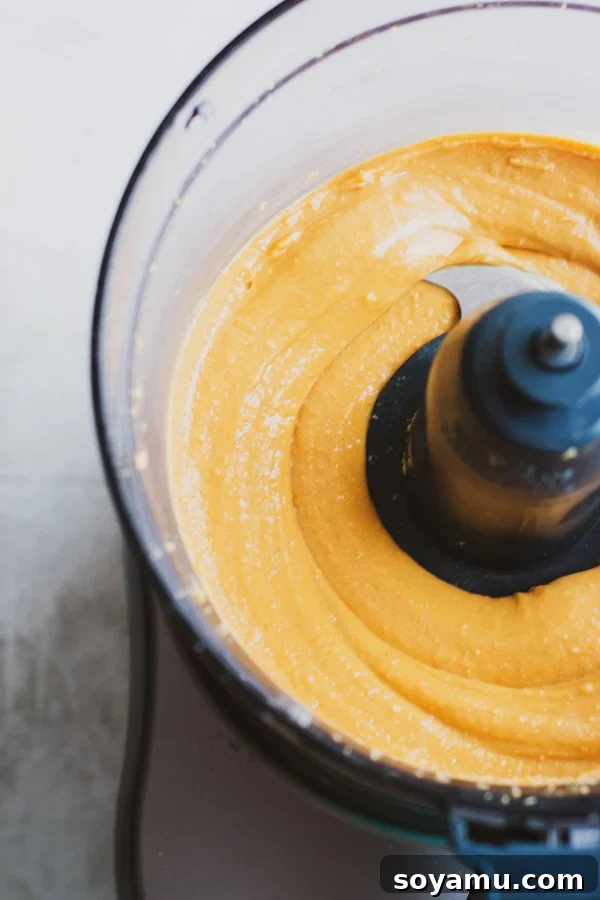
Once you’ve achieved your desired consistency, it’s time to add the honey and salt. Pulse a few times to thoroughly combine these final ingredients. Taste and adjust as needed – you might want a little more honey for sweetness or an extra pinch of salt to enhance the flavor. From start to finish, this entire process usually takes about 5-7 minutes. If your food processor starts to feel warm, give it a short break, then resume. The result is pure, smooth, creamy liquid gold!
Creative Ways to Enjoy Your Homemade Peanut Butter
Now that you’ve got a jar of this incredible homemade peanut butter, the possibilities are endless! Here are some of my favorite ways to savor every spoonful:
- Straight from the Spoon: Let’s be honest, sometimes the best way is the simplest. No shame in enjoying it as is!
- Classic PB&J Upgrade: Elevate your traditional peanut butter and jelly sandwich with this fresh, flavorful spread.
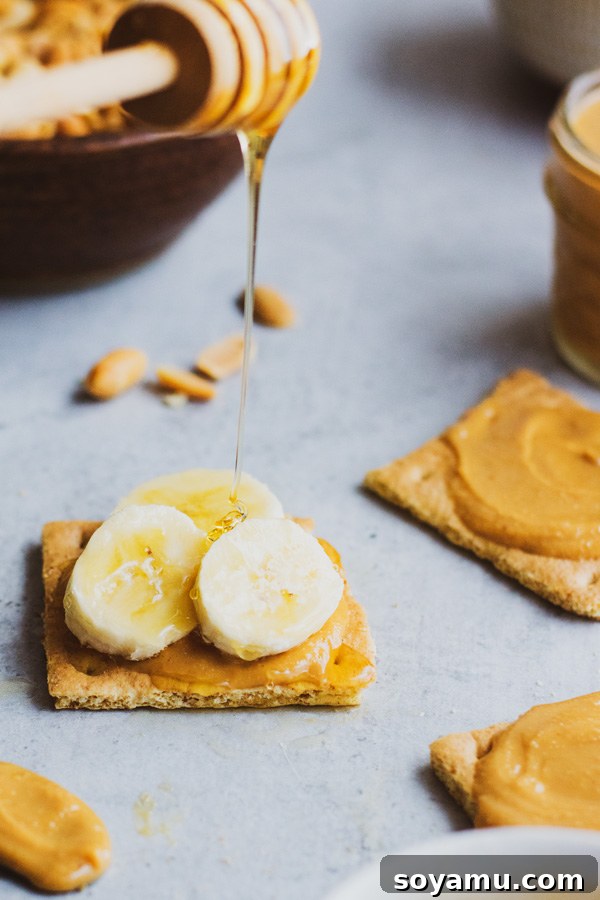
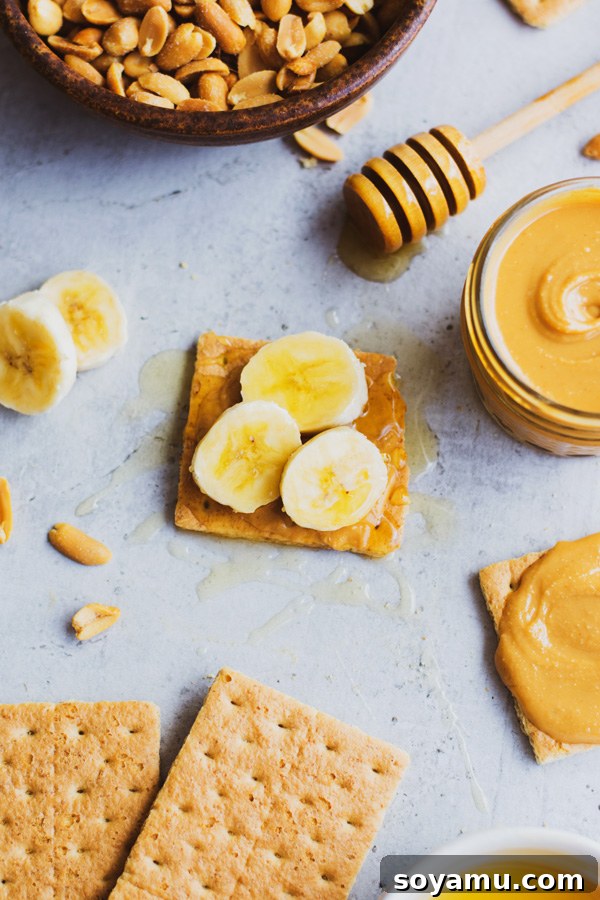
- Fruit & Cracker Delight: Smothered on a graham cracker with sliced bananas and a drizzle of honey, it’s a nostalgic and satisfying treat. Also fantastic with apple slices, celery sticks, or berries.
- S’mores Sensation: It’s that time of year for gooey s’mores! Add a dollop of homemade peanut butter to your marshmallow and chocolate for an extra layer of richness.
- Smoothie Booster: Blend a spoonful into your morning smoothie for a protein-packed, creamy addition.
- Oatmeal & Yogurt Topping: Stir it into your oatmeal or swirl it into Greek yogurt for a wholesome breakfast or snack.
- Baking Brilliance: Use it in your favorite peanut butter cookies, brownies, or energy bites for an unparalleled depth of flavor.
- Savory Sauces: Incorporate it into Asian-inspired sauces for stir-fries or dipping spring rolls.
- Homemade Gifts: Fill small mason jars with your fresh peanut butter and tie a ribbon around them. They make fantastic, thoughtful gifts for friends and family!
Tips for Storing Your Homemade Peanut Butter
Because homemade peanut butter lacks the stabilizers found in commercial brands, you might notice some oil separation over time. This is completely natural! Simply give it a good stir before each use to re-incorporate the oils.
- Room Temperature: If you plan to consume your peanut butter within a week, you can store it in an airtight container (mason jars work perfectly!) at room temperature in a cool, dark pantry.
- Refrigeration: For longer storage, keep it in the refrigerator for up to 2 weeks. The peanut butter will firm up considerably when chilled, so you might need to let it sit out for a few minutes or give it a vigorous stir to soften before using.
I’m already working on a special recipe that features this homemade peanut butter, so stay tuned! Any guesses what it might be?
Happy snacking, and enjoy the pure joy of making your own!
Made this recipe? We’d love to see it!
Be sure to follow bluebowlrecipes on Instagram and tag #bluebowlrecipes with your photo! You can also share a photo of your recipe to the bluebowlrecipes Facebook page. Your creations inspire us!
How to Make Homemade Peanut Butter
By Stephanie Simmons
Creamy, dreamy peanut butter – made with just honey, oil, and peanuts! It’s incredibly easy and delicious.
Prep Time: 10 minutes
Total Time: 10 minutes
Servings: 24 TBSP
Ingredients
- 2 cups dry roasted peanuts (unsalted recommended for best control over flavor)
- 2 tbsp honey (adjust to taste)
- 1 – 3 tbsp vegetable oil (or other neutral oil like canola, grapeseed, or peanut oil)
- Salt, to taste
Instructions
- Make it: Add the peanuts to a high-powered food processor. Process on high. The mixture will go through several stages: first, it will be crumbly, then it will start to form a sticky ball, and finally, it will begin to smooth out into a thick paste.
- Once the mixture reaches the smoothed-out stage but is still a little grainy and quite thick, add the vegetable oil, 1 tablespoon at a time, pulsing between additions to combine. This step is crucial for thinning out the peanut butter and achieving that desirable creamy texture. Continue adding oil until it reaches your preferred level of creaminess.
- When the peanut butter is smooth and creamy enough, add the honey and a pinch of salt. Pulse a few more times to thoroughly incorporate these ingredients. Taste the peanut butter and add more honey for sweetness or salt for balance, as desired.
- Store it: Transfer the homemade peanut butter to an airtight container (small mason jars are perfect for this!). If you anticipate consuming it within a week, it can be kept at room temperature in a cool, dark place. For longer storage, up to 2 weeks, keep it in the refrigerator. Note that refrigerated peanut butter will be firmer and may require a good stir before serving.
Nutrition
Calories: 178 kcal (per serving, estimated based on 24 servings)
Nutrition information is automatically calculated and should only be used as an approximation.